"sponsored links"

Powered by WebRing.
Google
 

Friday, November 30, 2007

Christmas and little children

Today was my youngest daughter's school devotional for Christmas. There is just something about little children that is so sweet and makes you want to cry at times like this. I spent most of my day helping with this and with her class.

The one trying to give a teeny tiny wave is my daughter (much better for 4 days now; thanks for all who sent emails concerned about her). She is trying not to get caught waving to Mae and Pai (mom and dad) when she should be paying attention to her teacher.

I know I didn't post an ornament today. Tomorrow you will get two, same goes for Monday because, as stated before, I don't post on Sunday.

Thursday, November 29, 2007

Part 11: Socks candy canes and bears

done on tree
Supplies:
  1. felt red, cream, tan or any colors you like
  2. bear button and cane and any thing else you feel like stuffing the sock with; glue dots
  3. needle
  4. size 5 pearl cotton embroidery thread
  5. scissors
Order of events:
  1. Draw out a pattern for sock or use a punch if you have one
  2. Glue together (I used glue dots; I have a busy day, so I needed a quick project). You can stitch these on, too, if you don't want to use glue dots. I do not recommend white glue; it turns yellow and gets brittle with time.
  3. Layout fillers for sock; stitch or couch onto sock.
  4. Add hanger; done.
side by side done

Wednesday, November 28, 2007

Part 10 Snow People

on tree
Supplies:
  • White felt
  • Pearl cotton size 5 embroidery thread
  • beads
  • needle thread
  • fur yarn
  • scraps of homespun fabric and black fabric
Order of events for making the boy:
  1. Cut three circles from felt (all three are different sizes, from small to med to large).
  2. Stitch on eyes, mouth and buttons. You can make either a French knot, colonial knot or use a bead as I did (I used the stitching of the beads on to stitch the circle together at the same time).
  3. Stitch on 1 piece of brown size 5 pearl cotton through snow person for arms (this one piece makes both arms). Tie knots next to felt to keep the arms from pulling out. Fray ends of thread for hands.
  4. Tie on scarf. At first I thought fuzzy fur yarn would work for this, but it bothered me something fierce. So, by the time I was done, I cut a strip of home spun, frayed the edges and stitched a bead on it. I like that much better. Do whichever you like best.
  5. Next, I cut two rectangles from black cotton, frayed the edges and stitched them on. This became his hat.
  6. Attach hanger; done (see new scarf).
If making the girl:
  1. Cut three circles from felt (all three are different sizes, from small to med to large).
  2. Stitch on eyes and mouth; you can make either a French knot, colonial knot or use a bead as I did (I also stitch circles together at this time).
  3. Stitch on 1 piece of brown size 5 pearl cotton through snow person for arms (this one piece makes both arms). Tie knots next to felt to keep the arms from pulling out. Fray ends of thread for hands.
  4. Attach apron; this is a piece of homespun fabric with frayed edges that was gathered.
  5. Hair is green fuzzy fur yarn. I thought this might look like someone had used fir tree branches for the hair. I stitched on three pieces of this yarn and then braided them.
  6. Attach hanger; done.
snow people with hangers

Busy Day Snow people Ornament preview

Will post tutorial later. I have a very busy day and can't type it up and post it now!
You can use this and the later post to enter into drawing.

Tuesday, November 27, 2007

Part 9: felt / sequins / big glitter ornamnets

cover image
Supplies:
  • felt
  • sequins, any type
  • big holiday glitter (I used snowflakes)
  • beads or any other embellishment
  • thread
  • needle
  • embroidery floss
  • thimble, if you use one
  • scissors
Because I am showing two ways of attaching sequins with and without holes, I made 4 ornaments; two for the giveaway, and two for my tree. This post counts as two ornament posts (you can leave a comment on yesterday's so that you get your name entered for today and yesterday) one for yesterday and one for today. Feel free to go back and post a comment on any that you haven't posted on to get the max entries for this giveaway.

Order of events:
  1. Get sequins and felt, and figure out your layout
  2. Sew on sequins/glitter (with sequins, of course, go through the holes).With glitter you are couching the piece of glitter down. Make sure to get a thread that is a close match to the color of your sequin/glitter.
  3. Add other embellishments such as beads (you can do French knots instead of beads; I just like holiday ornaments with more, not less, so I used beads).
  4. Edging; I did blanket stitch for some, and just an angeled stitch (a real wide satin stitch, meaning lots of space between the stitches) for others. Side note: You can make two and stitch them at this point front to back if you have an advent tree that is free standing. This way, no one would see your stitches on the back. I didn't do this because mine face the quilt, all hanging, and the backs are not seen.
  5. Add hanger and you're done!

Monday, November 26, 2007

Part 8: Ornaments for Advent

I had a minor operation today (11:00 a.m.) but it makes it very hard to type much. So I will not post an ornament for 1 or 2 days, but when I do again I will post enough to make up for the missed days. Sorry; this was a little unplanned (the operation that is).

You are welcome to post a comment on here to be entered into the drawing for this day even if there is no ornament tutorial. I have made some ornaments (preview on right side) just can't type without pain.

Aprons Galore. . .

Want to make aprons or just love looking at patterns? Go to Tip Nut; there are 56 free pattern links here from which to make aprons. Think last-moment items to make for Christmas.
Types of aprons they list:

  • Lined & Reversible Aprons
  • Dishtowel Aprons
  • Craft Aprons
  • Housekeeping Aprons
  • More Aprons
  • Knit & Crochet Aprons
  • Clothespin Aprons
  • Children’s Aprons
  • Vintage Style Aprons & Vintage Patterns
  • Men’s Aprons
  • Cute & Cool Apron Related Finds

And the socks were hung....

what hangs on my sewing room door

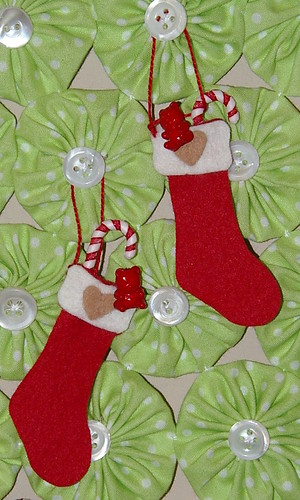
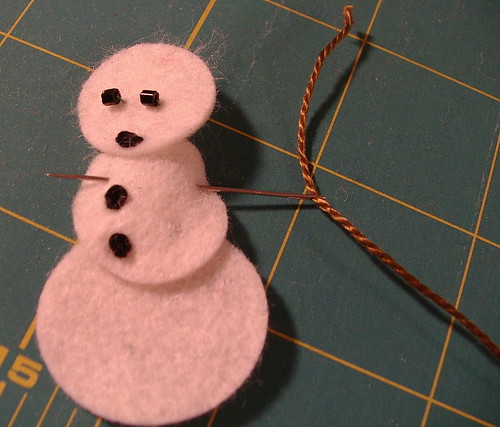
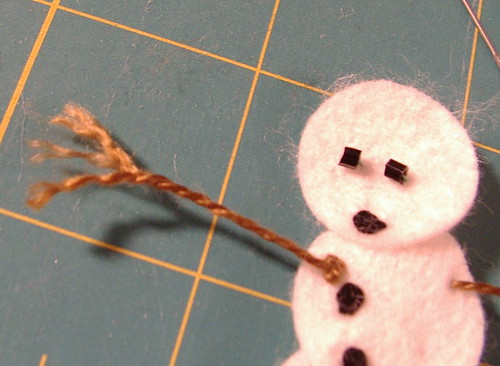
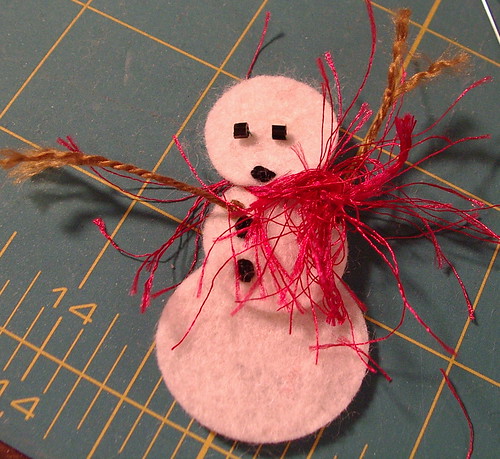
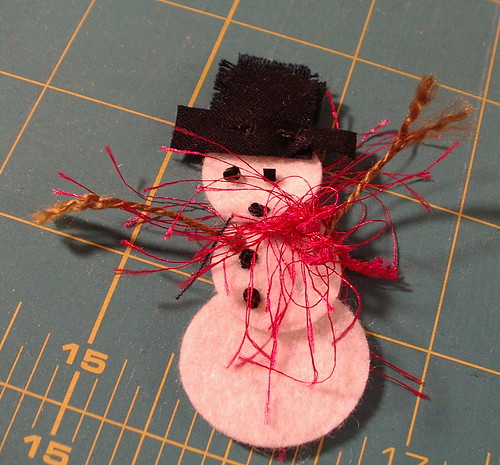
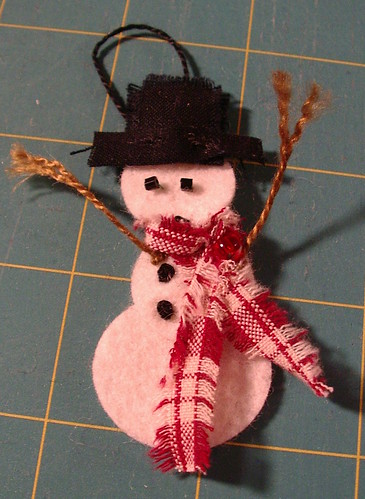
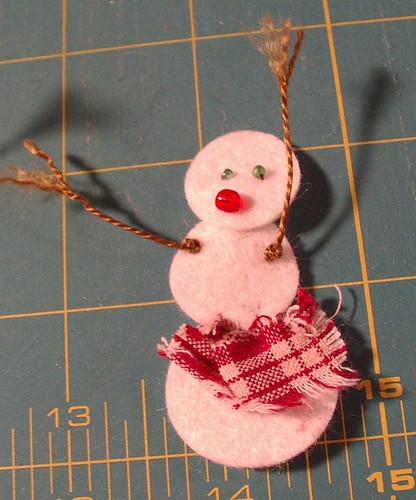
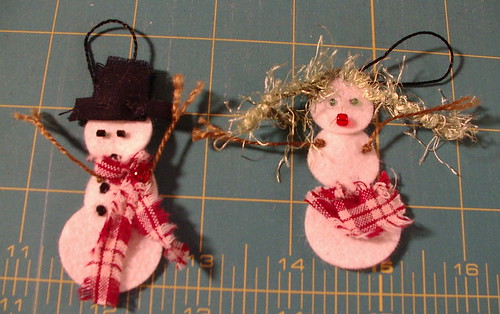
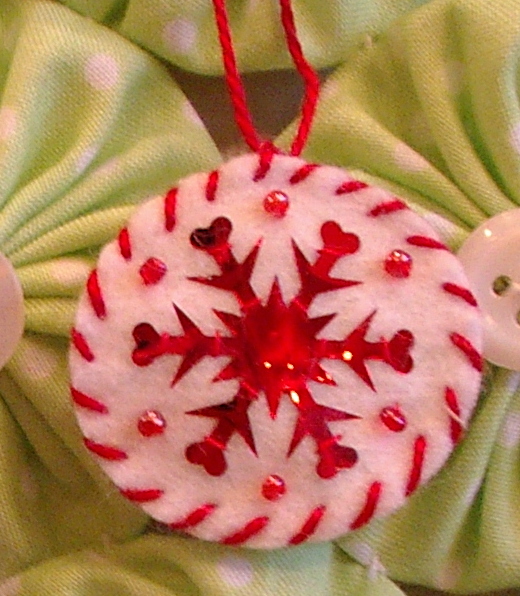
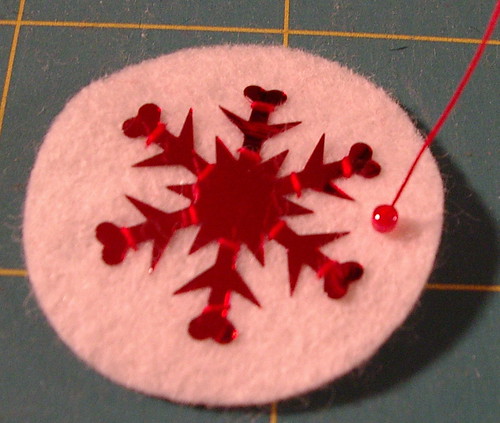
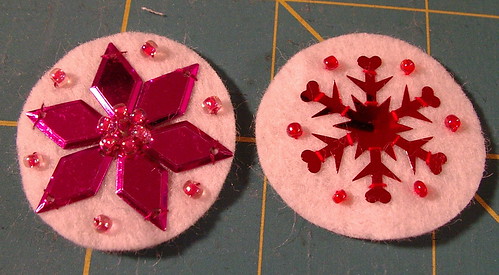
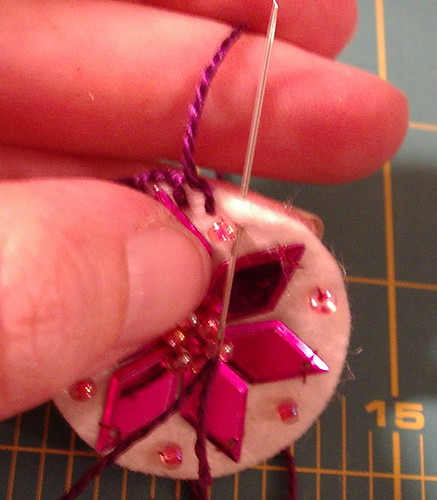
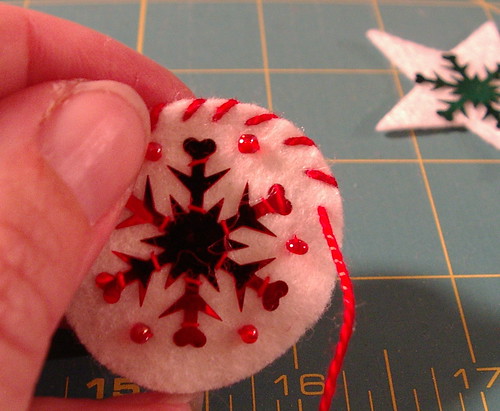
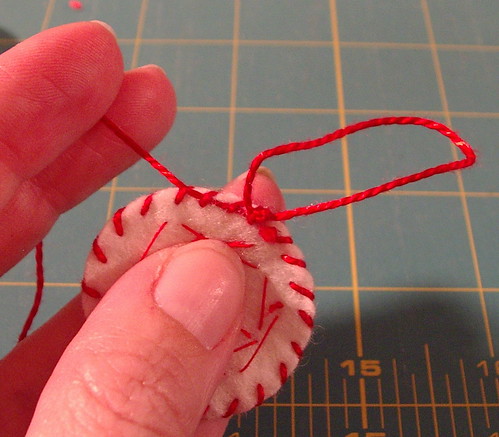
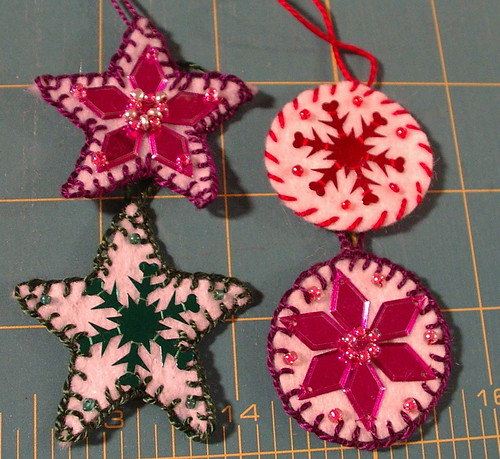
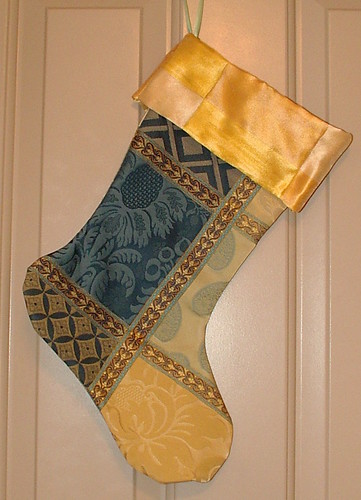
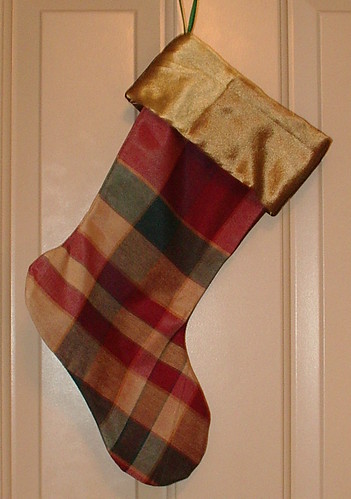
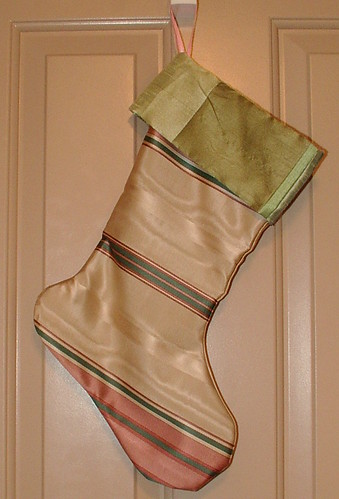
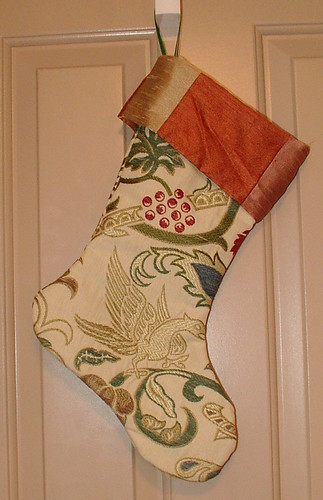
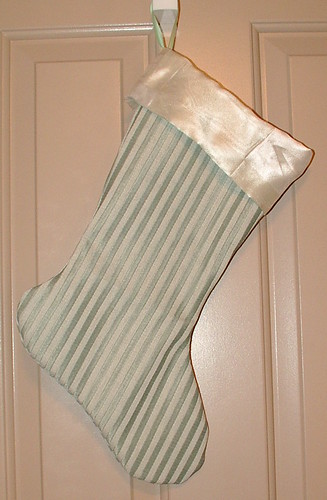
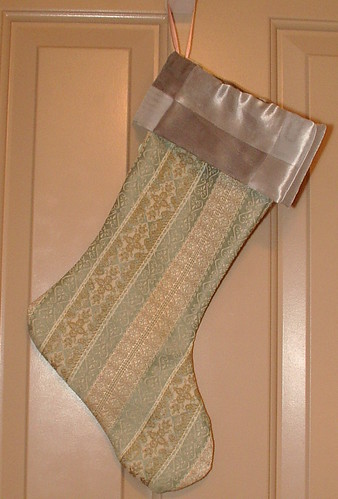
This is on the door of my sewing room. I was home from church on Sunday with two sick kids, one who has been sick since Monday at 5 a.m. the other just for a little bit (I think indigestion or something fleeting like that). The first I am thinking this is her last day of being sick; no fevers today, just a cough and a runny nose. Cross my fingers; sleep would be good after a week of being kicked at night and woken up for water, medicine, and socked in the mouth a few times while asleep. Yep, she wakes up scared from the fevers and comes out swinging. She has quite the hook on her; I have the fat lip to prove it. She apologized so many times when she was awake, but I told her it was OK because how can you be grumpy at a person who does something in their sleep, and doesn't know they are doing it, and is sick? I just can't. Anyway back to the topic: I wanted to write about socks, the type you hang by the fireplace, not the type you get in the middle of the night from a sick six year old.
boy sock  5

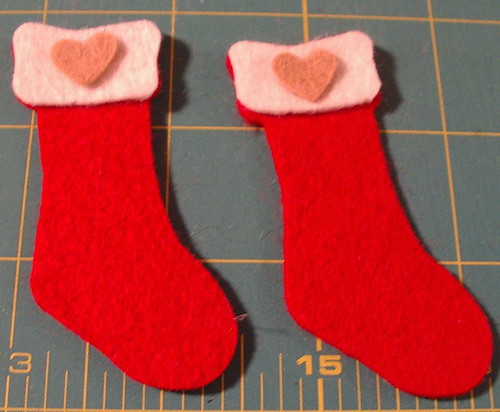
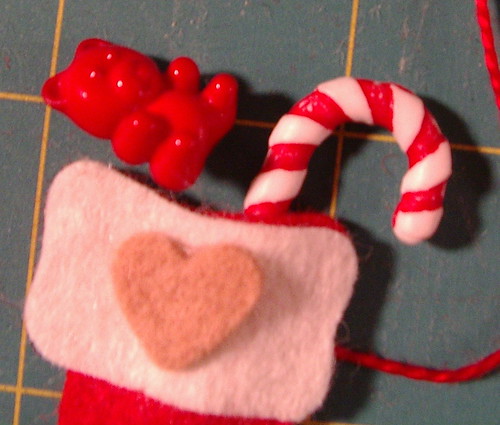
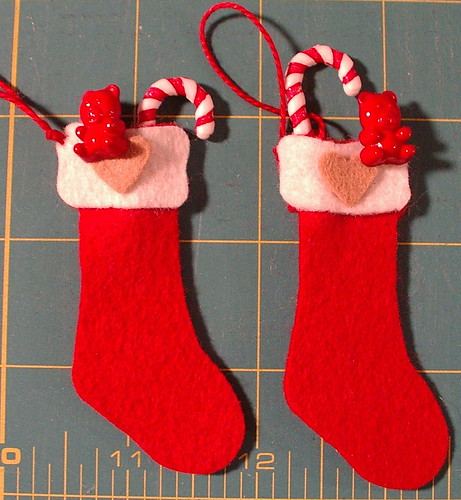
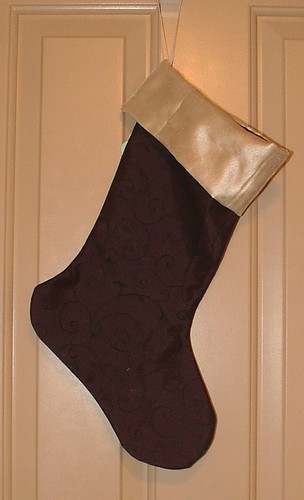
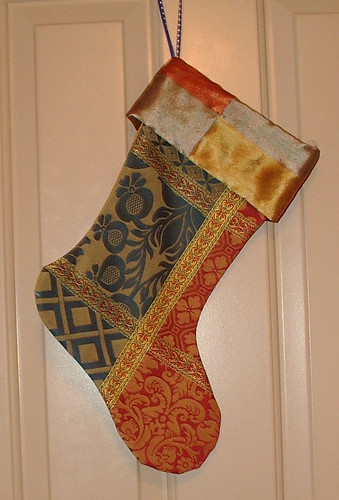
I have been trying to figure out what to get, make, my husband's older sister and her family (I don't think they read this blog, I think the other siblings do on occasion). Anyway, I remembered an old promise (10 + years old) that when they where done having kids I would make them all Christmas socks. Well, she is pregnant and said she was done two babies ago. So I figured I best just make those socks and add as needed. Counting bun in the oven, there are a total of eight in that family. So I got out my fabric samples from upholstery store books and got to making some socks. Eight in one day! I thought it would take much longer than it did; I hope they like them. There are only two females in the family, so the rest are for boys; I hope at least six look boyish, or at least passable for a boy.
boy sock 4boy sock 3boy sock 2
girl sock
dad sock
boy sock 1
mom sock

What does the antique baby dress have to do with this post? Nothing; it is just what hangs on my sewing room door when I am not taking photos and using the hook it hangs on.

I'm still having lighting issues in my sewing room. My husband and I think it is because of the color of the room. It is a bonus room above our garage, and the ceilings are slanted and lower than in the other rooms. So all the light in there is bouncing off of this color on the walls that has a pink under-color; thus all my pictures right now have a pink cast to them. I am going to have to make a small white room or something to take photos in so I can correct that problem or something because this is driving me crazy!

Embroidered Fairy / More Oya

Fairy I embroidered late Saturday night for a swap. Skin, wings and branch use size 30 crochet thread; rest is size 5 embroidery thread. I was experimenting with thickness of thread for depth and softness. Don't know if it worked well.

More Oya links:
The first one actually shows the knot stitch up close for a second ,and you can replay that part to learn it. The second is eye candy.

Here is a link to all the Oya posts I have done in case you want to see what has or has not been found on the subject.

Saturday, November 24, 2007

Part 7: Advent Calendar Red Beaded Icicle Ornaments

hung

Supplies:
  • soutache braid or thin ribbon
  • 5 beads to match ribbon
  • needle
  • embroidery thread
  • fray check
Order of events:
  1. Make loop in embroidery thread for hanger tie knot.
  2. String in this order: bead, braid, bead, braid, bead, braid, bead, braid, bead.
  3. Cut braid; use fray check for both ends of braid.
  4. Knot & trim thread.
hung

Part 6: Advent Calender Button YOYO Ornamnet

hung on tree
Supplies:
  • button (I used vintage buttons)
  • small yoyo (use what ever you want for the template)
  • needle
  • embroidery thread to sew and use as hanger
  • scissors
  • sewing thread
Order of events:
  1. Make yoyo.
  2. Tie knot in embroidery thread; pass through center of yoyo and back again.
  3. Thread button and stitch on; go through yoyo and button two or three times. Finish with needle on back of work.
  4. Insert needle into yoyo; come out edge of yoyo.
  5. Make loop for hanger; tie off.
  6. Take needle back into yoyo and cut off.
finished

Because I don't like to post on Sunday, I will post another ornament late tonight for everyone.

Friday, November 23, 2007

More Oya

Photo from Barbara Blankenship's site; very lovely examples.
This came to me in an email from Maven.
"Kind of Oyas and Embroidery Technique" by Taciser ONUK, Publisher: T. Is Bankasi Cultural Publication, ISBN 975-458-008-01

Can be purchased here if someone wants one. I want one but can't read this to know how to order it, so I hope someone else enjoys it.

Still not having much luck finding more about this lace.

An online book, or parts of one.

A web site with a few pictures
In a minute ago has a post on Oya too.

Part 5: Advent Calendar Button Tree Ornaments

hanging on tree
Supplies:
  • 1 yellow button, small
  • 4 green buttons, from small to large
  • embroidery thread
  • 2 needles
  • scissors
  • 3 beads
  • fray check; optional
Order of events:
  1. Make loop in embroidery thread for hanger; thread needles on to the thread tails.
  2. String bead and yellow button (look at picture to see how this is done).
  3. Then string green buttons, from small to large (look at photo for how to do this).
  4. Take other needle, skip bead and thread through yellow button (see picture).
  5. Now, thread through the rest of the buttons, and string on last 2 beads; pass both needles through them (see picture).
  6. Tie knot to finish and hold thread on you can fray check, if you want.
button tree on tree

Thursday, November 22, 2007

Happy Thanksgiving


May your day be filled with loved ones!

Since my family will be in two different places today, we decided we would have cinnamon rolls for breakfast together. My husband and oldest two daughters will be at grandma's and the youngest and I will be at home. She is still recovering from being ill. So, if you and yours are split today, remember to later show them you are thankful for them.

Part 4: Advent Calendar : Candy Cane ornament

on advent tree
Here is an easy one even the little kids can make (with help from an adult with cutting implements).

Supplies:
  • Variegated pipe cleaner
  • Round item to wrap pipe cleaner around
  • Embroidery thread
  • Embellishments (sequins, ribbon, felt, bells whatever)
  • Something to cut pipe cleaner and embroidery thread
Order of events:
  1. Cut pipe cleaner about 2 to 2 1/4 inches long
  2. Bend around round item to form hook
  3. Cut and tie knot in embroidery thread to make hanger
  4. Add embellishments

Wednesday, November 21, 2007

Part 3: Advent Calender Drawing for Ornaments

I am going to do a drawing for one set of ornaments for the advent calendar at the end of all the tutorials. You will still have to make your own calendar hanging.

I will put all the people that comment on the advent calendar tutorials into the drawing; this includes the ornaments and the wall hanging posts. It also includes this post.

My kids will pick which ornaments we keep and which we send. You can enter once per Advent Calendar post. So this means you can enter each day, today there are two posts so you can enter twice for this day and once for yesterday and so on...

Please make sure I am able to get a hold of you at the end. In other words, I need a link of some sort, or an email address to contact the winner. If you don't leave that, I will pick a different winner: one I can get hold of.

Part 2: Advent Calendar: Holly Berries Ornamnet

holy berry ornament
Supplies:
  • Felt, green and red
  • Sequins or other embellishments if you don't want red felt berries
  • Pearl cotton embroidery thread or thread to your liking (colors I used : green:368 red:321)
  • Needle
  • Thimble, if you use one
  • Scissors
  • Optional punches / die cutter
Steps: (sorry; bad lighting in my sewing room I know, but that is how it is)
  1. Draw your leaves and cut out
  2. Use a hole punch to punch out berries (Hint: if you put paper on both sides of your felt, it will punch easier) (Sizzixs also has a die cut you can use that cuts berries and leaves, that is what I did)
  3. Embroider veins on leaves; I used a stem stitch.
  4. Arrange leaves on top of each other
  5. Sew on berries, either felt or sequins or small red jingle bells, beads etc... now. This will also be used to sew all the leaves together while you are stitching on the berries. I used a colonial knot to attach my sequins; you can also use a French knot, instead. The felt berries I just stitch with a single stitch straight up and then down with a little bit of fabric in between the stitches.
  6. Attach hanger to back; I used my red pearl cotton thread to do this.
For other parts of this serious Advent Calendar, go here. I also think this would be cute to use on a baby's first Christmas set of booties, hat, or on a Christmas sock.
finished
If you find an ornament you don't like or can't make, just make two of one of the other ones. I don't think it will matter if you have more of one ornament than another. Or, just skip one all together.

Tuesday, November 20, 2007

Part 1: How to Make a yoyo Advent Calender

This is the start of a continuing tutorial. This will show you how to make the wall hanging part of the calendar. Then, each day I will post how to make one or more ornaments to hang on the tree 'till I have 25. This way you can make it, too. (Above photo is after star, prior to buttons)

Supplies:

  • Green fabrics (you can use 1 or lots of green fabrics, I choose solid for the tree and variety for the ground) 42 green yoyos tree, 25 green yoyos ground = total 67 green yoyos
  • White fabrics (you can use 1 or lots of white fabrics) ( I used recycled 100% cotton, from my husband's outgrown Sunday shirts, 2 of them) 86 white yoyos
  • Red fabrics (you can use 1 or lots of red fabrics, I used lots of varieties) 67 red yoyos
  • Brown fabric enough for 1 yoyo
  • Yellow fabric enough for 1 yoyo for star (I used the small clover flower maker to make my star)
  • Standard cd to use as template
  • Thread
  • Needle
  • Scissors
  • Thimble (if you use one)
  • Pencil, optional (for tracing around cd; I don't do this, but some might)
  • Optional small clover flower maker to use in making the star. You can also just buy a star at a store and sew it on instead of making one.
  • 2- 4 cabone rings ( or other type of ring to use as a hanger)
  • Dowel or other straight item for strength when hanging
  • Bias tape
  • 67 buttons (I used mother-of-pearl, but you can use whatever you want)
Photo to upper right is what the back looks like.

Order of events:
  • Make round yoyos and yoyo star
  • Lay them out in the pattern (shown below in this post)
  • Stitch together in six format, not the 4
  • Add star at top of tree
  • Stitch a button on every green yoyo
  • Stitch on cabone rings (or other hanger item) on back of wall hanging on top row of yoyos; covered by bias tape
  • Stitch dowel (or other straight item) to top back of quilt to help prevent sagging from weight; covered by bias tape
There are 21 rows in this wall hanging.
  1. 11 red
  2. 1 red 8 white 1 red
  3. 1 red 4 white 1 green 4 white 1 red
  4. 1 red 3 white 2 green 3 white 1 red
  5. 1 red 3 white 3 green 3 white 1 red
  6. 1 red 3 white 2 green 3 white 1 red
  7. 1 red 3 white 3 green 3 white 1 red
  8. 1 red 2 white 4 green 2 white 1 red
  9. 1 red 3 white 3 green 3 white 1 red
  10. 1 red 2 white 4 green 2 white 1 red
  11. 1 red 2 white 5 green 2 white 1 red
  12. 1 red 2 white 4 green 2 white 1 red
  13. 1 red 2 white 5 green 2 white 1 red
  14. 1 red 1 white 6 green 1 white 1 red
  15. 1 red 4 white 1 brown 4 white 1 red
  16. 1 red 2 white 4 red 2 white 1 red
  17. 1 red 3 white 3 red 3 white 1 red
  18. 1 red 8 green 1 red
  19. 1 red 9 green 1 red
  20. 1 red 8 green 1 red
  21. 11 red
Stitch all yoyos together and hand stitch star at top of tree. You can do this same type of pattern with English paper pieced hexagons. If you want to use this other technique, go here; there is a tutorial.

Add front embellishments like the star and buttons now. The buttons are for holding the ornaments on the tree. They are also to hold the ornaments on the bottom ground area 'till they are moved up. There are more buttons on the tree than on the ground so you can have more of a choice where to place them.

Stitch two to four cabone rings (or other hanging devises -- I used metal belt loops because that is what I had on hand) on top row for hanging purposes. Use four if you don't use a dowel for strength and to keep quilt from sagging. Once stitched on, cover stitches with bias tape, too, just like the dowel.

12 step program

Monday, November 19, 2007

103.2

Yes, that is the temperature on the thermometer. So much for visiting my grandmother for Thanksgiving in California. I just couldn't put my butterfly girl through that; not with this temperature. So much for visiting family here, either. At either Thanksgiving event there will be great-grandparents who are over 93, so a temp like this could kill them. So my little bug and I are just going to stay home and watch movies that day. Maybe work on a few projects too.

Happy Early Thanksgiving!


Happy Thanksgiving!
Or as my Aunt would say, Happy Turkey Day!
What are you thankful for today?
video

Saturday, November 17, 2007

WIPs/ Part 0 : ?

crazy nine patch in progress
Here are a few things I am currently working on. One is a crazy nine patch that I was in swap for the blocks.

The other is the start of a project that I plan on putting on this site with instructions of how to make one for yourself. An advent calender; you are looking at the back of it in this photo.

Friday, November 16, 2007

Small knitting machines

I was asked what types of knitting machines I have. So, here they are going from small to large in size.

knitting machines


  1. The Mattel knitting machine. Where to find: anywhere from thrift stores, garage sales, to your attic to on eBay. There might be a new version of this, too, I don't know. I use it to make boa scarves; actually my oldest daughter does the most, but I use it, too. It makes tube panels only. I also use this to make knitted yoyos for fuzzy brooches.
  2. Next size is the Addi-express; I bought the last one from Heindselman's in Provo, Utah. I don't know where else they are sold; probably on the Internet somewhere. This makes flat or tube panels; it is a sock-size machine. It also makes wide boa scarves.
  3. The largest size can be found at hobby lobby. This machine is called Innovations, and it makes hats in tube form, or you can make flat panels as well.
I have never had much luck with the flat panel part of the machines. I hope to practice that more and see if I can make a knitted skirt out of a funky novelty yarn. Right now I can't get the last set of stitches on either end to stay consistent. So I cannot recommend that part of the machines because I do not know how well it works. Also the Innovations machine is the pickiest out of the three machines. When the engineers designed it they made the needles (hooks) in multiple pieces which makes the yarn get hung up on it easily. The other two machines don't have that problem because they are made from a single-cast needle.

Thursday, November 15, 2007

Crayon Art in Quilts

This was a question asked on flickr, though others might have it too. There is a note on this photo on flickr that reads crayon art right over the two tree drawings. So here is the explanation.
-------------
Santo Pano Patchwork says:
Crayon Art ? How does it work ? Fabiana.

Sunshine said:
This can be done a few ways

  1. Color on paper; lay paper on top of fabric and iron. Have paper towels between iron and paper so excess wax doesn't transfer to iron. (Image will be reversed; remember when writing words and things that have to face a certain way)
  2. You can color straight to the fabric then iron to heat-set pigment; again have paper towels between work iron to absorb excess wax (best to use high-quality crayons for either way because you have more pigment and less wax).

Santo Pano Patchwork says:
Thanks for the tip, I've already tried and it has worked perfectly. I've got a good result, from my first time with this technic, I'll try to improve next time.
Thanks again for being so kind.
With my best wishes.
Fabiana