
Steps:
1. 3 fabrics cut into 13 inch squares stacked on top of each other.
 2. First two cuts
 3. Third and fourth cuts (none of these cuts are measured; they are random in width)
 4. Fifth and sixth cut
 5. Seventh and eighth cut
 6. Take top center piece and place on bottom of stack
 7. Take bottom pieces of middle row and place on top of stack
 8. Take middle pieces to machine and keep them lined up in order so you don't forget orientation
 9. Iron pieces and take back to original layout and make sure you have layout correct
 10. Repeat step 8 and 9. Do not true up at this time; do trim ears at this time
 11. Repeat step 8 and 9. Do trim off ears at this time; do not true up
 12. Take back to original block and make sure you have directions correct. Repeat step 11; cut off ears and true up now

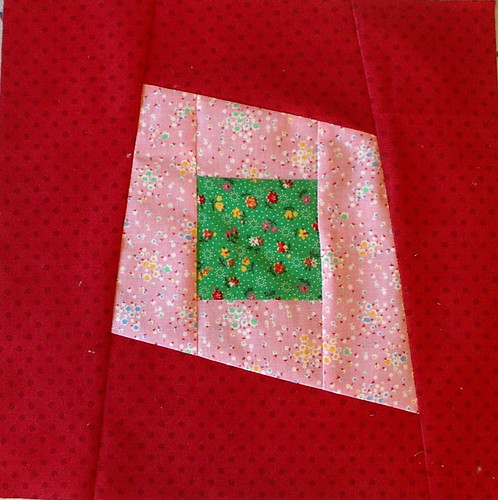
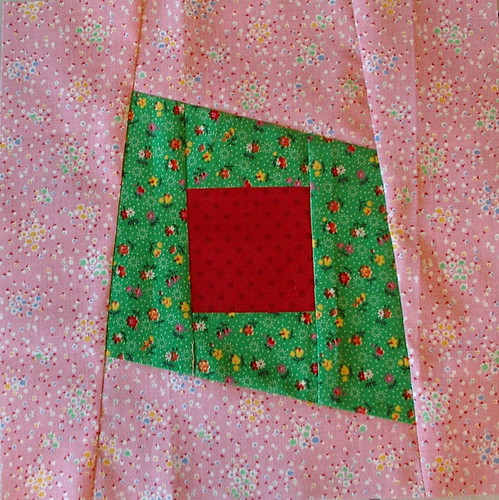
 2 more finished blocks, plus the one at the start of this post.
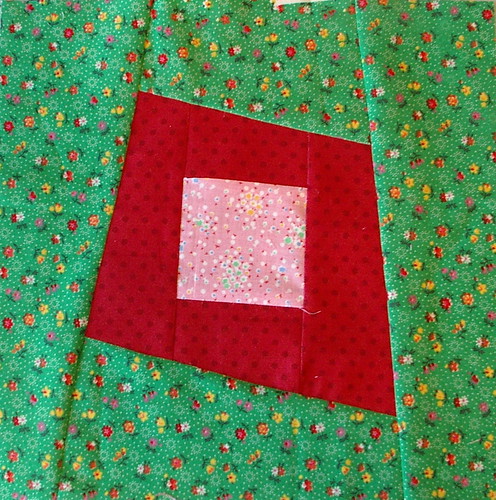
DO NOT USE THIS PATTERN TO MAKE THINGS TO SELL FOR PERSONAL USE ONLY!!!!

I never realised cutting for patchwork squares could be so "freeform" before. I've saved your post so I can try it :)
ReplyDeleteThis is really cute and you made it look so easy . I will definately have to give this one a go . Thanks much for the how to :)
ReplyDelete