[google6a7b7d93c7100df5.html] Sunshine's Creations.Vintage Threads Inc.com: February 2017

friends and followers

If you like my blog and the free patterns and tutorials and want to say thank you
I have a wish list on ravelry of patterns (click here)
I would like to make.
Thank you in advance for being kind and saying thank you back.

Love Sunshine

Search This Blog

Monday, February 20, 2017

Making items for a dance


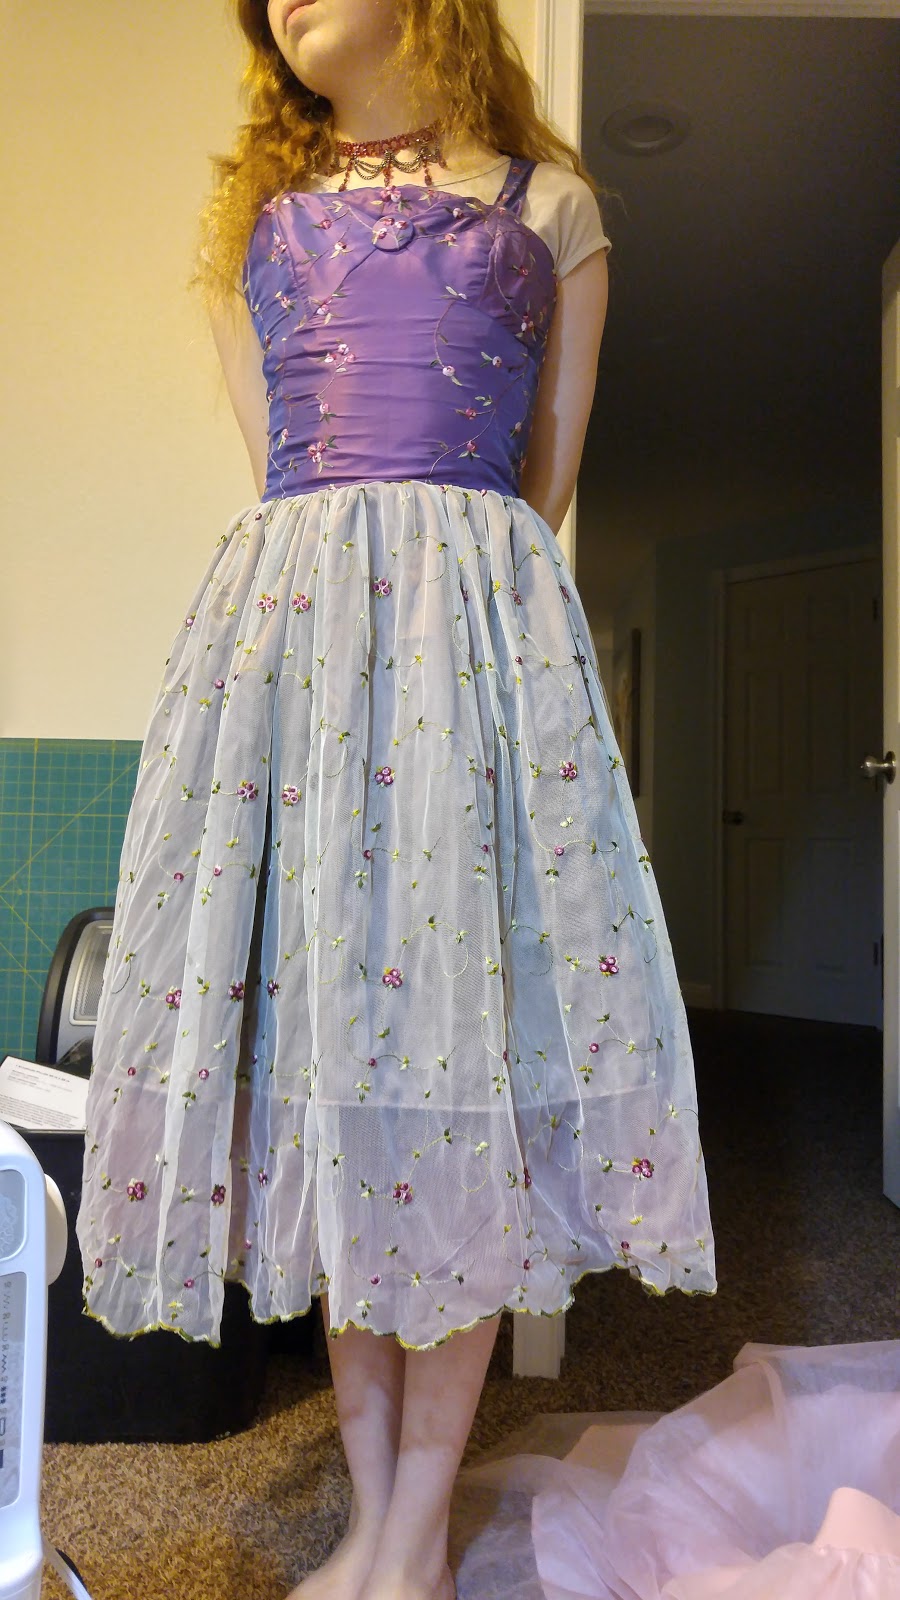
So I go junking a lot at thrift shops and garage sales the fabric in this dress is a mixture of a 2 year olds dress the purple skirt part that I cut apart for the bodice and a embroidered cream lace curtain I used for the skirt.  The pink was gifted to me for the jacket and the brown under skirt and cream lining are just scrapes I had.

I made some buttons for the dress and the jacket.  This was just made out of the fabric scrapes from cutting out the bodice.  I  fussy cut the scrapes to center the flowers on the button
The button loops are just a crochet chain of 20,  I should have made them 15 in retrospect.

 This is the dress when it was quickly pinned on my dress form.  This is a dress that you can not buy the pattern for.  You might be able to find something similar.  But this pattern is one we draped and drafted.
 This is the dress still under construction while having the jacket half made.  Originally I wanted the buttons on the back of the jacket but after some modifications to the pattern I flipped the jacket piece around and put them on the front.
 Daughter trying on the dress  was still working out some kinks in the dress.  This dress is fully boned.


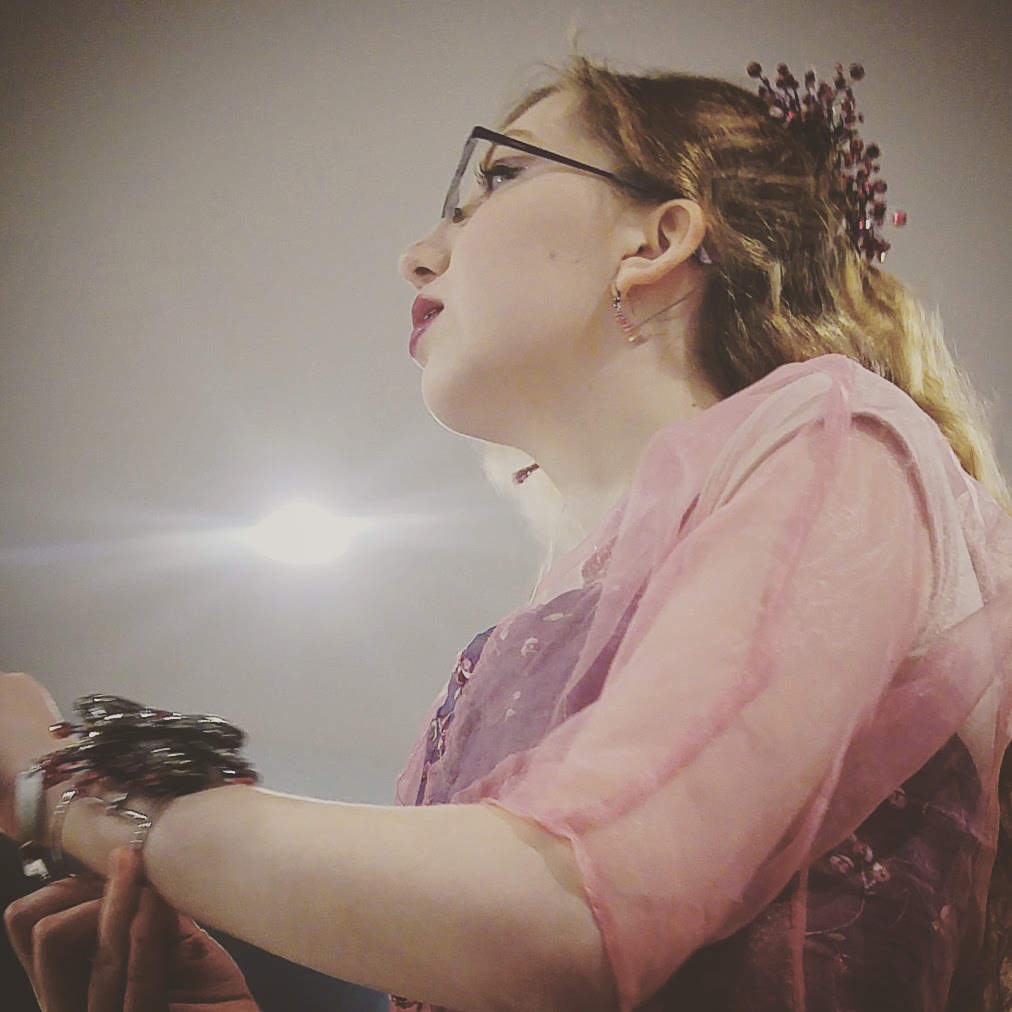
 Here is the dress done with some of the accessories she and her sisters made to go with the dress.

 Here is my daughter Starr working on making the neck lace you can see in the above and below photos.

My oldest daughter China made these Hair pieces for her to wear to the dance.


 These are the matching earrings China made for Starr.
This is the corsage that all three of my daughters worke don together to match the outfit.


Below is the Necklace that Starr made for her younger sister to wear to the dance.
 This is the matching earrings.
 Starr made her younger sister a corsage and hair piece to wear with her dress.  Her dress I didn't have to make as I found it thrift shopping for 15 dollars.

 
 sorry blurry photo


 My kids don't wear shoes in the house she had red shoes to go to the dance in that match the flowers on the dress.

More faux paiting Marble

This is a faux marble painting I did as a sample in scenic painting.  So this  how it started out a layer of white and then splotches of yellow and orange dabbed on and then blotted.  You have to mist the white paint after it is totally dry then work the yellow and orange in wet on wet to do this layer.
Next you charcoal in cut lines then using yellow and orange paint again draw in some veins they should be a little jagged as they represent the cracking mud does on a lake that fills in with the next layer of sediment to create the veins in marble as it is a metamorphic rock.  The cracks need to stop at the cut c lines you made with the charcoal.  that way it has the illusion of cut pieces of marble assembled together. dry paint

Some how I skipped the next step which was to charcoal in the inner frame lines for the curved marble and painting with black and white to add depth to the piece in the marble veining. dry paint

After that step using medium and dark orange and yellow you shade the areas to be rounded with light coming from upper right corner. right and top of molding are yellow bottom and left of molding is dark orange and center on all of them is the medium orange color this is worked wet on wet  to make a blending effect and roundness to the work.  then paint in on the left  and bottom with black on the cut line and paint on the right and top with white on the cut lines for shadows and highlights.

with bright light and low light of the set/scenic shop.
Our teacher is Stephen Purdy  aka steve purdy who worked on such movies like breakfast club and series like murder she wrote and such.


Friday, February 10, 2017

More Scenic Painting

Stage one A base coat of a warm color followed by drawing in cut lines. then you paint with in these lines with a thinned out paint with no white medium in it. using a rag or a brush form wood graining I wanted tiger wood.
next you draw in the charcoal cut lines and paint in some wood graining using yellow and black.  Keeping all graining with in the cut line drawing areas

 Next is the highlight and shadow and painting black on the cut lines and white on the cut line highlights,  the highlight is a thin yellow and the shadow is a thinned purplish black color

This is meant to look like tiger wood panel the teacher picked the yellow for the highlight for me it is to bright But you can see the different stages it went through.

I am trying to document this class as it is all hands on no books and no hand outs you just have to memorize how to do things.  So this is going to be my refresher course in years to come as to how to do something.

 this is plaster Quoin and beveled marble  There are several steps to this one.  You can see just a few of them in these photos.

Sorry bad photo but the orange is yellow orange and a dark orange mixed to look like a plastered wall .   The gray area was taped off when doing the orange area and visa versa when painting the gray allowed to dry between these steps the gray is actually three colors dark and medium gray and a whitish color starting with darkest colors first and going to lighter the reverse was true with the plaster.
 
 Next we charcoles inthe quions and their beveled edges
 Next paint in the highlight and shadow light upper right corner
Paint in mud lines between quoins using a piece of molding as a raised edge so we don't have paint running under a ruler.
paint in cut lines top right white bottom left black

 
lastly paint in shadows remembering that the light is coming from the upper right corner and the edges have angles
 

Making costumes at work

Yep a small sample of what I do at work. Sew like crazy on industrial machines.  These are parts of costumes for the play In the Time of Trolls.
the sand cape of one of the winds and the flower cape of another wind and the start of winter cape for another wind... there are four wind capes in this show.  When they are completely done all four will lite up.
The hat in the back ground that is yellow we made and embroidered on the embroidery machine at work not in that order. Above are two of the four wind capes being made this show all for will light up I am making 3 to 3 1/2 of them then the designer will light then up like the one below.
Yes that is me sewing in this photo...thanks to the designer of the show Carolyn.  I am working on the ribbon skirt for the troll princess in that photo. You can see the designers pin board in front of me as I was working on it.  The skirt itself you can see below and close up the detail of in other photo below that the skirt is  about 90 percent done I should finish it today.  The university came by yesterday to make a promotional video for this play.  Yep of all days to wear a  hat oh well...  May end up in that video either sewing or ironing or something that I have to do as I make this costume as they were just filming everything we were all doing and I was just trying to get the project done so I could go on to the next cape.

Tuesday, February 07, 2017

Irish crochet dress


My oldest daughter made another dress for her little cousin who will be born in a few months.  The first dress was for 0-3 months this one is for 3-6 mos.  She was surprised at how much more time it takes to make a dress that small with only a minor size change.

Once again it is size 10 thread and a hook size of 9.  She used light blue for the detailing of the roses and around the edges.

Copyright/permissions info

I like to share on this space my ideas and projects.
Please don't take ideas or photo and claim them as your work.
I am always happy to have new links to me.  So if you like something just link back to me and give the source some credit thanks.
Any questions? just ask. I am happy to work with you if you need something
Creative Commons License This work is licensed under a Creative Commons Attribution-Noncommercial-No Derivative Works 3.0 Unported License. 2006-2019 Copyright Vintage Threads Inc. All content and images.

LinkWithin

Related Posts Plugin for WordPress, Blogger...