[google6a7b7d93c7100df5.html] Sunshine's Creations.Vintage Threads Inc.com: June 2010

friends and followers

If you like my blog and the free patterns and tutorials and want to say thank you
I have a wish list on ravelry of patterns (click here)
I would like to make.
Thank you in advance for being kind and saying thank you back.

Love Sunshine

Search This Blog

Wednesday, June 30, 2010

Part 2a: repairs

front

I though my readers might like to go through this a little faster so I will try and post the dress/ slips and the repairs on the same day from now on.  If I have a reproduction ( my version of it) done on that item I will try and post it on the same-day too.  Otherwise you will have to wait on the reproductions.
back
This dress had the sleeves all torn and the button placket had a hole and there was a hole next to the button placket too.  Once again an ironing will do wonders for this.

Part 1a: repairs

front
Once again it needs an ironing but it is repaired the repairs will look better after the items are steam pressed.  Hopefully you can tell that the sleeves are no longer falling off nor is the collar or cuffs on the sleeves and the holes are closed.  The button placket is all fixed and so on.  This is the repairs on the dress from  part 1.
back

Part 3a: repaired

repaired

This dress is repaired and here is an unblurry photo of it. 

If you look close at the top photo at the bottom left of the photo you will notice one of the repairs on this dress.  It is L shaped.    Also if you look at the bottom photo there was a hole at the bottom of the button placket which is also repaired now.
back
 I have yet to iron these as I still have yet to find my iron from last years move.  Too much stuff still in storage. 

All repair posts will have the original post number such as this one was Part 3 and an letter to show sub class of that post.  All repairs posts will have the letter a, and all reproduction posts  will have the letter b  when I get around to making them.

Part 3: 1940s baby dress pink/blue details & tatting

dress

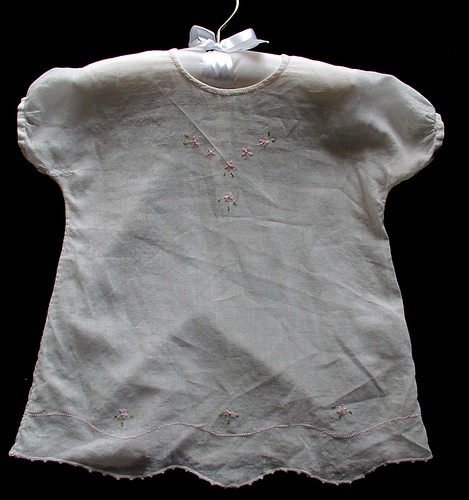
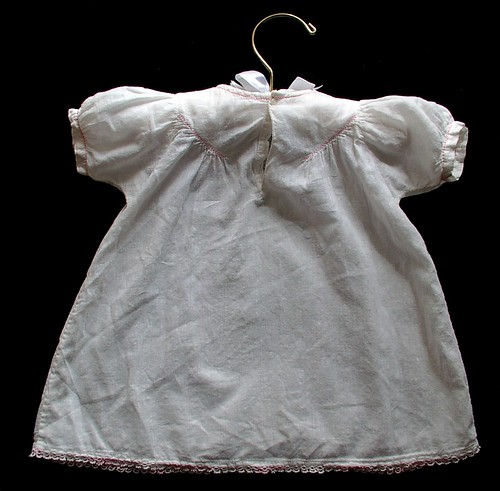
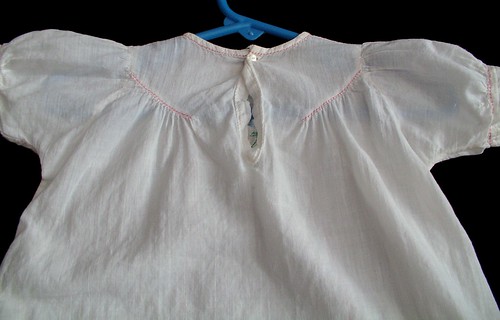
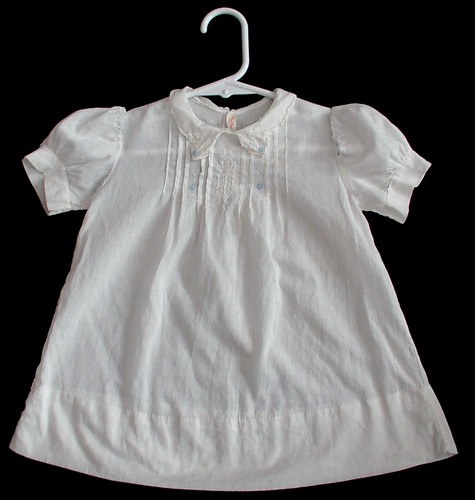
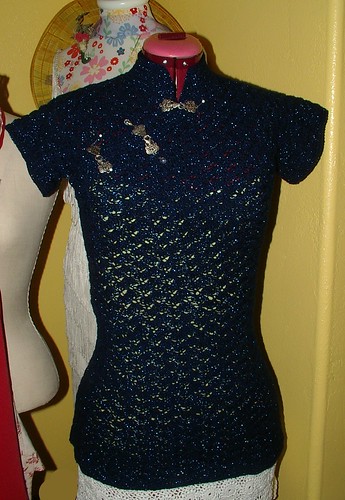
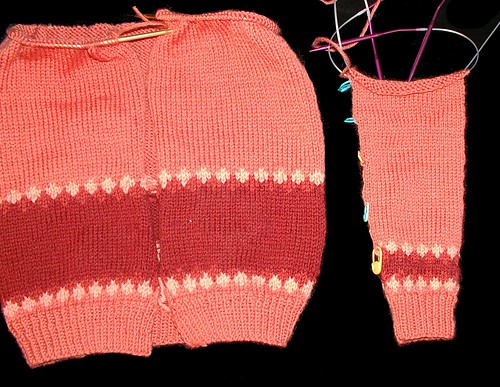
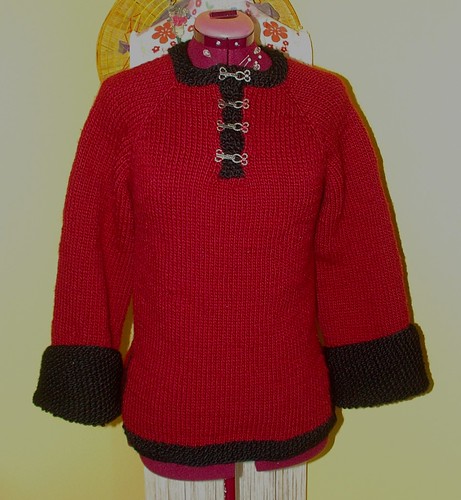
This little dress looks like it is made from a lot of pieces but upon inspection it is only really made from two that have some real cool  shapes to get this look.  There is one piece for the front and one for the back.  Sorry the first photo in this post is terrible I will take a new one and post it when I post the repair post so you can see it clearer.

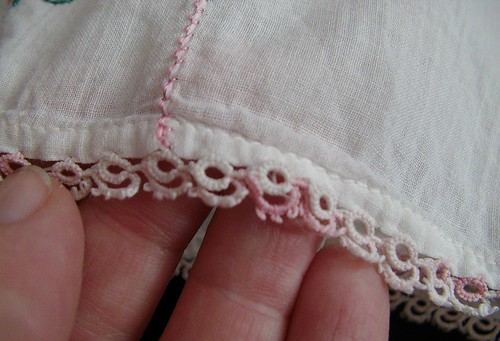
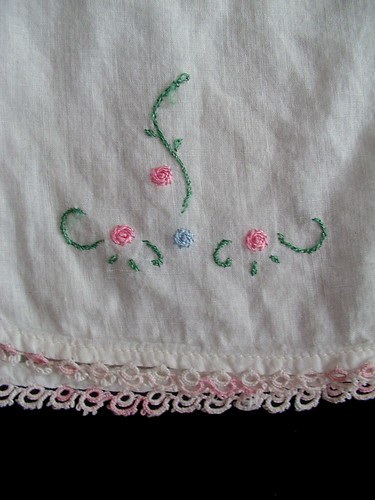
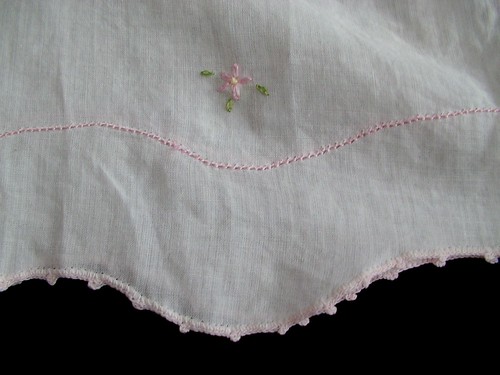
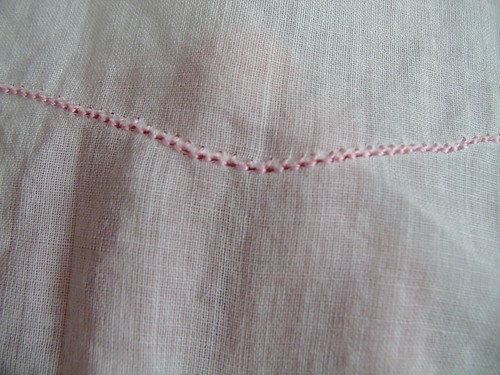
This piece has tatting on the bottom hem so when I reproduce this one I will reproduce the tatting as well.
tatting on hem
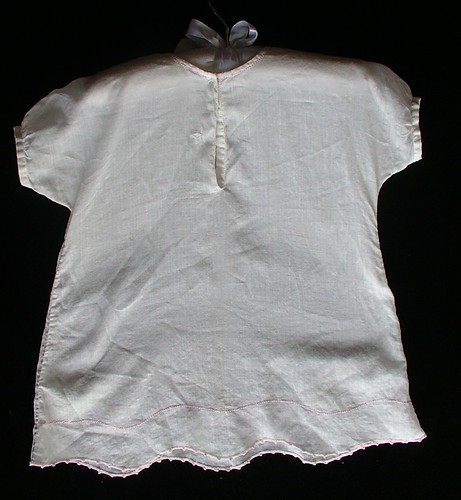
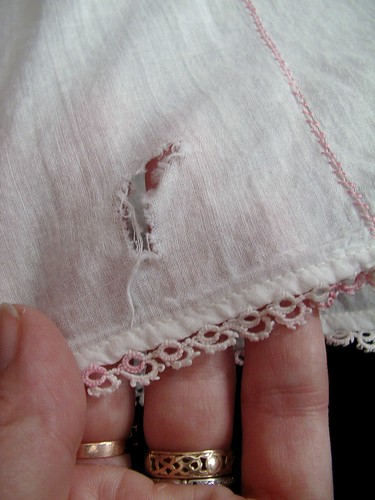
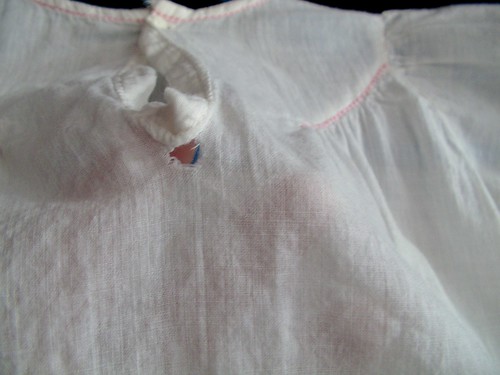
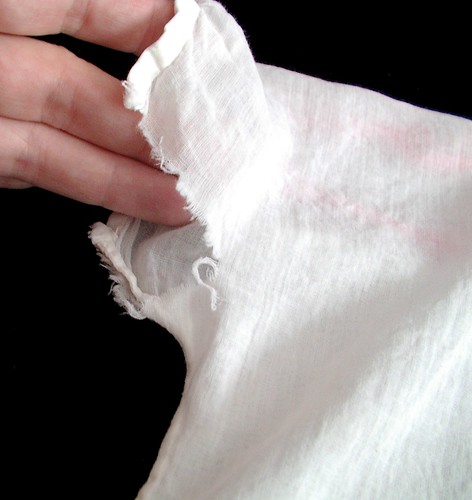
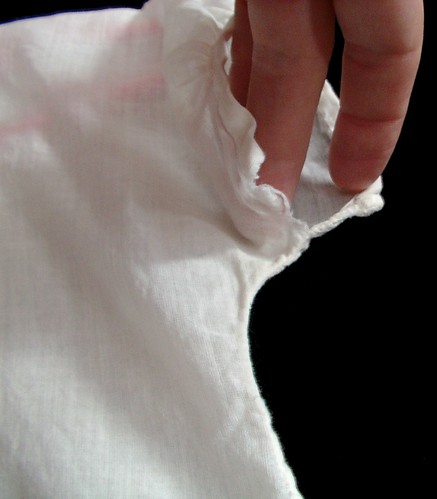
There is an L shaped rip near the hem on this dress that needed to be repaired.
hole and tatted edging
I am using 100 % Cotton batiste for the fabric which I use to reproduce these I bought the last 2 1/2 yards the store had to do this.  I do not think it will be enough so I was glad yesterday when a nice reader just happen to tell of a site on the Internet to get it.  It is in yesterdays comments if any one is interested.  Most of the embroidery will be rayon thread except the first that one will have dmc cotton thread I wanted to use floche but the store was out of the colors I needed for that one

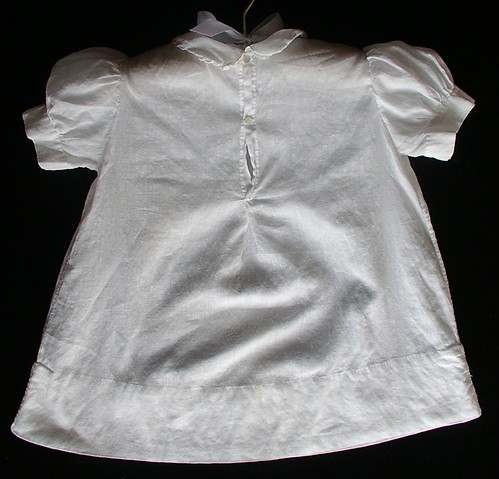
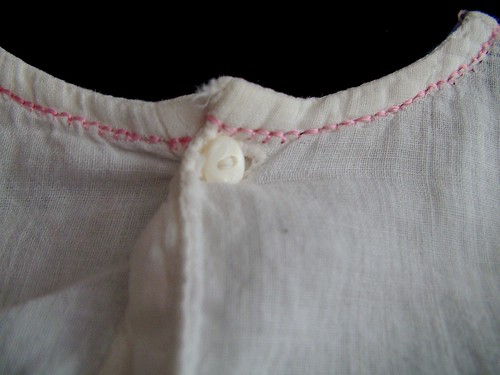
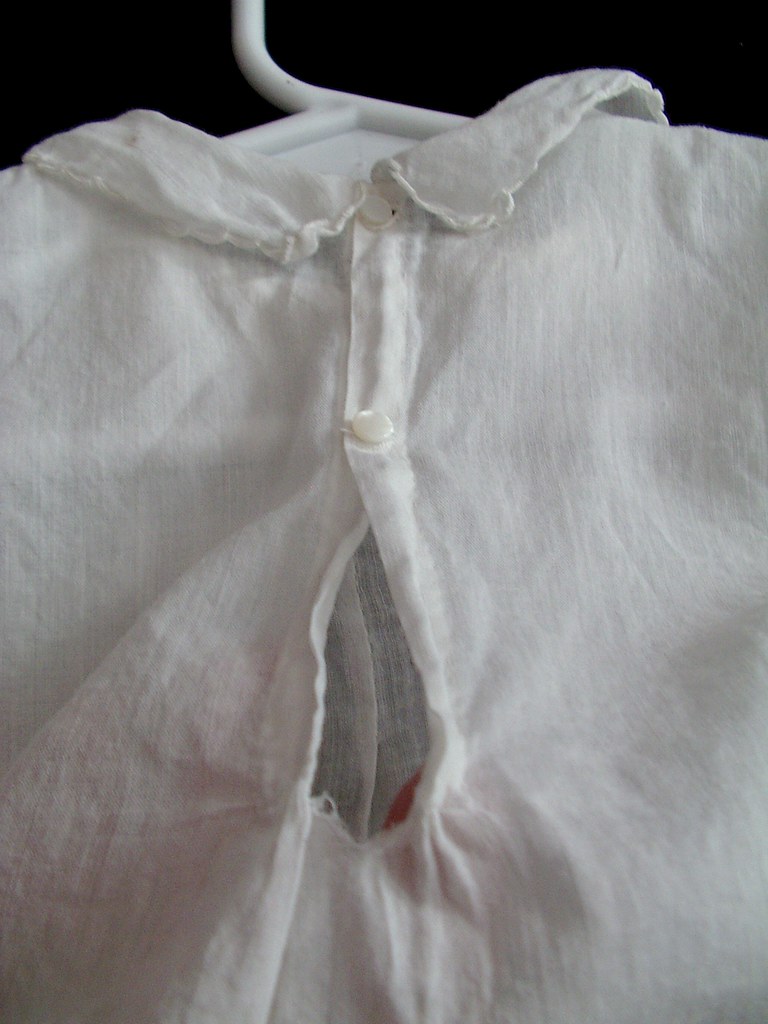
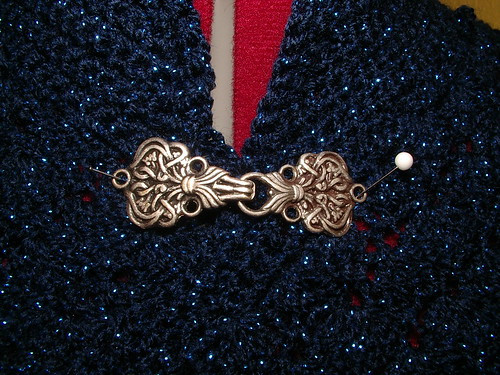
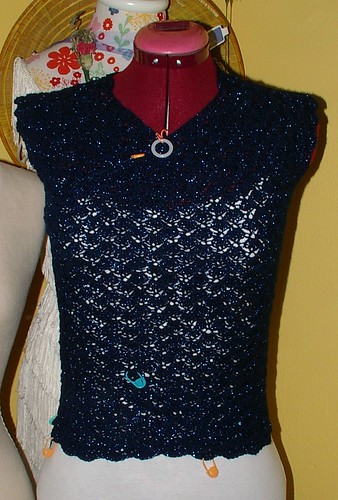
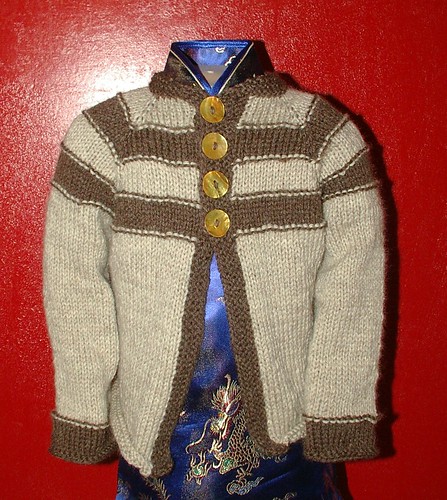
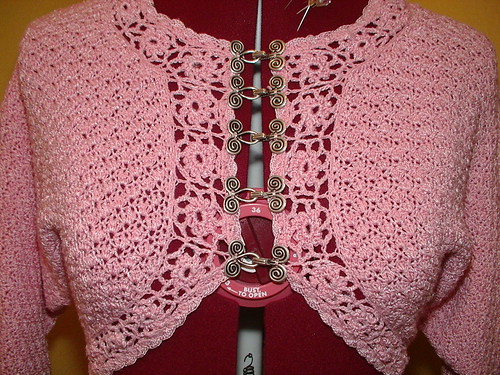
This is the only one that still had it's original button attached to it.
button closure ( original button) neck detail
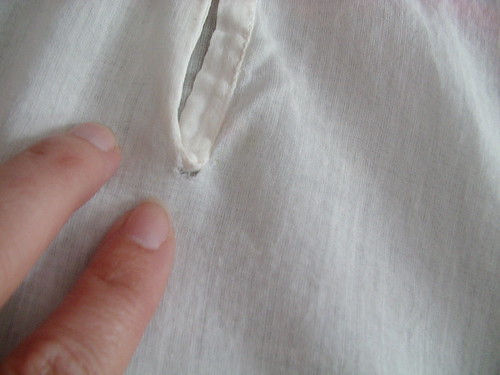
There is a hole at the bottom of this button placket.
whole at bottom of button placket

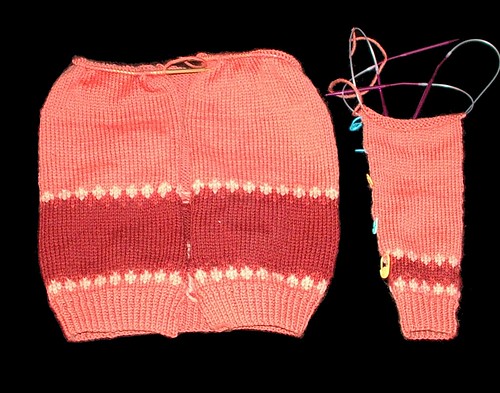
I have made patterns 4 out of the 6 little dresses and slips I am showing.  The last two are the hardest to pattern and this is one of those two the other was the first one I showed.  I have even gotten as far as making two of them up already.  Two slips that is which are easy because they didn't have embroidery on them and only edgings.  But progress all the same and the dresses have all their repairs.

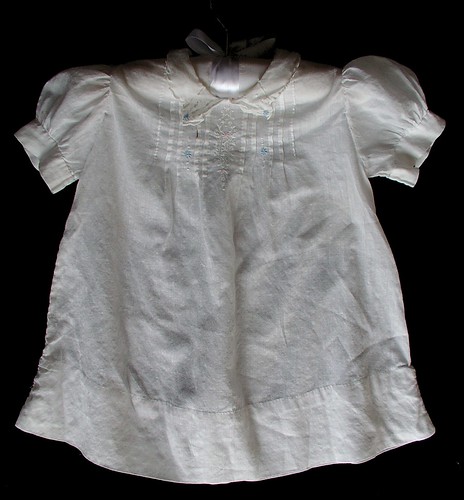
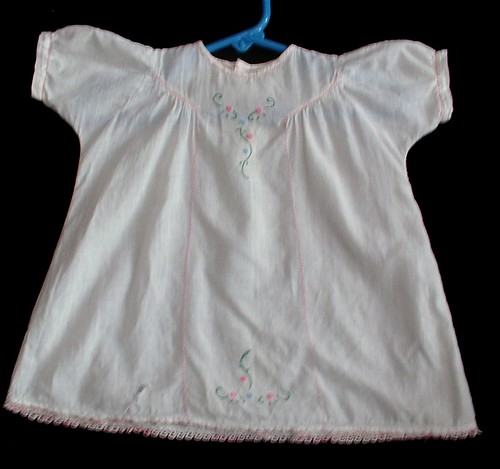
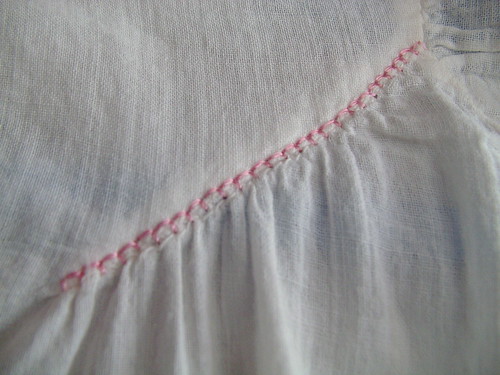
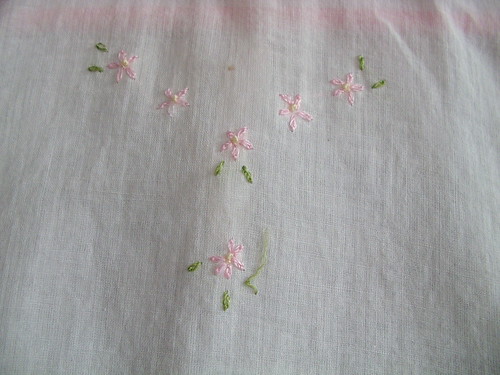
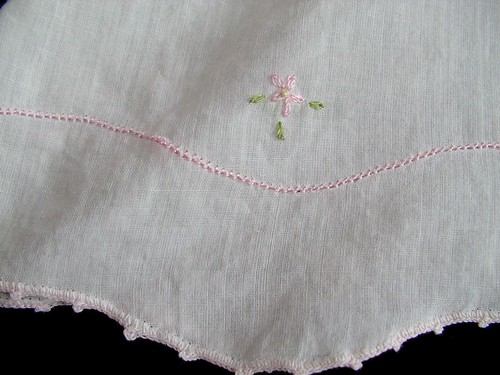
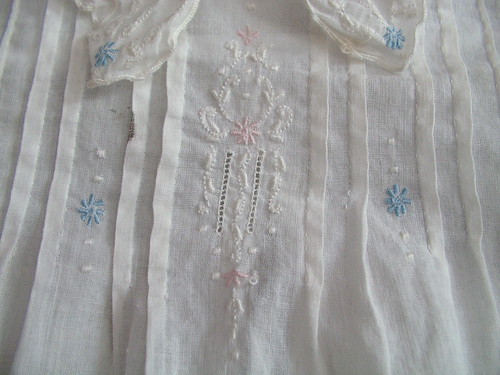
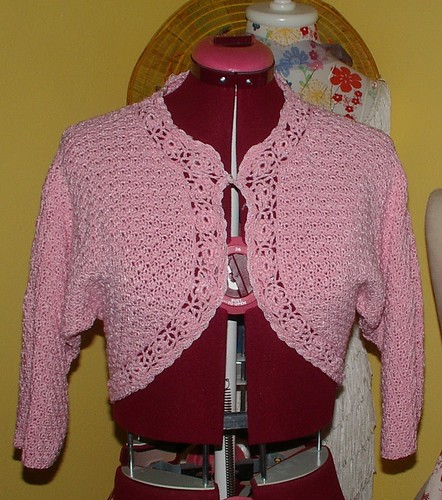
I love the little details that are all over this dress.
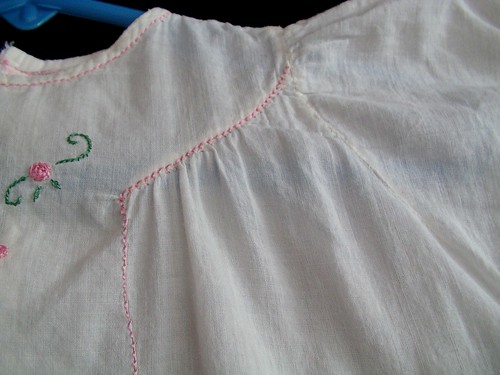
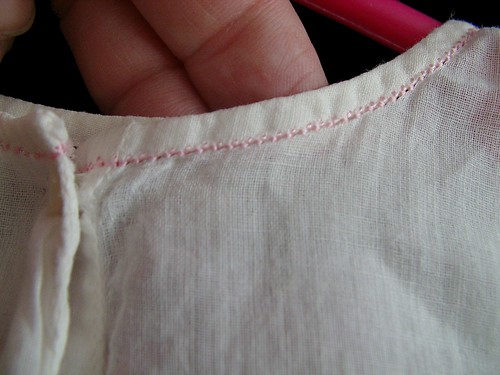
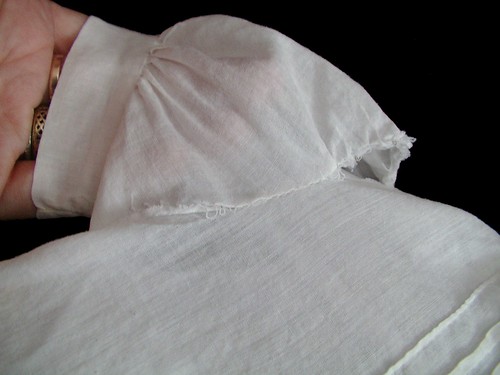
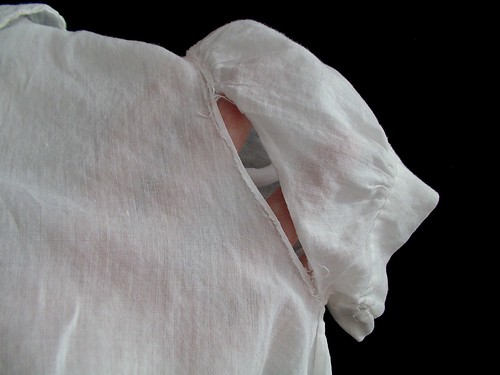
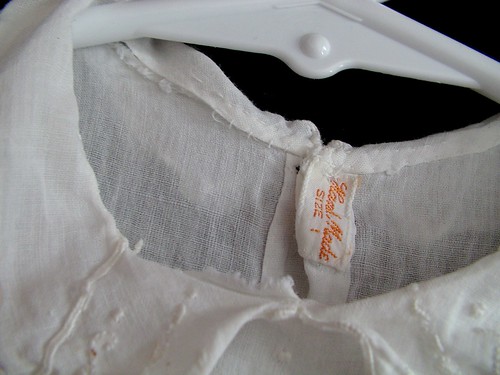
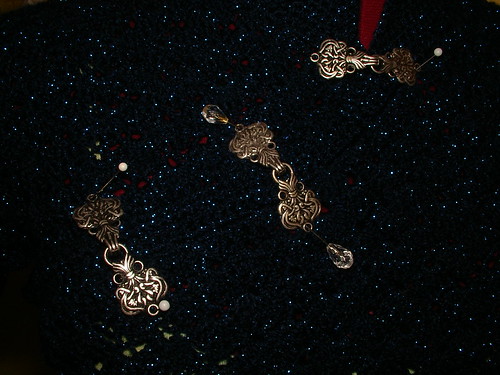
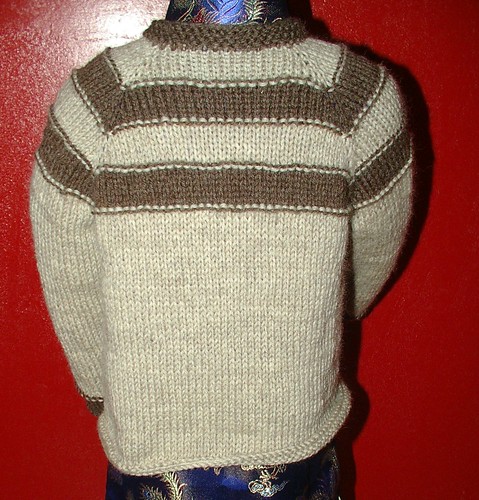
back yoke  and detail on seam
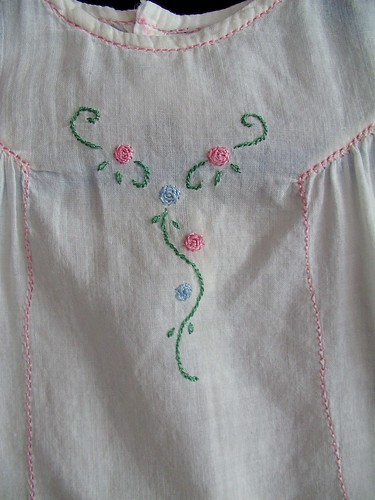
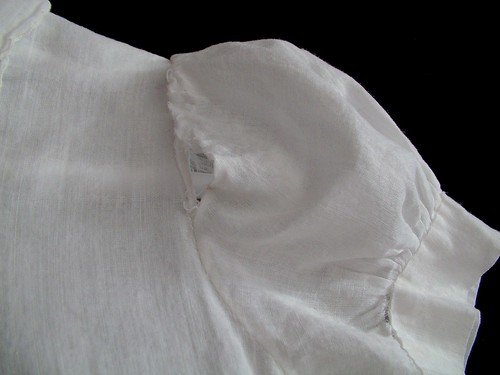
back button detailing

yoke shoulder detail
Front yoke detail
shoulder detail
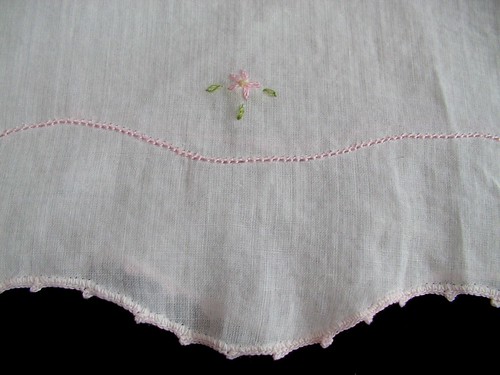
Embroidery on center front  yoke faux  panel and near the hem on the same faux panel detail.
yoke detail

center front hem
Another item has been found a sheet that also belonged to my Mother in law when she was a little baby.  It is so adorable I will post pictures of it too at the end of all the dresses and slips.

Tuesday, June 29, 2010

Part 2: 1940's baby dress pink details

dress

This dress is simple and sweet.  It is made from one piece of fabric folded over for the front and back.  Then there is the binding for the sleeves and neck/button placket.   It is amazing to me how sheer the fabric is and that so little damage was done to all of these dresses.  I mean think of 1 year old these days falling and playing and eating you would think these would have a ton more damage on them then they do such as ripped and  torn all over the hem, stained from food and grass and so on.

It has details of daisies around the neck and hem. 
yoke detail
I also love the detail of the little touch of pink at the neck to secure the folded over edge of the neck.
collar detail

As you can tell in the photos there is a picot crochet edging going around the bottom of the dress to finish the hem detailing.I love the simple little details of the pink going around the hem to match the collar.
third flower on hem1 of 3 flowers on hemsecond flower on hem
hem detail
The sleeves on this have received the most damage.
torn sleevetear on other sleeve

The other significant damage on this is at the center back at the bottom of the button placket.
tear at back on button placket.

Monday, June 28, 2010

Part 1: 1940s baby dress pink/blue details

dress

We have been gone for a while at two different family reunions.  I have seen more of the inside of a car than I care to think about lately.  At the last one some items were found that belonged to my mother-in-law when she was a baby.  There was 3 dresses and 3 slips.  I am repairing these and cleaning them so my children can have them and enjoy them too when they grow up and have kids of their own. Till then they are in my collection and I get to enjoy looking at them hanging in my sewing room. I have already cleaned them and sewed on antique mother of pearl buttons when I realized I had not taken photos yet.  So this is already into the repair process.  I will not be showing how to do repairs just the before and after photos as I didn't take any during the repairs.  Which I am almost done with now.  I also plan to sit down when I am done and make copies of these.  Might be fun to make patterns to sell from these if people are interested.  I will post one item a day except the last day.  So this will take 5 days to get through all of these.  I will in time show the copies I will make.  But I haven't even started that yet.
yet more sleeve damage

more sleeve damage
damaged sleeve
The sleeves on this dress are almost not on this dress anymore.  They had so many busted seams.  The good thing is that it is just thread damage meaning the fabric was fine.  So easy to fix.

This is the detail of the collar and the yoke embroidery.  The stain on the pin tucks didn't want to come out.  So it will stay of course.  All the embroidery on these dresses is hand done not machine made.  It is also executed very well.
yoke and collar
The collar is detailing from the garment as well.  I think the little tag someone put in is cute.
damaged collar
As I said I have already replaced the buttons on these because only one dress still had an original button all the rest had lost theirs.  So this does show the start of the repair on the button placket.  As you can see it is torn at the bottom of the placket which is an easy fix as well.  There is more damage than these photos show but you get the idea.
button closure and tear

Thursday, June 17, 2010

Blue China Doll

blue china doll 
sweater
The sweater is done except for the closures.  I will add them later this week. I have picked them out just don't have the time to sit and sew them in place.  Top photo has the flash to bright.
closuresclosures

Another UFO...

work in progress

That I am trying to finish.  I also left off with this one in February as well.  Hopefully it will get worked on some more in the near future (like the next two weeks)and be done for the fall as well.  Last you saw it I had part of the body done.  Now all the body is done to the underarm where it joins to the sleeves and I have  1/2 of one sleeve done.  I need to finish the first sleeve to the underarm and then start and finish the other to the same joining point  at the underarm.  Then the yoke and button band  So same as the other not much is left just got burned out on it.
photo 2 work in progress

Wednesday, June 16, 2010

Sapphire China Doll and morning sun

sapphire china doll

I few days ago I was straightening out my knitting crochet area and decided I was going to finish a few of my winter projects ie... the red sweater and I have a few more. 

I would like these done before summer is over so I can wear them next fall.  This one started back in February after I made a black version.  I probably only have about 1 to two days work to finish it. 

Is anyone else like this that you get so close to done that in 1 or 2 days it could be.  The catch is you have burn out on it, so it just doesn't happen.  Then months later when you find it again  you wonder "why didn't I just finish that in the first place I could have been wearing it". I worked on it for a little bit today will try to get it done some time in the next week if all goes as planned.  Top photo what it looked like this morning where I left off in February. and the second photo is as of tonight where it stands.  The color is more accurate in the top photo the second one the flash is to bright.
china doll

Also here is a picture of this mornings sunrise loved it this picture does not do it justice.  It was real dark rain clouds with the sun breaking through so pretty.
morning sunrise Jun 16

Monday, June 14, 2010

wrist warmers: free pattern

front

In this post my oldest daughter is making some fingerless gloves.  When she had finished them she had some wool left over that she didn't want.  So she traded me for some acrylic instead to make some Amigurumi dolls.  When my middle daughter saw the blue wool she wanted wrist warmers made from it not fingerless gloves.  So I did one then got busy and forgot all about this.  Yesterday will going through my unfinished knit projects I found this and figure well I can get that done in a little bit.  So today it is done and she is excited to use them next fall for school.
back / palm side 
Real simple pattern
size 6 needles and corresponding size yarn

string on beads I used 2 colors so ever other bead is a different color in a pattern yellow then pink repeat end with yellow  for a total of 10 yellow and 9 pink,  19 beads per wrist total 38 rocaille beads

Sweaters Done

I never showed these done so here they are.
finished
Why do I always put things on the mannequin wonky.  I am starting to think it is the mannequin.  Look at the base of it, not even at all got to look into that.
adult medium sweater finished

One sleeve is unrolled so you can see that it actually would go to middle of my fingers when unrolled.  I wanted it that way so if I was wearing it and my hands got cold I could warm them .  Also I like the big cuff of seed stitch.

Here is the one I tested for Cozy but I added a collar I need to get a photo of it on a niece or nephew so it looks right

3 t sweater
3t sweater

Friday, June 11, 2010

Pink Crochet Sweater

old closure
I made this sweater over 4 years ago during one winter Olympics.  It is what I did while I watched.  At the time I used an antique pink boot button as the closure for the sweater.  The sweater was from an antique pattern ( that I found junking) so I figured it was fitting.  I also used antique rayon thread and size 10 pink discontinued  crochet thread.   I really loved this sweater and the pattern but I have almost never worn it.  I decided I didn't not like the way the closure looked and the way it would creep when worn so I just never wore it.
new closures
Today I was going through my clothes getting rid of things I don't wear or have out grown.  I didn't want to toss this but still didn't like the way it looked buttoned.
crochet pink sweater revamp
Hmm... well I made it I can just fix that.  So I sat down cut off the current button which will be much cuter on a baby's outfit and sewed on 5 sets of  closures.   The sweater isn't lop sided I just didn't put it on the mannequin well the sleeves are the same length and the new closures are not wonky.  I actually like this a ton more now and will wear it.  Before the sweater would creep up over my bosom and just looked weird.  This way the closures hold it in place and it does not creep now.  I also like the way the new closures open up the lace stitching around the edge and show it off more.

Copyright/permissions info

I like to share on this space my ideas and projects.
Please don't take ideas or photo and claim them as your work.
I am always happy to have new links to me.  So if you like something just link back to me and give the source some credit thanks.
Any questions? just ask. I am happy to work with you if you need something
Creative Commons License This work is licensed under a Creative Commons Attribution-Noncommercial-No Derivative Works 3.0 Unported License. 2006-2019 Copyright Vintage Threads Inc. All content and images.

LinkWithin

Related Posts Plugin for WordPress, Blogger...