

Thursday, November 27, 2008
Wednesday, November 26, 2008
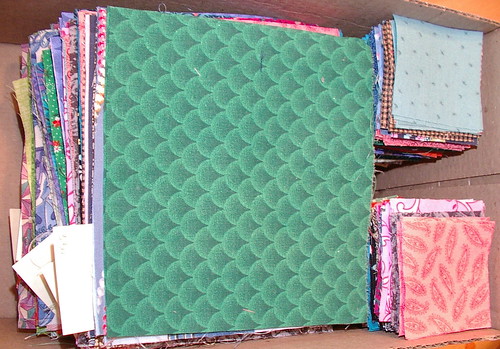
Cathedral Windows progress on color
Tuesday, November 25, 2008
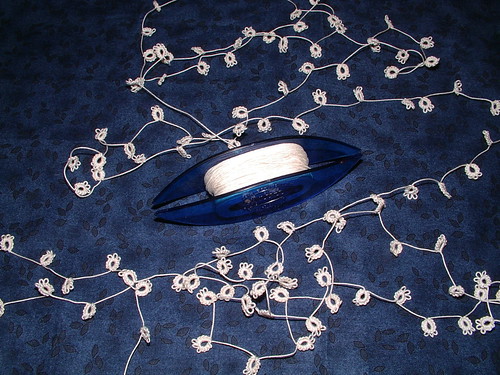
Tatted Edging #16 in 25 motif challenge
Here is the newest piece in the 25 motif tatting challenge.
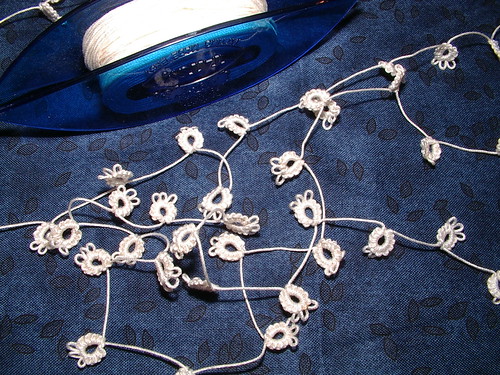
I broke my shuttle while tatting this. Don't ask me how because I don't really know except that maybe I dropped it a few times too many. You can't tell in the photo, but it is broken right in half through the post (unless you are a tatter and know that the ends are supposed to touch and not have a big space there).
Thursday, November 20, 2008
Part 1:tutorial Cathedral Windows background
Supplies:
- Fabric for back ground and for color swatches
- Scissors and/or rotary cutter and mat ( I like olfa mats and cutters, but use what you like)
- Square ruler (9 1/2 inch square and a 2 1/2 inch square) and long ruler if using rotary system ( I like omnigrid for these items, but use what you like)
- Sewing machine and supplies for it and/or needle and thread
- Iron and ironing board
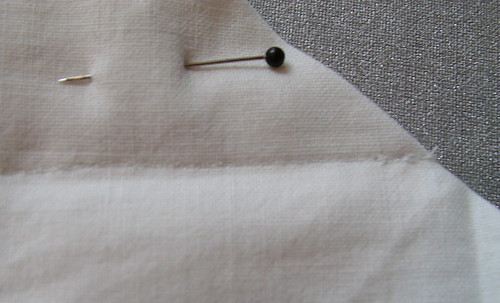
- Glass head pins (so you don't melt the heads when ironing)
How To:
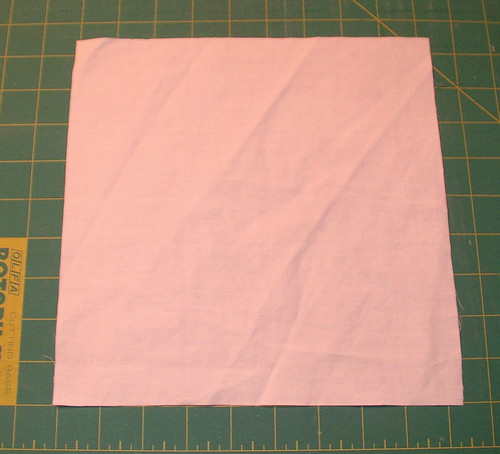
- Cut starting background block; mine are 9 1/2 inches square. I have an 9 1/2 by 9 1/2 omni grid ruler that is those exact measurements, so it's easy to cut a 9 1/2 inch wide strip out of yardage then use my square to cut the blocks. I cut them four thicknesses at one time. Cut all you need for the quilt so you if this takes you years to complete you do not run out of the same dye lot of fabric. If you keep all your seams accurate, your finished block is 4 1/2 inches and four together are 9 inches square. I am telling you this to help you figure out how many blocks you need to cut. For square layout, divide finished size of quilt by 4 1/2; for on-point layout, divide finished measurements by 6 for how many blocks you will need.
- Fold in half
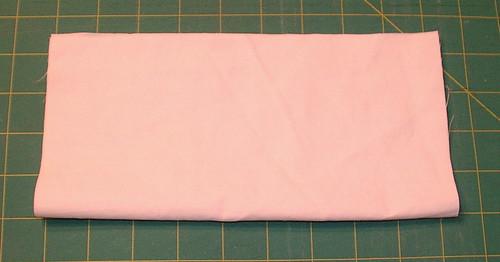 and sew both ends with a 1/4 inch seam allowance; this can be done on machine or by hand.
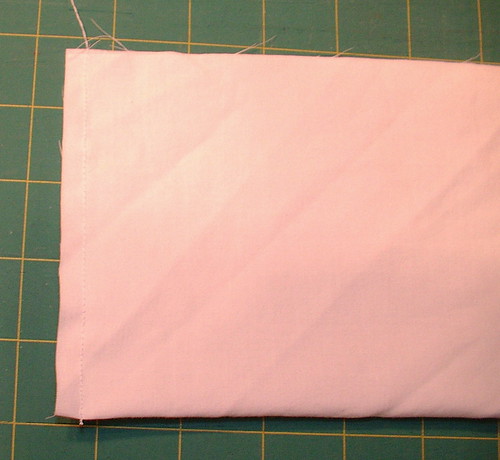
 I do this in assembly-line style; that way I do all of one side then all of the other.
- Open,
 match center seams, and pin .
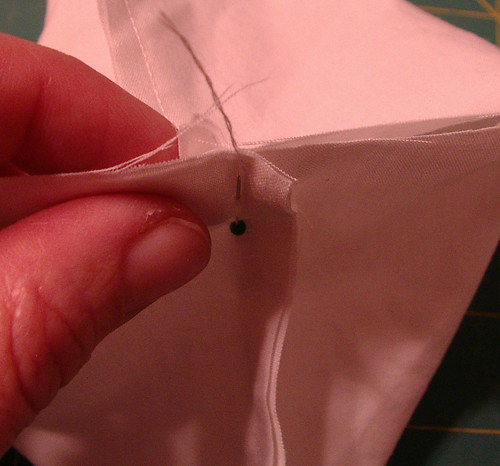
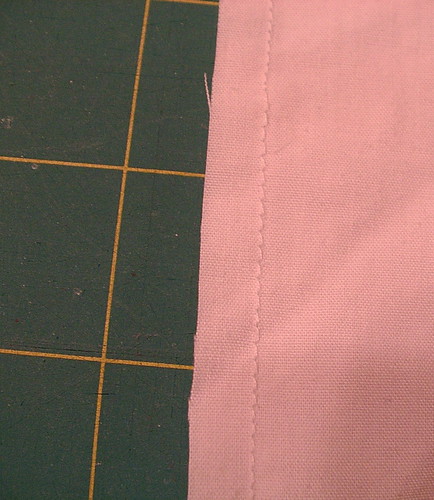
 Sew this seam leaving about 1 to 1 1/2 inch opening for turning; this will not need to be sewn closed in the future because it will be hidden under another fold of fabric.
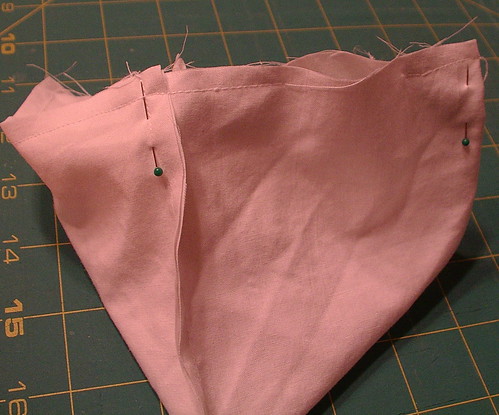
 I do this is assembly line fashion, also.
  Just pick up the needle and slide it over the spot to be left open, then go on with a long chain of blocks. This step can be done by hand, too; just place a knot at the start and stop of the stitching, two per block. No long chain system in hand piecing.
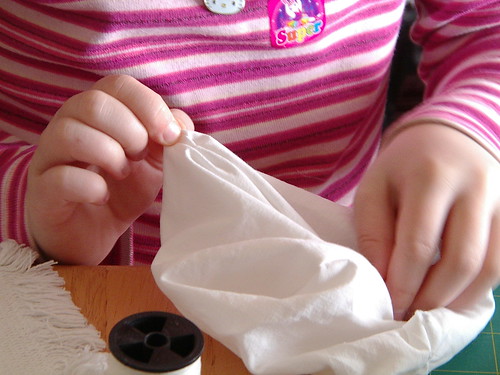
 - Turn right side out by pulling entire block through the opening left; as you can tell, I have my children helping with this part (a 7- and 9-year-old turned most of my blocks. I did a few as well as my 11-year-old; it is a family thing here).
 Nnow all seams are inside the block; it is fine to leave the opening open.
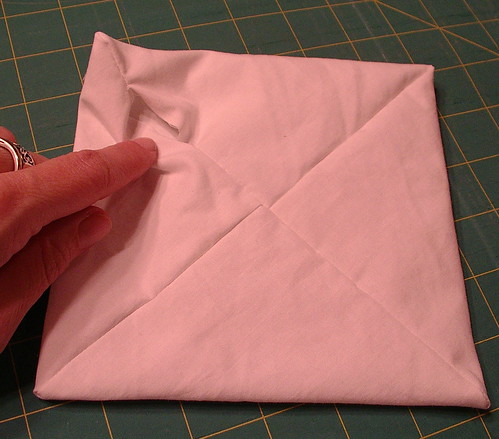
 Pull out corners to a nice point.
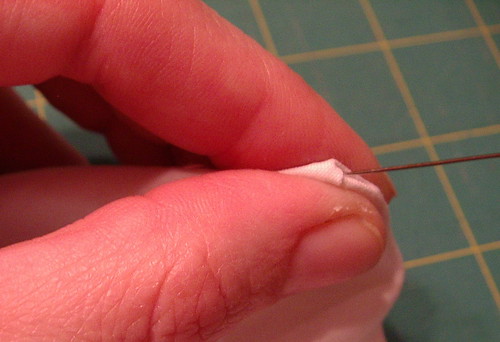
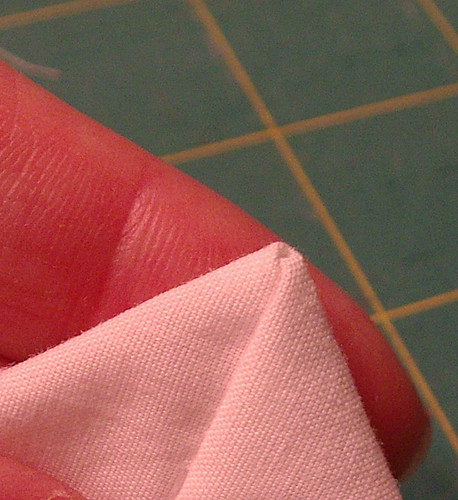
 This is where having children is good; pass this part on to them to do this step. My 11-year-old and I did this part with the needle. I thought it might hurt the 7-year-old.
- Press blocks flat. You may not be able to tell in the photo, but I am using steam setting on my iron to do this faster.
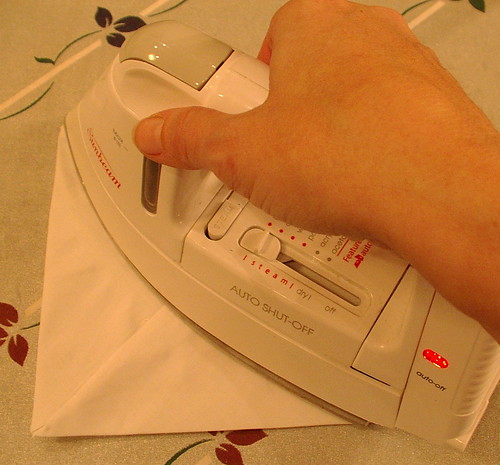
 As you notice, I said press (not iron) because pressing is an up-and-down motion and fabric doesn't move; ironing is a side-to-side motion that moves the fabric and can make your blocks crooked. Do all blocks in assembly line; it is faster.
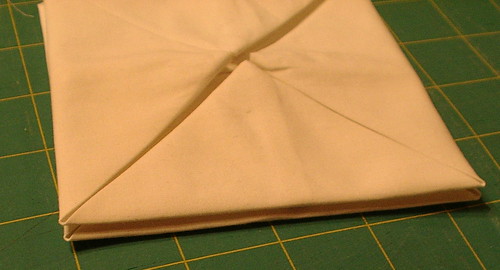
- Fold points to middle and pin. Notice my opening is still there and will be concealed as soon as I fold that flap down.
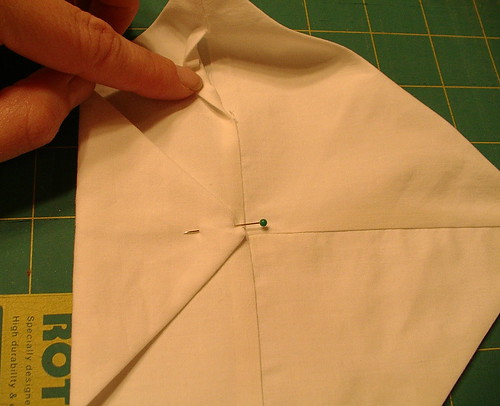
 and press blocks flat. Once again I am using a steam setting. You can skip this step of pinning if you want to stand at the iron and fold the corners down and iron instantly. This will save the time of pinning, but you have to be extra careful not to burn your fingers, especially if you are using steam. Either way works, just a personal preference thing.
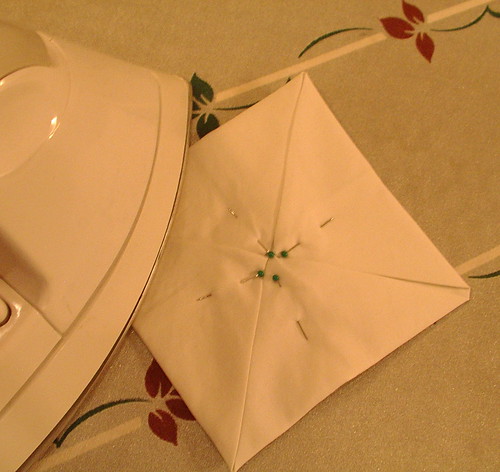 Do blocks in assembly line; it is faster.
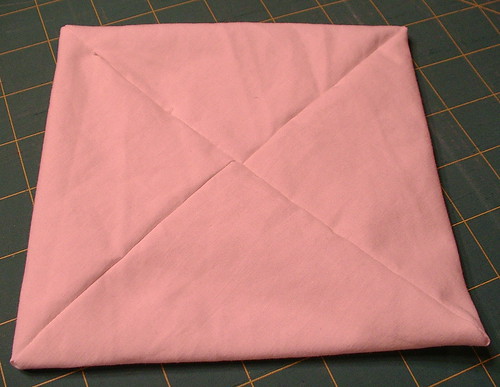
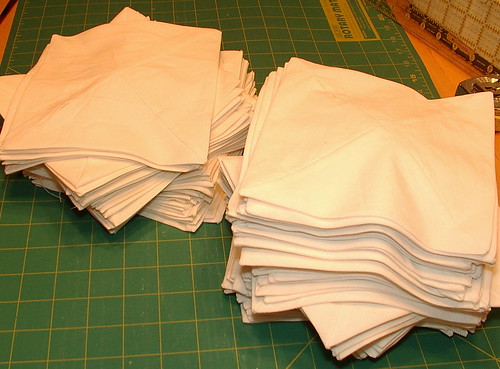
 Check your blocks after pressing; they should measure 4 1/2 inches square if you have done everything correctly to this point.
 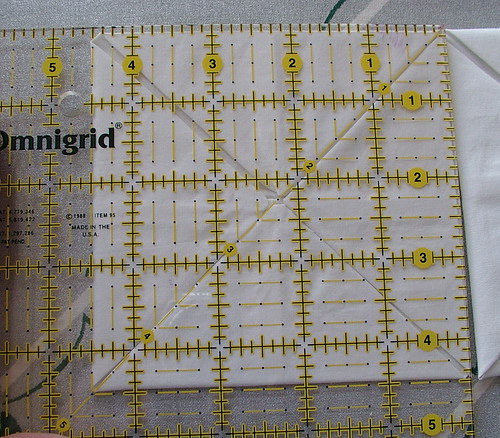 If you make sure you have all of these done before assembling, assembly goes faster.
 - Now that you have everything nice and pressed,
 match up two blocks
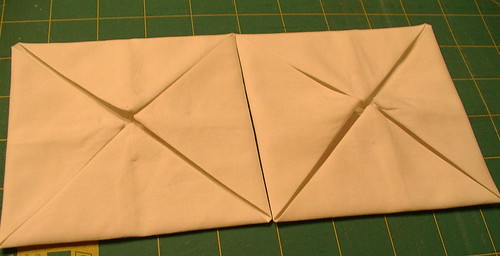 and match points.
  Pin these two points together (pointing at fold which is also the sewing line).
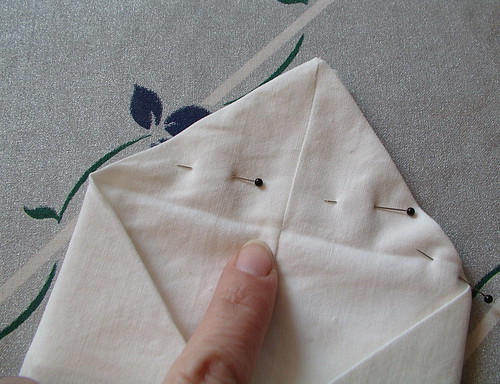
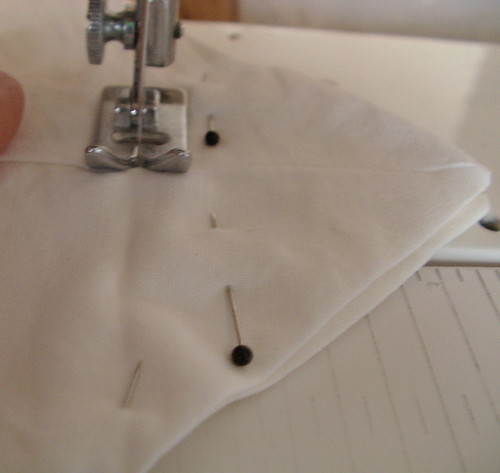 Sew in pairs; I use a tiny stitch and I back stitch at the beginning and end of a row
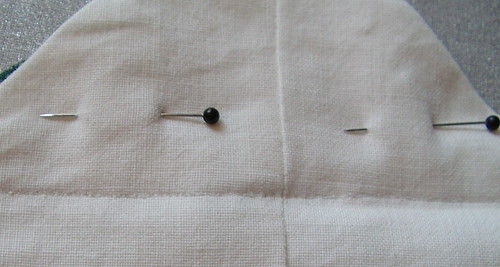
 then sew in strips.
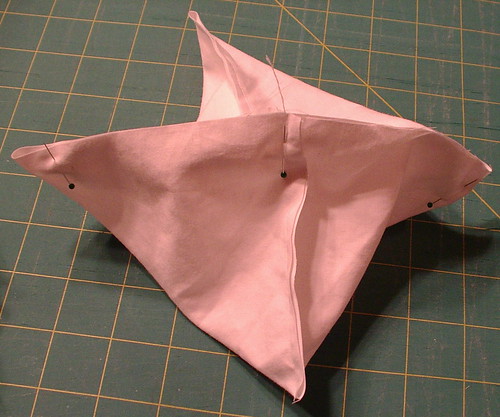
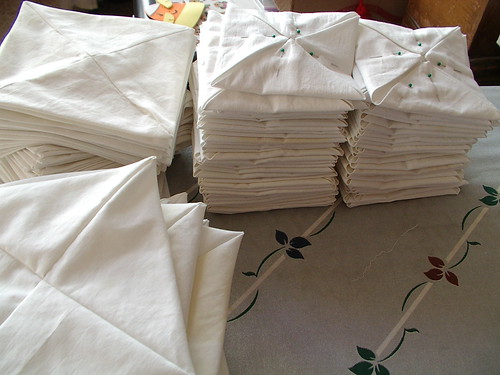
 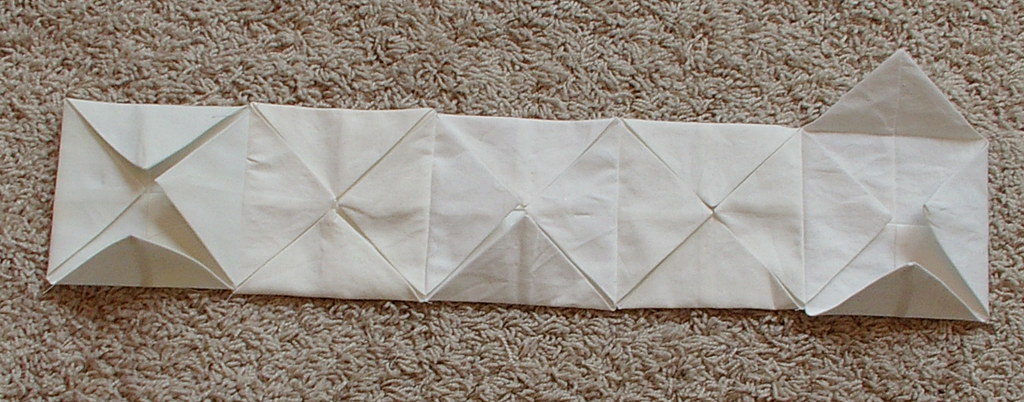 For on-point (this picture shows six strips all laid out):
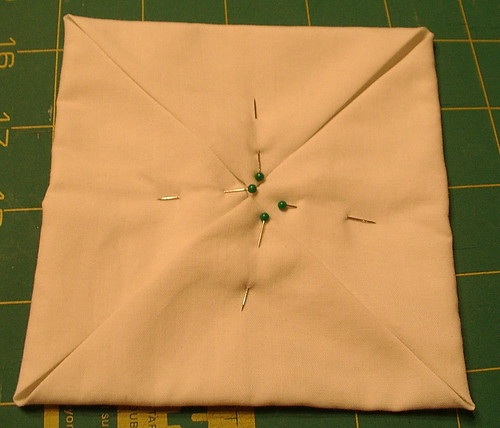
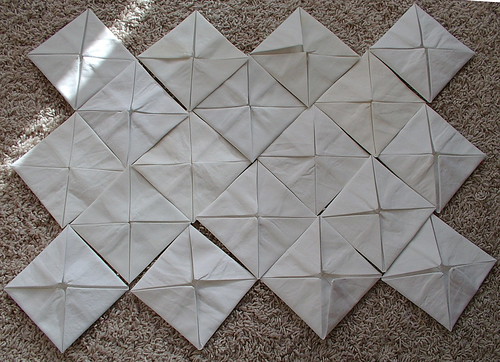 If doing block/square layout, sew in sets of four to form squares:
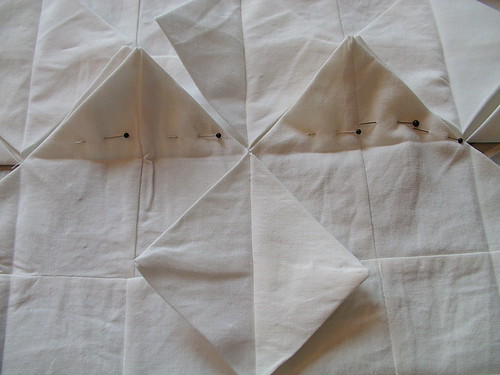 (This picture shows four sets of four.)
DO NOT USE THIS PATTERN TO MAKE THINGS TO SELL FOR PERSONAL USE ONLY!!!!
Part 2 I have posted the words just not the images since I can not access the quilt at the moment
Monday, November 17, 2008
Snakes

If you are into snakes, like our friend Robby is, then you may want to check out his web site. He only started it this last year, but if you do love reptiles it is the place for you. I was checking it out and boy are there a lot of them on his site. The photo to the right is one of his from his site. My kids love looking at snakes as has been shown in some old posts of them and their dad holding reptiles and reptile skins. So I figured other people might be interested in this, too. Since he is a family friend, stop by and say "Hi!" and that Wendy H. sent you.
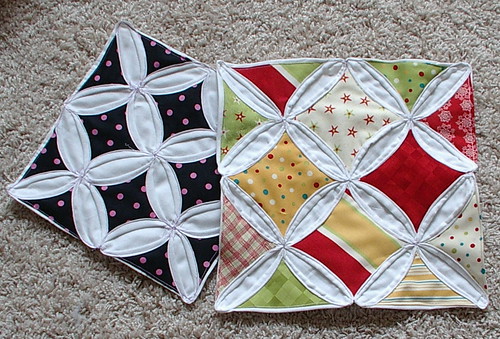
Cathedral Windows layouts
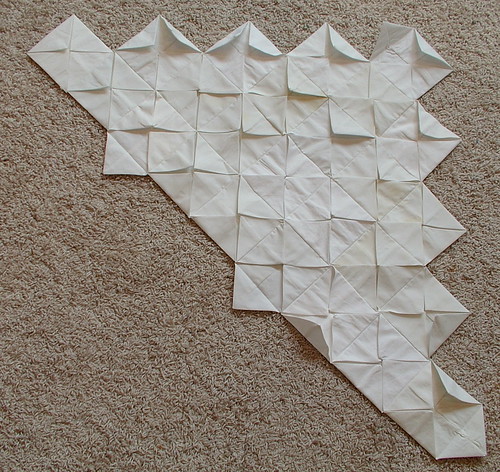
There are basically two types of layout for a cathedral windows quilt; there is on-point and square. Of course you can do both with a tradition notched corner for posted beds. I went ahead and did a few in the next step so I could show layouts for this post. However, I am still actually working on the third seam; like I said, that is the long step. I am leaning toward the on-point version.
Square (example on flicker with color pieces added):
On-point (example on flicker with color pieces added):
Square (example on flicker with color pieces added):
Saturday, November 15, 2008
Seam three, half way done
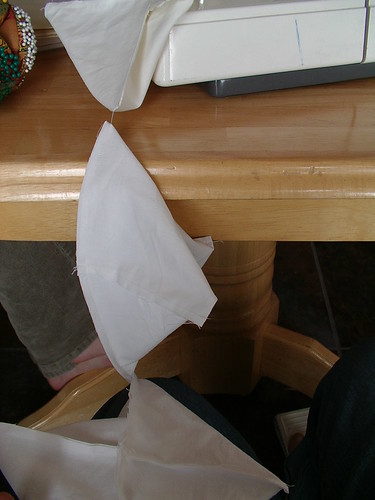
I had some help today from my three little girls while doing the third seam on the cathedral windows blocks. I pinned and chain-sewed, and the girls turned and pulled out the corners. We got about 1/2 of the blocks done; this is probably one of the slower steps.
My chain:
Littlest daughter's helping hands (7yrs) turning to right-side out:
Middle daughter's helping hands (9 yrs) turning to right-side out: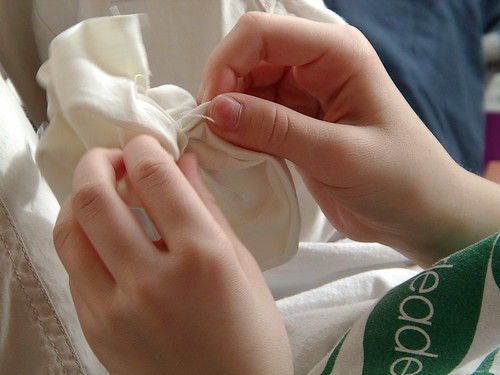
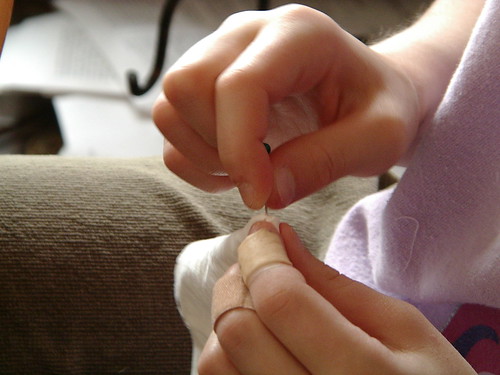
Oldest daughter's hurt helping hands (almost 11 yrs) (she hurt her hands crashing on a bike at her cousins' house the other day). She is using a pin to pull out the corners after they have been turned right-side out:
My chain:
Littlest daughter's helping hands (7yrs) turning to right-side out:
Middle daughter's helping hands (9 yrs) turning to right-side out:
Oldest daughter's hurt helping hands (almost 11 yrs) (she hurt her hands crashing on a bike at her cousins' house the other day). She is using a pin to pull out the corners after they have been turned right-side out:
Where they stand at the moment:
Subscribe to:
Posts (Atom)
Copyright/permissions info
I like to share on this space my ideas and projects.
Please don't take ideas or photo and claim them as your work.
I am always happy to have new links to me. So if you like something just link back to me and give the source some credit thanks.
Any questions? just ask. I am happy to work with you if you need something
 This work is licensed under a Creative Commons Attribution-Noncommercial-No Derivative Works 3.0 Unported License.
2006-2019
Copyright Vintage Threads Inc.
All content and images.
This work is licensed under a Creative Commons Attribution-Noncommercial-No Derivative Works 3.0 Unported License.
2006-2019
Copyright Vintage Threads Inc.
All content and images.