
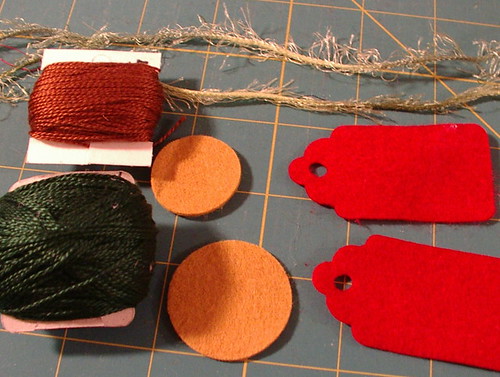
- size 5 pearl cotton embroidery thread
- needle/ scissors
- felt color for cookie and tag
- optional beads or sequins for chips on cookie
- fuzzy yarn
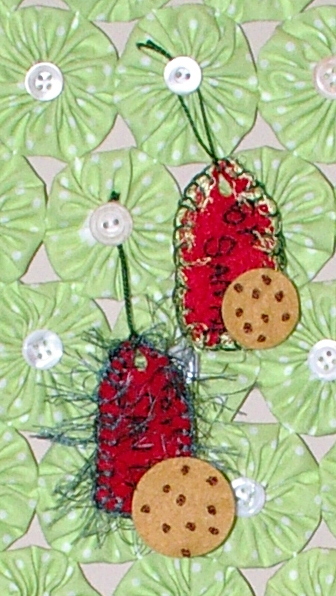
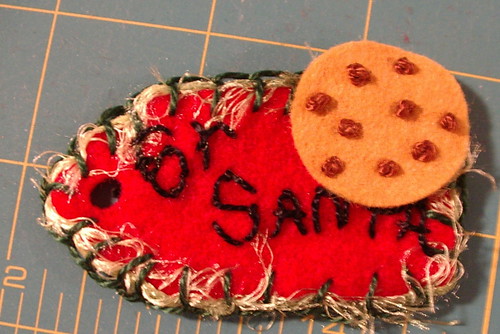
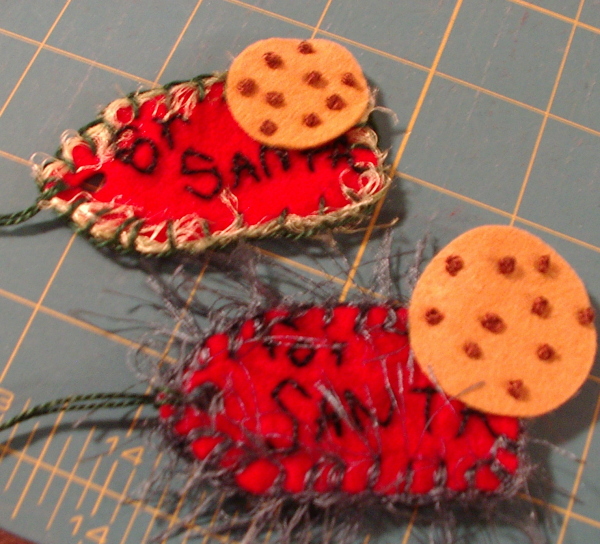
- Cut circles for cookies and cut tag shapes.
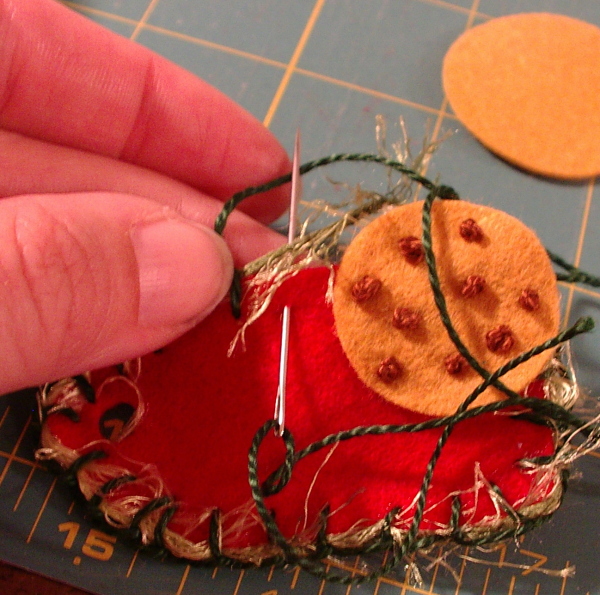
- Add cookie to corner of tag; use French or colonial knots to attach to tag (optional here; you could use seed beads or sequins instead).

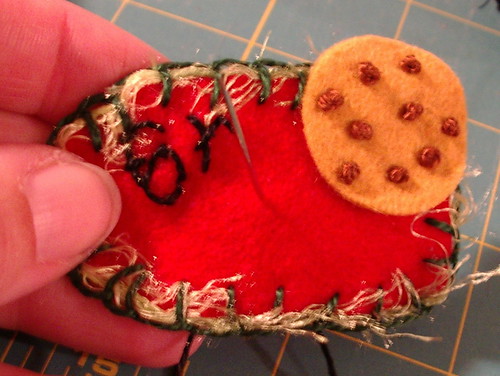
- Stitch around edge of tag with blanket stitch. One I couched the fuzzy yarn; on the other I used it to do the blanket stitch. Either way, rough up yarn with finger nail after stitching to make it fuzzy and not matted down.
- Embroider desired words. I didn't draw letters ahead of time because I wanted it to be more free-form, like a little child wrote it. I also did not do this before the cookies and edging because I wanted to see how much space I had to work, with but you can do those three steps in any order you wish to make it easy for you.
- Add hanger; done.
DO NOT USE THIS PATTERN TO MAKE THINGS TO SELL FOR PERSONAL USE ONLY!!!!

I like the way you used the fuzzy yarn under the blanket stitch. I never thought of that!
ReplyDeleteSo clever! The chocolate chip cookies are too cute!
ReplyDeleteI understand chocolate chippers are his favorite.
ReplyDeleteI really like the tag look. Such a good idea and the cookie on it just makes it perfect.
ReplyDeleteWe don't "do" Santa at our house, but I can see this adapted to just a plate of cookies, representing all the Christmas baking that I need to do today! LOL
ReplyDelete