[google6a7b7d93c7100df5.html] Sunshine's Creations.Vintage Threads Inc.com: Transferring pattern for RPL

friends and followers

If you like my blog and the free patterns and tutorials and want to say thank you
I have a wish list on ravelry of patterns (click here)
I would like to make.
Thank you in advance for being kind and saying thank you back.

Love Sunshine

Search This Blog

Monday, December 05, 2011

Transferring pattern for RPL

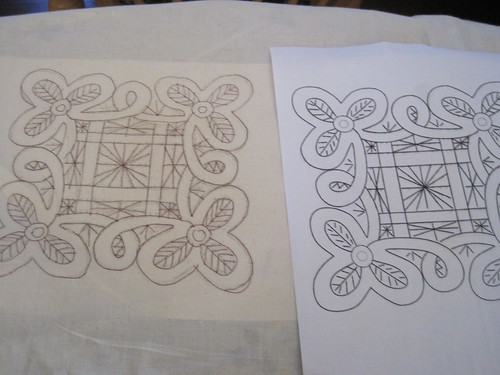
all drawn in 
There are several ways to transfer a pattern if you have an ink jet printer you can buy transfer paper at your local office supply store and just iron it on to the fabric.  If you have a light table ( or window) you can just trace it.   Makes the arm tired on the window and the pin has to be held at an odd angle so the ink doesn't run out.
I looked at three different stores looking for  laser transfer sheets (2 office supply stores and a craft store) didn't find them locally.  I did find them on line but didn't feel like waiting.  So I was thinking of how a laser printer worked with heat and toner.
    iron on hottest setting with steam
    Iron is on the hottest setting and steam too
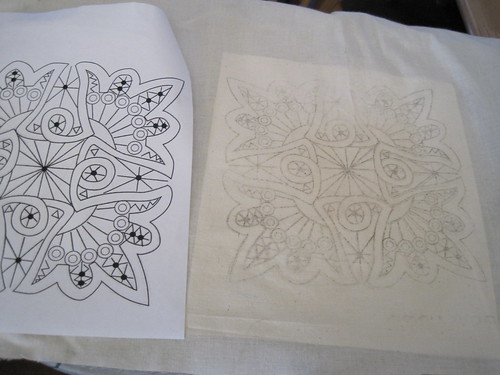
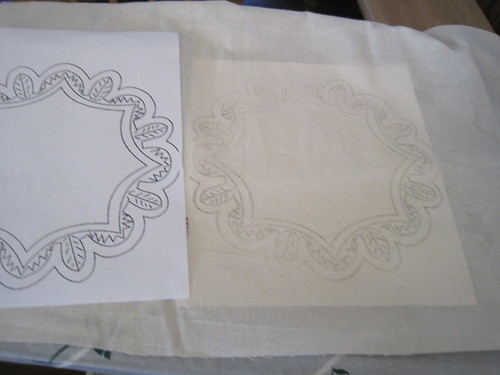
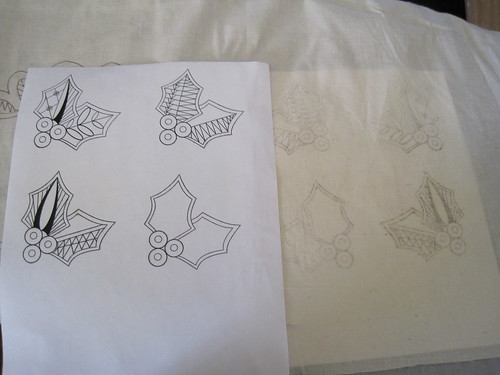
  1. I got an idea I flipped the printed pattern over on top of fabric that also had a piece of white paper below it to keep any ink from transferring to my ironing board and to make it easier to see when the image transferred.
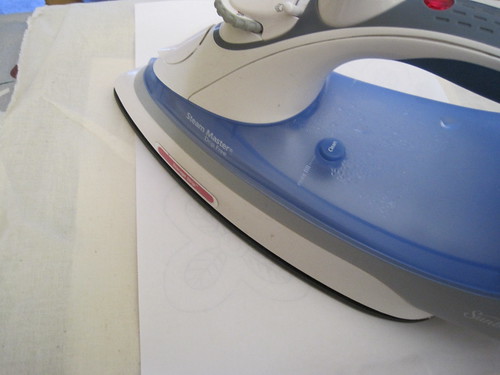
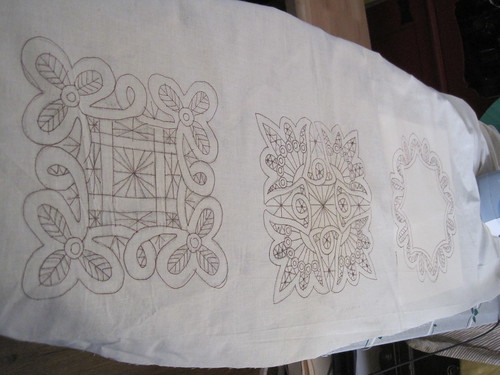
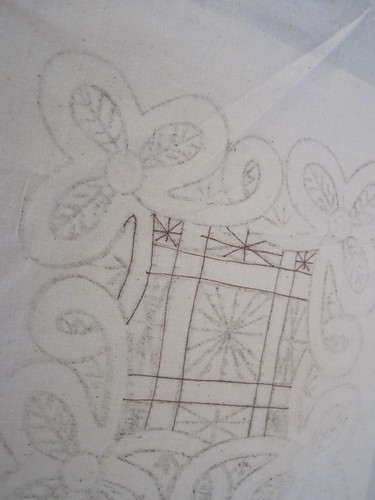
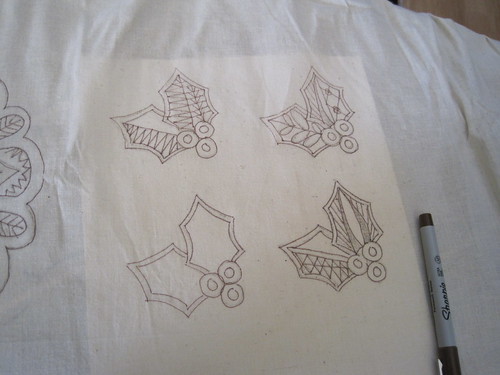
  2. Once ironed (I did use steam and the highest setting on my iron) I then drew the lines in with a permanent marker.
    drawing inafter drawn in
before drawing in
after ironing
before drawing in
Of course the image you get is a mirror image if that matters to you then make your original the mirror image first then this will come out the way you want it I personally did not care on this project also if you trace everything with permanent marker, well it bleeds through the fabric enough that you can work the back side of the fabric and get the image you want.
You ask why did I not just do this on my light table down stairs well it actually was faster this way as I didn't have to worry about the pattern shifting too.  Took about 25 mins. from start to finish to do all of them.  Not too bad and it is now done and ready for the two RPLALs.  If you are worried about the toner transferring to your lace you can always through this in the wash before cutting them apart that is if you want to cut them apart I wont be doing that.  Because you traced it with permanent marker that image will stay and any loose toner will be washed away.

Another way to transfer the pattern is the old way with graphite transfer paper and trace the whole image then trace over that again with permanent marker, too much tracing that way in my opinion.
after being drawn in

No comments:

Post a Comment

Copyright/permissions info

I like to share on this space my ideas and projects.
Please don't take ideas or photo and claim them as your work.
I am always happy to have new links to me.  So if you like something just link back to me and give the source some credit thanks.
Any questions? just ask. I am happy to work with you if you need something
Creative Commons License This work is licensed under a Creative Commons Attribution-Noncommercial-No Derivative Works 3.0 Unported License. 2006-2019 Copyright Vintage Threads Inc. All content and images.

LinkWithin

Related Posts Plugin for WordPress, Blogger...