[google6a7b7d93c7100df5.html] Sunshine's Creations.Vintage Threads Inc.com: Part 2: 5 filling stitches for RPL Stitches

friends and followers

If you like my blog and the free patterns and tutorials and want to say thank you
I have a wish list on ravelry of patterns (click here)
I would like to make.
Thank you in advance for being kind and saying thank you back.

Love Sunshine

Search This Blog

Saturday, December 17, 2011

Part 2: 5 filling stitches for RPL Stitches

tree
This is the filling stitches for the second holly berry leaf.
finished
We will be using the design below that you can download now if you have not already.
1

You already learned in the last tutorial how to do a blanket stitch filling so this is pretty much the same as #2 last time with a slight exception.  Because I do not have a cord on all sides of the filling.

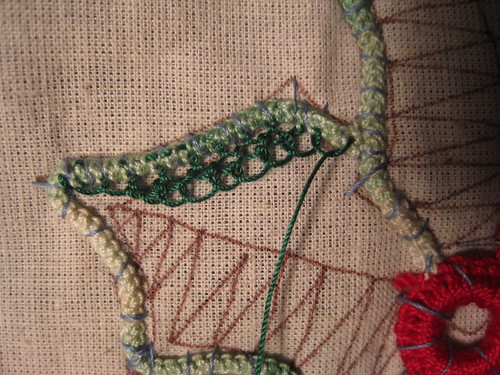
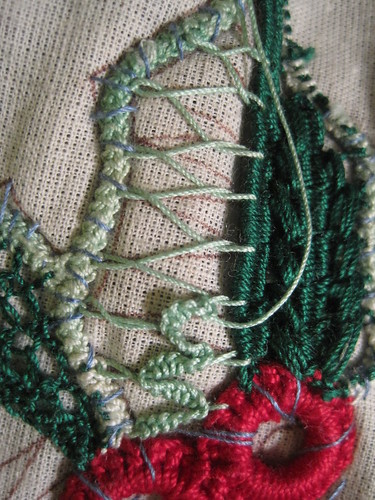
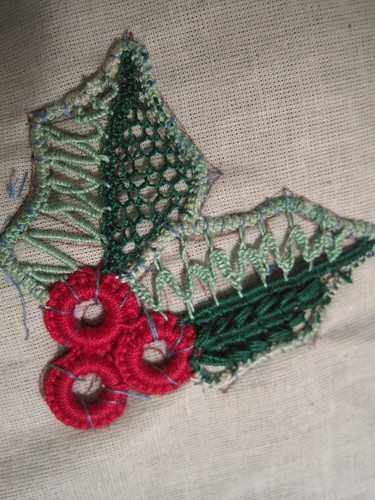
filling  #4 another blanket stitch aka single net stitch

Start in a the same manner as before and go until the side is filled turning at the end of each row.
2
34
When you get it so that one side is filled go up and back on the center stem area with stitches that are closer together this will make it look like there is a stem there.
56

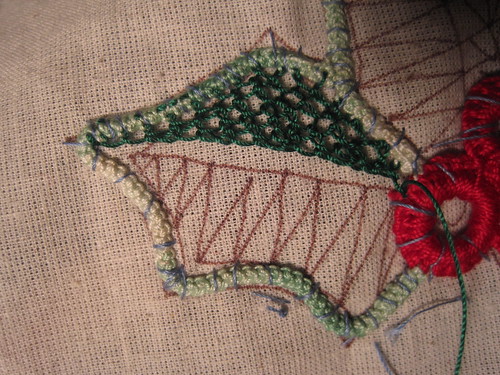
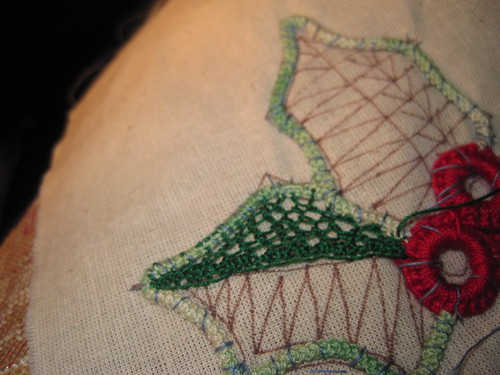
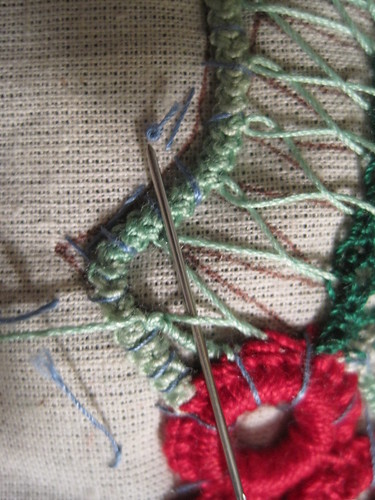
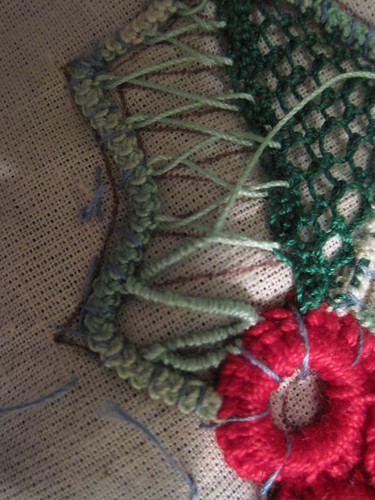
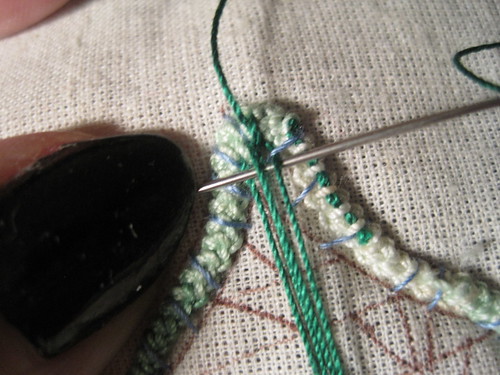
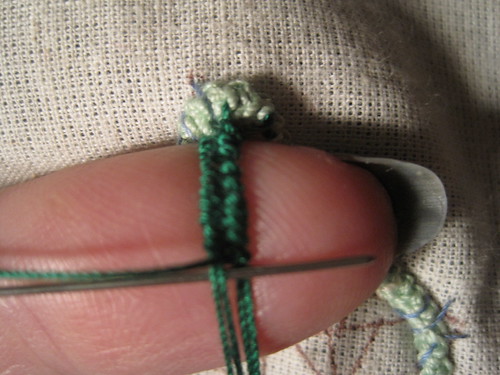
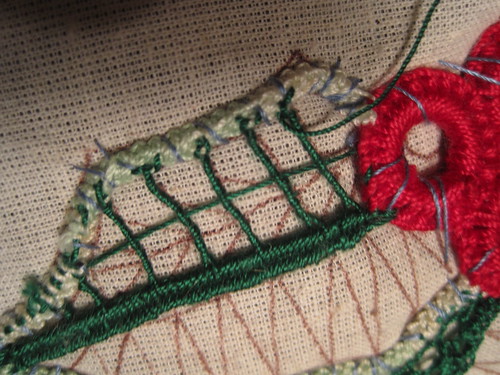
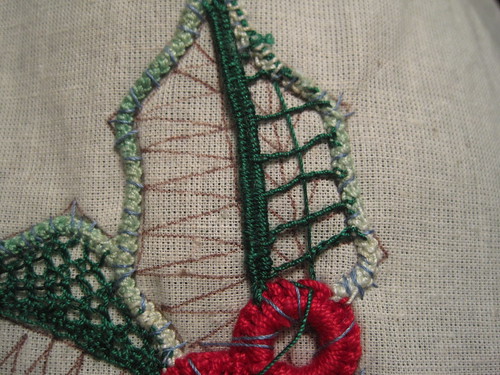
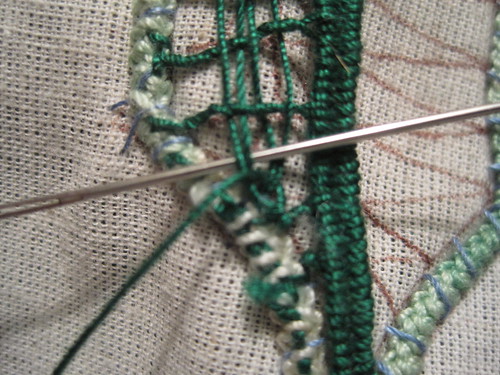
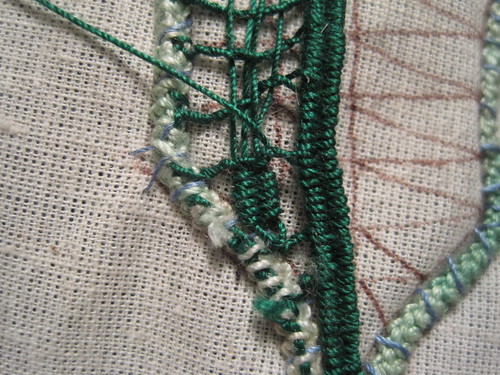
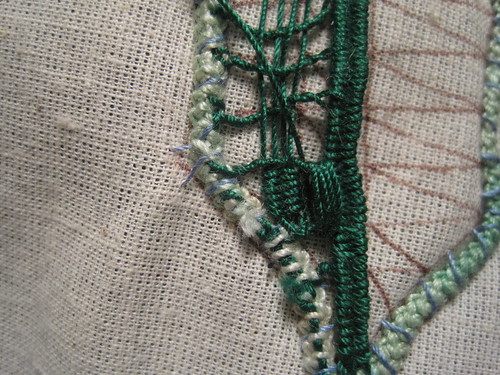
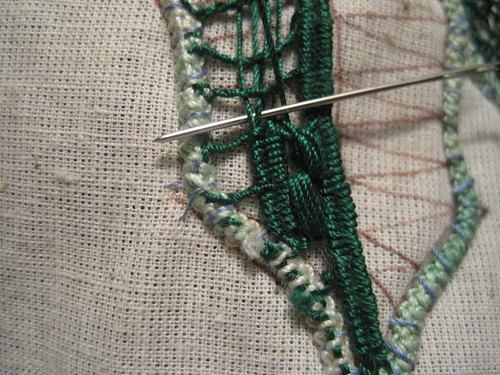
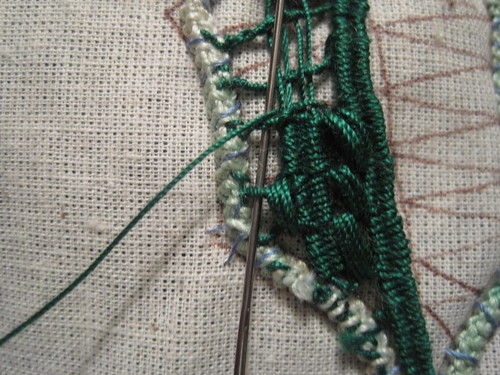
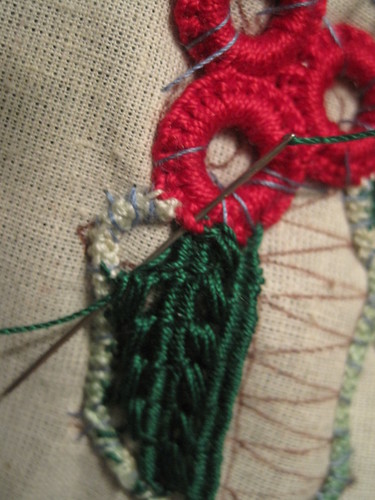
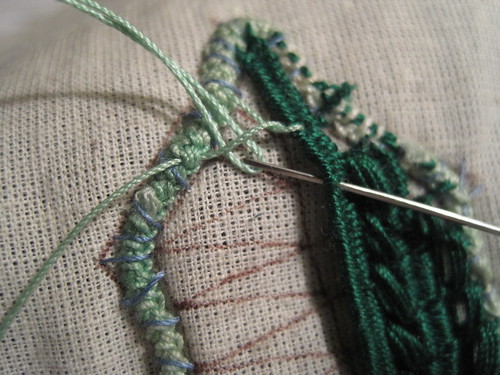
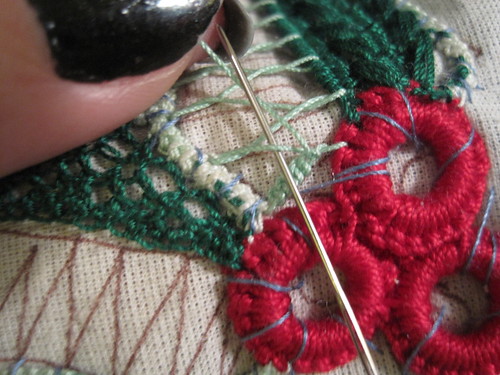
Filler # 5 bride fagoting stitch

Set up like doing a fagoting stitch then wrap all the stitches just made with the thread to form a  bullion knot look. Work wraps all the way from side to side  and then from one end of the leaf to the other.
v
w
x
Filler #6 double bride

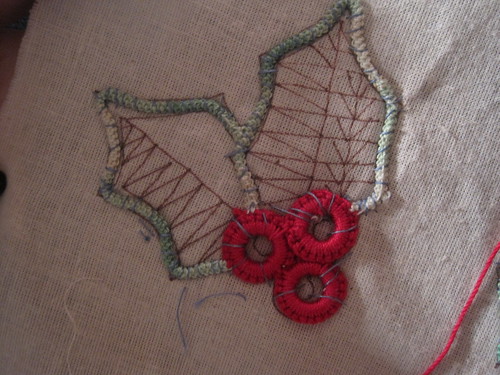
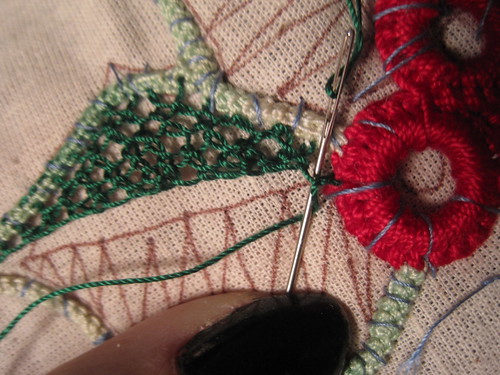
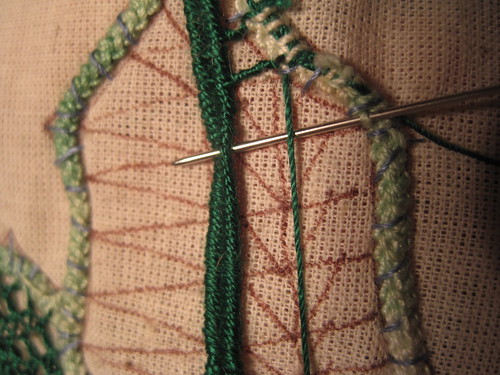
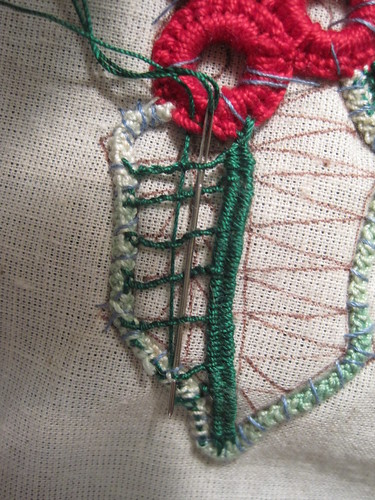
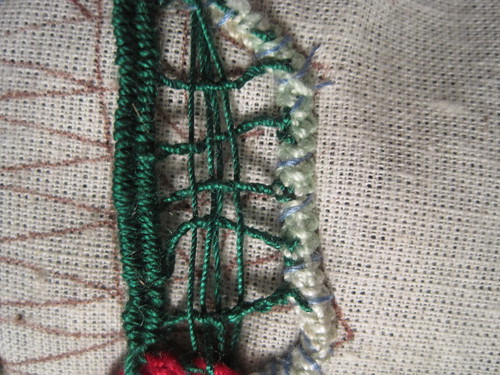
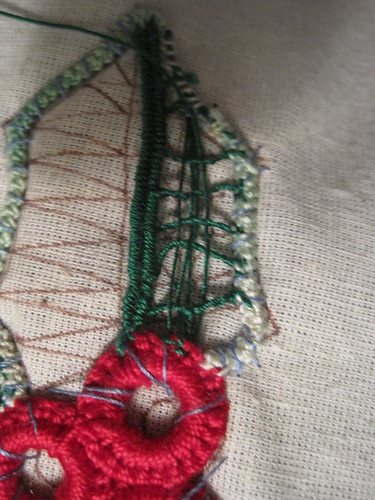
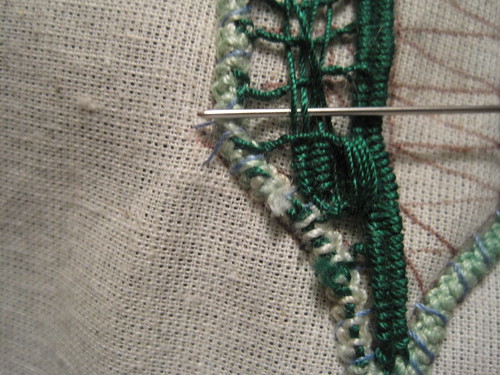
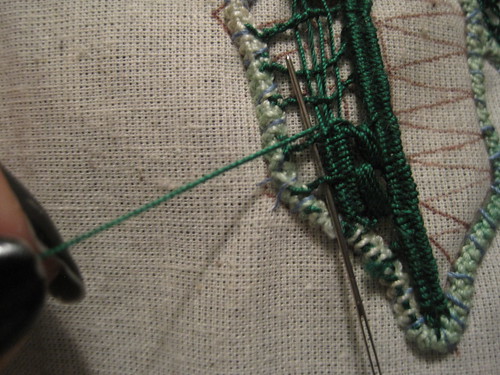
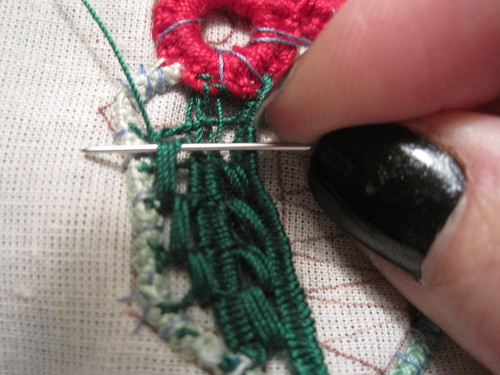
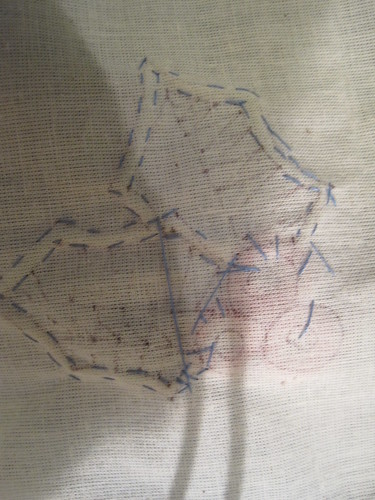
Take a thread from the top of the leaf to the bottom of the leaf with size 10 thread do this once if using size 20 thread or 30 thread for this project do this twice.  I am using size 30 thread so I have 4 strands of thread running down the central vein of the leaf if size 10 thread you will have two strands running down the central vein of the leaf.
 a
b
 c
Take your needle and spiting the group of threads in half weave under and over in in both directions until you have traveled the length of the leaf.
 d
e
f
g
Filler #7 Wheat seed stitch

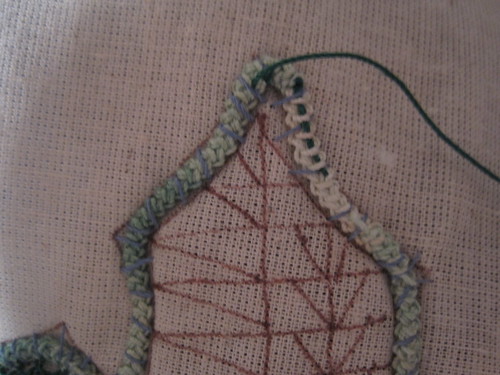
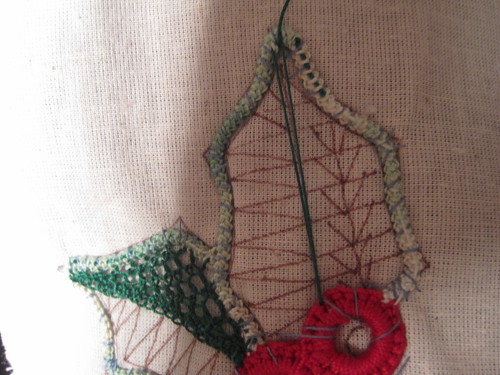
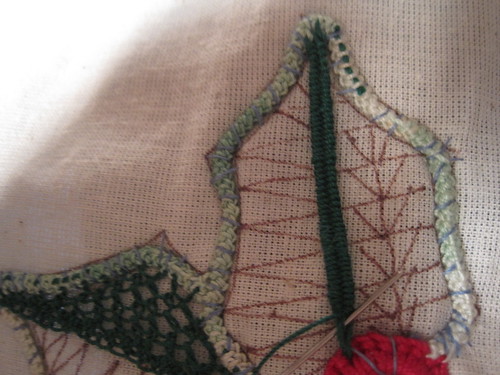
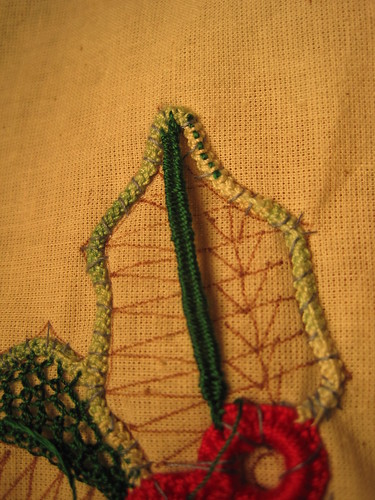
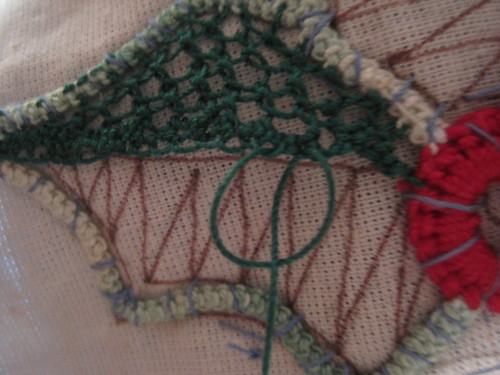
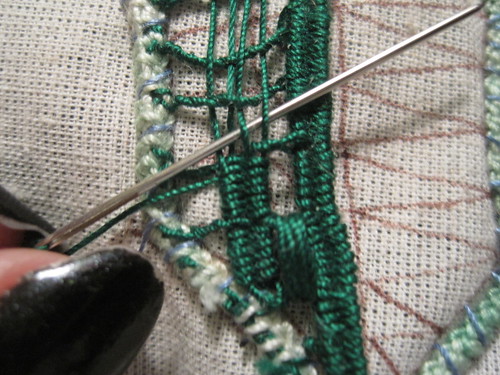
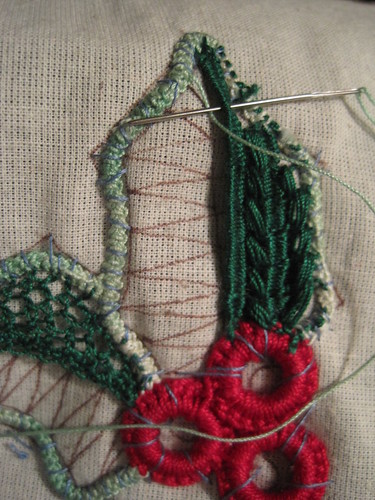
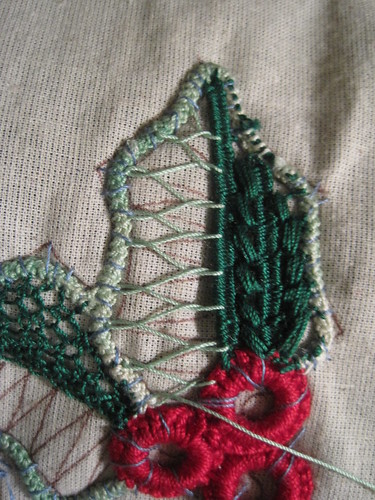
Following drawing on pattern lay in the middle vertical line of the leaf followed by  all the horizontal line which you go one way then come back and wind the thread on the way back making sure to capture the center vertical thread.
  10
11

12
13
Continue doing this all the length of the leaf when you get to the bottom come back to the center still winding and go down to the berry.
14
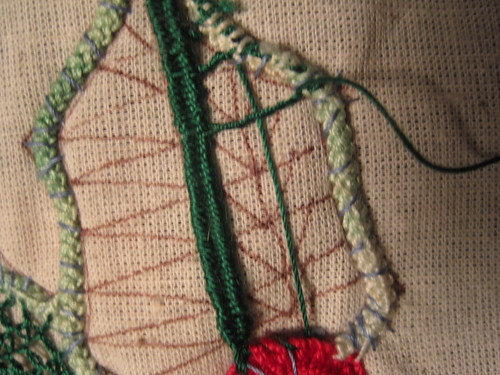
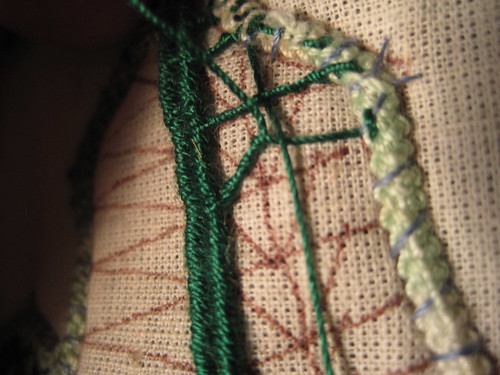
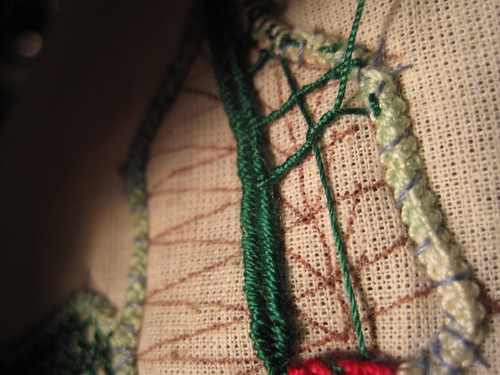
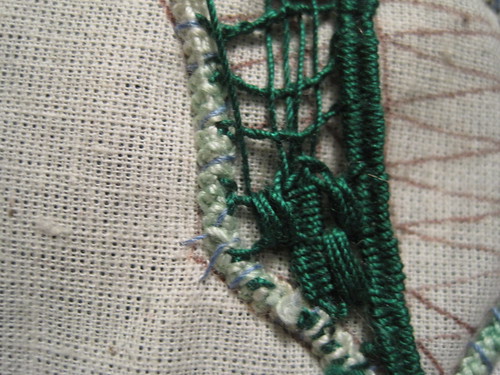
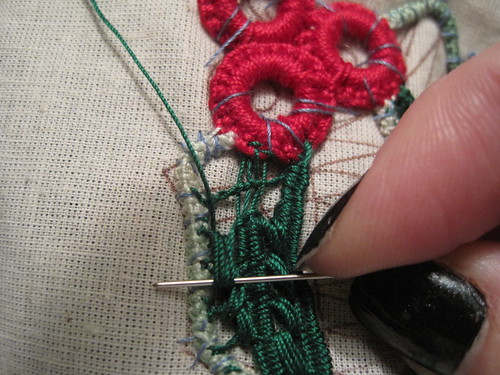
traveling up and down the center weaving needle in  and out of the horizontal line add some more center threads 2 total for size 10 thread and 4 total for size 20 and 30 thread.   I am using size 30.
16
17

18
Divide the threads in half and start doing a double bride to the next horizontal line.
19
20
Working from above the horizontal line on an angle between horizontal rows loop 4 passes of the thread to make what looks like a puff stitch in crochet and knitting. Using needle inserted inside loop to keep stitches even an example will be lower in this post of this.
21


22
Start double bride again to next horizontal row.
23

24
Once again ending just above the horizontal row make another puff stitch to the outside of the last one. then make another puff on this row but the other side of the bride.

25

26
27
28
29
Continue in this manor of double bride to next horizontal row then two puffs one on each side of the bride to the outside of the last set of puffs.
30
31
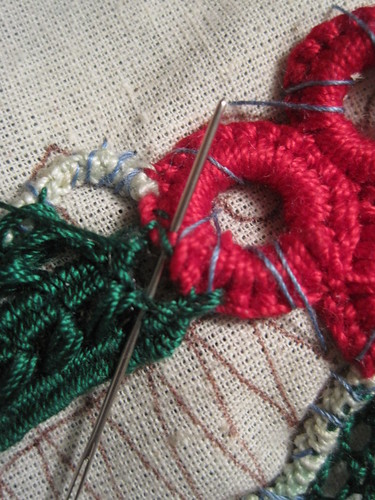
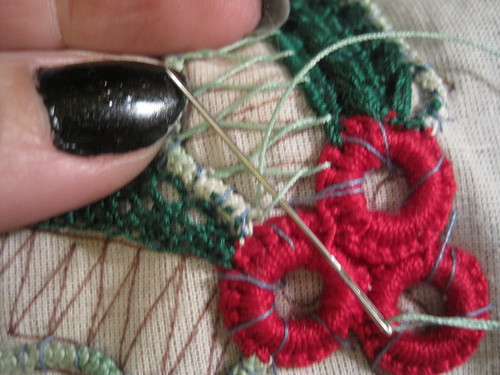
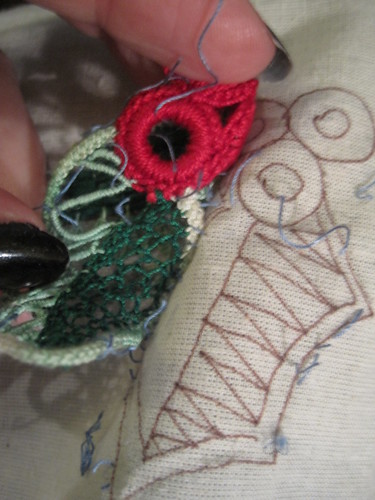
 Here is the example of how to straighten the puff stitches. insert needle into the center of the puff pull up then down do again as necessary till puff is neat.
33
The last set of puff stitches will go into the berry.  make sure that all 4 stitches go into the same sc on each side ( 1 sc per side 2 sc total used for this)
35
36
weave in tail and cut  I need to clean up my cut tails still.
37

38


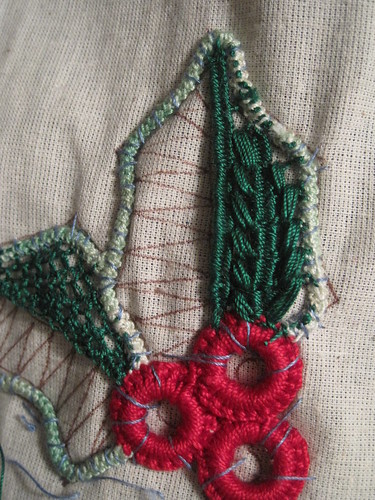
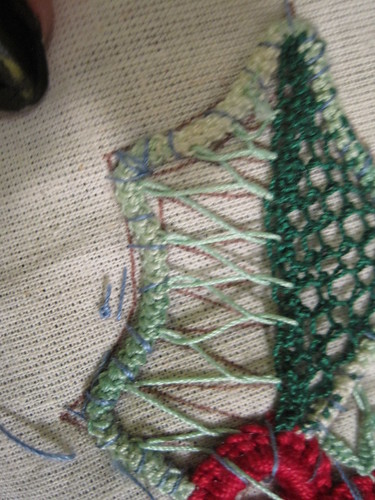
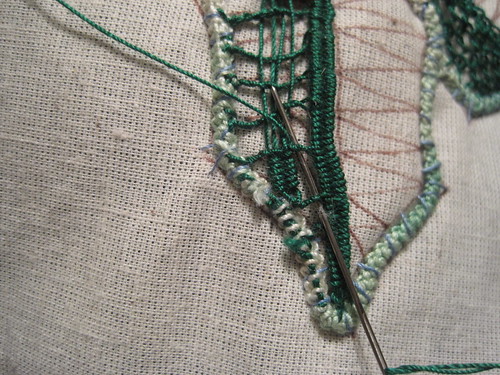
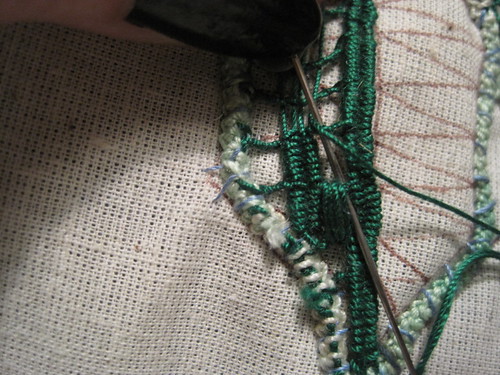
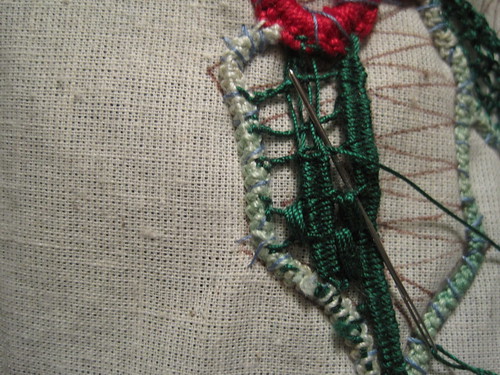
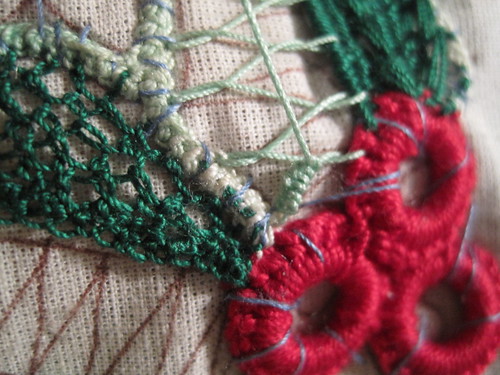
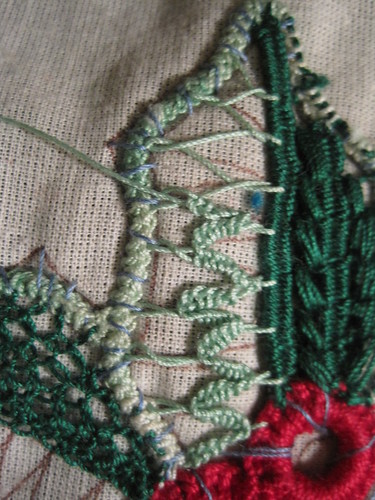
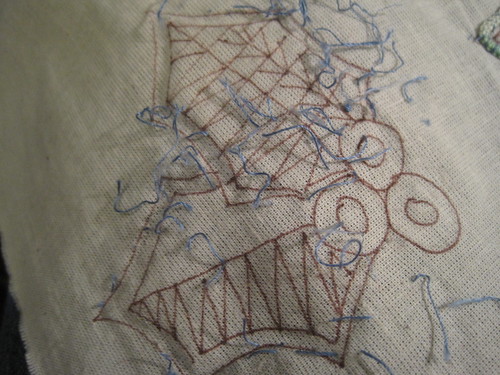
Filler #8 blanket stitch covered fagoting

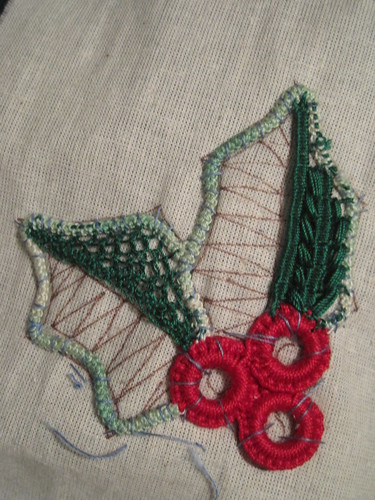
Set up for fagoting the entire length of the leaf. then on the way  back the opposite direction do 6 blanket stitches on the first fagoting stitch then reverse those stitches for the next fagoting stitch and keep reversing for each row all the way to the other end of the leaf.
m
 n
o
p

q
r

s

t

u
y
remove lace from fabric by cutting the threads on the back of the fabric
back
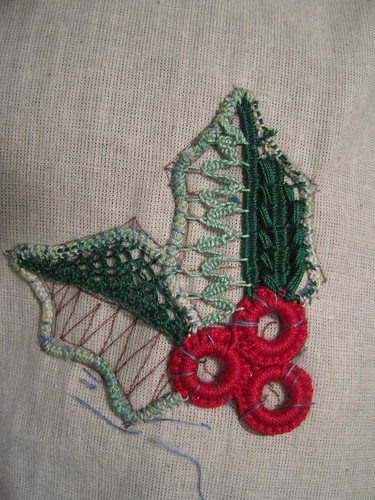
Gently remove lace from fabric

removal

aftermath


No comments:

Post a Comment

Copyright/permissions info

I like to share on this space my ideas and projects.
Please don't take ideas or photo and claim them as your work.
I am always happy to have new links to me.  So if you like something just link back to me and give the source some credit thanks.
Any questions? just ask. I am happy to work with you if you need something
Creative Commons License This work is licensed under a Creative Commons Attribution-Noncommercial-No Derivative Works 3.0 Unported License. 2006-2019 Copyright Vintage Threads Inc. All content and images.

LinkWithin

Related Posts Plugin for WordPress, Blogger...