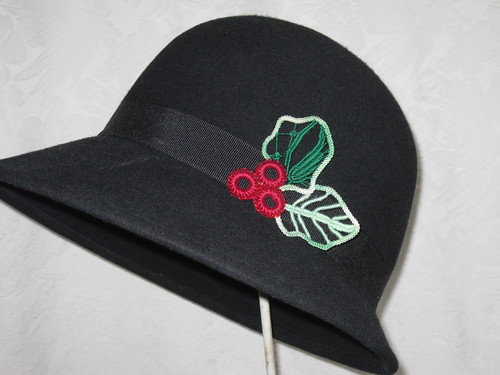
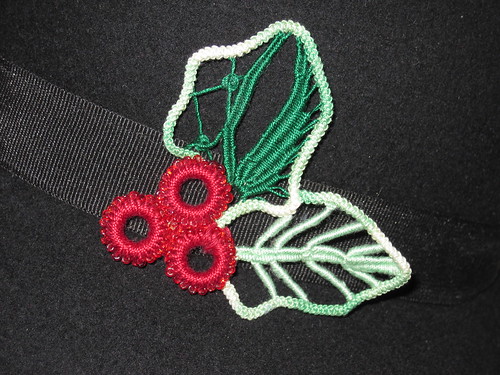
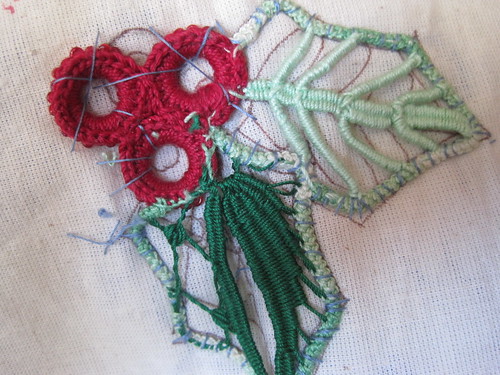
So here is the final tutorial on the holly berry ornaments and embellishments. This one is the one I did that had the beads on the berry.
Here I am using it at a hat pin but you could pin it on a jacket or purse or any place else you would like a little holiday cheer.
Some of the stitches are similar or the same as ones I have already show so in those cases there will be less photos or none will be show but it will reference you to a previous post . As you can go through the other tutorials to glean that information.
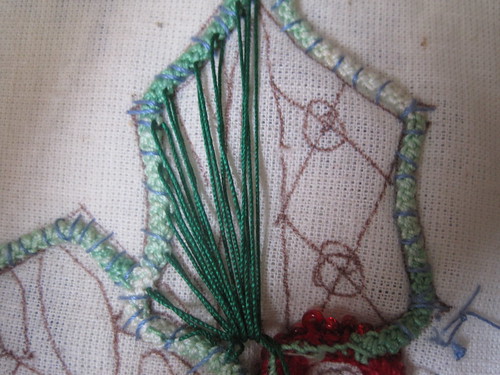
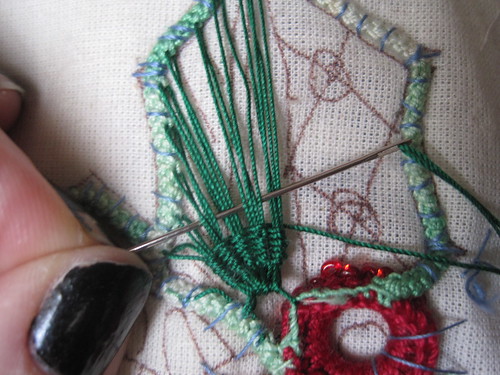
Filler stitches #9 Leaf center ( please review stitches in Part 1)
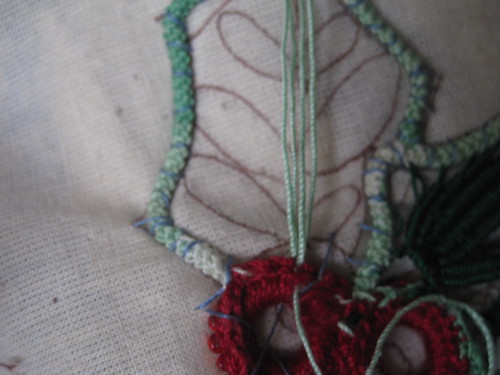
This is set up the same way as filler #1.
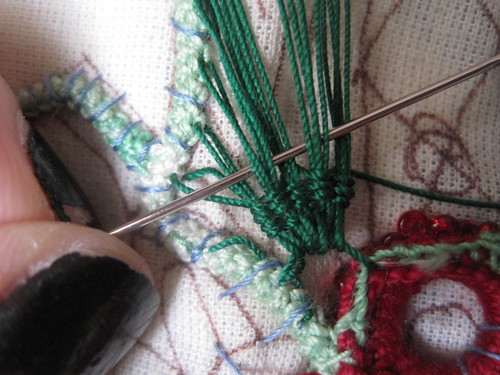
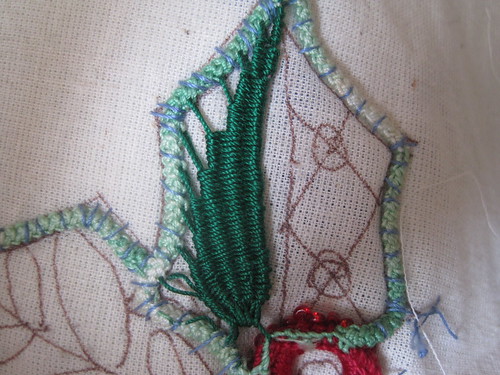
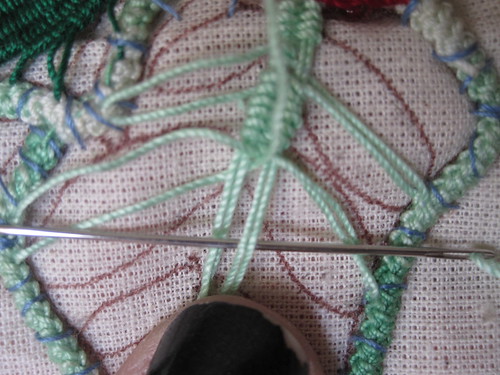
Make an arch at the bottom and weave up and down with your warp threads. The difference here is on that first one we wove between every pair of warps. here we are weaving over two sets of stitches and throwing one off the side after 6 complete passes of the weft. When you have an odd number of warp threads then the outside one has only 1 set of warp threads in it as opposed to the rest that have two.
When you get to the last set of warp threads use each individual string to weave teh rest of the way to the top
Filler Double bar review
Place a double bar up the center of the leaf refer back to filling stitches part 2 as to how to do this.
Filler stitches #10
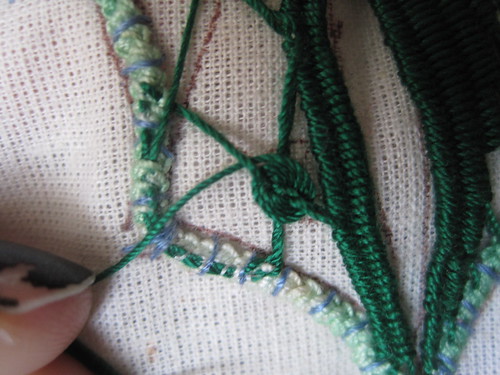
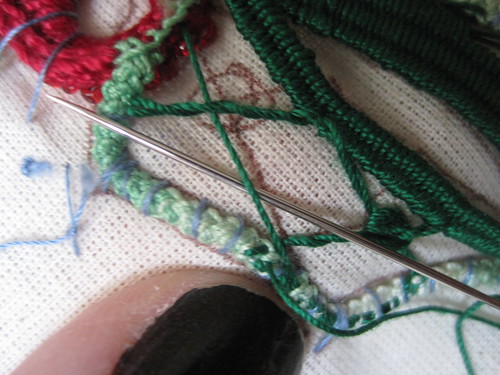
Follow the pattern covering each line once the second time you go over the patterns wind the two threads together by passing the needle over and around the first thread.
When you get to a junction weave around the 4 central spokes do not pull to tight or it will distort your circles.
Then continue with the weaving around the first laid thread
finished
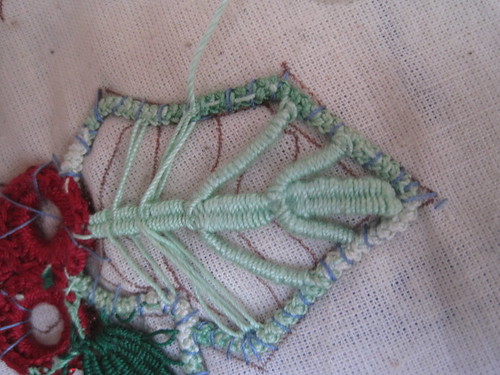
Filler Stitches leaf veins ( double bar and single bar) #11
In part 2 you learned about wrapping bars and double bars and wheat ear filling stitch review that before doing this.
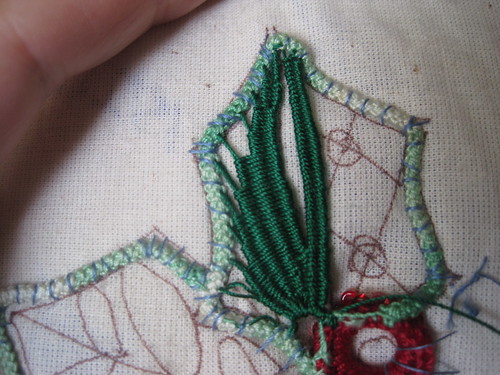
Work this as you did for the wheat ear stitch doing a double bar and adding parts as you go up.
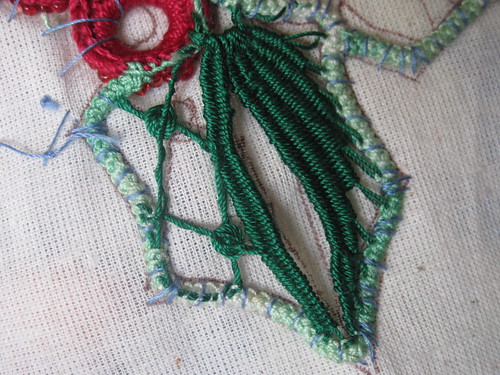
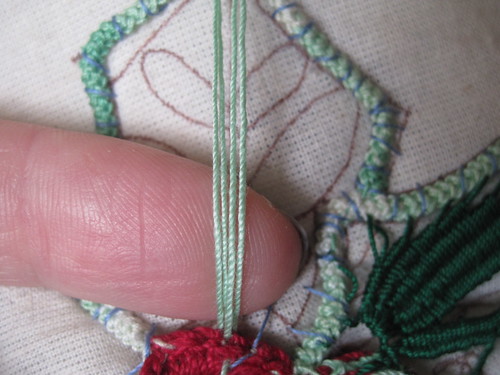
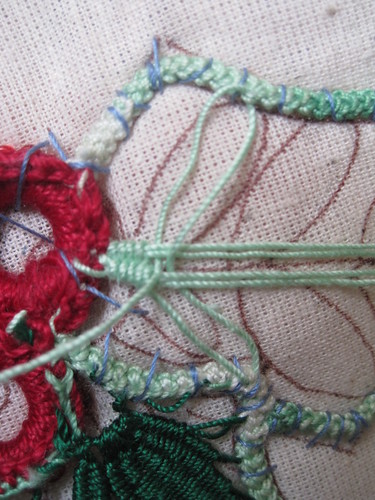
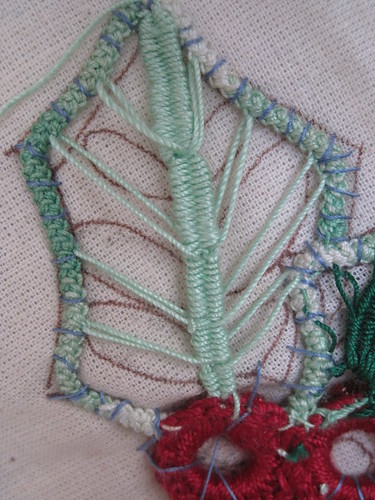
Do a few passes of the double bar then too each side of the central vain make a loop stitch connected to the cord around the leaf ending back at the central vain. These will pull up a little so give a little extra thread so when you go back to weaving the double vain it will sit where it should and not pull all the stitches upward towards the other end of the leaf
This is what it should look like after you have made the center vein and the side veins.
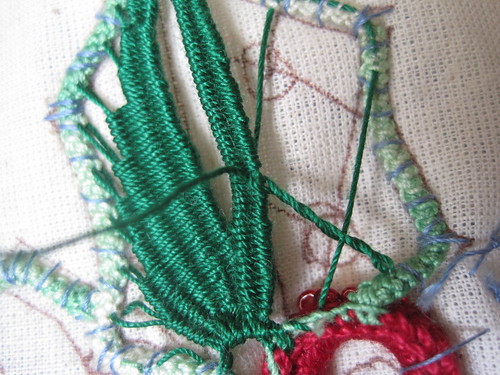
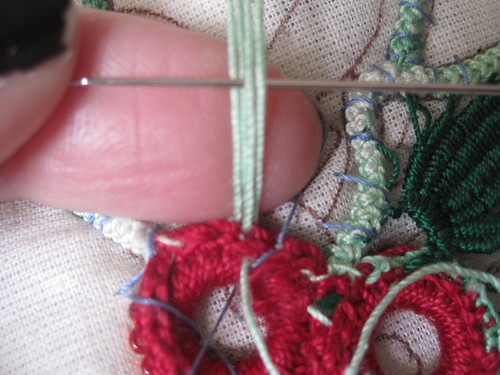
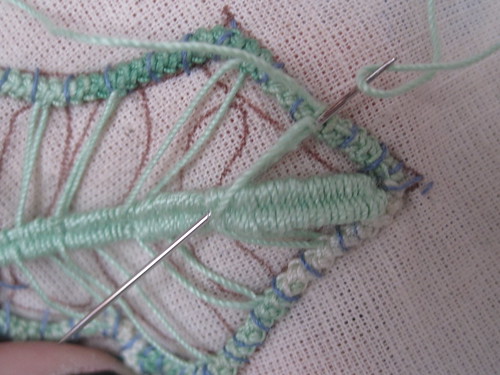
I wanted my the veins of the leaves to be more prominent that just two threads wrapped you are welcome to do 1, 2 , 3, or 4 much more than that is too much
so here you see me adding 2 more threads to get to 4 before I wrap mine
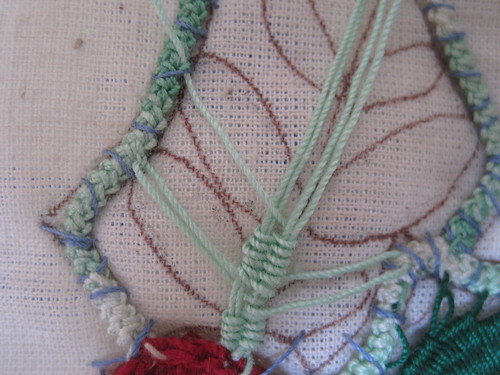
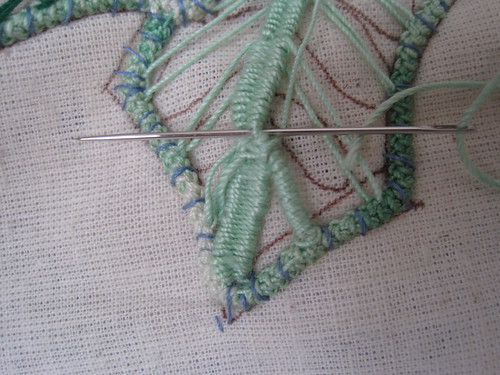
Wrap bars as how was done in Part 2
Continue to wrap the bars till all have been completed
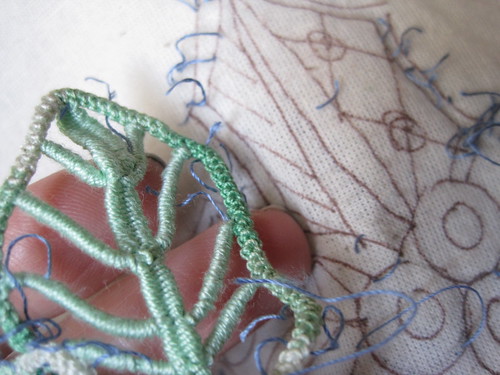
Remove from pattern and then remove basting threads.
Finished
Where do you want to go
friends and followers
If you like my blog and the free patterns and tutorials and want to say thank you
I have a wish list on ravelry of patterns (click here)
I would like to make. Thank you in advance for being kind and saying thank you back.
Love Sunshine
I have a wish list on ravelry of patterns (click here)
I would like to make. Thank you in advance for being kind and saying thank you back.
Love Sunshine
Search This Blog
Subscribe to:
Post Comments (Atom)
Copyright/permissions info
I like to share on this space my ideas and projects.
Please don't take ideas or photo and claim them as your work.
I am always happy to have new links to me. So if you like something just link back to me and give the source some credit thanks.
Any questions? just ask. I am happy to work with you if you need something
 This work is licensed under a Creative Commons Attribution-Noncommercial-No Derivative Works 3.0 Unported License.
2006-2019
Copyright Vintage Threads Inc.
All content and images.







No comments:
Post a Comment