

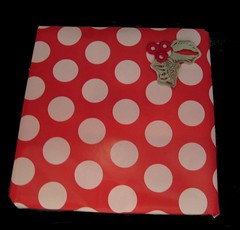
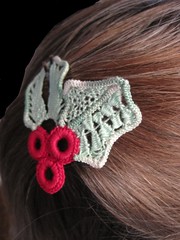
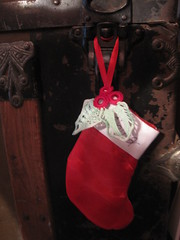
 For the next few days on here I will be posting about doing needle filling stitches in Romanian Point Lace. These stitches can be used in other types of needle lace as well such as tennerrife lace, batternberg, Retticella and other point laces like drawn thread work ...and so on. I am showing here a few ideas for these little motifs to be used as hair and tree ornaments, Embellishments for Christmas socks and clothes ie little girls dress or sweaters you can make it a pin and wear it on a winter hat or purse or a simply decorate a gift box (as one of the above ie make it a pin or hair clip or ornament then use it as a tag so the recipient gets a pretty gift then they can wear the item too). Please read on if you want to learn how to make these stitches and add them to your RPL.
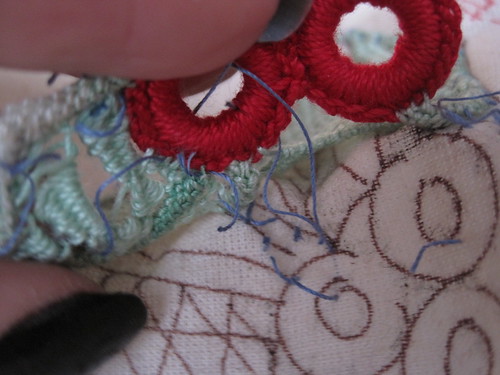
All decoration in Romanian Point lace is either crocheted or done with needle lace filling stitches. First we have to attach all the raw threads of the cords and the tails on the rings to the pattern this was demonstrated yesterday I didn't show how to finish the rings but it is weave tails in and cut thread.

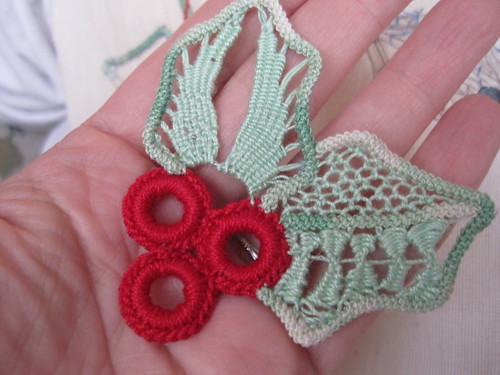
Filling #1
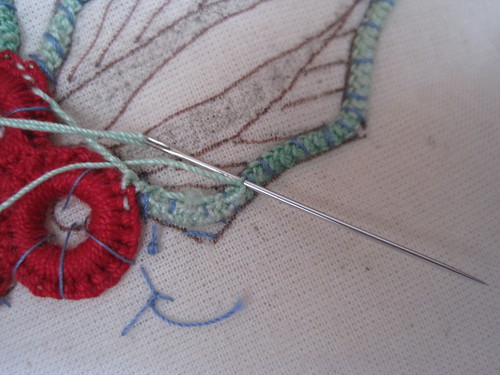
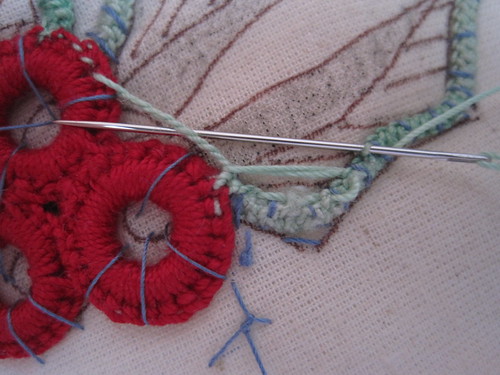
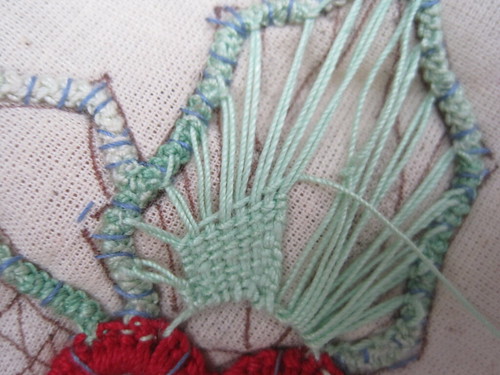
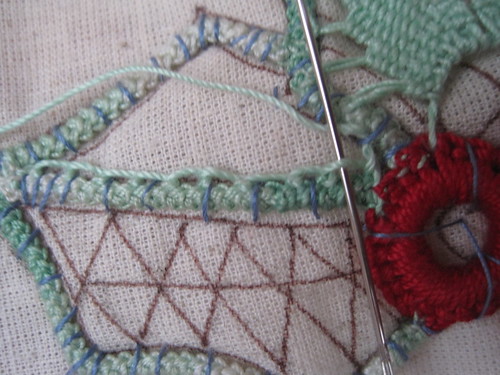
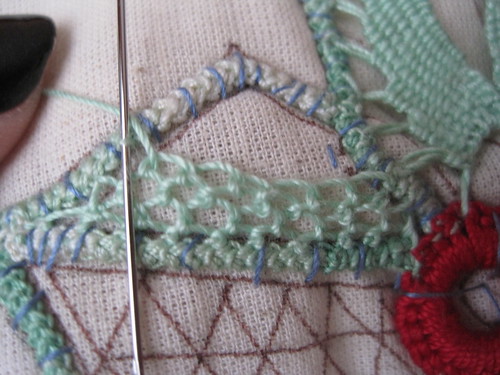
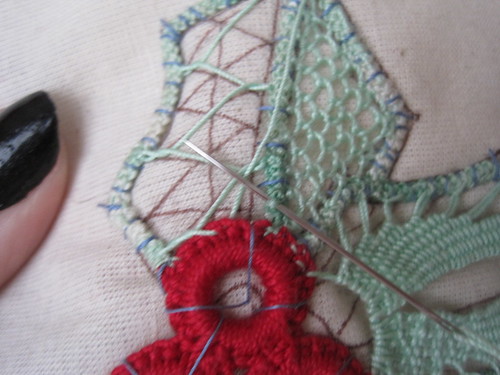
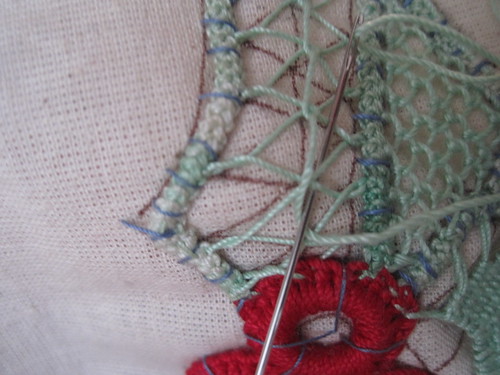
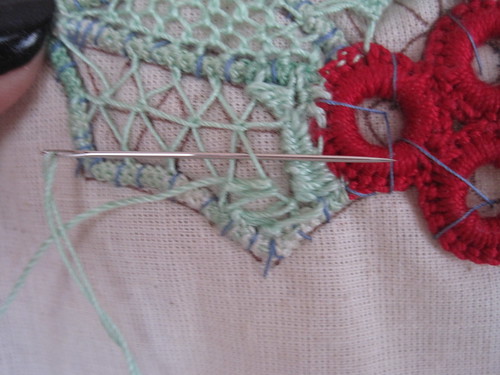
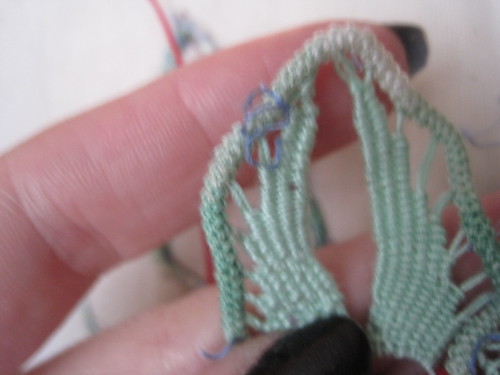
We are starting with the leaf on the right. First you weave in the tail of the thread just as shown in yesterdays video. Then you follow the diagram in the leaf and cross the thread at the bottom wrapping it around itself on the way back. Foundation made.
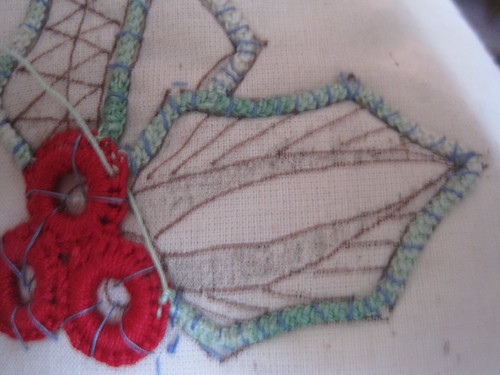

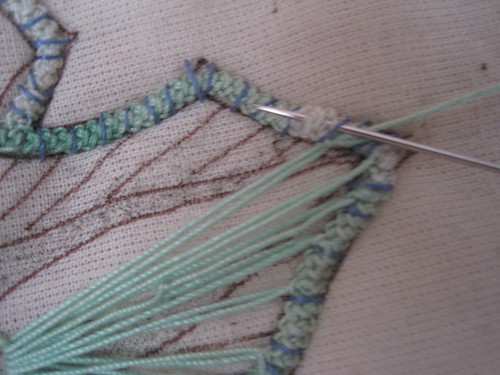
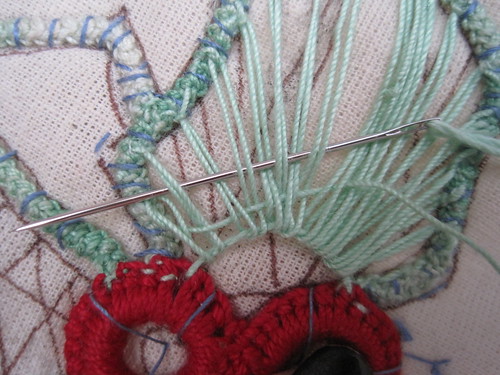
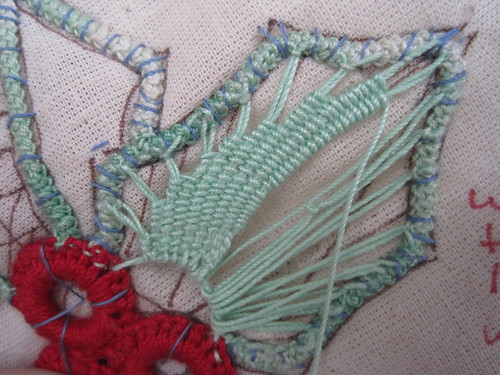
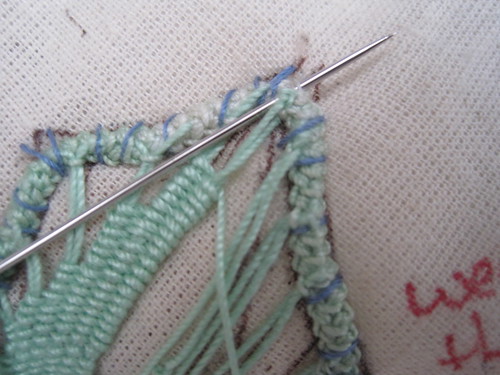
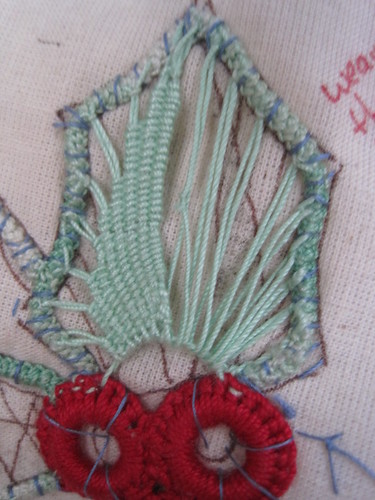
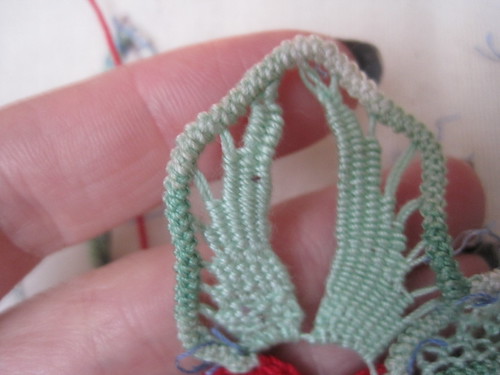
Now going back and forth and weaving in and out of the 8 sets of strands counting them as pairs weave 6 rows each direction. If you choose you can when doing the spokes above twist them the same as the foundation cord which would help you the first few times to see where it is you are weaving. I just chose to do mine loose but it is your piece and experiment with it and have fun. After doing 6 passed on all 8 spokes then drop a spoke. the outside one, and continue to weave 6 more passes , drop the next out side out and continue this pattern till you get to the last 3 spokes which then you weave 12 passes drop one and twelve passes again. Then do a blanket stitch on the last spoke and take the thread up to the cord and weave in the tail, cut, and finish that thread. If your thread is long enough you don't have to finish and cut the thread you can just weave it inside the cord to the correct spot to start the next half of the leaf.
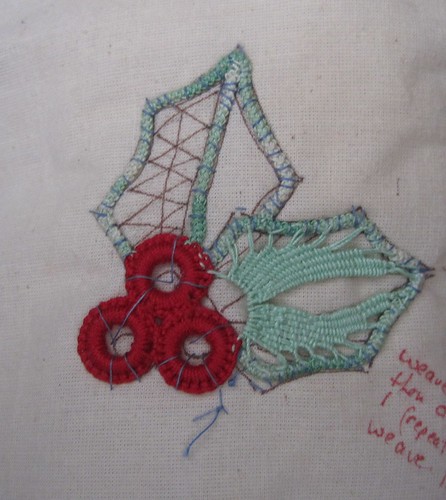
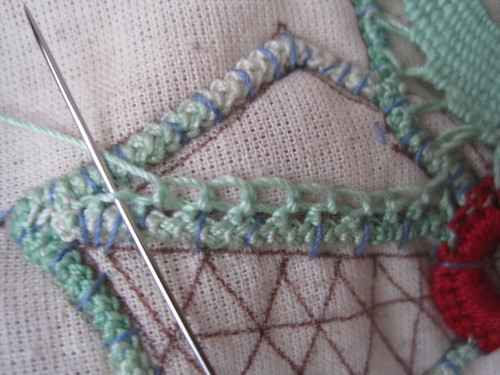
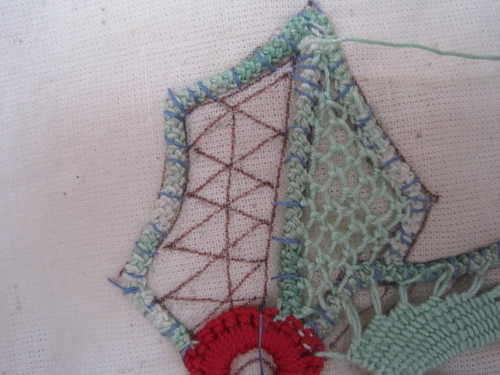
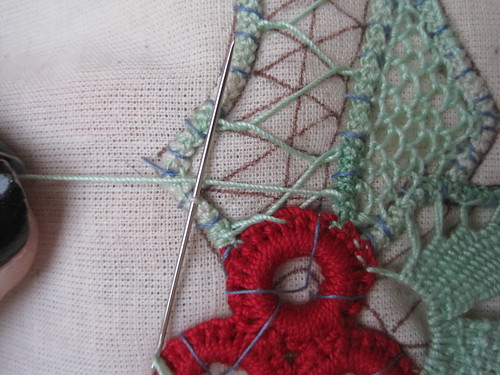
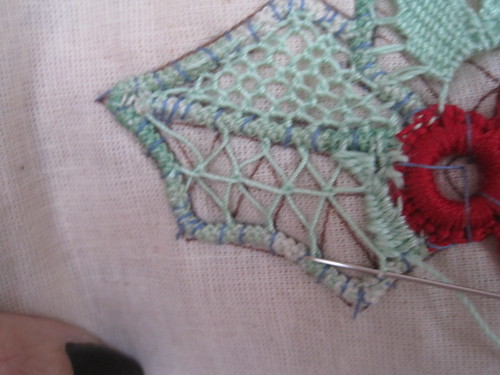
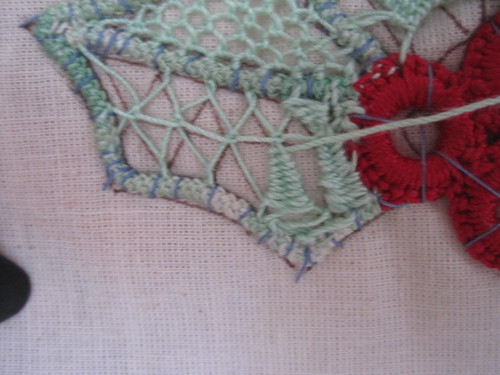
Filling #2 Blanket stitch filling
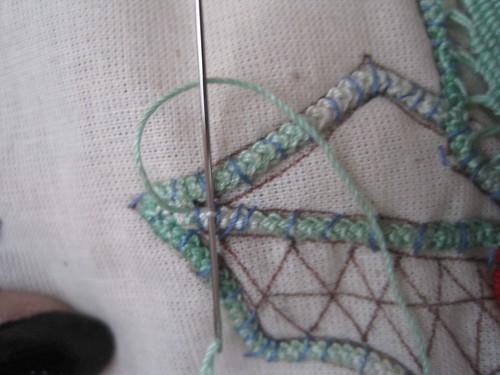
This stitch is similar to what you would put around a babies blanket but it doesn't go around it goes back and forth and you continue the pattern each row.
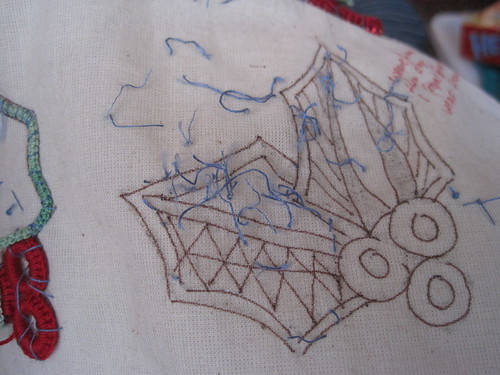
The solid area in this pattern no drawn in thread stitches is where we will be working this stitch the area just to the left in the last photo above.
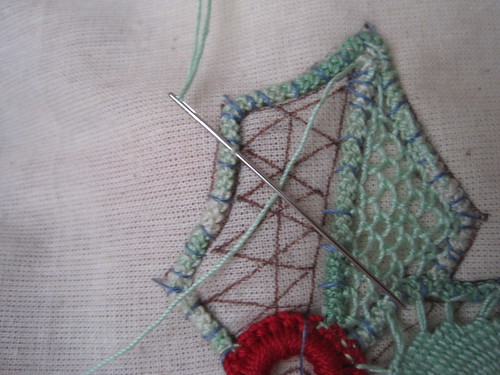
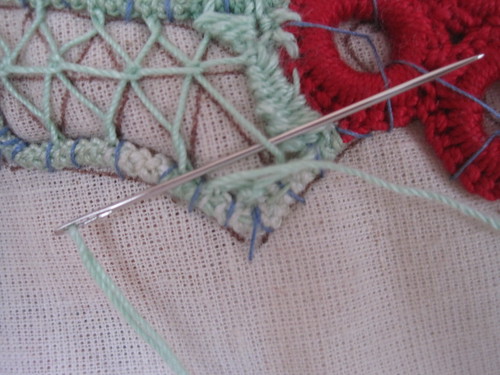
When working this stitch to the right make sure you are coming up inside the loop that is also on the right side of the work. I am skipping every other bar on the cord but you are welcome to go into each one if you want a tighter weave. Work all the way to the right then come back working into each loop. But on the way back the loop will be to the left continue working back and forth till the top weave in tail cut thread.
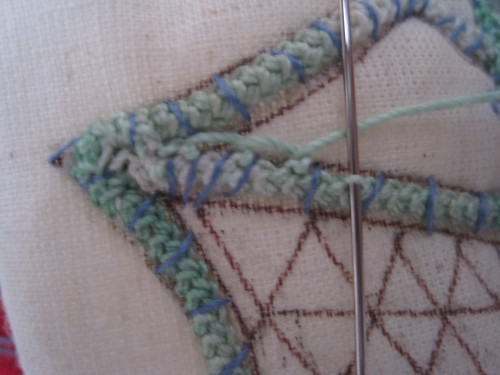
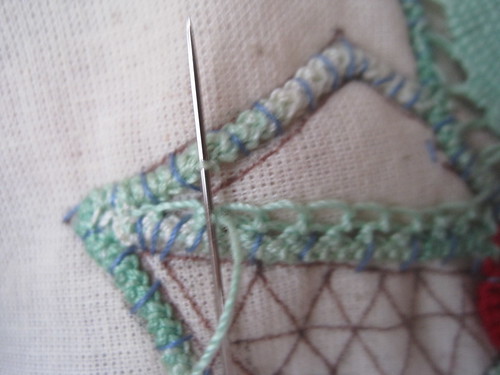

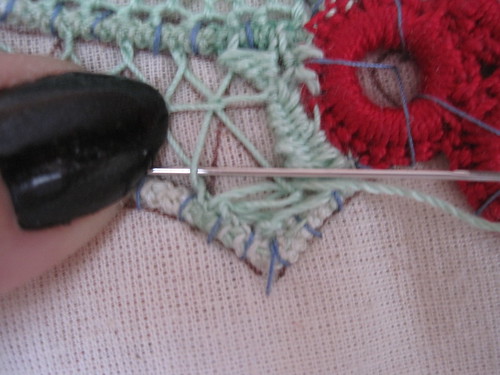
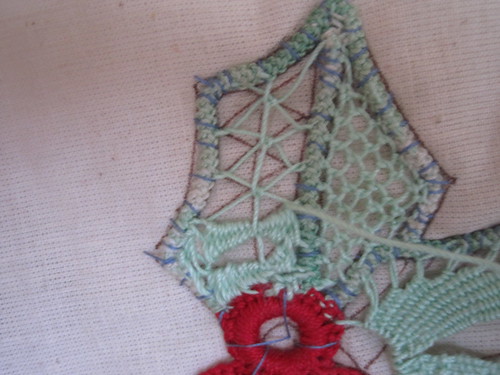
Which was set up to its starting point above we will be doing two rows of fagoting stitches. The fagoting stitches go side to side as you work down the thread should be below the needle. Always get that little twist where the thread goes into the cord that is the trademark of fagoting done correctly. You can follow the lines on the pattern to get your lay out.
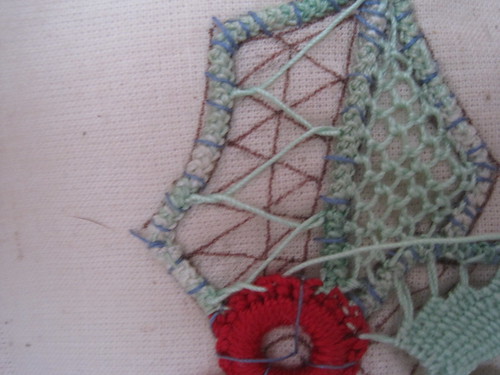
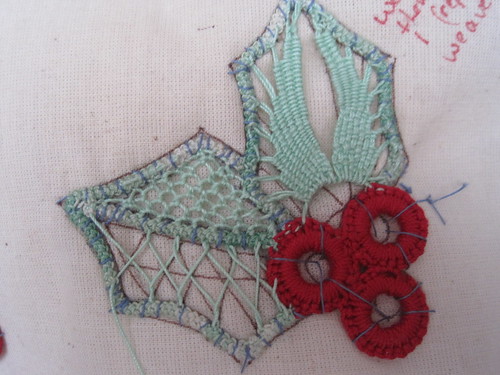
The stitch that goes down the center is a blanket stitch that travels down instead of sideways.
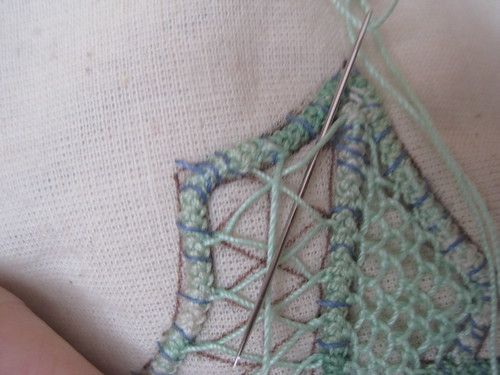
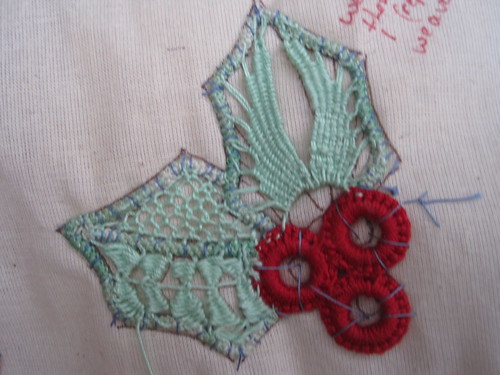
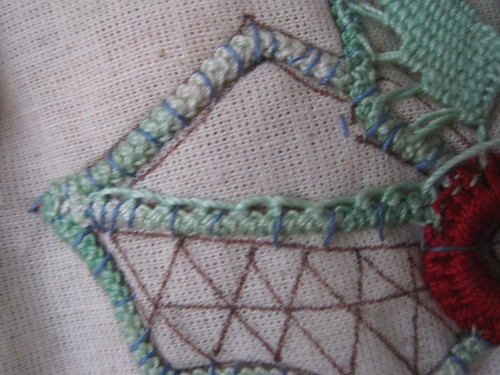
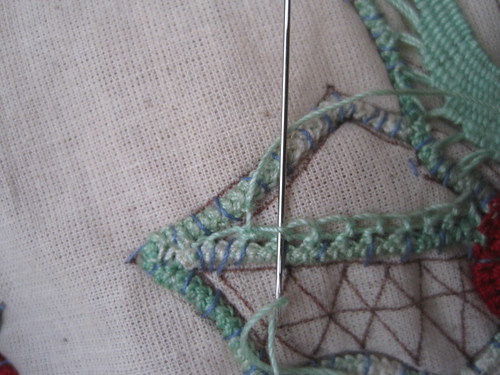
Removing Lace from pattern
Remove the basting threads being careful not to cut the lace or the pattern cut the threads only that you used to baste the cord and rings in place.
Thus releasing your lace from the fabric and the basting threads.
You will need to remove the threads from the pattern too so that you can use it again in the future.

Thank you so much for showing how it's done, it looks so intriguing! (I would throw my own work to the side and try this technique...)
ReplyDelete