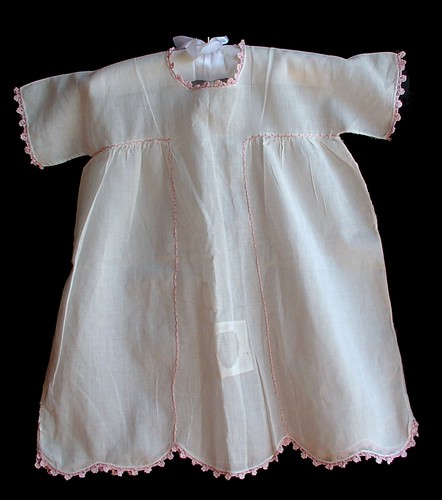
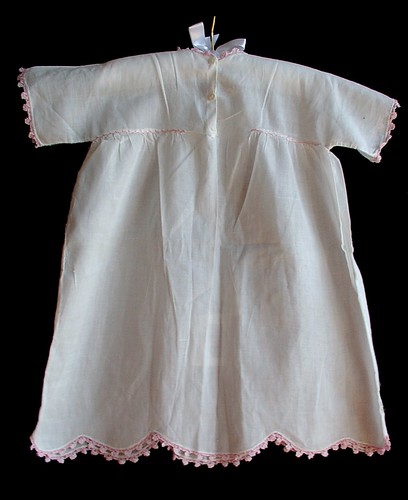
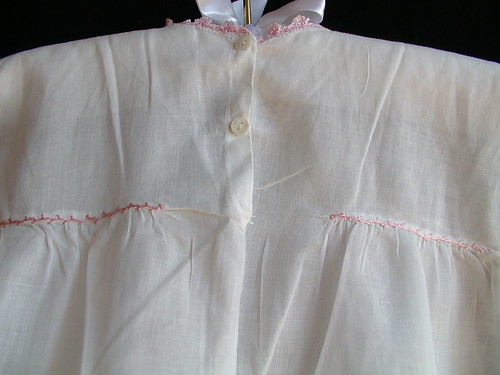
This is a real simple dress. Just how simple you say well it is cut from a single rectangle and then shaped from there. The sleeve are actually just slits in the sides of the rectangle then they are gathered and put in place. And the neck and button placket are also just a circle and a slit cut from the center of the rectangle There is one real long strip cut to make the button placket too that simple truly it is.
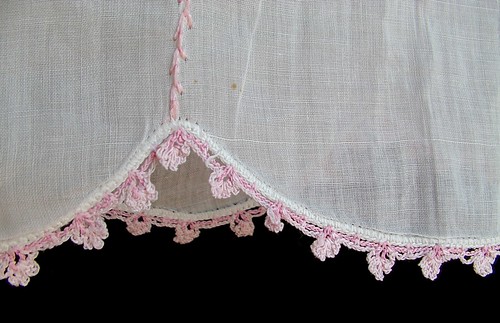
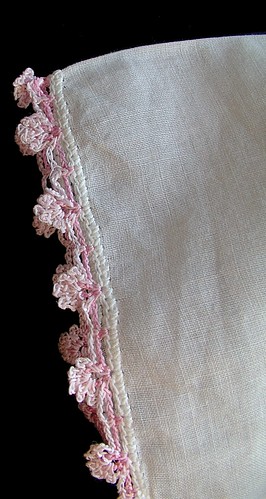
The hem and sleeves have some scalloping details too.
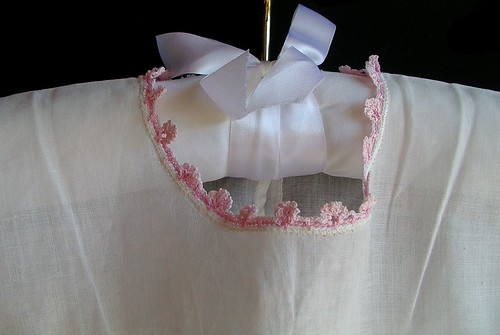
This dress has a simple crochet edging made up of three rows.
Pattern of crochet is
- single crochet around (neck, arms, and hem) in white crochet thread cut and finish thread
- (Change to main color to match embroidery ) sc in any stitch chain 3, skip 3 to 4 sc on previous round which ever works best (the crocheter was inconsistent ) to accommodate the curves, *sc in next sc, chain 5,sc in same stitch as last sc, chain 3, skip 3 or 4 sc,** repeat from star around end with an even number of sc. slip stitch to first sc, chain 1
- chain 3, *sc in next sc,ch 3 ,sc in loop 4 times, ch 3 sc in next sc at base of loop, ch 3** repeat around , slip stitch to starting stitch cut and finish threads
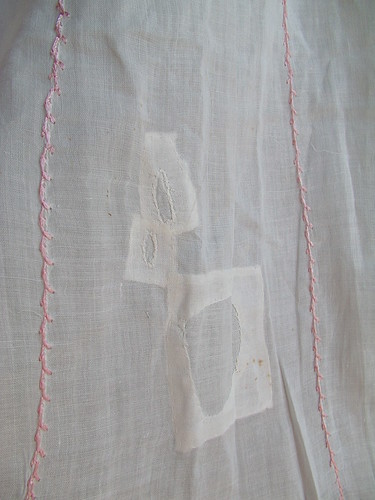
The front panel had some real old repairs on it that cane with it when I bought it. This is how I had thought that I would have done the repairs on my mother-in-laws as it isn't to noticeable once a white slip is under the dress. But looking at it without the slip I think for this dress I would have bought some insertion lace and sewed two thin strips together or purchase one big wide piece and sewn them to the front of this gown down the panel and just removed the damaged part all together. Instead of having this repair as the other way it would not have been noticeable at all it would have just looked like it was meant to be that way.


No comments:
Post a Comment