[google6a7b7d93c7100df5.html] Sunshine's Creations.Vintage Threads Inc.com: Part 7: Ending in a taper/hemostat tool

friends and followers

If you like my blog and the free patterns and tutorials and want to say thank you
I have a wish list on ravelry of patterns (click here)
I would like to make.
Thank you in advance for being kind and saying thank you back.

Love Sunshine

Search This Blog

Saturday, June 21, 2008

Part 7: Ending in a taper/hemostat tool

Well, finally part 7 of the rug tutorial. In this part you will need to have a hemostat; you can get these at most medical supply stores or your family doctor. This tool aids in pulling the tails into the rug when finishing your last round before the two butted rows.
hemostat used in finishing a rug
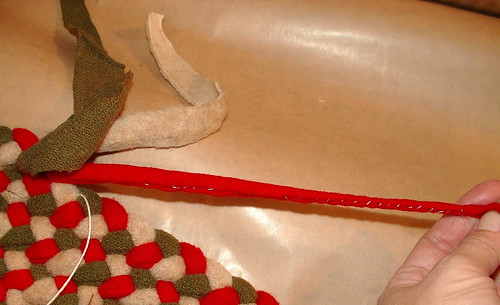
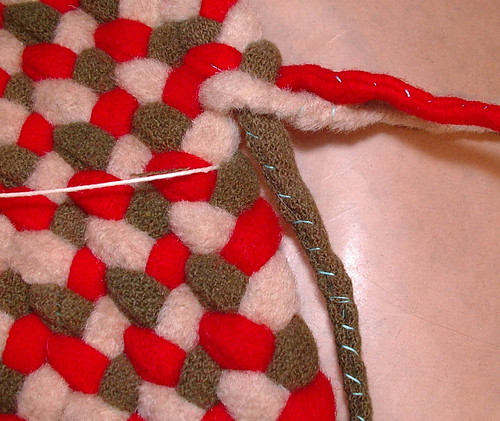
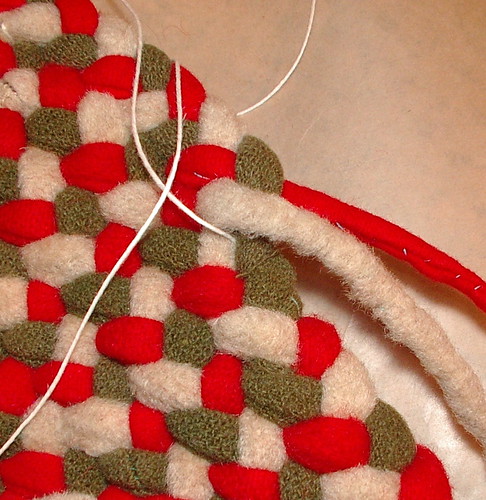
When you have braided the rug to the length you want, cut the braid.
imgp7932
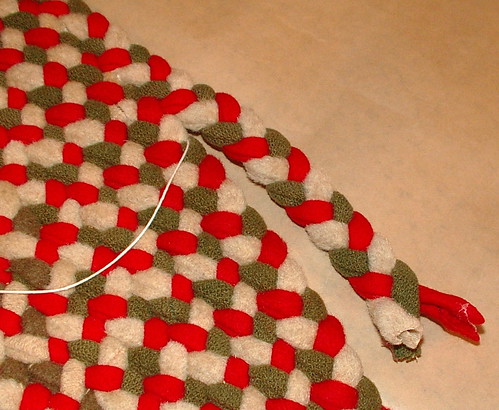
Unbraid the last 12 inches of the braid,
imgp7933
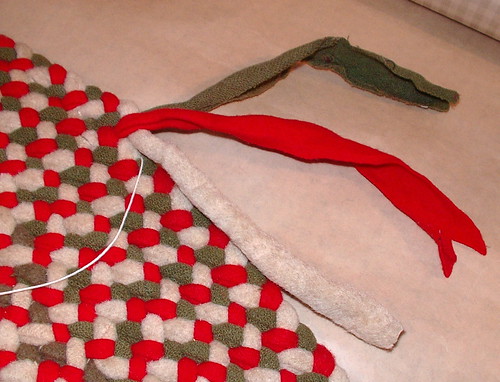
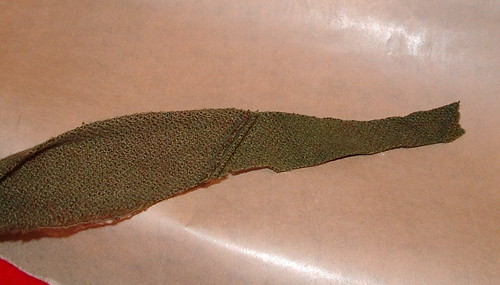
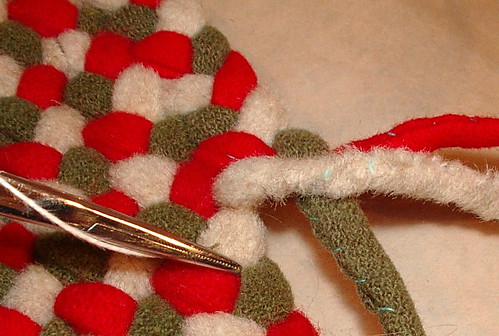
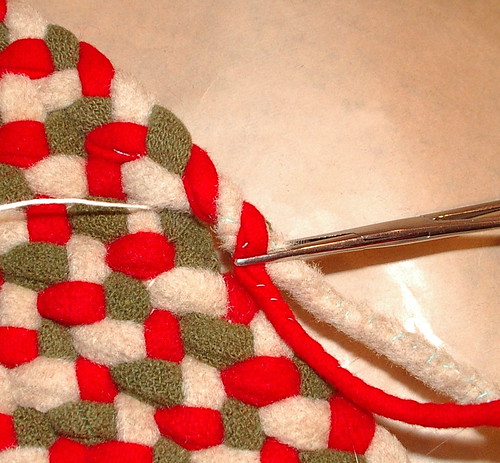
then trim each piece of the braid. Trim both sides so that they tapper down to a point. I am showing, also, that you are not supposed to use one that has a seam in the middle of it because it makes it hard to braid one so skinny that has a seam. My other two do not have a seam in them; that is the preferred way.
imgp7934
imgp7935
imgp7936
Pull each stand of the braid and fold the sides over and whip stitch closed. I am using blue for the tutorial; please make your thread match the color of your fabric. Do this to all three strands of the braid
imgp7938
imgp7939
imgp7942
imgp7944
Here I braided them together, so you can see how the braid gets skinnier now. However, this is not needed for braiding the rug, so I have to un-braid this part and continue with tutorial.
imgp7945
imgp7946
See above photo where the linen cord is coming out of the rug; this is where we will pick up on our rug. The hemostat in the below photo shows where the green strand is going to be woven into the rug.
imgp7947
This next picture shows the hemostat going through the space between the braids to pull the green strand into the rug.
imgp7950
Here it is being pulled through.
imgp7951
Repeat 'till it has gone through about 5 to 7 loops on the rug
imgp7952
When you have it as far as you want to in weaving it in, cut it close to the rug and make sure the tail is tucked in and not visible.
imgp7953
Now do a few apple peels to get to the next color to be woven in; in this case, the red.
imgp7954
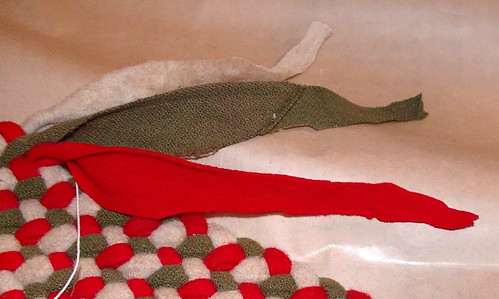
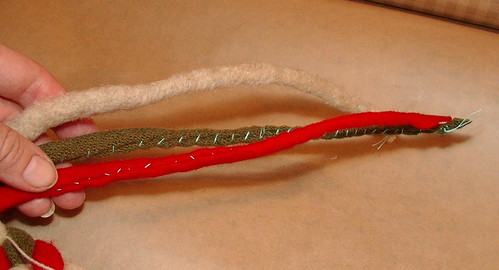
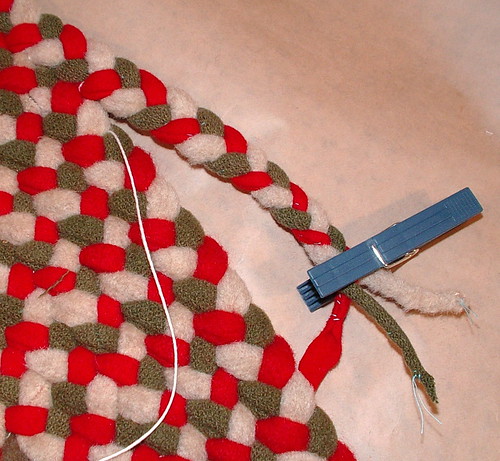
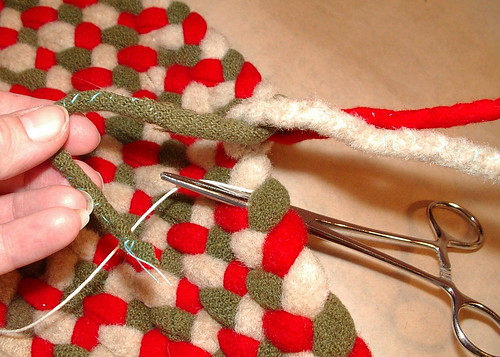
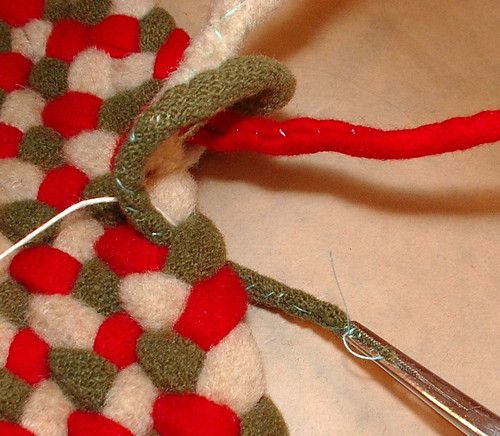
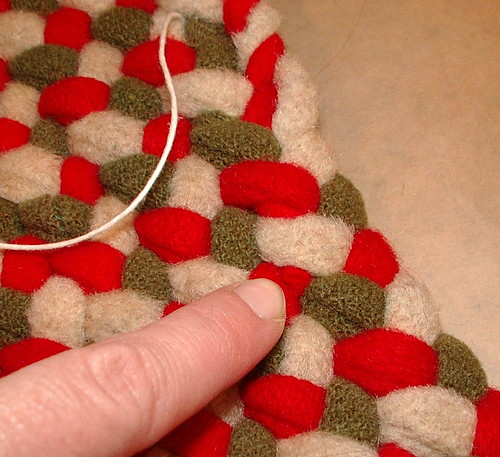
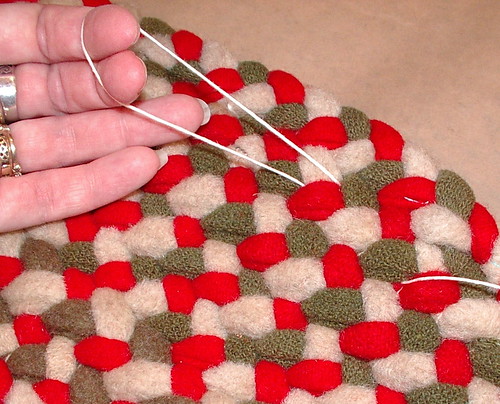
Repeat with the last color. After you are done, make sure and check to see if your ends are cut close enough not to be seen. As you can tell, I need to tuck the red one in or cut it closer. To cut closer, grab hemostat, pull on it hard, and cut below hemostat then let the strand pull back into the rug.
imgp7956
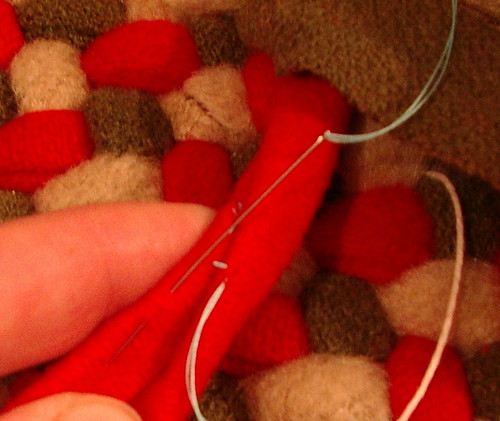
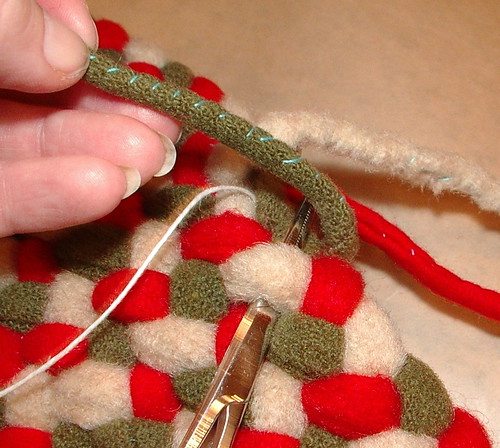
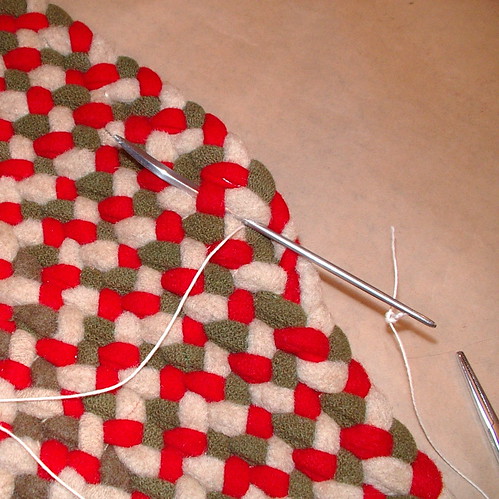
Remember that linen cord that is holding the rug together up 'till this point? Well, now you have to weave its tail into the rug, as well. This is much easier to do than the strands from the braid. Just insert your needle into the next loop and go under about 5 loops this way, then make a u-turn and go under about 3 to 5 in the opposite direction; cut the thread and you're done with this step.
imgp7957
imgp7958
imgp7959
Part 1: Prep work and cutting fabric
Part 2: Will be about sewing the strips together and forming reels
Part 3: About starting a t-started rug
Part 4: How to start a round rug, apple peel style
Part 5: Sewing and increases / tools
Part 6: How to change colors
Part 7: Ending in a taper/hemostat tool
Part 8: Butting last one or two rows of the rug for a smooth finish
DO NOT USE THIS PATTERN TO MAKE THINGS TO SELL FOR PERSONAL USE ONLY!!!!

5 comments:

  1. Very cool tutorial - read thru it all. Was looking for a store bought rug but love making my own things and stumbled across your tutorial. Looks like really hard work but I would like to give it a try. Thank you for posting this!
    -Carly
    Fort Worth, TX

    ReplyDelete
  2. Your explanation is awesome. I am so motivated that this week would start making a rug for my tv room. Thanks a lot !!
    Gaby.

    ReplyDelete
  3. carly hope you did make your rug instead of buying it is fun to say I enjoyed making it when people comment on a rug I have done.
    gabriela hope yours came out well too how big did it get

    ReplyDelete
  4. Great tutorial!! Can you please tell me how many yards of wool I would need for an 8 foot round rug?? Thank you!

    ReplyDelete
  5. ruffly 5 pound per square foot so figure out your square footage and times by 5 for a rough estimate on pounds

    ReplyDelete

Copyright/permissions info

I like to share on this space my ideas and projects.
Please don't take ideas or photo and claim them as your work.
I am always happy to have new links to me.  So if you like something just link back to me and give the source some credit thanks.
Any questions? just ask. I am happy to work with you if you need something
Creative Commons License This work is licensed under a Creative Commons Attribution-Noncommercial-No Derivative Works 3.0 Unported License. 2006-2019 Copyright Vintage Threads Inc. All content and images.

LinkWithin

Related Posts Plugin for WordPress, Blogger...