
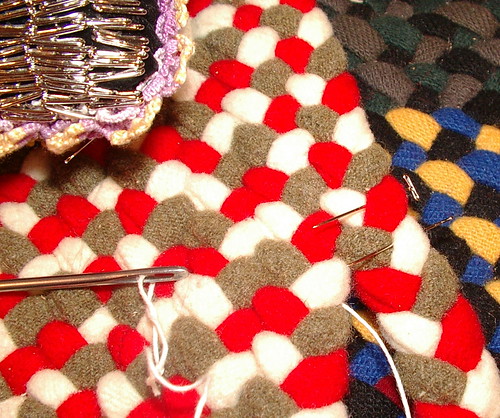
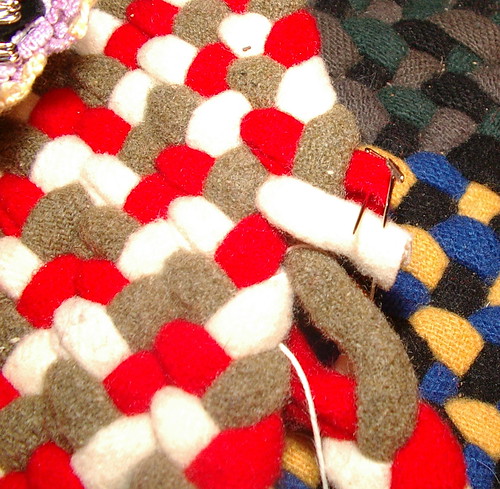
In my case, at this point in the rug I wanted to change two strands because I like to let the fabric sometimes dictate when I change colors. In this case, two colors are not able to make another complete round. Place a T pin in the piece of the braid you want to cut; you can change 1, 2, or all 3 strands at the same time. I have also made rugs where I change all three colors every round. That is a lot of work, but the results are amazing.
Place the T on the outside of the braid and place it close to the edge of the braid over lapping it. The pin placement is important, because when you cut this spot and sew, your seam should lay under the strand next to it ,and the join cannot be seen from either side of the rug. The colors change where you cannot see them.

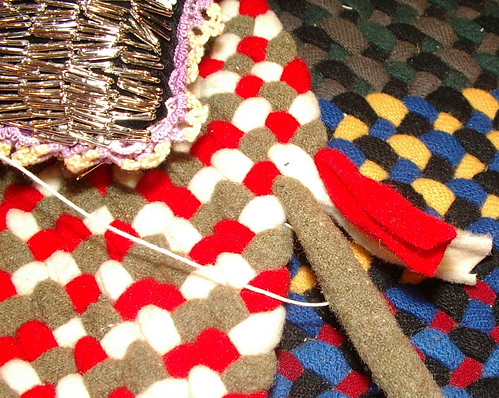
Now, cut your fabric to the right of the pins.
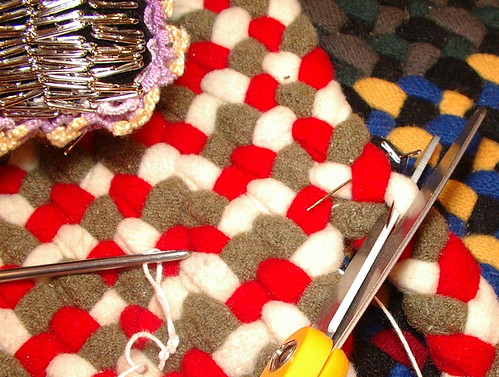
Unbraid and unlace a few inches back at this point to make it easier to add on your new fabric. I am changing white for tan and red for a brick red plaid.
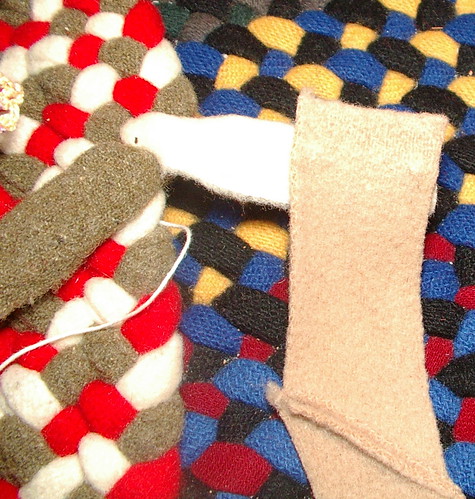
The way you add fabric is the same way you started the rug, with the 45-degree angle to stitch two pieces together. I stitch this by hand when adding a new color; when just joining the same color, I do that by machine. The reason for the different ways is that when I am just adding the same color, I can do that at any time and have a long enough length to take to the machine. When changing colors, I am about 5 inches from where the rug is braided and laced together, making it hard to manipulate at the machine. I have done it both ways. If I have my machine sitting on the floor, then it is sometimes easier to do this step on a machine. When making a jean rug, if you plan to change color every round it is a good suggestion to set your machine on the floor next to where you want to change colors, because stitching through jean is hard on the hands; wool is easy. I did mine scrappy on the jean, so it didn't matter.
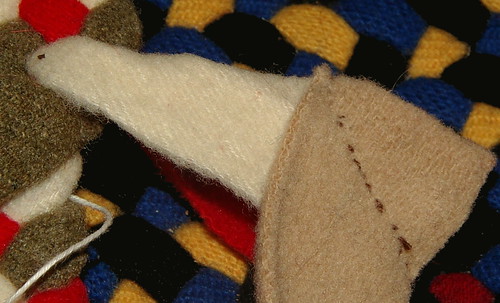
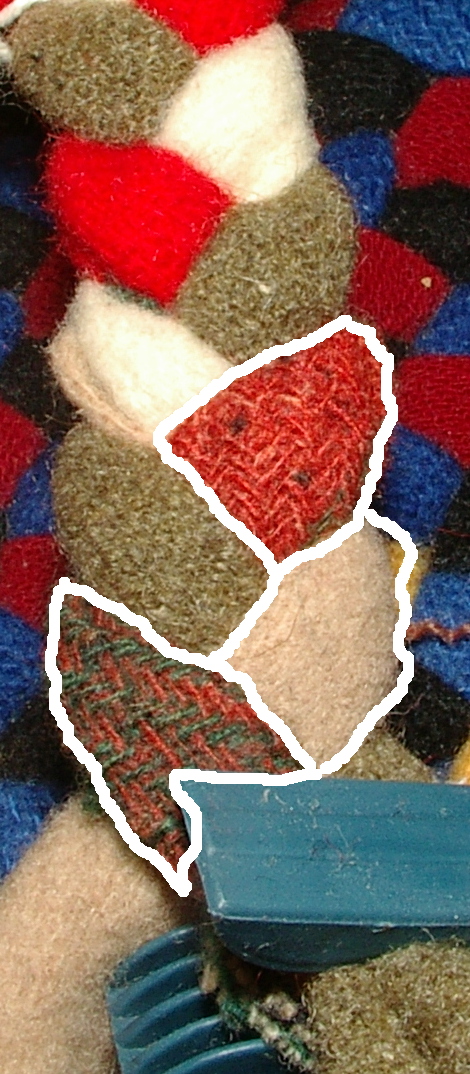
In these two photos I have traced (not well mind you) the two new pieces of fabric that have been changed changed. This is so you can see; because of where we cut it, the old colors disappear at an angle into the center, making them blend better when laced together making the color change harder to see in the rug.
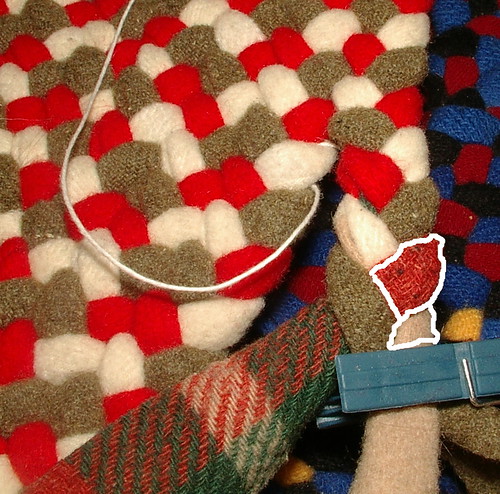
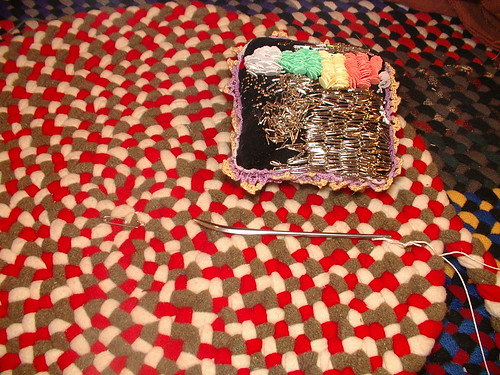
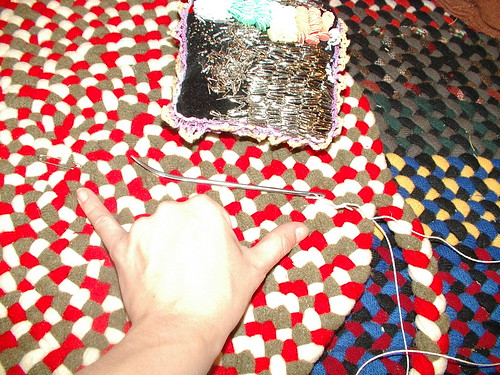
On a side note, another tool I use is a clothes pin. When I want to set my work down and not have the braid undo itself, I just place a clothes pin over the ends. This saves redoing a few braids each time you stop.
Part 1: Prep work and cutting fabric
Part 2: Will be about sewing the strips together and forming reels
Part 3: About starting a t-started rug
Part 4: How to start a round rug, apple peel style
Part 5: Sewing and increases / tools
Part 6: How to change colors
Part 7: Ending in a taper
Part 8: Butting last one or two rows of the rug for a smooth finish
DO NOT USE THIS PATTERN TO MAKE THINGS TO SELL FOR PERSONAL USE ONLY!!!!

Wendy, Thank you for all of these tutorials. Very helpful and informative.
ReplyDelete