
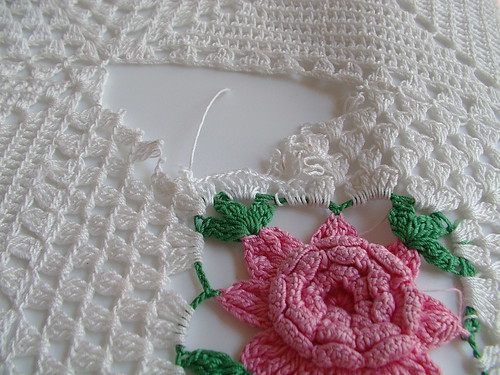
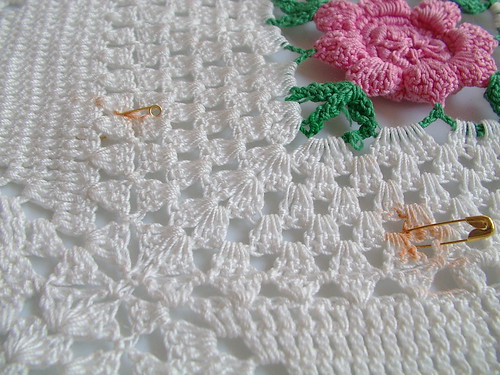
Someones previous attempt at a repair with needle and thread. Do not repair this way it is more damage to the piece as it splits threads and you have to cut out more of the afghan to do a repair that doesn't do this type of damage or bulk.
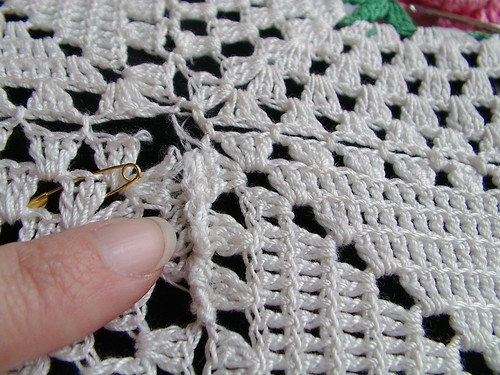
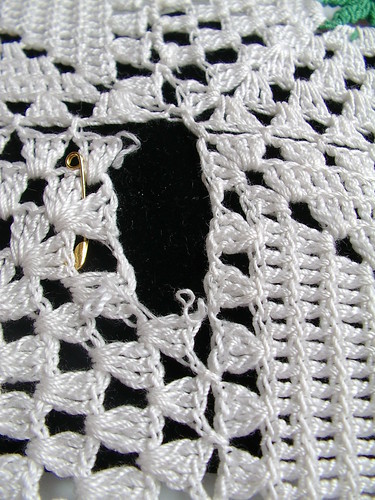
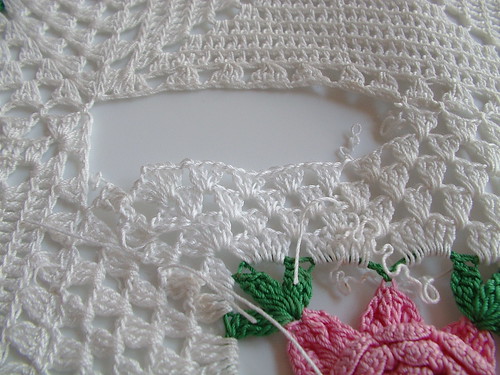
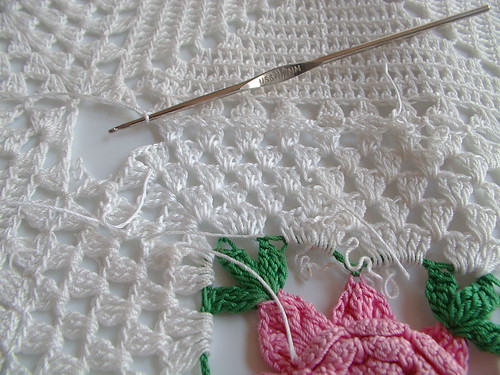
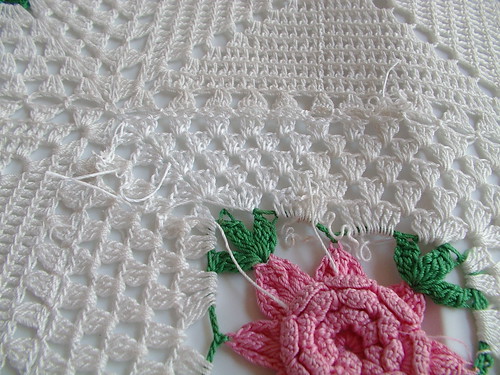
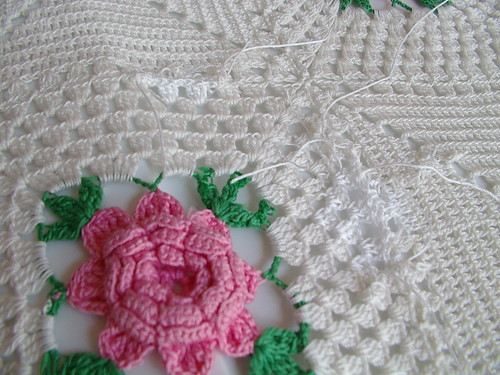
Crocheting back in because this stain went all the way to the edge of the block no weave in required but lots of adding of thread. You add thread the way you would change a color in the last yarn over of the previous stitch. Also you do a slip stitch into the next stitch when finishing a thread off. You know basic crochet stuff there but just in case someone has that question.
1 round

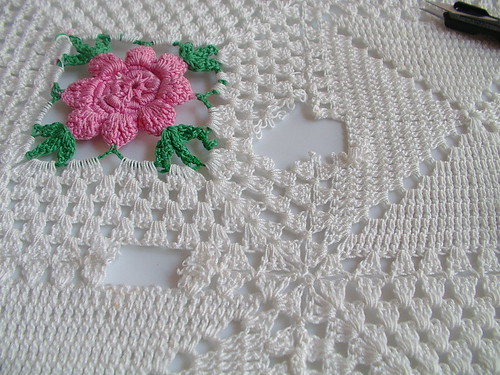
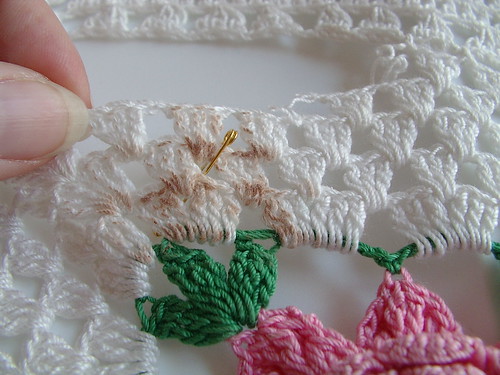
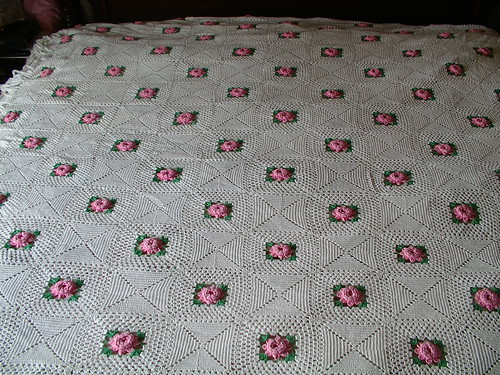
The things one learns when working on repairs. I can tell someone tried to repair this before with a needle and thread and lots of knots not what I would recommend doing to an heirloom. Also this was a very used blanket. The person who had it first used it all the time and they got in and out of their bed on the right side of the afghan (when standing at the foot of the bed looking at it, left side if you are laying in bed looking at the ceiling) they sat on the blanket a lot, lots of wear on the middle and that one edge. They didn't fold it down at night to save it but pulled it up over them selves as all the damaged is at the head end of the afghan and the right side. Also the person who made it stopped for a long time and went back to working on it and forgot what size hook they had been using because there are two rows that have a bigger stitches and the roses are a different size than all the rest. Found out they ran out of green because there are two different greens in the afghan not nicely spaced all clumped together. Funny the things you learn when actually examining a piece of work this big. Also found out the original crochet was not found of finishing threads in a secure way as most have worked themselves out. I do not recommend just crocheting over thread ends weave some of them backwards it makes them stronger.
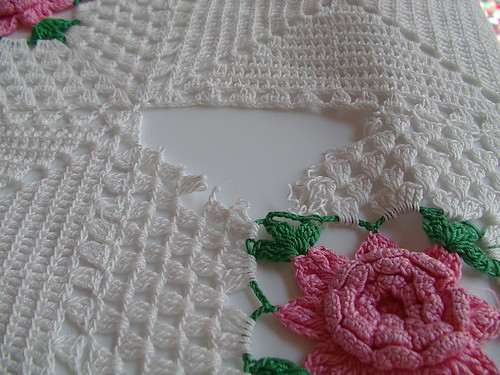
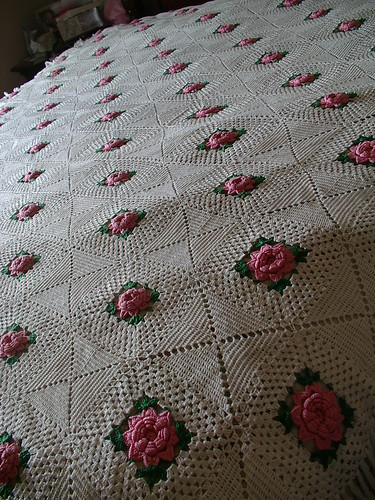
All done photos.


15 hours of repairs
Tutorials on this repair
IntroPart 1
Part 2
Part 3
Part 4 this post

that's so cool how this old work told a story. I'm glad to see it got used. maybe abused but still used. :)
ReplyDeleteWow...it looks fabulous. I am truly impressed.
ReplyDeleteThat is amazing. What talent and patience you have.
ReplyDeleteCal x
Incredible work! You've done a beautiful job of restoring this lovely afghan.
ReplyDeleteThat is such a beautiful afghan/quilt. I'm glad you could restore it!
ReplyDeleteAs always, you have done an outstanding job on this tutorial!
ReplyDeleteThank you.
I have a couple of 'tablecloths' to repair and these instructions are so clear that I will dare get those UFOs out. ^__^
Beautiful work! This is going to be so helpful to me - my parents recently asked me to repair an afghan of theirs which is in terrible shape. Thank-you!
ReplyDeleteThat was a really interesting post. Thank you!
ReplyDeleteThank you so much for this tutorial. I've learned quite a bit from it, and you've done such a wonderful job of repairing this beautiful heirloom.
ReplyDeleteI've learned a lot with your tutorial! thankyou!
ReplyDeleteLauri
My mother made this bedspread years ago. I remember that it took her over 5 years to do it, in her "spare time". At one point, she ran out of the white thread, but after much seeking on her part, she found a store owner who was able to order some in the right dye lot. The bedspread has been well cared for, and is the care of my brother and his wife.
ReplyDeleteI have the orginal pattern booklet and her full set of Leewards hooks that she used. Hopefully, I will never need these instructions, but I so appreciate your time and talent in restoring an heirloom and the posting of the instructions. Thanks so much!
I have my Mothers bedspread made with red roses. It will need several repairs. I have put it off for several years, because I did not have the original pattern. Thanks to you, I have it now. I didn't think to look for vintage threads at flea markets. Now I can start repairing a very treasured bedspread. Thanks for all of the tips.
ReplyDeletegood luck with the repairs
ReplyDeleteOutstanding tutorials. Thank you so much for posting these. I have to do a very small repair on a bedspread I made nine years ago. I had no idea how to tackle it. Although I am still nervous about tackling it, I am much more confident. Your work is wonderful. Bravo :-)
ReplyDeleteThank you for this tutorial. I do crochet small lace items (snowflakes). I was asked by a friend to mend a round lace table cloth that her grandmother made. It was started with one shade of white thread but on the outer edge it has a different shade of thread. I wasn't sure where to start but I will use your tips to work on this project. I do have a smaller one from my mother in law that I will practice on first.
ReplyDelete