
 I decided to make a tutorial for those of you that might have this item from a thrift store but don't have the instructions.
Steps
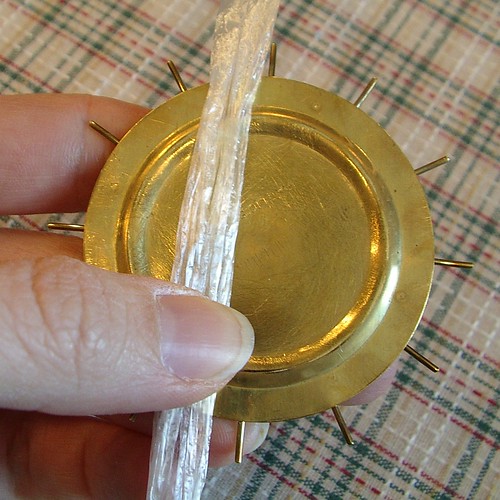
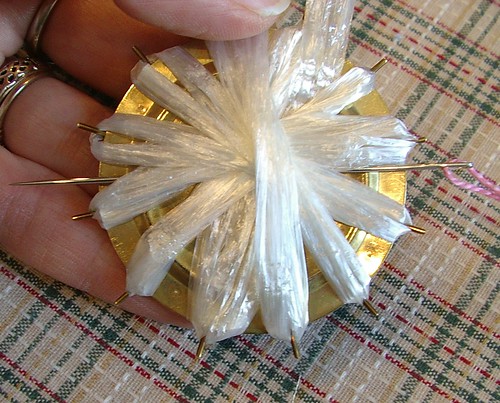
- Lay straw across loom from bottom to top. You can also use yarn or any other fabric type material that will bend nicely around spokes.
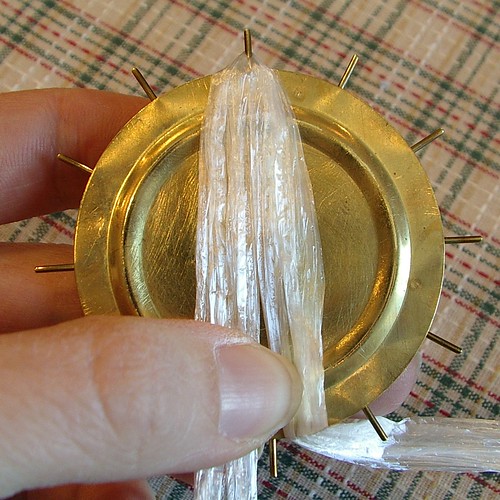
- Bring straw back to bottom of loom. Moving straw from left to right behind spoke. Then wrap the next spoke on the bottom left moving straw from right to left behind spoke.
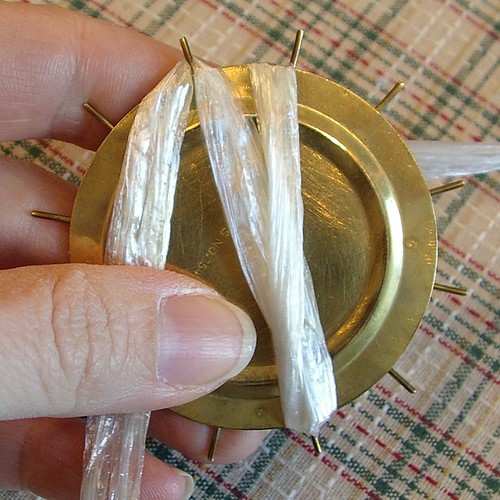
- Moving to next spoke at the top right wrap straw around it and go back down to bottom. This time you wrap the spoke to the left of the last one you did on the bottom.
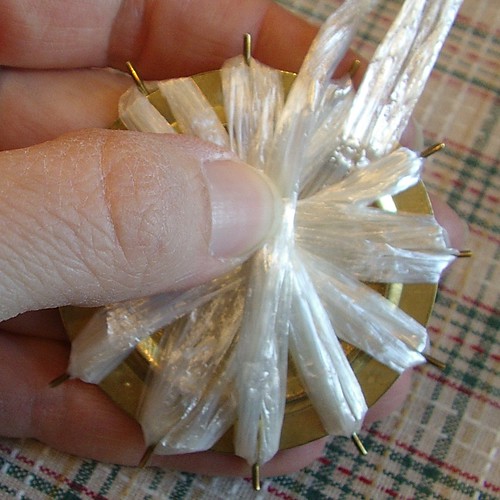
- Repeat last step all the way around

- You will finish wrapping your straw to the left and on the opposite side of the loom from the first wrap. The two tails should be next to each other. If you are using yarn or something like that you can go around the spokes 1 or two more times to have a petal with 24 or 36 petals instead of 12 like one row has. If you do this make sure to fluff flower at the end and separate the petals they tend to get stuck together.
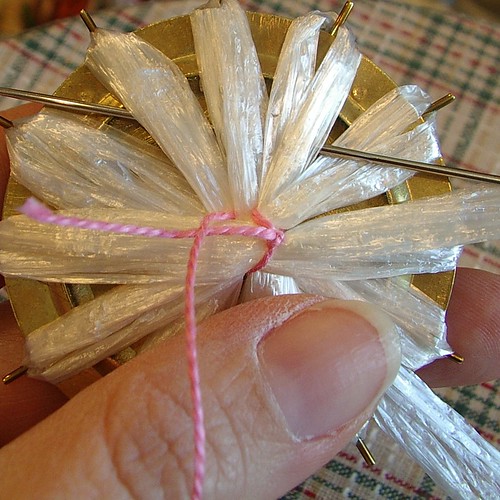
- Have needle threaded with pearl cotton ahead of time and make sure your needle is longer than your loom is wide.

- Pass needle under all the straw.
- Tie pearl cotton in knot. You are looking at the back of your work and are working from the back knots won't show on front when completed.

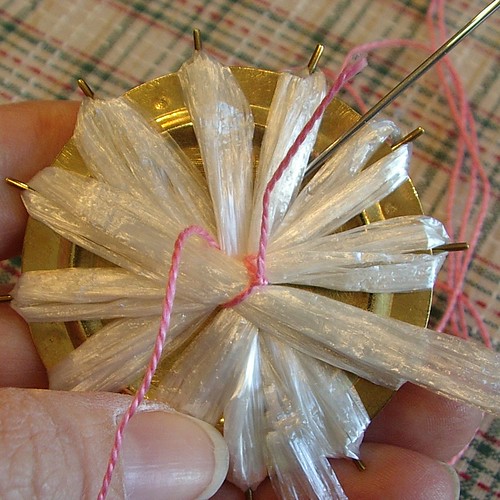
- Pass needle from right to left under 3 petals of flower.
- Bring needle up and go back under last two petals and pick up one new one to the left of the last petal from the previous round. You will be rotating the flower in a clockwise direction with each pass of the needle.
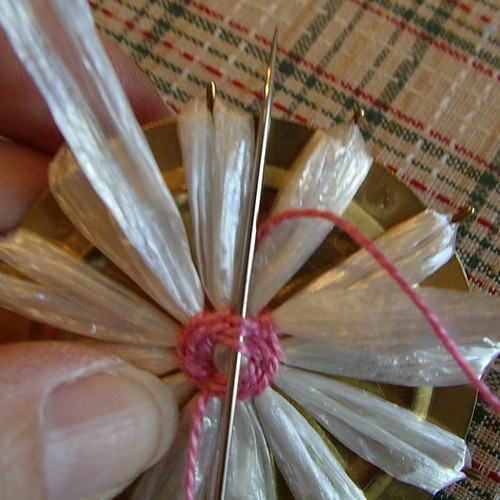
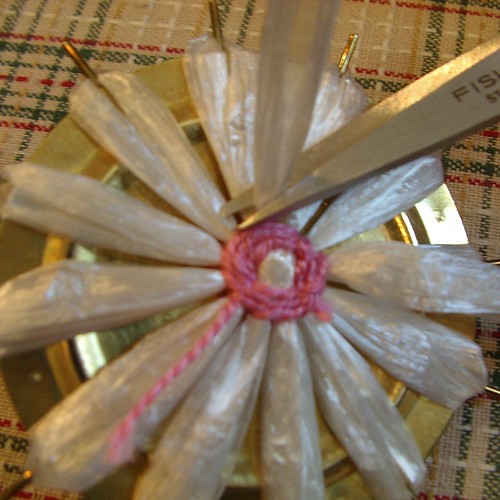
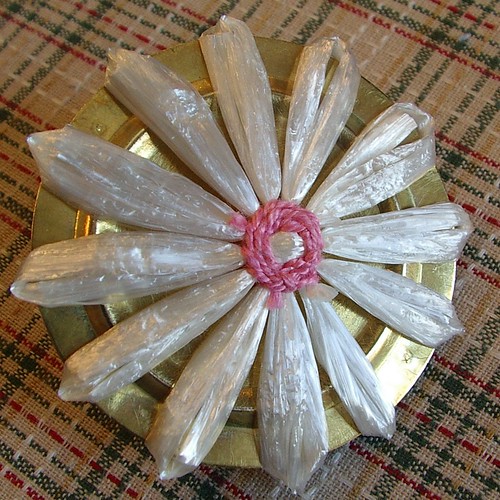
- Continue this till you have 3 completed rounds of pearl cotton forming your center of your flowers and holding everything together .

- Finish thread by weaving it in and out of the pearl cotton do this about 5 times in different spots on the back. I like to do mine in the space between each set of petals and work my way around to each space.
- Cut straw and pearl cotton. You can make it more secure by using fray check or something like that.
- If using fray check let it dry. You can also do this step off the loom.
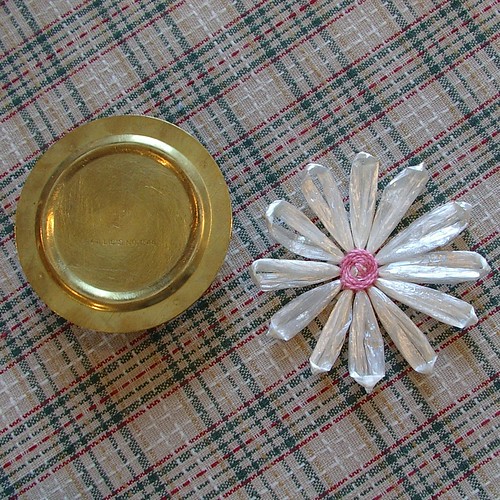
- Remove from loom and sew onto desired item. See apron I made using these here. You can also see this same technique using double sided satin ribbon here.
whipup

DO NOT USE THIS PATTERN TO MAKE THINGS TO SELL FOR PERSONAL USE ONLY!!!!
Please join flickr group if you have made any of these types of flowers


You made Craftzine again! Because you are a great teacher!
ReplyDeleteDid you notice the plastic bag yarn item near your flower mention? I bet that plastic bag yarn would make great flowers!
You made the Craftzine again! Because you are a great teacher!
ReplyDeleteDid you notice the plastic bag yarn link on the same page of the Zine? I bet the plastic bag yarn would make great flowers!
What a great idea! And thank you for the tutorial! How amazing!
ReplyDeletesorry about the double post. I didn't think the first one went through.
ReplyDelete: (
fabulous this tutorial !! thanks! perhaps I will made buttons like that !!
ReplyDeleteGreat tutorial. I recently bought a box of vintage sewing notions with one of these inside. I had a plastic one back in the 70's but I couldn't remember how to use it. Now, thanks to you I can.
ReplyDeleteI made a link to this at my blog! Where can I get one of those tools are what are they called? Thanks for sharing!
ReplyDeleteThank You for this tutorial! I can't wait to make some of these flowers.
ReplyDeleteI can't thank you enough!!!! I have spent the last couple of hours looking for these directions. Now I can go to bed. I have added you to my favorites and will be back often. Thanks again! Your instructions are very clear. I can hardly wait to get started.
ReplyDeleteA very creative project. It is beatufiul but where can we use these flower? Have you an idea for this ?
ReplyDeleteyou can use them as embellishments on clothes or add them to any crochet project just as you a crochet rose or any thing else you can think off I have used them in scarfs and blankets made entirely of this motif. Let your immagination go wild.
ReplyDeletePerfeito!!!
ReplyDeletewww.panoseart.com