
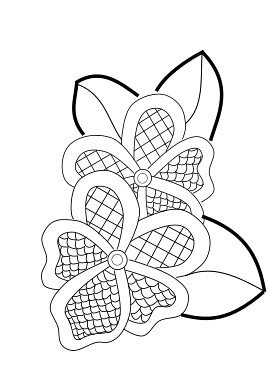
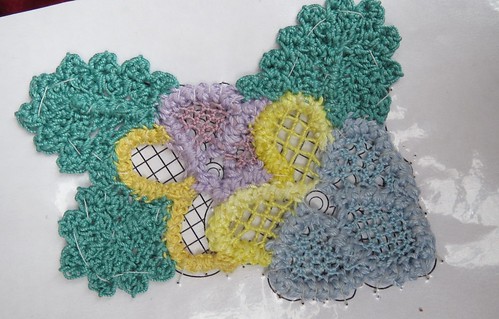
Here is what the pattern looks like prior to being filled in with cord and stitches. For me this go round I just put clear contact paper over both sides the pattern page as it printed out from my computer. So yes you do not need to transfer your pattern to fabric I usually do so I can use the pattern dozens of times. But this is such a simple small pattern it was easier this way to me.
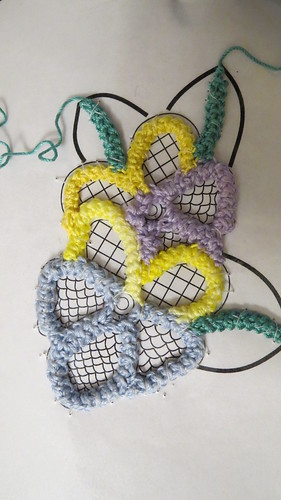
Please see this post for all the links to the how to make rings, cord, basting to pattern and so on before starting. Once you have the basic cord all basted on and tails woven in then you can attach the rick rack crochet cord (Cord 3 small shell sc cord aka rick rack cord) which is attached where the dark black lines are on the pattern. I did leave the tails on the outside of the leaf center there so I can attach then to the rick rack cord. The rick rack cord will have to be made to fit the area. Meaning you will crochet three separate pieces to the exact size you want them as this cord only unravels one way.
this video is from a different piece of Romanian Point lace but it does show you how to do the fagoting stitch.
use filling #4 from this post for the bottom three petals of the pansy
or filling number 2 from this post
you could use the center filling from the round doily as seen here
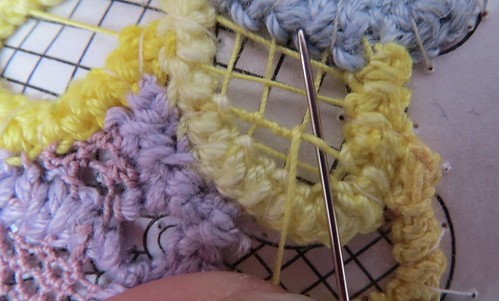
You could use this one for the top two petal of the pansies
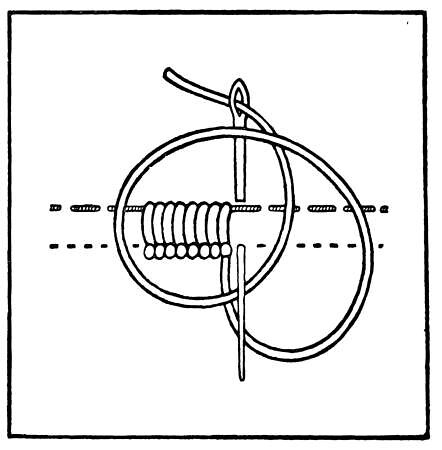
which is just a grid laid in place

Then between the grids the thread is wrapped two times.
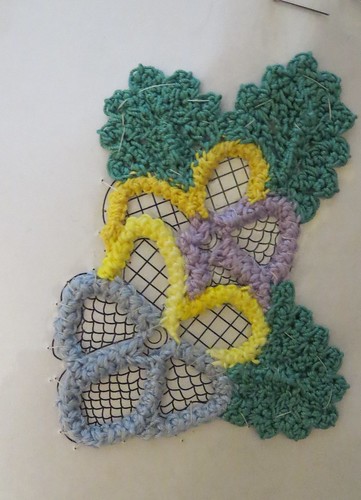
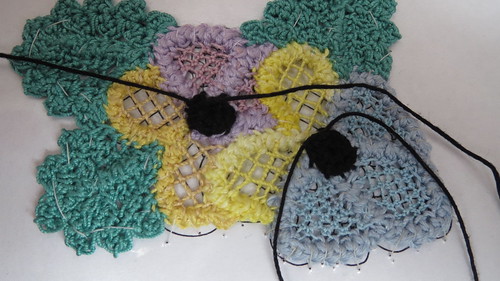
Usually I would have done the center part of the pansy first but I could not find my black crochet thread when I started. So just make your ring drop it in place and stitch it together. I used a magic loop ring to start my rings as I needed it to be real tight and small.I tied the two ends together when done and used the tails to sew it in place on the pansies.
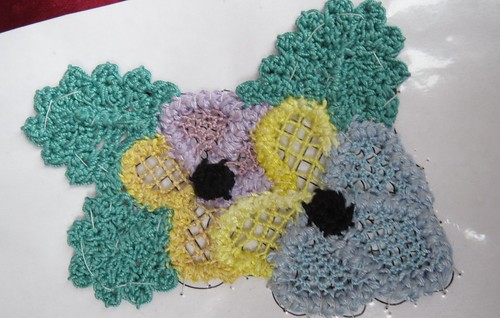
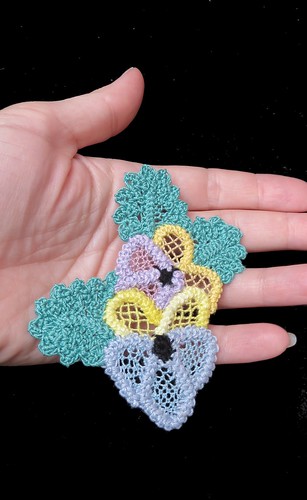
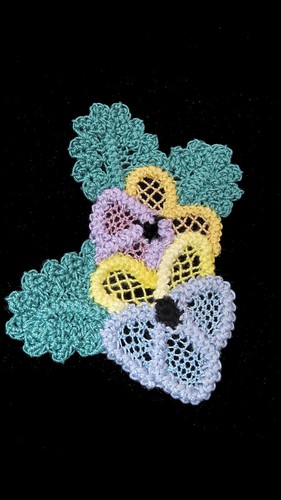 Also I may go back and add some beads like bugle beads to the center of the pansy to add some dimension and character tot he piece.
 Sew a pin back to the back of your work and you can wear it.
this tutorial works for the other patterns this month too.
Just remember to use a single wrapped bride ( braid) when doing the filling stitches between cords and a fagoting stitch on the zigzag lines on the collar and doily.
Also you will need to make 3 loops on the collar and cover it with a tailors button hole stitch to make the button loops.

I absolutely love this Pansy Brooch. I am very interested in learning this craft. So lovely.
ReplyDelete