
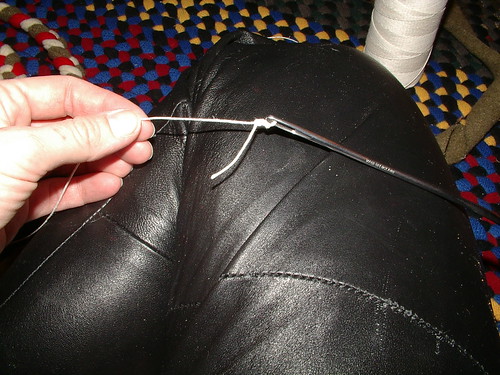
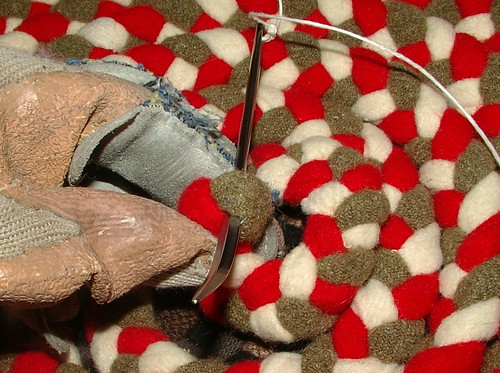
- Glove to protect hand you pull thread with (I am right handed, the glove is worn on my left) but you can wear one on both hands if you want. I have leather thimbles over the fingers of my glove to save my fingers even more. All the damage you see to this glove is from braiding, same goes for the thimbles.

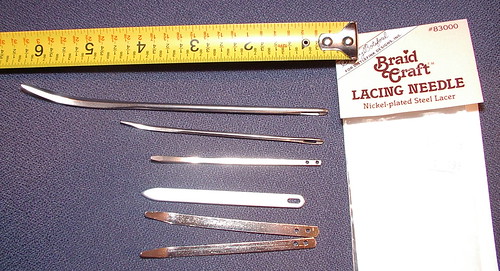
- Bodkins or needles. My favorite is the top one. It is from my Great Aunt; she used it to make rugs over 60 years ago. Next is the one below it found thrifting. The bottom ones are the type you find at most stores in a package like to the right in the photo. I don't like them -- too short, in my opinion. They are hard to manipulate.
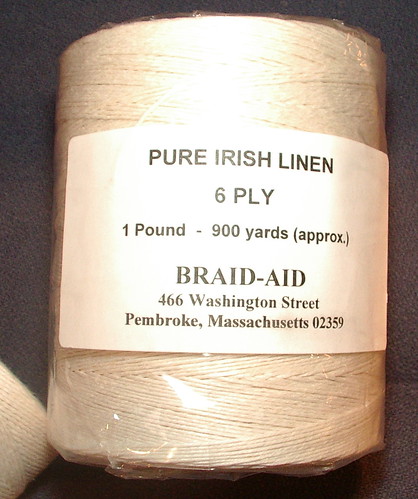
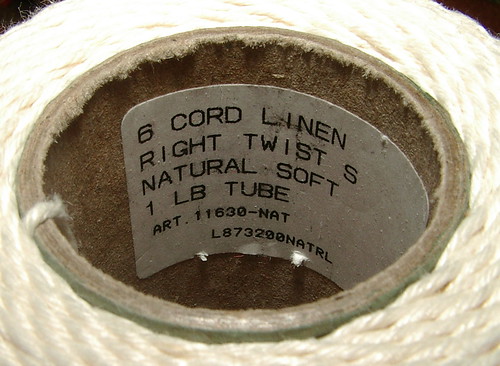
- 6-ply linen cord. You can also get a nice, thick, strong cord from any cobbler. They have two types: waxed and unwaxed. Unwaxed is cheaper, waxed is twice as much. I repaired a few of my Great Aunts rugs right before she died and realized she had used waxed cord on some and unwaxed on others. The waxed cords where still pliable and subtle where the other cords had become dry and brittle. I don't have waxed cord to use, but I think for the long run it is better. However, it has a drawback: it is hard to get a knot to seat in it very well. This makes sewing (lacing) harder to do. But, if I had both types of cord, I would use the waxed over the other just for the durability of it.
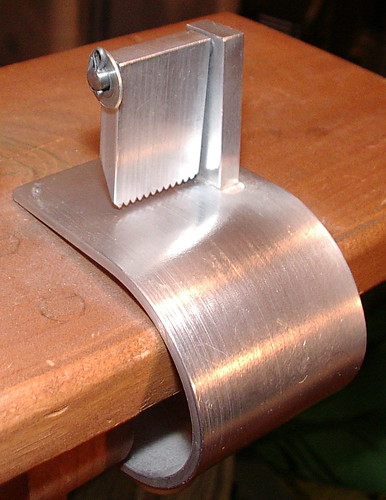
- Swinging gate clamp. This is used when braiding, but I realized I didn't show it in the last post with an explanation, so I am tossing it in now. This is used to hold my braid when braiding. I can push the braid away from me and the gate swings open to let it move through the gate. If I pull towards me the gate holds firm and doesn't let the braid move. That's very useful when braiding and is highly recommended. Clamps to most tables.
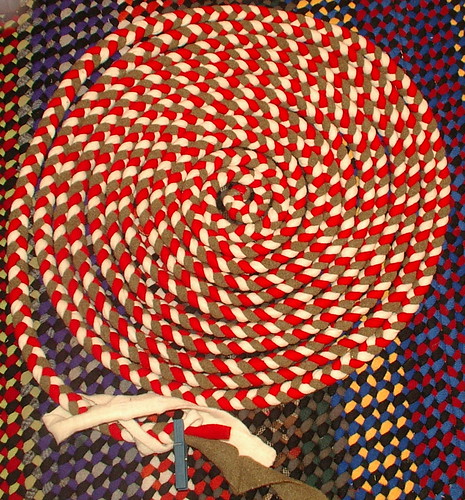
- And, of course, you need a length of braid to stitch together.
OK, on to explaining how to lace the braids together. Just so we all know, for me this is hard to explain in writing and easy to demo in real life. So if you have questions, please ask because I may have missed a photo (but I don't think so).
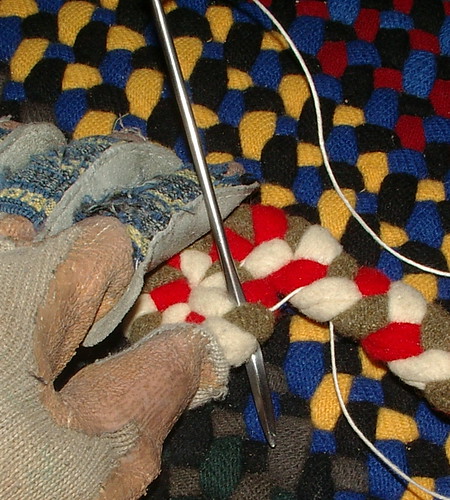
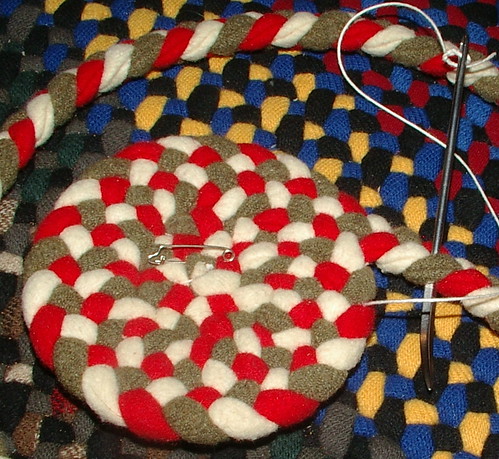
- Insert needle into the top of the t start. Make sure to go through some of the fabric inside the braid to secure the knot. Cut excess threads hanging out

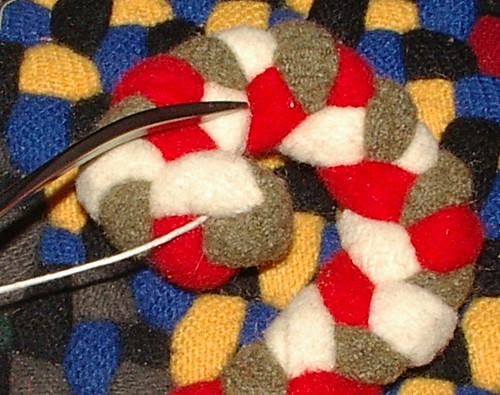
- Pass your needle inside the braid till you pop the needle out on the inside of the curve 3 twists down on the inside curve of the braid.

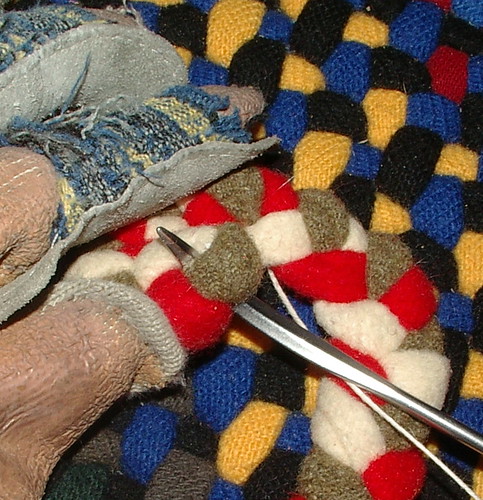
- Go back up to the first l over m and stitch under the braid. You are not catching any fibers anymore, just going in between the strands of the braid.

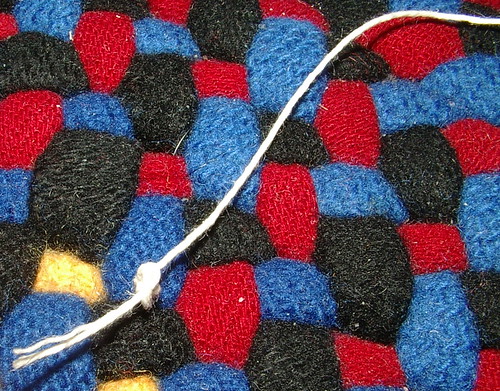
- Now, skip the strand next to the spot where the needle popped out of the braid the first time, and pass the needle through the space between the strands. Picture of needle point at the red strand shows that I am skipping that strand.
- Back to the top of the t start, pass needle under the first r over m.
- Back to other attaching new braid, skipping next strand on braid, stitch under the next. In other words, every other stand is being stitched. In my case, I am skipping the reds. These skips are known as increases and is adding bulk to the rug edge to make it easier to make the curves. You only do increases on the braid that is being attached to the rug. You NEVER skip any braid strand on the part of the rug that has already been attached.

- Back to t start and stitch through the second r over m.

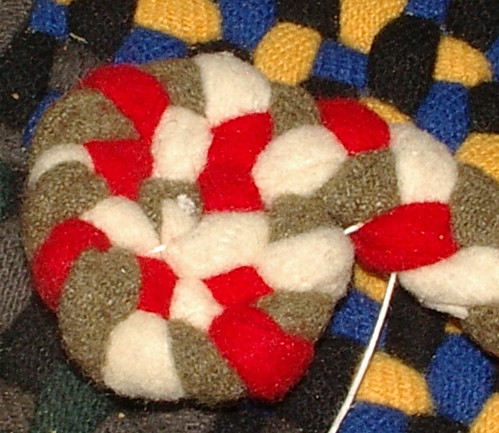
- Continue in this pattern until you get to where both sides of the braid you are adding to the rug have three colors in their twists. In other wards, till you get past the apple peels.
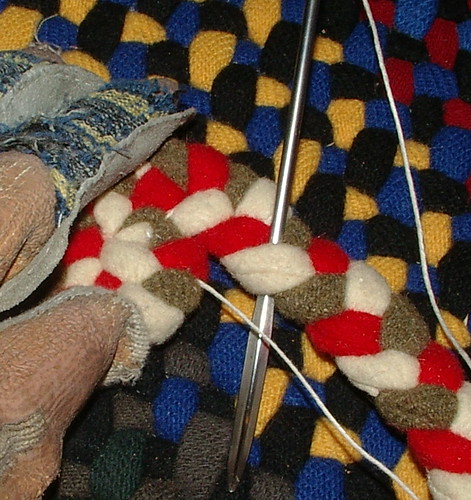
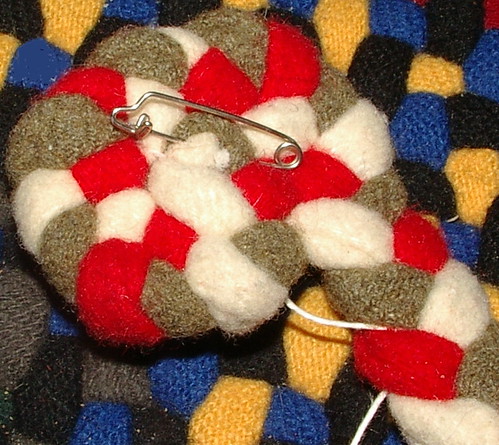
- Place a safety pin at the t start pointing away from the t; this will point to where you will make all your color changes later in the rug.
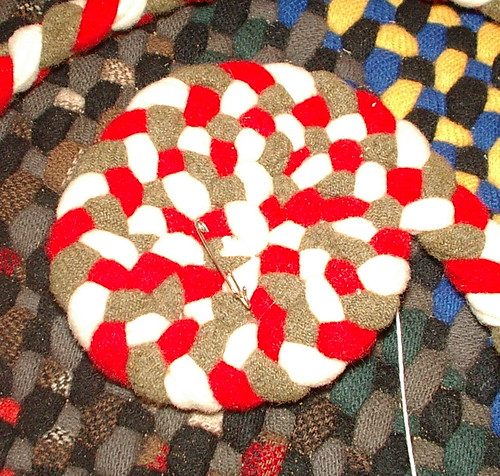
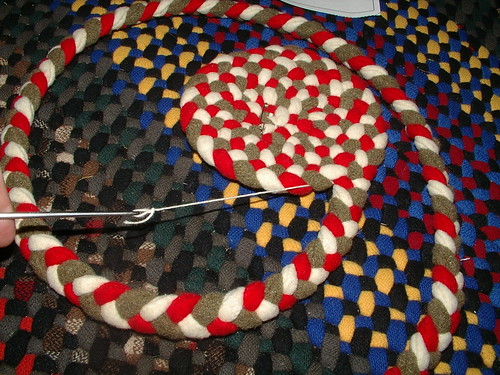
- You will continue lacing the braid to the rug, but now you only make increases where needed; this takes some practice. You can place t pins in the rug to make sure you are staggering your increases. If you don't stagger them, your rug will not be round but will have a free-form shape, especially if you always do them in the same spot. You increase when you feel you have to stretch the braid to make the next lacing. If you don't have to stretch it, then don't increase. If your rug is cupping you have not done enough increases; tear out lacing and do that part again. If your rug has a wavy effect, you have too many increases; tear out that part and stitch again with fewer increases. If your fabrics are not the same weight, both of these two things can happen, too. It just takes practice to know which is happening. If you switch to a fatter or heaver weight wool, do not increase that round. If you switch to a lighter or thinner weight wool, you will have many more increases that round. Best to stay to one weight.
- Wool rugs are very cushy and thick; some people are surprised by this when they make the rug. Trust me, your shoulders will know you are working with something heavy!

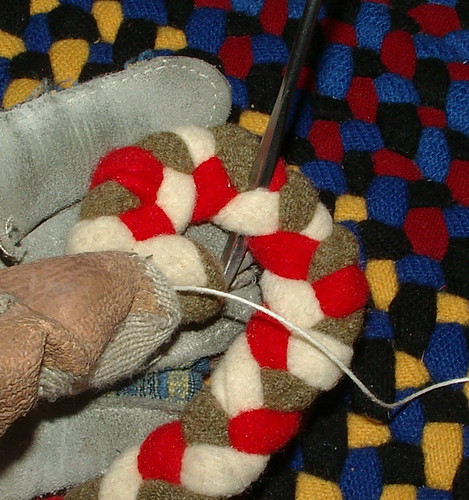
- When stitching, make sure to pull your linen cord hard to pull lacing stitches together. With wool, cotton toweling, and plain quilters cotton, your stitching should not show, with jeans that is a different story because the jeans don't give much to hid the stitches. I like my stitches to be hidden and have only made one jean rug for this reason. I don't like to walk on what is holding the rug together, because if the stitches show that means they are being walked on, and the vacuum is beating on them, wearing them out faster. Since the lacing cord is not as thick as the rug is, it wears out soon and you will have to make repairs. This is one of the main reasons I will not buy store rugs, because they have little tiny sewing machine thread holding the braids together on the outside of the rug, not hidden inside like the ones I make. So, it doesn't take much wear to wear out those threads and then your rug falls apart. My Great Aunts (the ones still living) are still using the rugs that they and my great-grandmother made over 60 years ago, and they still have 60 more years or more of wear left in them. I only repaired 6 holes in over 13 rugs in their house (to hard of work for their 90-plus year bodies), and those holes were made by the kitchen table's legs wearing out the fabric from sitting in the same spot for so long. In other words, the rugs where like steel if made well and flipped and rotated often, like at spring cleaning time.
- When your thread starts to get short, also shown in the picture below, you will need to add more cording. You can use a square knot or a weavers knot. I use a square knot, but both would work great. The weavers knot would be a better choice for waxed thread. When adding thread, leave the tails long so when you stitch the tails can be woven under many braid strands to hold the knot secure and to keep it from untieing and unlacing.

Part 2: Will be about sewing the strips together and forming reels
Part 3: About starting a t-started rug
Part 4: How to start a round rug, apple peel style
Part 5: Sewing and increases / tools
Part 6: How to change colors
Part 7: Ending in a taper
Part 8: Butting last one or two rows of the rug for a smooth finish
DO NOT USE THIS PATTERN TO MAKE THINGS TO SELL FOR PERSONAL USE ONLY!!!!

Thank you so much for these tutorials! I probably will not be able to tackle making a rug anytime soon, but it's something I would like to try in the future.
ReplyDeleteI have a suggestion for you about the waxed cord (maybe you have already considered this, but I thought I would mention it)...you can buy hunks of beeswax in most sewing stores, and through bookbinding suppliers, in order to wax thread yourself. That way you could buy the cheaper unwaxed thread, and run it through the beeswax as you use it. You could even leave the ends unwaxed to make the knot-tying easier.
Thanks again!
the wax goes all the way through the the thread not just on the surface. All though that is a good idea I don't think it would have the desired effect of longevity for the cord but it might. good suggestion thank you for your comment.
ReplyDeleteAll the damage you see to this glove is from braiding, same goes for the thimbles.my site
ReplyDeleteThanks for the great tutorial, I am going to tray a few of them. helpful site
ReplyDeleteThank you for providing this! My mother had made one of these in the mid-1970s from my old clothes/drapes/bedcovers, and after a recent water line break, it had become to come apart where the braids were sewn together from “cleaning” by the restoration company.
ReplyDeleteI really appreciate the kind of topics you post here. Thanks for sharing us a great information that is actually helpful. Good day!Free Mockup
ReplyDelete