[google6a7b7d93c7100df5.html] Sunshine's Creations.Vintage Threads Inc.com: tutorial/video

friends and followers

If you like my blog and the free patterns and tutorials and want to say thank you
I have a wish list on ravelry of patterns (click here)
I would like to make.
Thank you in advance for being kind and saying thank you back.

Love Sunshine

Search This Blog

Showing posts with label tutorial/video. Show all posts

Sunday, January 22, 2017

Chinese New year / Homecoming


The theme for homecoming this year was Chinese New Year.  My middle daughter had out grown the only Asian dress she had so had the youngest.  So Saturday morning I set to work on making a dress for the middle daughter to wear to the dance that night took 7 hours to make not bad really.

The dress I made is in the one in the photo above on the right with the red frog closures on my middle daughter (17 years).  The other is a shirt on the left I owned that I gave to my youngest ( 15 years)   but tallest daughter ( 5 foot 9 inches) for the dance to wear.  Afterward I just let her keep it because she liked it so much and had outgrown her Asian dress.

I already owned the blue silk fabric. I wish it had been red as it would have more appropriate for the holiday.  It had been waiting since 2009 for me to find a good project for it the other fabrics in that post have log since been used.    But I am sure the fabric is older than that as it had been in the other person's stash for a while before I got it. I still have a lot of the thread and the small hide shown in the other post.   The photo to the right is pretty true to color some of the other photos are not so well matched to the color.

While I was working on the dress for her to wear, my middle daughter, while laying in bed was working on making some hair pieces for her and her younger sister to wear at the dance.  The youngest daughter also in bed did most of the stringing of the beads onto the wire.  While the middle one did all the wire manipulation to create the beautiful hair ornaments below.  Here are some up close detailed photos of the hair pieces.

My daughters actually went stag to the dance as originally they  had not planned on going because of being sick.  The middle daughter wanted a new dress and to see some of her old friends as she no longer goes to that school.  I usually either make a dress or buy a thrift shop dress that I embellish.  So she knew she would get a dress if she went.  Usually I have more than 24 hours notice.  One of her best friends also went stag so they hung out together was nice that they both had someone to be with  Especially since neither really wanted to be at the dance because of not feeling well .  You can see the beaded hair ornament on the back of her head in this photo to the left.

I am currently residing in my sister in laws home where I live in the basement as some remodeling work is done on my home.  Water and mold damage.  So I don't have a lot of space to do projects but there is this nice long hallway that leads to my room.  I laid the fabric out there so I could cut it.  The pattern I used was Simplicity 8244 a reproduction of a 1950's pattern (2016) view A.  Although I am not found of how they assembled the pattern next time I will put the zipper under the right arm not the left as it will line up with button flap.  Also will not sew the button flap shut as the pattern tells you too at the bottom of it makes it hard to put on.  It would be much easier to put on with these two modifications as the opening for the neck waist area would be twice as big.  I have no idea what someone was thinking when they made this pattern that way.  I also would change the way the side slits are made.  Get rid of the slit modesty panel and make the slip about 4 inches taller as it binds a little to much at the knees not good for ballroom dancing which my daughter loves.

The below over exposed photo is when I had the dress half made
This above photo was the finished dress after 7 hours of cutting and sewing.  I might go back and make the modifications to the bodice that I don't like in the pattern now that the dance is over.  The frog closures or knots where hand made by my middle daughter specifically for this dress.  The only embellishments on this dress are the frog closure's and the black piping trim I put around the collar and the neck opening flap and sleeve openings.  Hard to tell in the photo but there is small hints of red in the fabric and my daughter wanted more red since it was being made for Chinese New Year and I couldn't find red pipping in my stash so this is how we worked that out. Since there was also black details in the fabric I added both colors.
This is the video tutorial my daughter followed to learn how to make the frog closure.  I did not make the video but it had embedding available  so I put it here for easy reference but all rights are still owned by the creator.


Both of my daughters being  silly with their friend after the dance was over.  Because of running errands half of the  day and both girls being ill my girls only made it to half of the dance.  It started at 8 and ended at 11 but they only went from 9:30 to 11 since being ill. I don't think they could have handled the entire dance.  But I think they both had fun which is a nice change of things.

This is the other beaded hair piece my daughters made together one stringing and one manipulating the wire. The above hair piece was warn by the daughter to the left long with two hair sticks you see in the photo.  You can't see the beads in the photo as she let her hair down half way through the dance.  She put it back up at the end of the dance without putting the beads back in her hair. It had been on the side of her bun.


Tuesday, December 10, 2013

Origami Helmet

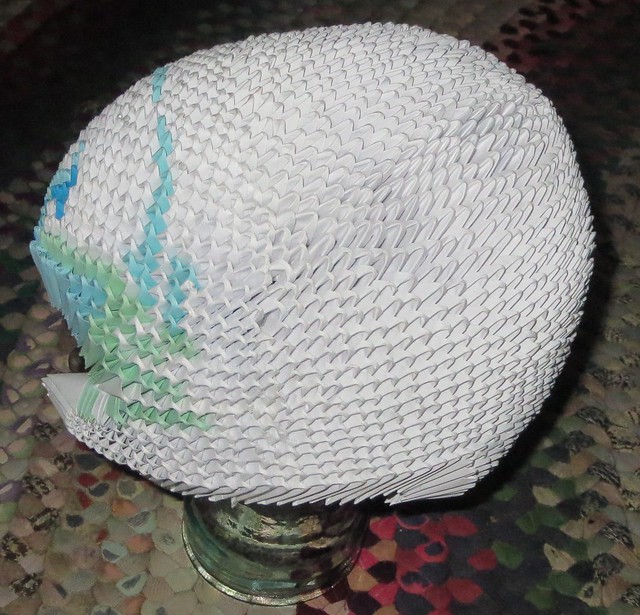
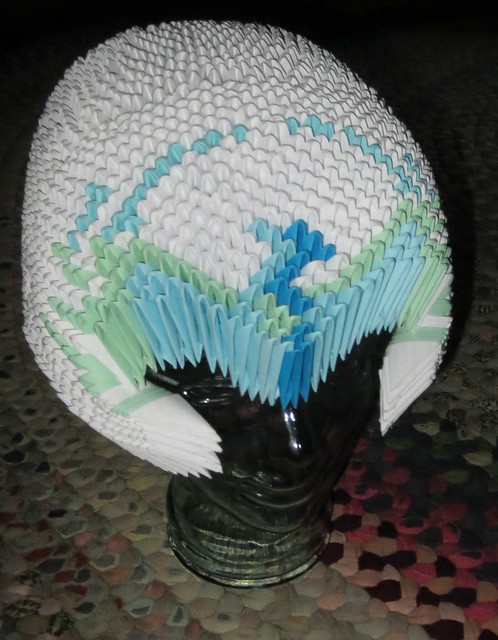
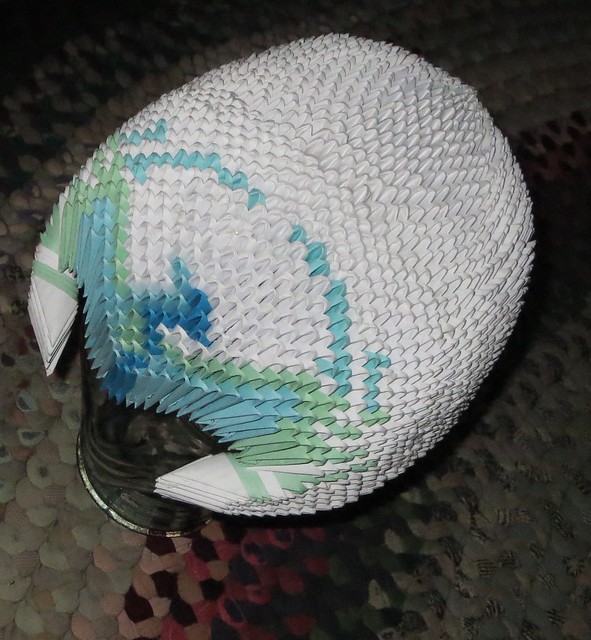
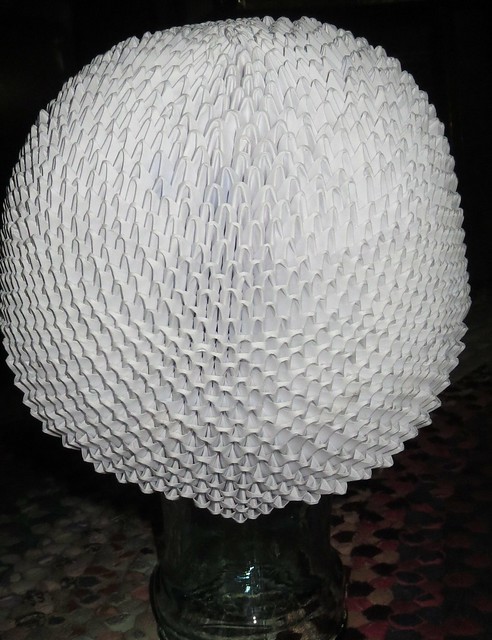
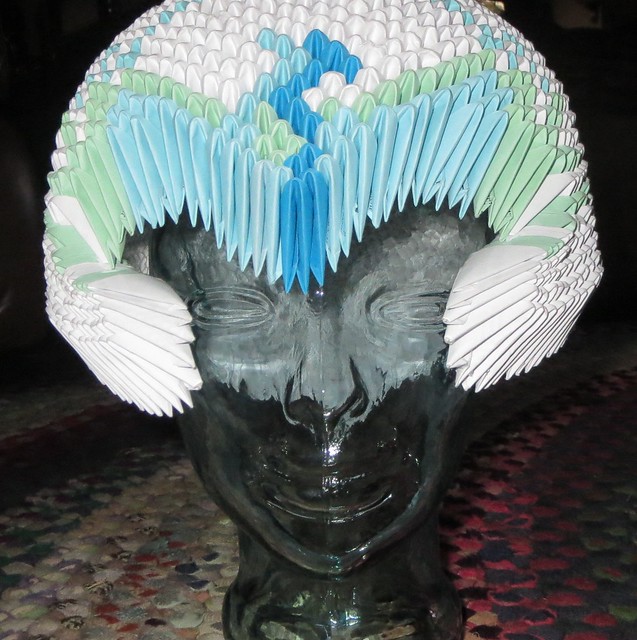
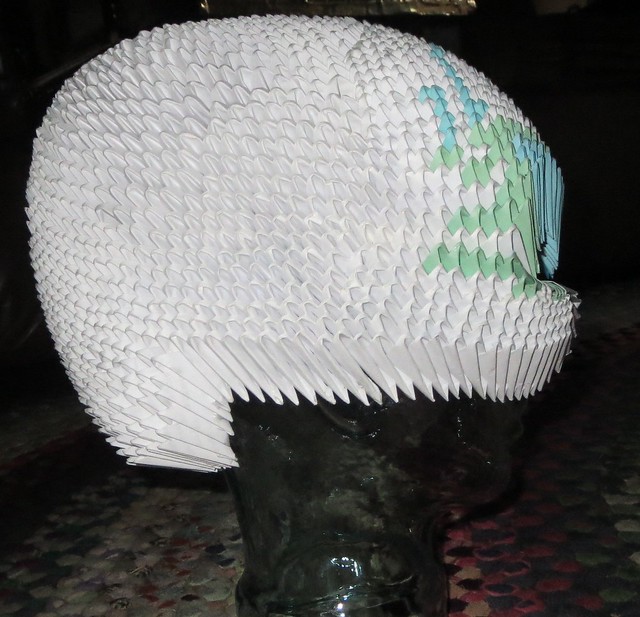
frontMy oldest daughter has been working on this project on and off for a while.  At times it drove me nuts with little bits of paper all over the place.  But she was being creative.  She designed the helmet herself.  Yes it does fit her head. The design is that of a Phoenix  interesting that she sort of made it an ice Phoenix (which does not exist except in her head)instead of a fire one.

right sideleft sidetop righttop leftOver Thanksgiving break she finished it.  The reason she decided to finish it was so that she could enter it into an art show the same on the fairy house was entered into.  At the time I am writing this post i have been notified that she got best of show for this but I am not able to tell her.  So this is set to post several days after I have written it so that she can be notified in front of her entire school.  The people that judge the show noticed our last name on several entries and stated it must be a very talented family.  The part i love about this is that my children this year two out of three are not in art classes but doing their own things and these are the items they came up with.
back
This is a video tutorial that shows the way she folded these little bits of paper to make this item.  This technique if you Google it usually called a 3d fold in origami.

My children have made me easter eggs in the past using this technique with lots of different colored pieces of paper.  sometimes they use the computer mishaps when printing if you do that just make sure the ink part is on the inside when folded if you want a clean look.

Saturday, July 14, 2012

July RPLAL finished with video

front 
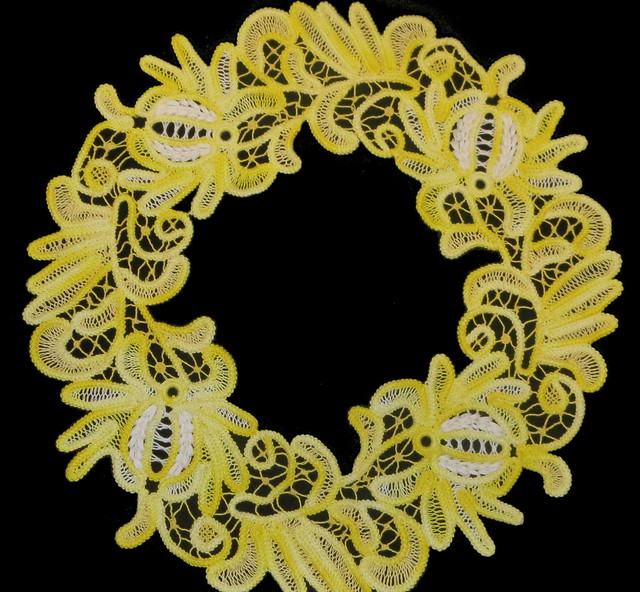
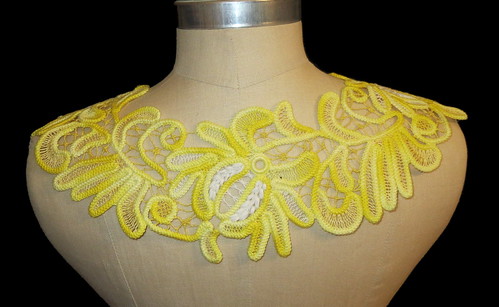
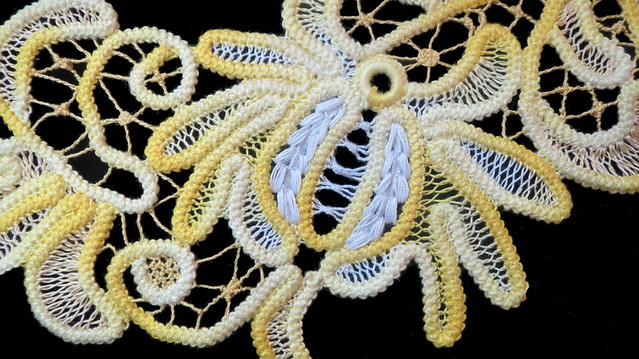
sideHere are the two flower centers I promised.  Had a crazy week and the time to take the video when no children were around never seemed to happen.  I don't like to make videos when there is the possibility of people, TV or radio talking in the background.  But sometimes it just can not be helped.  Luckily the whole house was asleep when I made this video.  So no phone or door bell in the back ground.
detail
 front
When I finally did have the silent moment to sit down found out I had accidentally left my camera on and the battery was dead.  You know life is like this at times.    So charging them praying children not to wake up lucked out.  I had left it till the last two fillings before the project was done so I had one shot on this.  Otherwise I would have to start an entirely new project and do the tutorial on that one, which would have  taken a lot more time of course to get it to the filling needle lace stage. The video also shows how to make the twisted brides/bridges, bars ( to many names for the same stitch).  The stitches I do on the even one can also be done on the odd spoke I just showed it on even.   The other is harder to do on an even spoke as you would have to either go over two or under two at the end of every round to try and keep the weave pattern which would make a funny little jog in it and not be pretty to me.

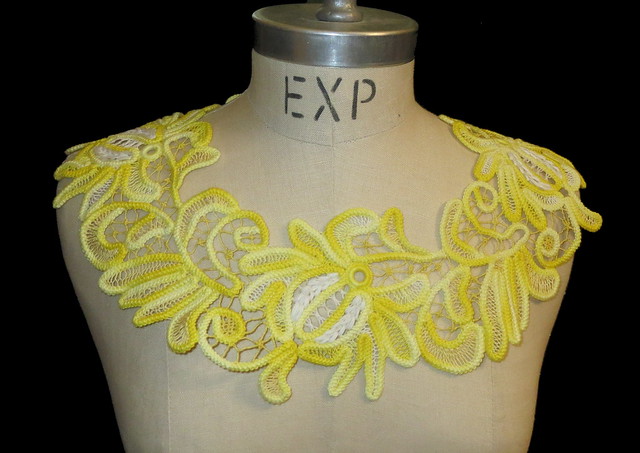
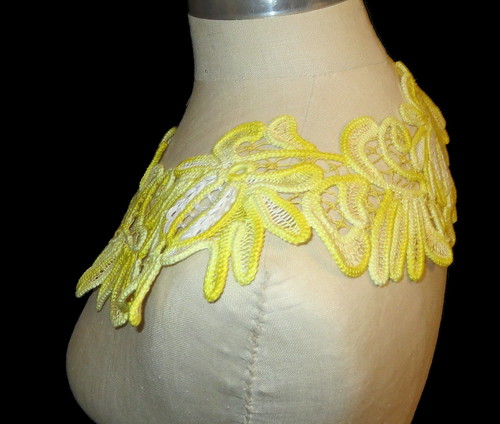
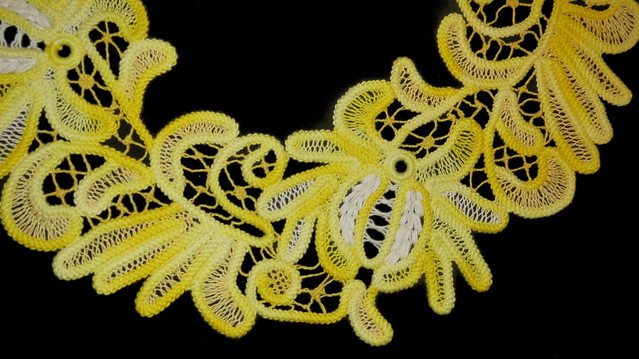
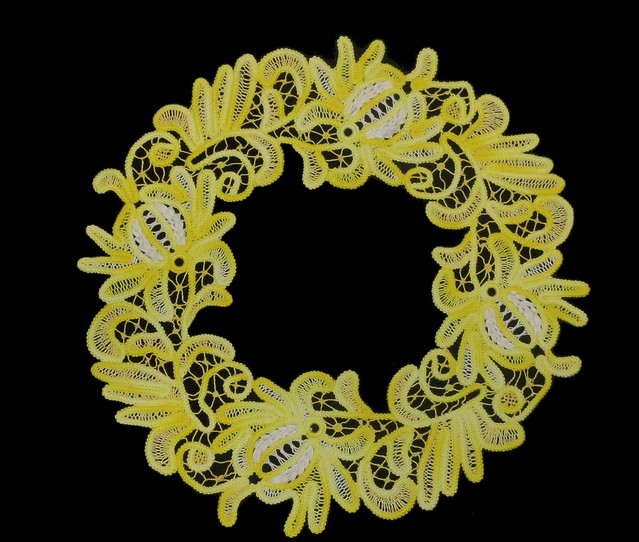
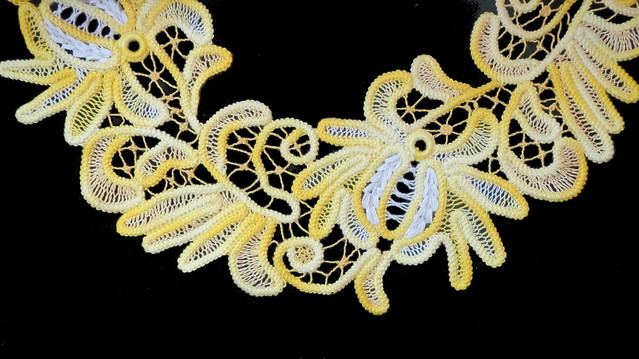
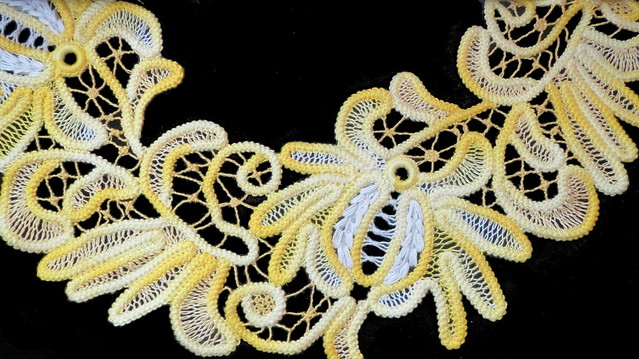
You will notice I have this both as a collar and a doily look in the photos I have yet to decided which way I like it better.  You are welcome to give your in put on that I would appreciate some feedback.  I think I am leaning toward collar.
back detail
 back

Monday, July 09, 2012

more filling stitches for July RPLAL

detail
center fillingI worked on this some over the weekend not as much as I would have liked as I was not feeling good most of the weekend.Below in the read more area are the links to these stitches and others posted below and a video too.twisted bars

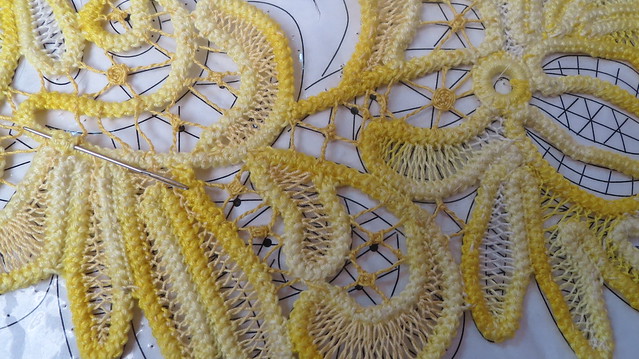
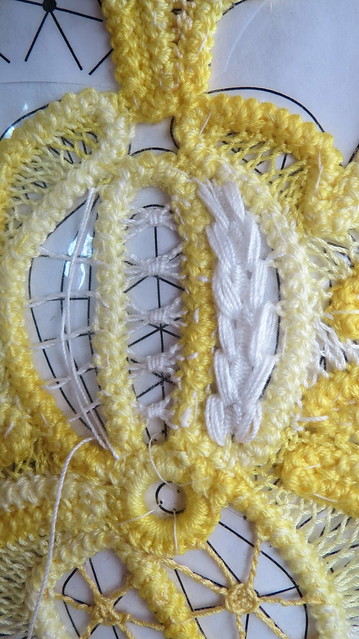
I also worked the background filling stitches.  A lot of times I will use wrapped brides for the filling in the back ground but I wanted this more open and lacier there so I just did twisted ones. I also worked on odd and even spirals. I set a small piece free from the pattern so you could see the background I hope a little better.


 Romanian European Macramé & Point Lace & Crochet. Get yours at bighugelabs.com
half done

Filling= double net stitch
an example of single net stitch (filling four) is here the only difference is that in this one  you go through each loop twice instead of just once.

center needle lace filling

background twisted brides

filling progress


and odd/even spirals/English wheels/ sorento  on twisted brides.  I will be posting this part ( a video) on Friday or sooner if I get a chance (this is part of the back ground) but I need to complete that video for it and have not had a  chance yet so please if you are doing this wait for the video and I will add a link here to it on Friday if all goes as planned.

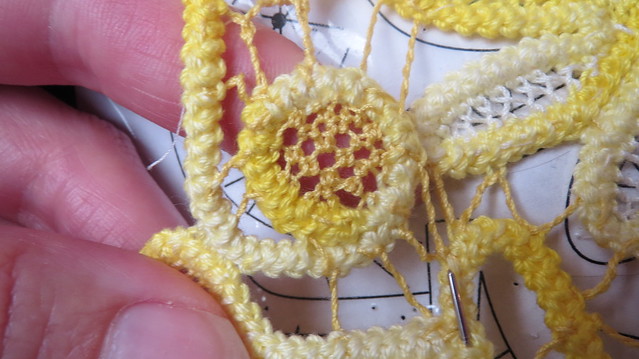
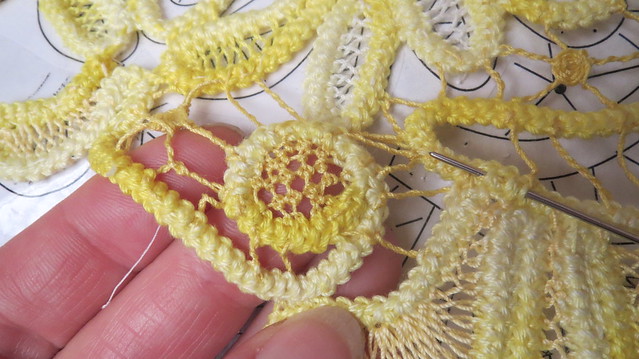
For the very center of the flower I used  this stitch it is a mixture of twisted brides and blanket stitch after making 2 1/2 brides make 4 blanket stitches then finish the twisted bride.  Diagram is working top down I was working flower bottom up. Thus the reason for our blanket stitches being opposite.
center finished right side started

but you could also use this one if you like it better I used this one before on the holly berries.  If you want to see a little more detailed look at filling number 3 in this post.


 For the parts surrounding the center of the flower I used
Filler #7 Wheat seed stitch


right side finished
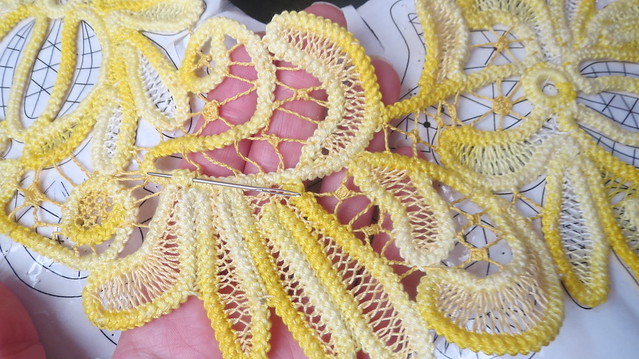
After you finish all the filling stitches, cut lace free  and remove basting threads.  Then either sew in a piece of fabric in the center section or use as a round collar for a pull over sweater for teen to small adult or yoke on a child's dress.

Another option is to fill the center section with double net stitch and make it solid centered.
about 1/2 of the doily

Tuesday, April 10, 2012

Monday, March 19, 2012

frogging...grr

needing to frogg this
needs to be frogged

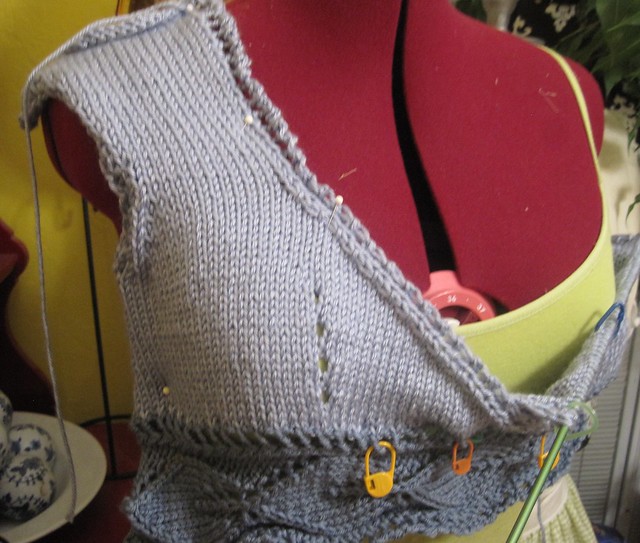
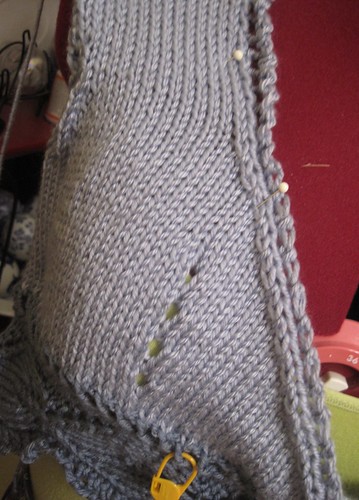
I will be frogging the both front yoke parts of the blue peplum. I did the p2tog through back loop all wrong so I want it to be correct and will be redoing it.  This way both the front right and front left yoke will look the same.  I plan on getting back to the advent  scarf soon this was a distraction so I could think and figure out the lace stitch on day 11 which was causing me great issues.  Little did I know I would be learning something new in this project too and more frogging just a little to get it.  The funny part is the dark blue band around the waist of this sweater actually helped me to understand the part of the scarf on day 11 I was having an issue with.  So this was helpful to me and the scarf.  I have learned  that this yarn may have a tendency to stretch when steam blocked (which is what I was thinking of doing it being acrylic and all).  If it does end up growing in height I have a very lovely tall sister in law who I will give this to.  She has already stated she would be happy to have it if in deed that does happen.

Saturday, February 18, 2012

Thursday, January 12, 2012

Video: Fabric Yo-yo tutorial

One of my  friends wants to teach her children some beginning sewing so she asked me to make a tutorial for her.  So that she and her children can learn this and are able to review it several times.  These are  fabric yo-yos also known a Suffolk's puffs and Buttons in USA during the 1930'sand 1940's.


Other useful info on my blog: If you just want to see some examples here are all the posts on my blog about yo-yos  alot of them.   In these examples you will find how to lay them out what some ideas are for things I have used them in.  Also there are tools out there if you want fancier ones.  Some talk about other people that do yo-yos, examples of vintage yo-yos, there is a lot of info on here.  Have fun searching through it all.  Also good luck teaching the girls you will need to let me know how it goes.

Wednesday, January 11, 2012

Video: Removal of basting threads from RPL

This is sort of self explanatory but just encase someone has a question on this.

Video: Removal of RPL from Pattern

Removal of RPL from pattern.  Sorry my phone rings half way through in the video and my door bell rings at the very end too.   No one else called during the day or rang the bell it just had to happen in the 11 mins. I was making this video. I apologize for that but the rest of the tutorial is fine.

Tuesday, January 10, 2012

Part 3: Video center filling stitch

This stitch is similar to an English whirl but not exactly the same.

Part 2: Video Leaf filling stitch RPL

This filling is good for oval shapes.

Part 1: Video Fagoting for crescent shapes RPL : 1500 post

This is a fagoting stitch that works well for crescent shapes.  Meaning shapes that are larger on one side than the other.

On a total side note this is my 1500 post on my blog wow just noticed that.  I also want to say thank you to all those that commented on my last post it means a lot to me.  For some looking at the stats below and reading all the nice comments on the last post tell me there are nice people who come and visit often most  just don't have much to say. thank you

Update states as of 6 am today


VISITS

Total 802,082  Wonder how long till that reads a million that is amazing to me
Average Per Day 485
Average Visit Length 1:48
Last Hour 22
Today 87
This Week 3,396

PAGE VIEWS
Total 1,489,664   WOW almost 1 1/2 million
Average Per Day 876
Average Per Visit 1.8
Last Hour 37
Today 132
This Week 6,135

Tuesday, December 13, 2011

Unraveling cord & sewing to another cord / video tutorial

Here is  ruffly a 6 min video I put together to help the two Romanian point lace groups that I admin on Ravelry and Flickr.  I am hoping this will help other people here too that read my blog.  Since there is not much information in English about this type of lace.  I hope to be able to make a pretty good data base here for  people to reference instead of doing what I had to do it.

Saturday, November 26, 2011

video on Oya

Found a video on Oya, not in English but very good.  Some day I will find some one local who can speak English and show me this as I know I miss some things like the type of thread and things of that sort in the video.  Her speed is amazing there is a woman who has made a ton of Oya in her life.

Thursday, December 16, 2010

crocodile stitch

This is a similar in concept, meaning three-dimensional of look, to the snow queen. It's not the same, but it's pretty cool anyway. It is in Portuguese, but I thought it was neat enough for you to see. If you know how to crochet the visuals should be enough for you to understand how to do this.
I might have these in the wrong order; each one is roughly 10 mins., some are much shorter. She talks a lot; wish I understood her better because I am sure with that much talking I must be missing something. There are 10 videos. I have figured out she is explaining how to make the dress starting at the bottom hem up. I am not interested in making this dress, just the techniques employed.


There are some patterns on Ravelry that incorporate this technique if you like it. I have two of them, just have not looked at them yet. I wanted to try and understand what the stitches did before I read the patterns so in case they don't make sense to me.

part 1 explaining first row

part 2 explaining second row

part 3 explaining 1st round of decreases

part 4: cutting and attaching thread to side to make front section of dress while making the back section open

part 5: filling decreases on back and showing back opening

part 6 continuing decreases

part 7 (haven't a clue what she was showing here) I think she is saying to go straight up sides till you get to under arm.


part 8 after having traveled straight up the side with out decreasing. Also showing how to secure stitches to go under arm

part 9 decreasing around the bust edges, sloping in

part 10 just showing lacing of the dress and the cord to make the lacing


update July 31, 2011
Found some more tutorials on this in English though


Update Aug 3 2011
found a pattern on ravelry for free with a tutorial if you wan to try it follow link below

Friday, September 17, 2010

Tuesday, July 27, 2010

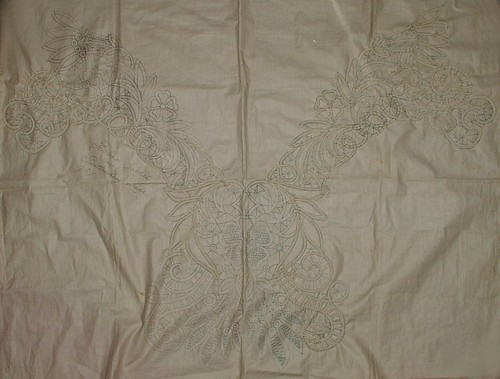
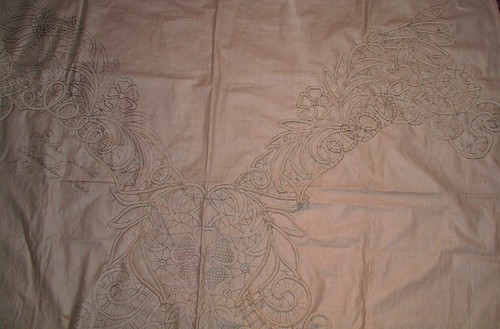
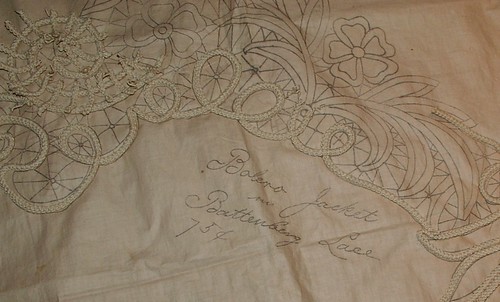
Bolero Romanian Point lace pattern circa 1900

the whole bolero
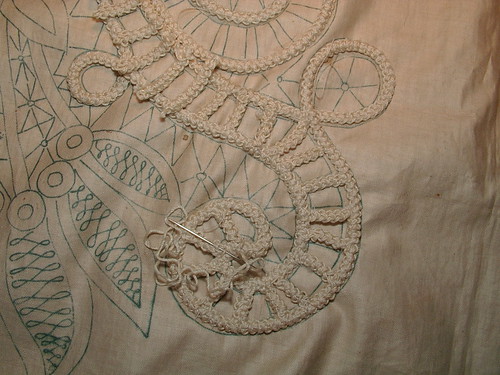
I have been working on my storage unit the last few days.  I plan to get back tot eh tutorial for heirloom sewing in the next few days.  I have been working on this a little at night right before going to bed and while watching movies.  It has a long way to go.  I hope it fits it should but if not I guess my dress forms will be well dressed as if they aren't already.
partially laid cords
Originally this was supposed to be done in battenberg lace.  I may make one in battenberg as well but I wanted one in Romanian point lace.  I have lots of supplies from 1900 so if I made one it would be made out of the old linen tapes and such that I own.  I just am not fond of the care involved in a battenberg jacket.  Because Romainan cord is thicker it never needs ironing and has a personality all its own.
where I am working at the moment
A pattern at this price would not happen today.  This pattern is circa 1900.
circa 1900 this price would never happen today

UPDATE
I person in my flickr groups posted a tutorial on her blog she makes her cord different than I was taught so I do not know if hers unravels easy I will have to try her way and see.

But here is the link if you are wanting to learn to do this type of lace. Let her know I sent you take care and have fun making lace.  She has step by step instructions and a video of the cord like I do

Copyright/permissions info

I like to share on this space my ideas and projects.
Please don't take ideas or photo and claim them as your work.
I am always happy to have new links to me.  So if you like something just link back to me and give the source some credit thanks.
Any questions? just ask. I am happy to work with you if you need something
Creative Commons License This work is licensed under a Creative Commons Attribution-Noncommercial-No Derivative Works 3.0 Unported License. 2006-2019 Copyright Vintage Threads Inc. All content and images.

LinkWithin

Related Posts Plugin for WordPress, Blogger...