[google6a7b7d93c7100df5.html] Sunshine's Creations.Vintage Threads Inc.com: romanian point lace tutorial

friends and followers

If you like my blog and the free patterns and tutorials and want to say thank you
I have a wish list on ravelry of patterns (click here)
I would like to make.
Thank you in advance for being kind and saying thank you back.

Love Sunshine

Search This Blog

Showing posts with label romanian point lace tutorial. Show all posts

Monday, May 29, 2017

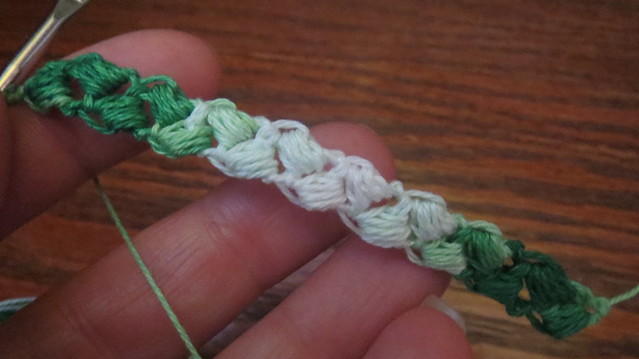
Romanian point lace rick rack cord


 I am using size 15 thread sissy and a size 12 hook
color and dye lots for my reference for latter
art (4
farbe 325
partie 01

I am also using a white thread for the tutorial but I and using the dark navy for a project


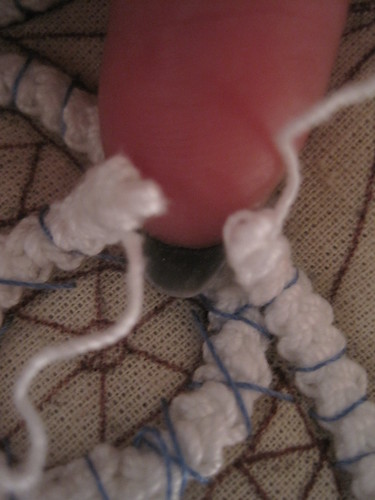
this cord only unravels in one direction so you have to make the exact amount you need for each spot
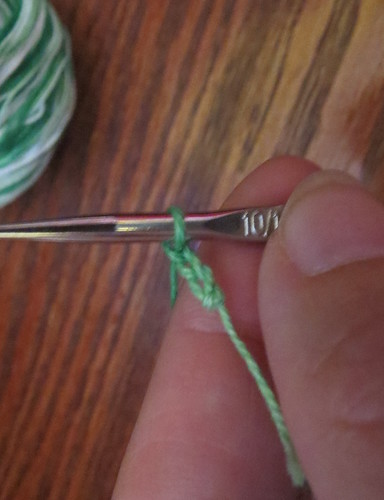
  1. chain 3
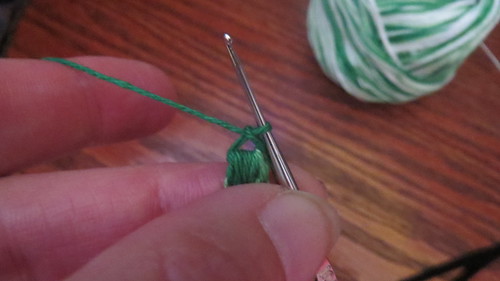
  2. in 2nd ch make sc, in next ch make 2 sc, ch 1 turn work
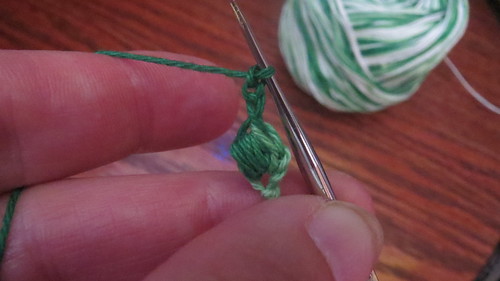
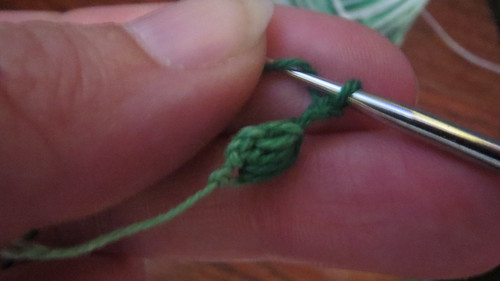
  3. * 1 sc in first sc, 3 sc in 2nd sc, ch 1 turn work**... repeat to desired length

step 1
step 2
turn
step3
repeat to desired length


etc.etc. etc.


if you want more Romanian point lace cord patterns free look on the left side bar under rpl cord that will take you to them and tutorials on sewing cords together and unraveling them not just making them

Saturday, July 14, 2012

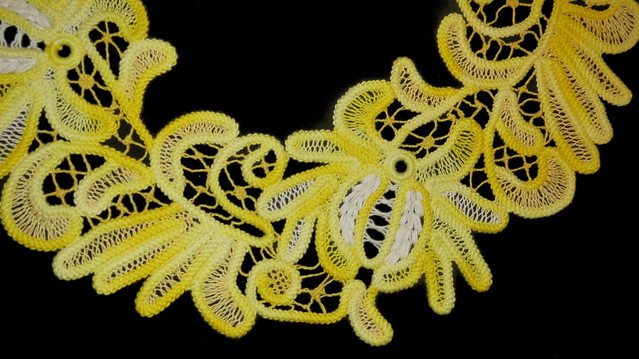
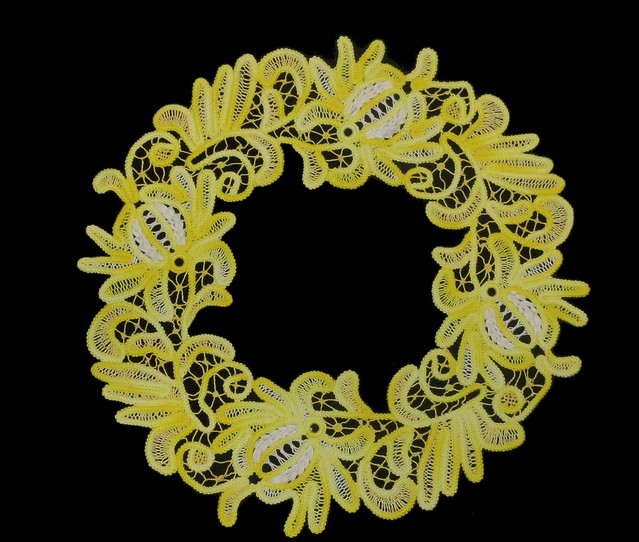
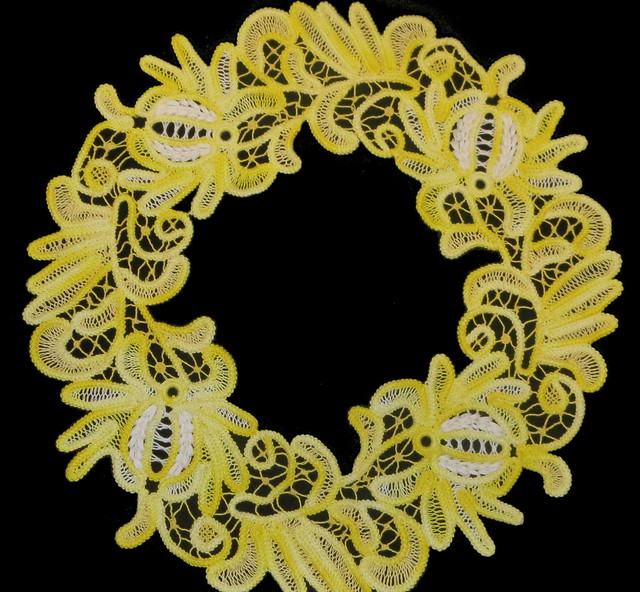
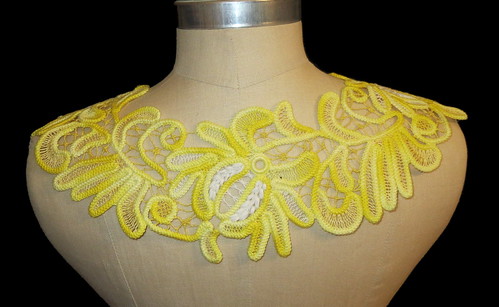
July RPLAL finished with video

front 
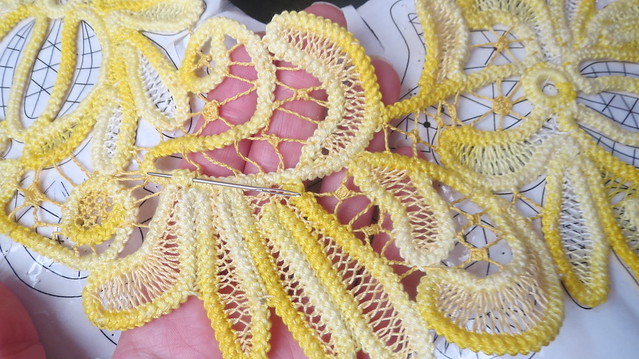
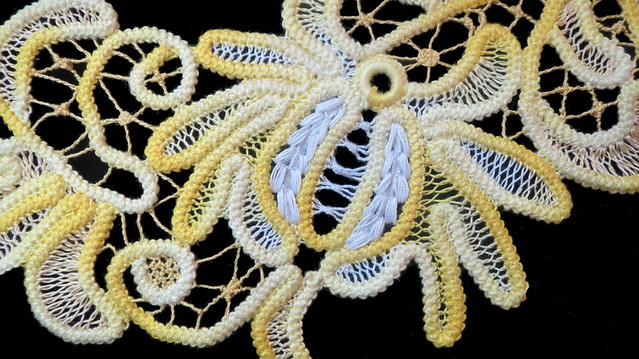
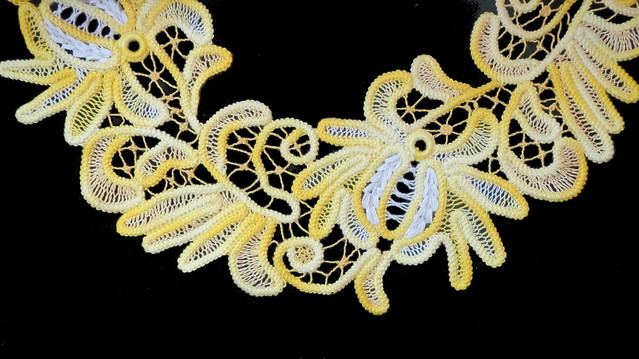
sideHere are the two flower centers I promised.  Had a crazy week and the time to take the video when no children were around never seemed to happen.  I don't like to make videos when there is the possibility of people, TV or radio talking in the background.  But sometimes it just can not be helped.  Luckily the whole house was asleep when I made this video.  So no phone or door bell in the back ground.

detail
 front
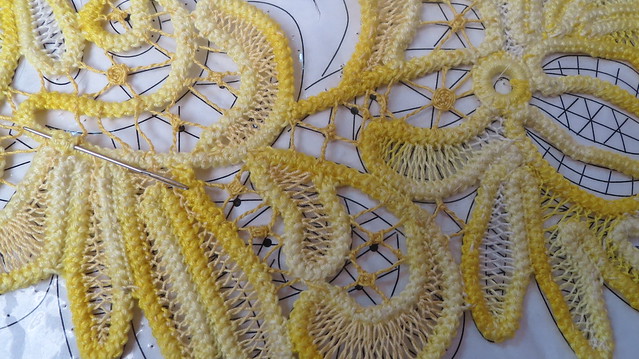
When I finally did have the silent moment to sit down found out I had accidentally left my camera on and the battery was dead.  You know life is like this at times.    So charging them praying children not to wake up lucked out.  I had left it till the last two fillings before the project was done so I had one shot on this.  Otherwise I would have to start an entirely new project and do the tutorial on that one, which would have  taken a lot more time of course to get it to the filling needle lace stage. The video also shows how to make the twisted brides/bridges, bars ( to many names for the same stitch).  The stitches I do on the even one can also be done on the odd spoke I just showed it on even.   The other is harder to do on an even spoke as you would have to either go over two or under two at the end of every round to try and keep the weave pattern which would make a funny little jog in it and not be pretty to me.

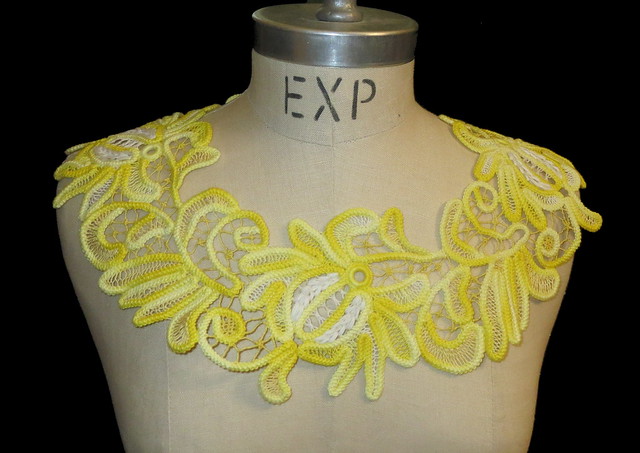
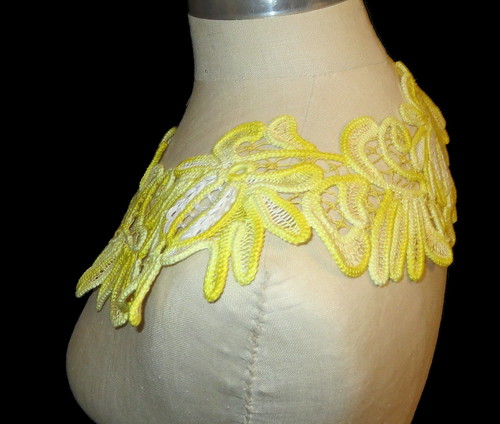
You will notice I have this both as a collar and a doily look in the photos I have yet to decided which way I like it better.  You are welcome to give your in put on that I would appreciate some feedback.  I think I am leaning toward collar.
back detail
 back

Monday, July 09, 2012

more filling stitches for July RPLAL

detail
center fillingI worked on this some over the weekend not as much as I would have liked as I was not feeling good most of the weekend.Below in the read more area are the links to these stitches and others posted below and a video too.twisted bars

I also worked the background filling stitches.  A lot of times I will use wrapped brides for the filling in the back ground but I wanted this more open and lacier there so I just did twisted ones. I also worked on odd and even spirals. I set a small piece free from the pattern so you could see the background I hope a little better.


 Romanian European Macramé & Point Lace & Crochet. Get yours at bighugelabs.com
half done

Filling= double net stitch
an example of single net stitch (filling four) is here the only difference is that in this one  you go through each loop twice instead of just once.

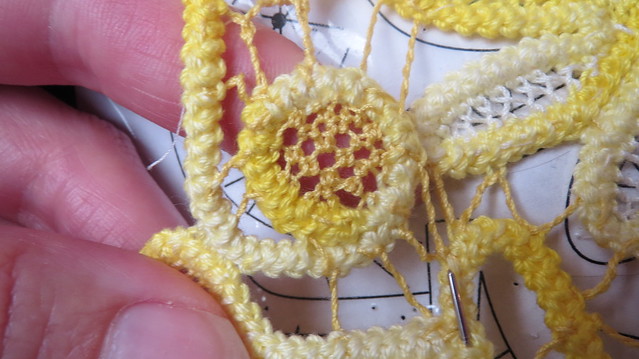
center needle lace filling

background twisted brides

filling progress


and odd/even spirals/English wheels/ sorento  on twisted brides.  I will be posting this part ( a video) on Friday or sooner if I get a chance (this is part of the back ground) but I need to complete that video for it and have not had a  chance yet so please if you are doing this wait for the video and I will add a link here to it on Friday if all goes as planned.

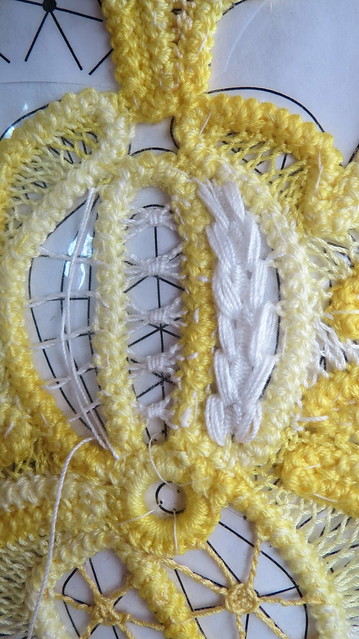
For the very center of the flower I used  this stitch it is a mixture of twisted brides and blanket stitch after making 2 1/2 brides make 4 blanket stitches then finish the twisted bride.  Diagram is working top down I was working flower bottom up. Thus the reason for our blanket stitches being opposite.
center finished right side started

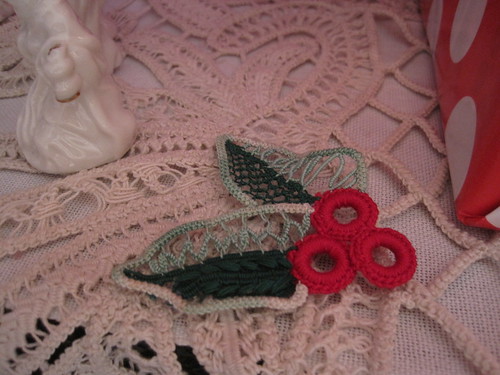
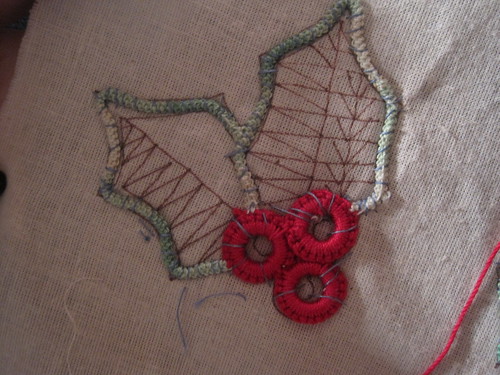
but you could also use this one if you like it better I used this one before on the holly berries.  If you want to see a little more detailed look at filling number 3 in this post.


 For the parts surrounding the center of the flower I used
Filler #7 Wheat seed stitch


right side finished
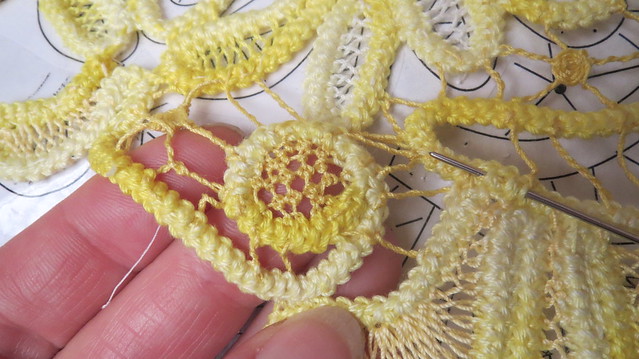
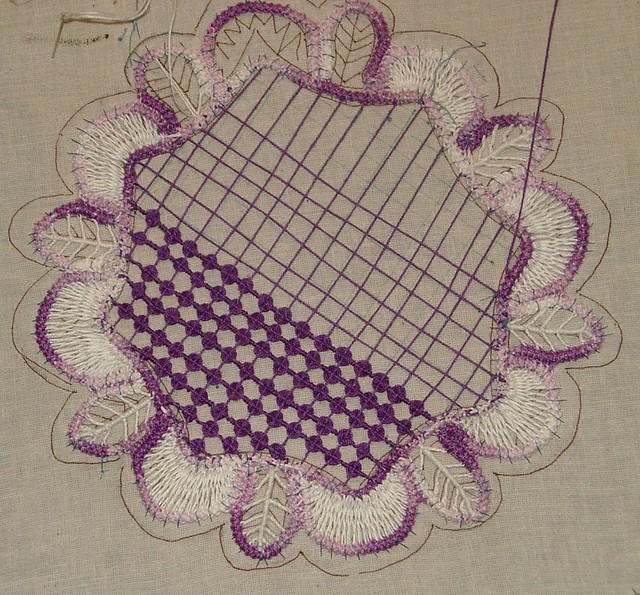
After you finish all the filling stitches, cut lace free  and remove basting threads.  Then either sew in a piece of fabric in the center section or use as a round collar for a pull over sweater for teen to small adult or yoke on a child's dress.

Another option is to fill the center section with double net stitch and make it solid centered.
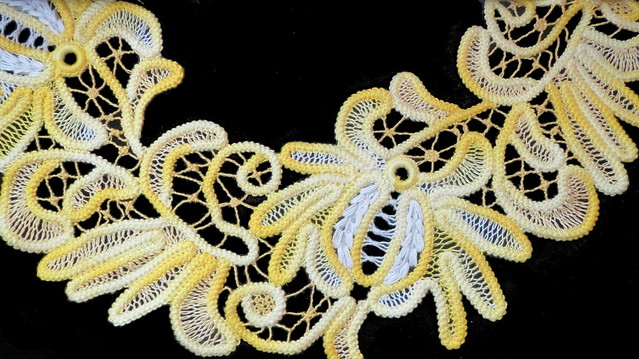
about 1/2 of the doily

Tuesday, July 03, 2012

RPL Wheat Grain cord free pattern

This is a Romanian point lace cord It does not unravel from both ends but it does add nice texture to your lace pieces.

supplies
size 10 thread
size 10 hook

special stitches
puff stitch
 yo as if to make a double crochet, *go into desired stitch or space and yo pull through then yo again* repeat till you have 9 threads total on hook yo 1 more time and pull through the stitches
pattern
  1. chain 3 
    1. 1
  2. make puff stitch in 3rd chain from hook (skipping first two stitches) chain 3 turn work
    1. 2
    2. 3
    3. 4
    4. 5
    5. 6
    6. 7
  3. *make puff stitch in chain space of last puff made, chain 3 turn work* repeat this row to desired length
 cord **If you like my blog and the free patterns and tutorials and want to say thank you I have a wish list on ravelry of patterns I would like to make.
Thank you in advance for being kind and
saying thank you back.

Love Sunshine But please do not feel like you have to**

Tuesday, April 10, 2012

Wednesday, January 11, 2012

Video: Removal of basting threads from RPL

This is sort of self explanatory but just encase someone has a question on this.

Video: Removal of RPL from Pattern

Removal of RPL from pattern.  Sorry my phone rings half way through in the video and my door bell rings at the very end too.   No one else called during the day or rang the bell it just had to happen in the 11 mins. I was making this video. I apologize for that but the rest of the tutorial is fine.

Tuesday, January 10, 2012

Part 3: Video center filling stitch

This stitch is similar to an English whirl but not exactly the same.

Part 2: Video Leaf filling stitch RPL

This filling is good for oval shapes.

Part 1: Video Fagoting for crescent shapes RPL : 1500 post

This is a fagoting stitch that works well for crescent shapes.  Meaning shapes that are larger on one side than the other.

On a total side note this is my 1500 post on my blog wow just noticed that.  I also want to say thank you to all those that commented on my last post it means a lot to me.  For some looking at the stats below and reading all the nice comments on the last post tell me there are nice people who come and visit often most  just don't have much to say. thank you

Update states as of 6 am today


VISITS

Total 802,082  Wonder how long till that reads a million that is amazing to me
Average Per Day 485
Average Visit Length 1:48
Last Hour 22
Today 87
This Week 3,396

PAGE VIEWS
Total 1,489,664   WOW almost 1 1/2 million
Average Per Day 876
Average Per Visit 1.8
Last Hour 37
Today 132
This Week 6,135

Saturday, January 07, 2012

Jan. RPLAL round doiley tutorial

IMGP3832
For all those doing the January RPLA I let you have the first week of the month to recover from holidays and to get your pattern transferred to the fabric, cord made and basted and all the joinings of the cord done this includes the joining on the side of cords too.  Hint: the other two patterns tutorials will follow in short order so you better have them ready as they will be up soon.  Soon being in the next 2 weeks.  As it does take a little  while to do the filling stitches and I want to complete each one before I go to the next. In that way you can see what the finished item looks like.  Well at least see what it looks like in the colors that I have chosen.  Please feel free to add your finished piece to the ravelry group or the group on flickr I so hope to see many wonderful works from all of you.

On to the tutorials

Sorry I did not have my husbands camera when I was doing this and my camera was being a little weird on focusing so here we go.  I plan on going back today and doing a video hopefully that will be clearer but ti is a gray day so I may have to wait a day or two.  That will be in a separate post

Master RPLAL list for 2012

Notice the new header.  That is a hint of some of the future RPLAL that will happen this year.  I see January, February, June, October and  November and just some I am doing for me and not the tutorials.  There are others for those months that I have not shown yet but the entire year is planned. I may add more as the year goes on but this is how i t stands so far.
2012 blog header

I am hoping having this be the first post of the first month in 2012 will make it easy for people to find it for future reference.


This is the main post for the series of tutorial I will be doing all year long.  I will update it after every new post and add the links.  And there will be photos added so you can have a visual reference on the right side of the post of what each project looks like.
Terms
  1. RPL: Romanian Point Lace
  2. RPLAL:  Romanian Point Lace along meaning a lot of people are working on this at the same time and there are forums to ask your questions on as well as here
  3. solid: no fabric in the middle all filling stitches and cord.
  4. tile:  means it is square probably and will work well for making larger items by making many of them and tiling them together like granny squares
If I do not write solid on a doily it means it has a fabric center for you to embroider on and I will not be going over that area as that is for you to decide what you want to do there.  Here is the list for the next 12 months and what will be taught.

Saturday, December 24, 2011

Joining two cord ends togehter in RPL

unjoined
Here is a tutorial of how to join two ends of Romanian point lace to each other.  Usually this is best to happen in a spot where you will be making the join above another cord so it is more invisible from the front of the lace.

Wednesday, December 21, 2011

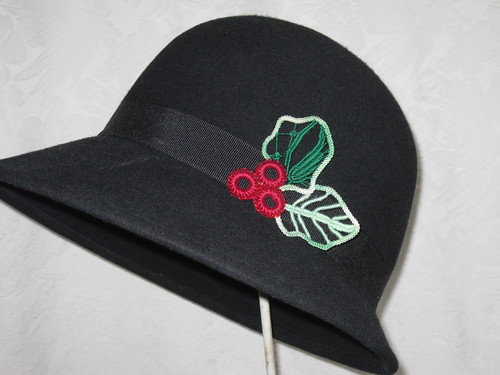
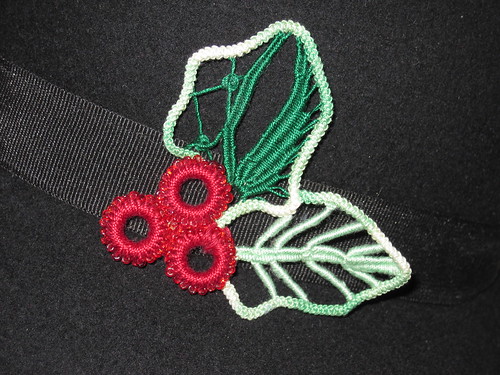
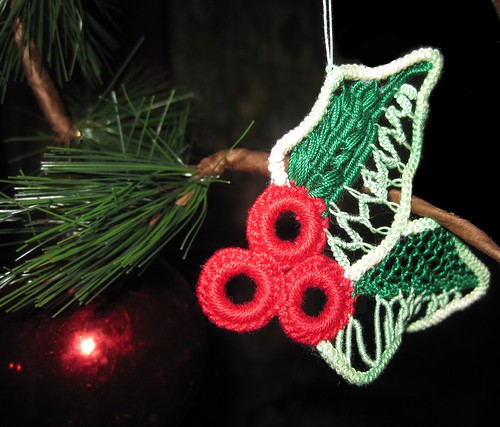
Part 3 filling stitches holly berry ornament

IMG_9301
So here is the final tutorial on the holly berry ornaments and embellishments.  This one is the one I did that had the beads on the berry.
IMG_9302
Here  I am using it at a hat pin but you could pin it on a jacket or purse or any place else you would like a little holiday cheer.

Saturday, December 17, 2011

Copyright/permissions info

I like to share on this space my ideas and projects.
Please don't take ideas or photo and claim them as your work.
I am always happy to have new links to me.  So if you like something just link back to me and give the source some credit thanks.
Any questions? just ask. I am happy to work with you if you need something
Creative Commons License This work is licensed under a Creative Commons Attribution-Noncommercial-No Derivative Works 3.0 Unported License. 2006-2019 Copyright Vintage Threads Inc. All content and images.

LinkWithin

Related Posts Plugin for WordPress, Blogger...