[google6a7b7d93c7100df5.html] Sunshine's Creations.Vintage Threads Inc.com: block of the month (quilting)

friends and followers

If you like my blog and the free patterns and tutorials and want to say thank you
I have a wish list on ravelry of patterns (click here)
I would like to make.
Thank you in advance for being kind and saying thank you back.

Love Sunshine

Search This Blog

Showing posts with label block of the month (quilting). Show all posts

Wednesday, November 07, 2007

November BOM

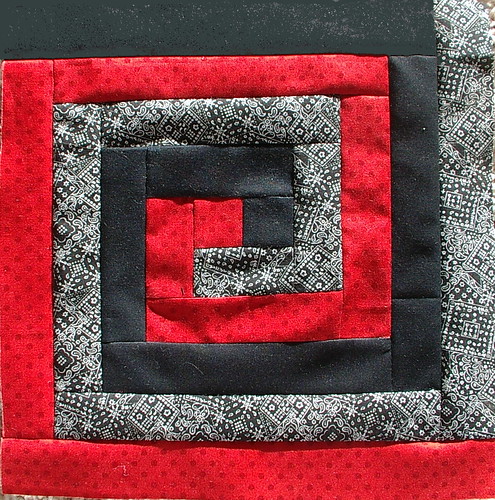
november block of the month
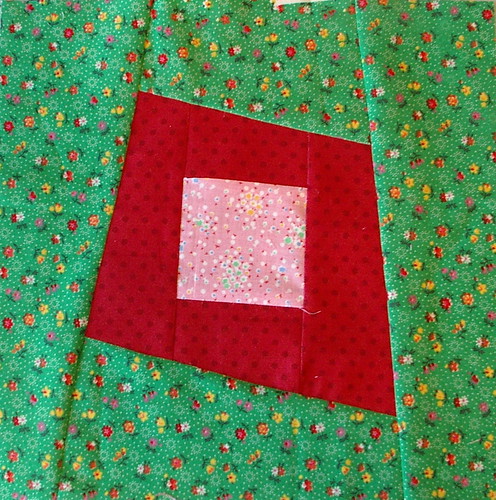
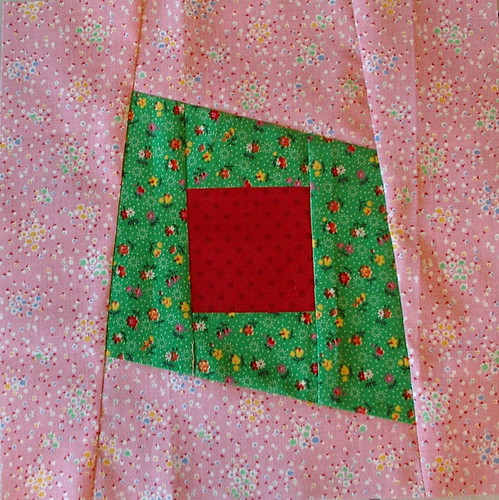
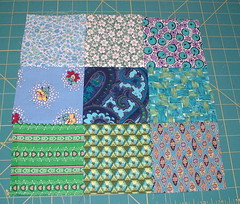
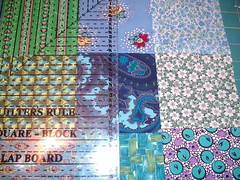
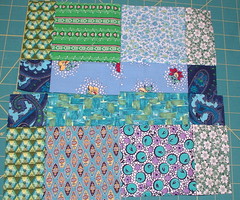
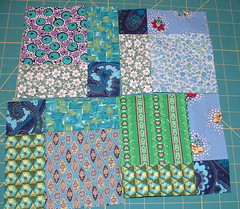
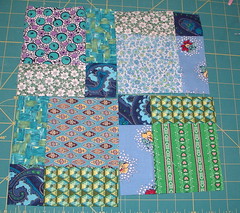
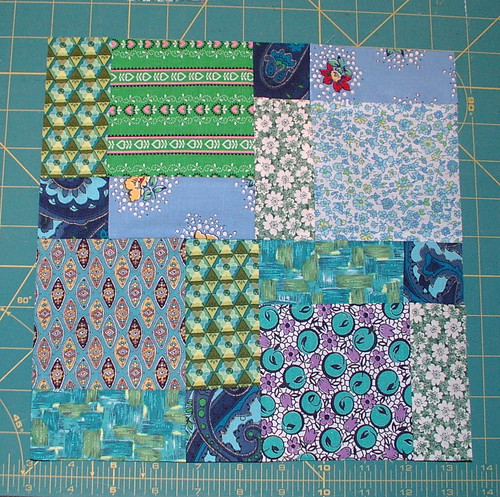
Sorry for all the bad photos in this post. My husband has requested that I try to keep my projects in the studio/sewing room/kids' art room and not all over the house. Well, honestly, that room has the worse light in the entire house. I will have to figure out some way of taking better photos in that room. I love the light in my family room, but oh, well. Maybe I should just drag the photos down after every stitch; oh let's not kid ourselves, I am patient when it comes to making things but spending four to ten minuets per photo -- just not happening. Especially going up and down the stairs since my knee is still hurting and I'm still wearing the knee brace on and off when the pain is too much to stand. Anyway, on to this month's BOM. It is sort of a cross between snail's trail/court house steps/ and log cabin. I honestly don't know the name of this block, so if anyone in blog land does, please let me know.

Supplies:
3 fabrics cut in 1 1/2 inch wide stripes
sewing machine and sewing supplies ie: scissors, rotary cutter, mat....
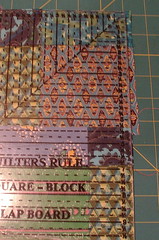
clear quilter's ruler for truing up

Go to it!

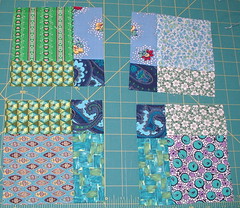
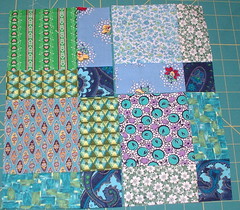
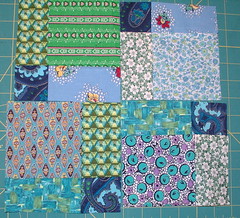
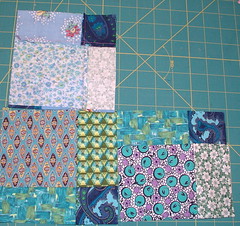
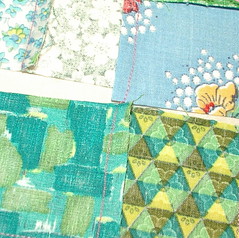
First two pieces are 1 1/2 inches square. From there, it is follow picture and sew and cut till done. This is a more follow-the-picture type of thing and true up as needed. Be careful, there shouldn't be a need for truing up and you have no tolerance for it either. I like to use a scant 1/4 inch seam; that gives me just a little fudge room. Just so we know, the block is square: a nice 10 1/2 by 10 1/2, but I didn't take the photos from dead-on; the lighting issue and kids-under-feet issue. First block is just the three fabrics cut in 1 1/2 inch wide strips; the rest are sewing order.
Side note: the last two photos are of the same finished block (oops), and they are rotated wrong, too. This is what I get for doing this when I am sleepy, too.
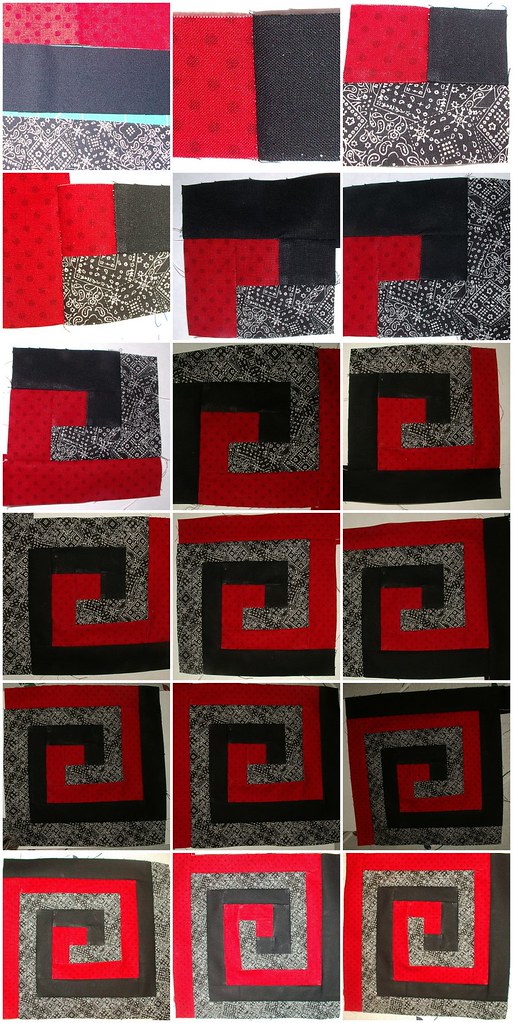
update:
I figured out why I have two of the same block at the bottom of this between picture 1 and 2 on row three. There should have been two more photos; I haven't a clue where they went, the photos that is. But I think everyone can still follow well enough to make the block and life goes on. You see those two last blocks were supposed to be in the construction layout just at the top or bottom of this post. Sorry folks!
DO NOT USE THIS PATTERN TO MAKE THINGS TO SELL FOR PERSONAL USE ONLY!!!!

Tuesday, November 06, 2007

October BOM

block 2
I know it is November, but I never showed October's block; it was Ditzy Donuts by Mary Evans from 2005. Since she posted the detailed instructions on her site, I will just show an over-view of what I did in construction of these three blocks. The block starts out 13 inches and ends up 10 1/2 inches, unfinished size.

Steps:
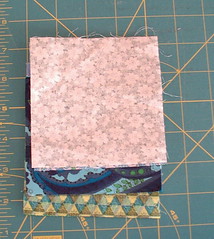
1. 3 fabrics cut into 13 inch squares stacked on top of each other.
2. First two cuts
3. Third and fourth cuts (none of these cuts are measured; they are random in width)
4. Fifth and sixth cut
5. Seventh and eighth cut
6. Take top center piece and place on bottom of stack
7. Take bottom pieces of middle row and place on top of stack
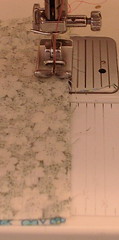
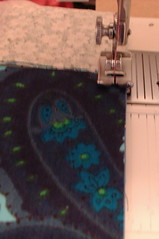
8. Take middle pieces to machine and keep them lined up in order so you don't forget orientation
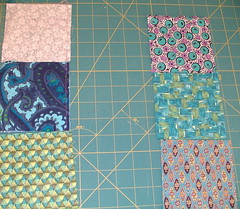
9. Iron pieces and take back to original layout and make sure you have layout correct
10. Repeat step 8 and 9. Do not true up at this time; do trim ears at this time
11. Repeat step 8 and 9. Do trim off ears at this time; do not true up
12. Take back to original block and make sure you have directions correct. Repeat step 11; cut off ears and true up now 2 more finished blocks, plus the one at the start of this post.
block 3
block 1
DO NOT USE THIS PATTERN TO MAKE THINGS TO SELL FOR PERSONAL USE ONLY!!!!
Thursday, October 18, 2007

Block of the month from Fairbanksfancygoods

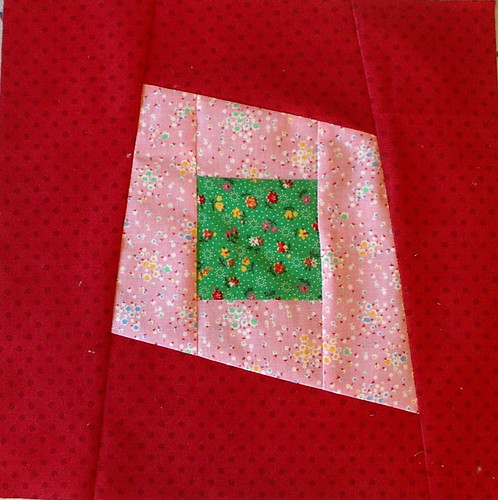
Fairbanksfancygoods went a little overboard on making blocks for "The Block Of the Month" swaps on flickr. She had more blocks than swap partners, so I agreed to swap for her overages. She was so sweet and sent me extras to boot.

She sent the two blocks. If you want to make these blocks, follow links on names of blocks to the tutorials
Pinwheel
Disappearing Nine PatchPlus a tape measure she had decorated. Then a handmade needle case with supplies included and one blank page to fill.Lastly, she sent fabric; I am trying to figure out if she decorated it or if that is the original print.She is also sending these latter this month to me: this is her photo not mine.
Ditzy Donuts
Extra Donuts

Saturday, September 01, 2007

September block of the month tutorial

Join block of the month

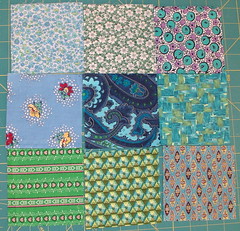
  1. Cut 9 squares 4 1/4 inches square.
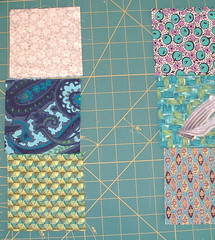
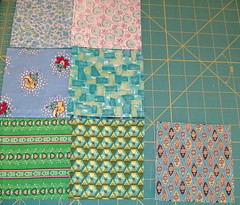
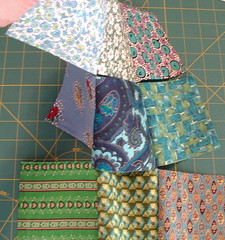
  2. Lay-out for placement; flip middle column on top of left column.IMGP5272IMGP5274
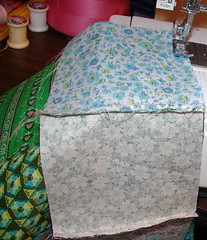
  3. Stack with bottom-most row on bottom of stack; take to machine to sew. Sew these in the continuous chain method that was demonstrated in the block of the month tutorial for Aug.IMGP5275IMGP5277IMGP5278
  4. Take your chain back to your layout table and open up. Lay right-most column on top of middle column and chain stitch. Again, do not cut any of your chain stitching. Press seams in opposite directions from row to row so they will nest when sewing the next set of seams.IMGP5279IMGP5280IMGP5282IMGP5281
  5. Take this piece of half-sewn cloth to the machine and sew the next two seams and press again.IMGP5286IMGP5287
  6. Take back to cutting board; true up and cut in half, both directions.IMGP5288IMGP5289
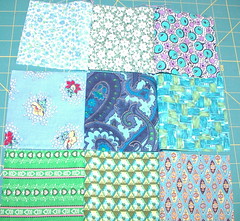
  7. Play with placement of blocks.IMGP5290IMGP5292IMGP5293IMGP5294IMGP5295
  8. Once you find the lay out you want, flip right sides together like in step number 2. IMGP5297
  9. Sew last two seams, press in between the sewing of the first and second seam.
  10. Press and true up again to 10 1/2 inches.IMGP5298IMGP5299
  11. Done!IMGP5302

Copyright/permissions info

I like to share on this space my ideas and projects.
Please don't take ideas or photo and claim them as your work.
I am always happy to have new links to me.  So if you like something just link back to me and give the source some credit thanks.
Any questions? just ask. I am happy to work with you if you need something
Creative Commons License This work is licensed under a Creative Commons Attribution-Noncommercial-No Derivative Works 3.0 Unported License. 2006-2019 Copyright Vintage Threads Inc. All content and images.

LinkWithin

Related Posts Plugin for WordPress, Blogger...