[google6a7b7d93c7100df5.html] Sunshine's Creations.Vintage Threads Inc.com: holiday:valentines

friends and followers

If you like my blog and the free patterns and tutorials and want to say thank you
I have a wish list on ravelry of patterns (click here)
I would like to make.
Thank you in advance for being kind and saying thank you back.

Love Sunshine

Search This Blog

Showing posts with label holiday:valentines. Show all posts

Saturday, February 21, 2015

Valance to folk shirt how to

valance

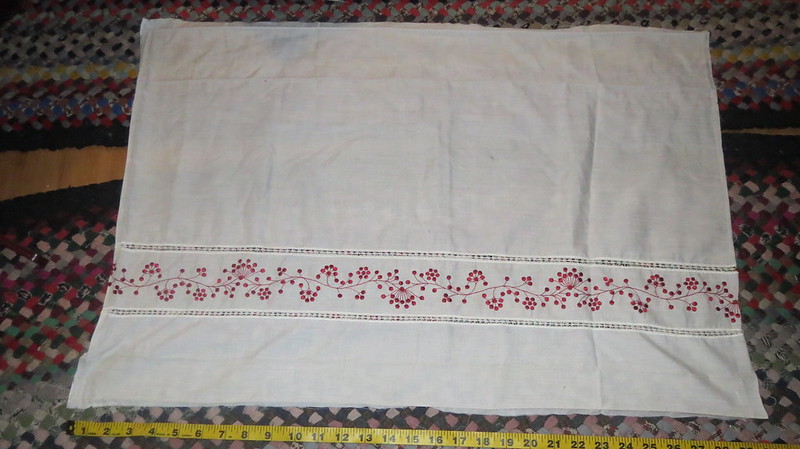
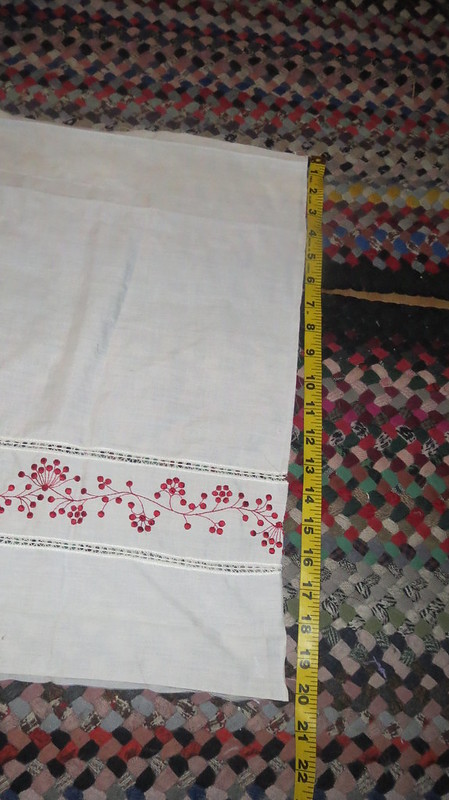
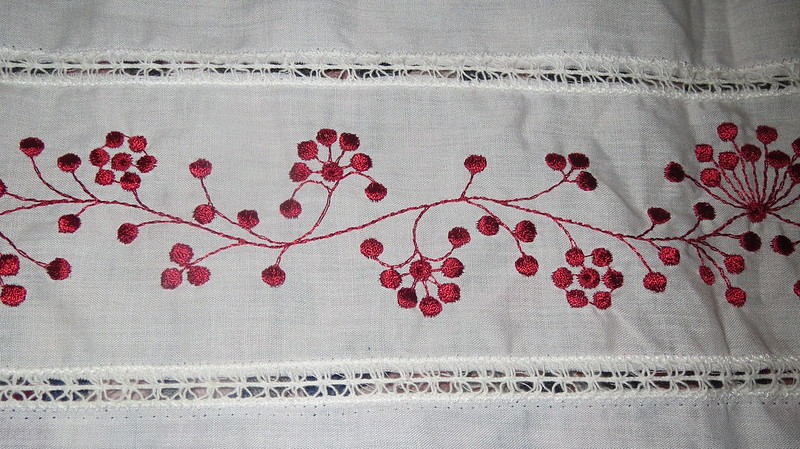
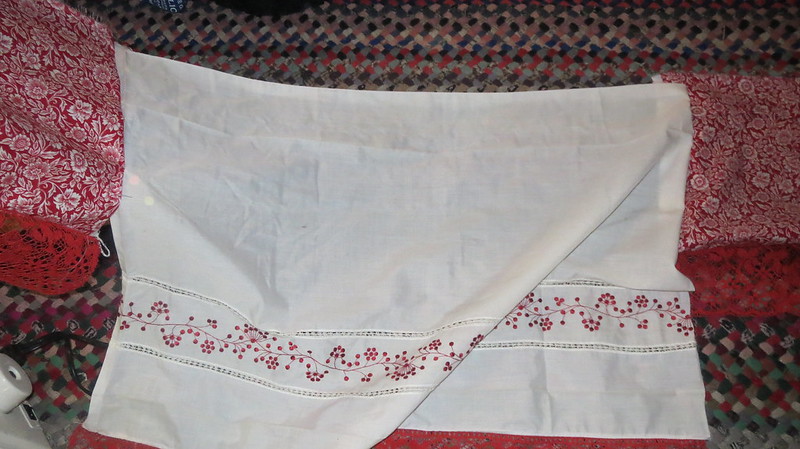
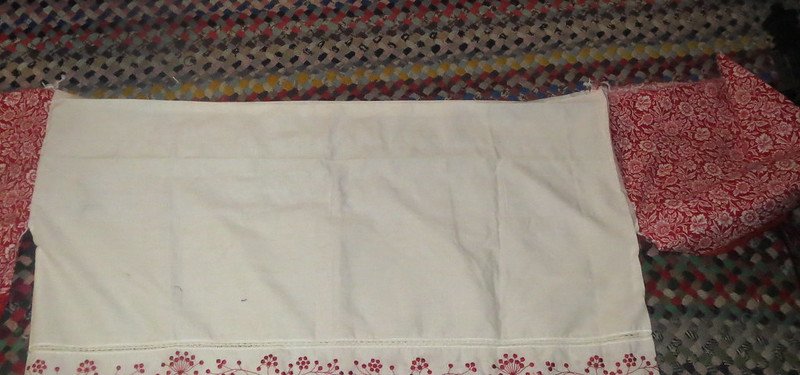
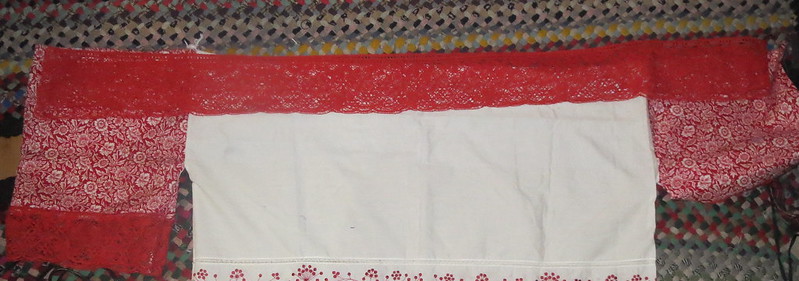
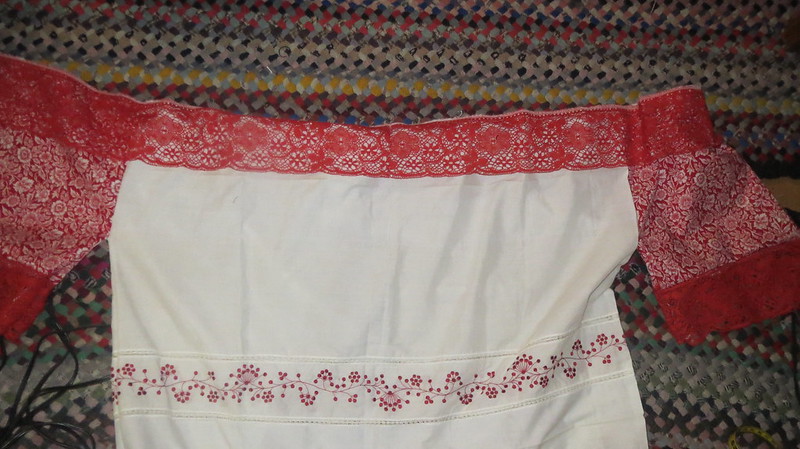
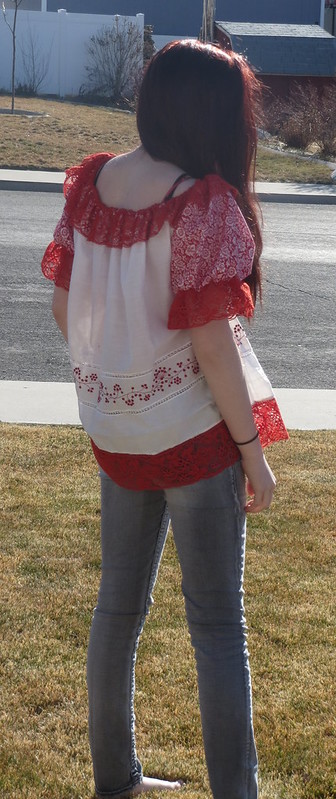
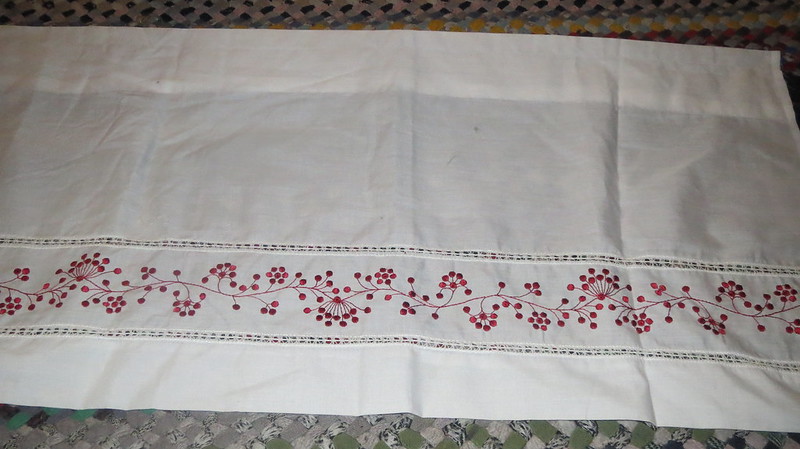
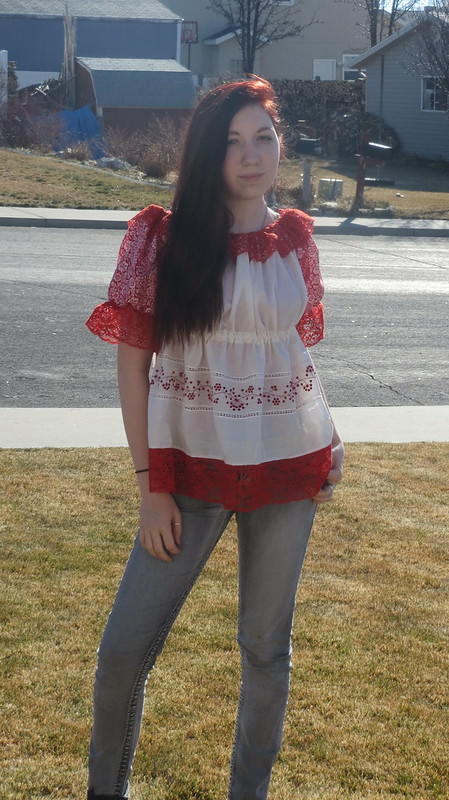
frontSo as I said yesterday in the update my middle daughter got excited to go through my thrift shop stash of fabric.  I like to buy curtains and such that have pretty details to use as accents on costumes.  She found this single valance that was 14 inches by 56 inches.  Since there is a dance tonight with a red white and pink theme Valentine's I would guess yep you can guess it she wanted it made.  I told her she wanted a shirt she had to help dismantle in this case we are dismantling more than we did for the other one as it is going to need the seem allowances in the valance for the length and width of the shirt.
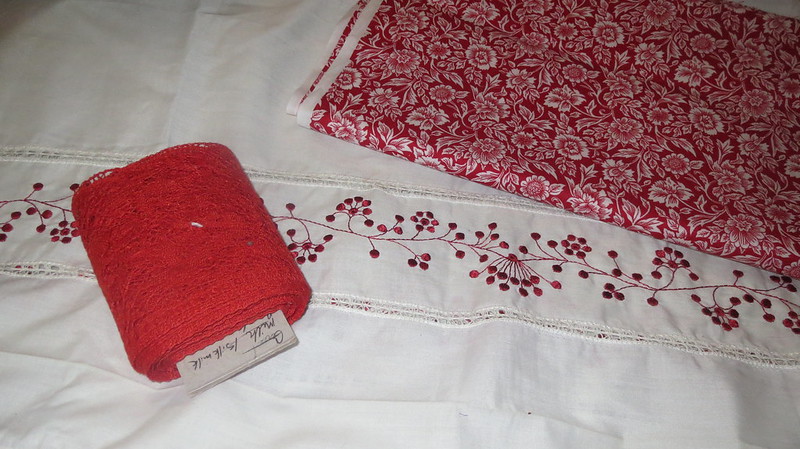
fabric and lace choices to go with valance

Warning this post is photo heavy
unpicked valance
length of case after opeinng seems
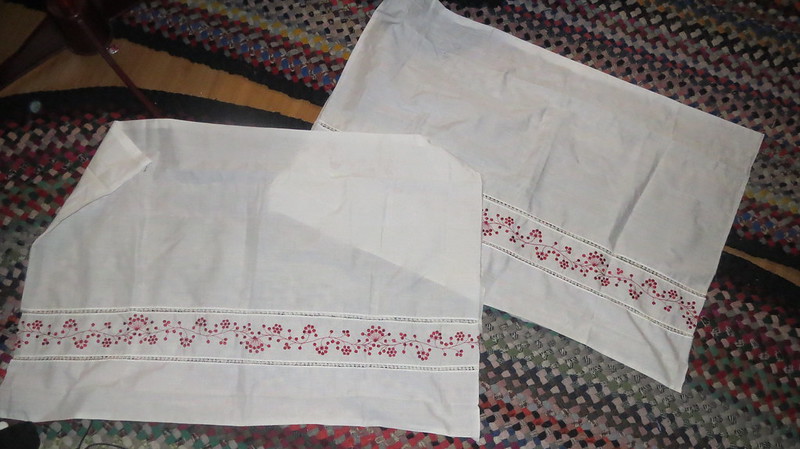
After ripping out all the seams and cutting it in half she now has two pieces of fabric that are 20 by 29.5 inches.  As you can see a lot of fabric in the seams to make the curtain rod slot and hem.  She gained 6 inches for the length of her blouse.  We could have cut nice little angles  for the arms in the fabric you are welcome too but I like having the extra fabric in there to make it more billowy.
cut in half
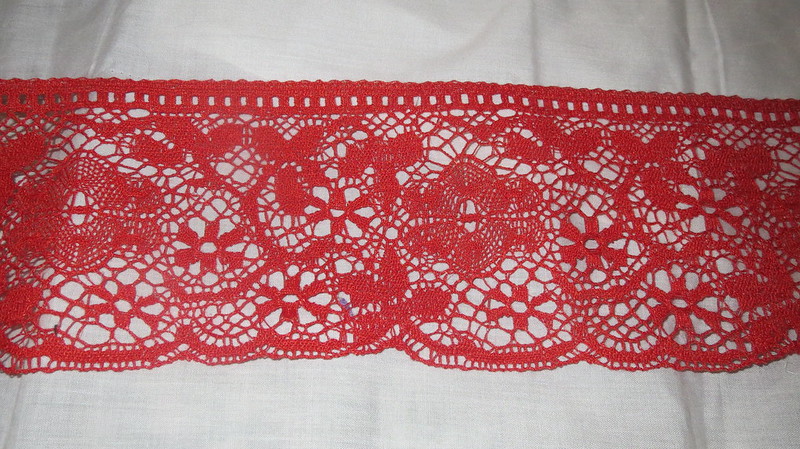
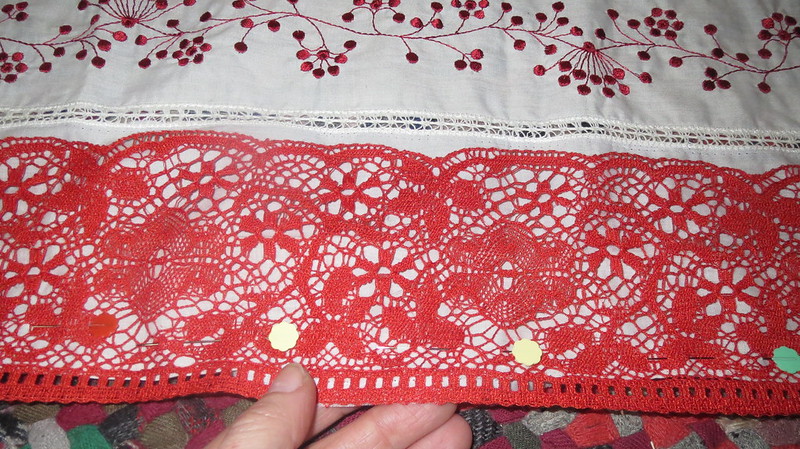
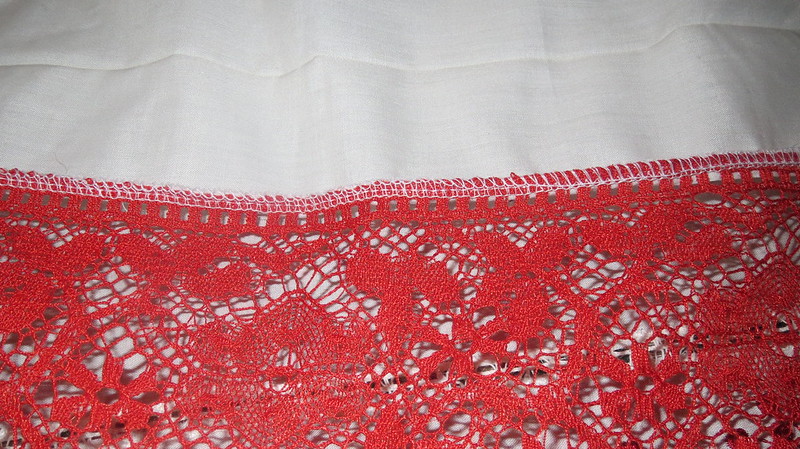
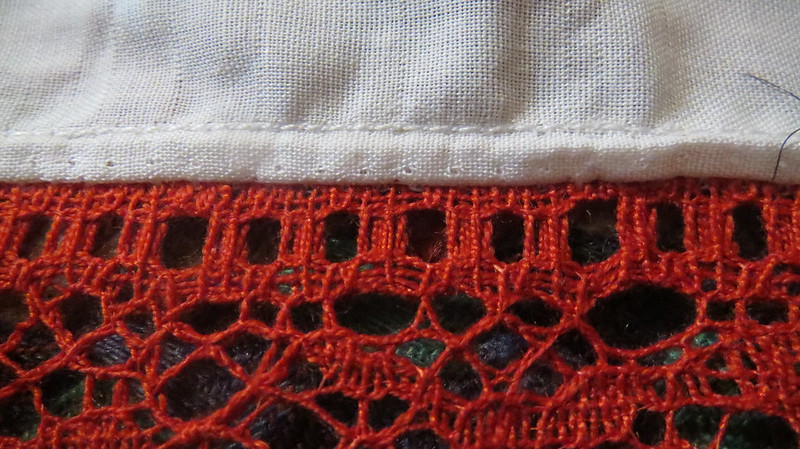
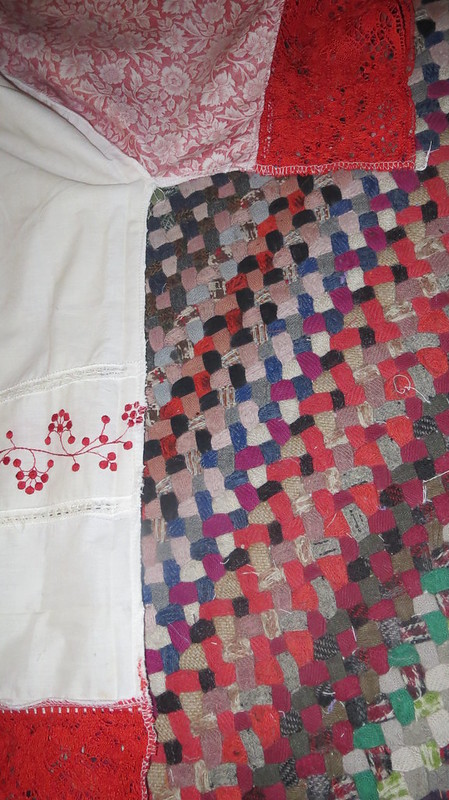
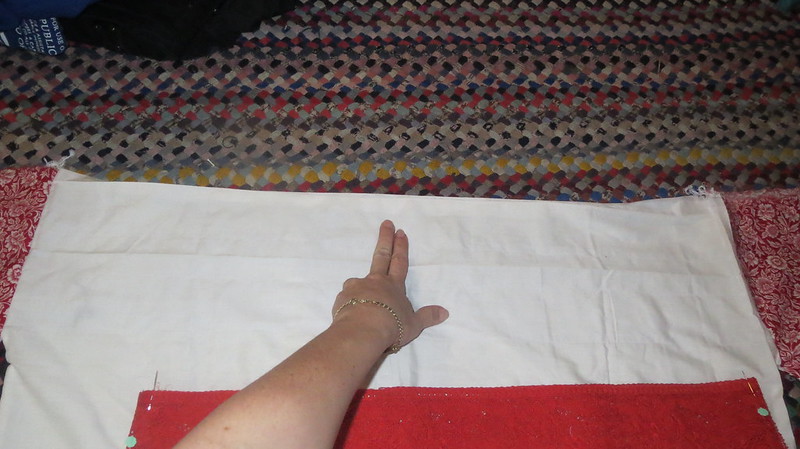
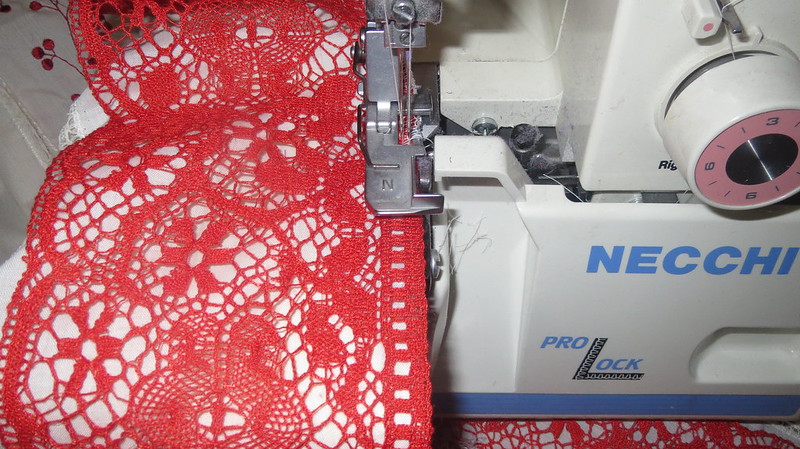
Because I have some ( a tiny bit) of red 100% cotton vintage lace I decided to add that to the two pieces of the valance to make it even a little longer I pinned then surged in place thus finishing the raw edges and makes for a nice seem to flip to the back that I can top stitch over to hold down.
lace choosendetail of valanceadding lace to hemsergedback side
front you can see old holes from wher eunpicked those will wash out

This is where we have to change a lot from the other item as this is only truly enough fabric the front and back of the blouse (for teen/adult size for a baby/toddler I would have cut differently and would have had enough to make a summer dress.  The joys of children growing up the things you learn you can use at one point and not another.

Wish we had found two valances but we didn't.  So we had to find something else for the sleeves
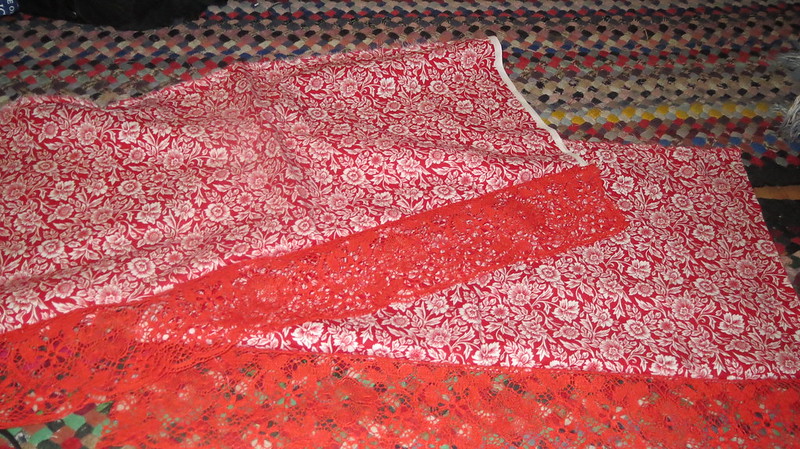
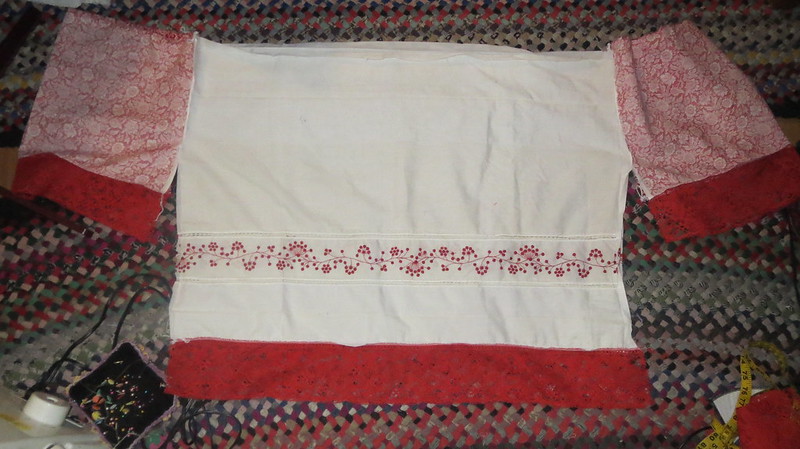
sleeves with lace
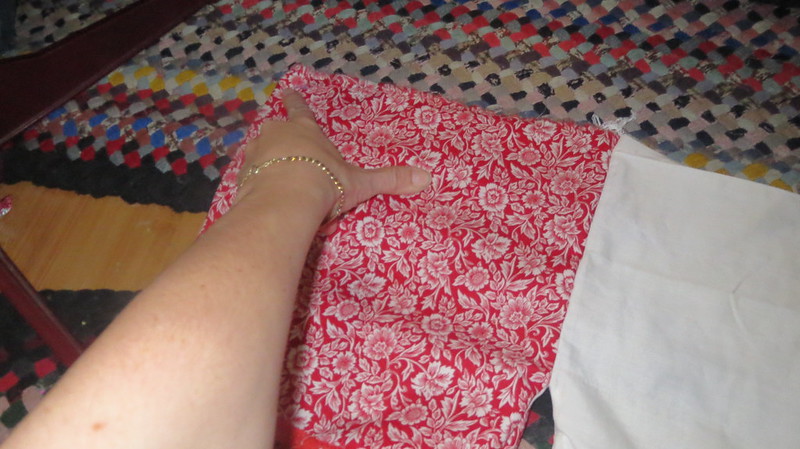
I was trying to keep the flower look of the valance embroidery when I picked the lace with flower details same is true for the fabric for the sleeves. I picked red and white fabric with flower details.
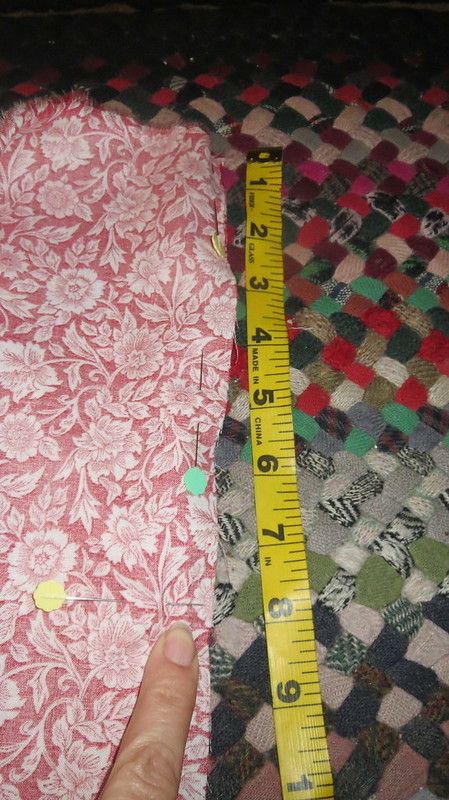
leave 8 inch opening
I cut a slip 11.5 inches wide by the width of the fabric 44 inches.  Then on the length I  sewed more lace.  Then cut the whole thing in half so I have two pieces that are 11 by 22  I did not worry about removing the salvage as I know it will get cut off when I serge that seam but you are welcome to cut it off.
sleev placement with bodyIMG_3178


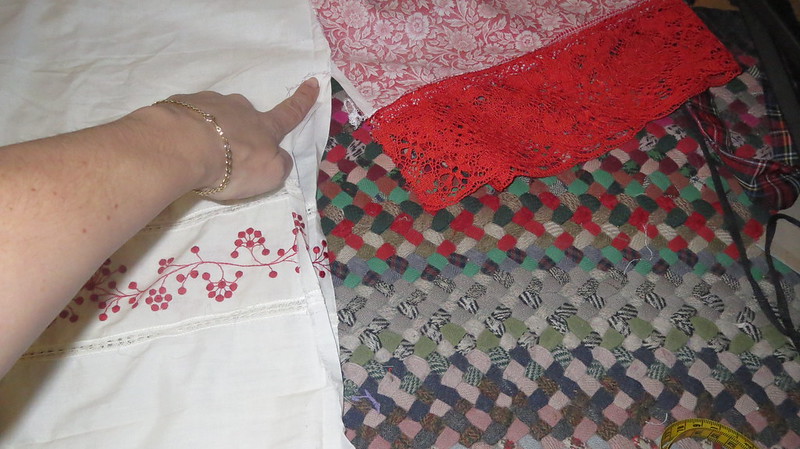
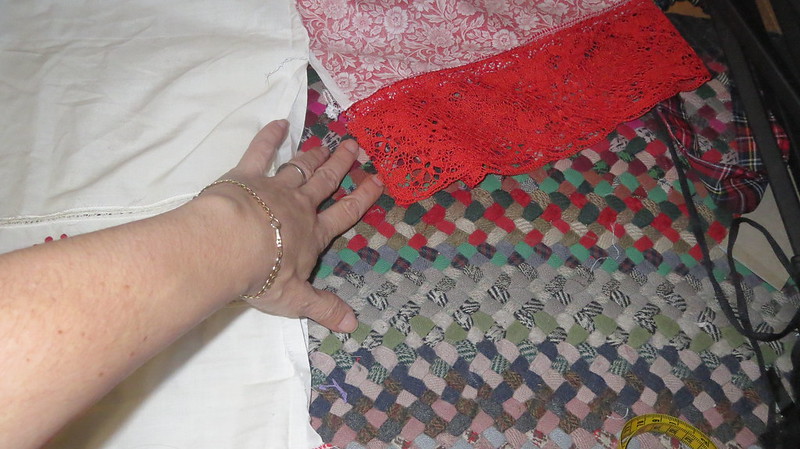
Pin in place on the front and back of the blouse sew 8 inches down leaving the ends open see photos.  Then sew up side seams making sure to match up lace edges under arm point and lace edges again.
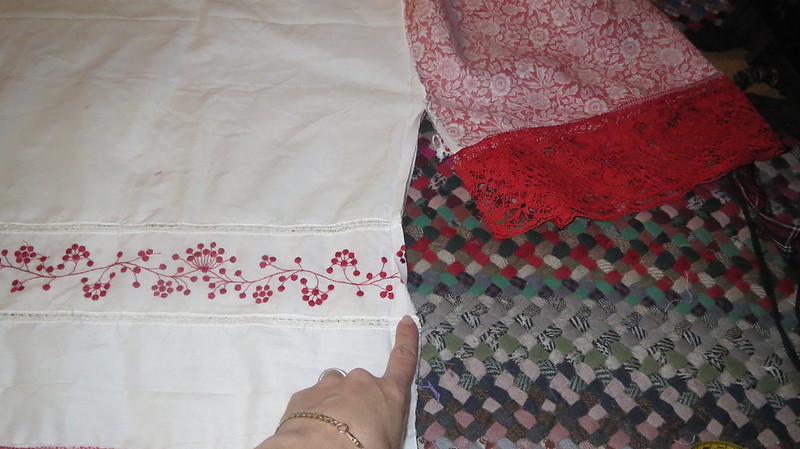
serge here matching details of edgings and such match her eand turnmatch lace and end
IMG_3183serged
I had a tiny bit of lace left about 3 inches shorter than the width of the neck but since the item is going to be gathered any way.  I just pinned it so that the fabric and the lace where each divided into four equal sections.
 placement of pins center sleevesplacement of pins centere back/front

Then when sewing held the lace firm so that the feed dogs could pull in the excess fabric and make them fit together.
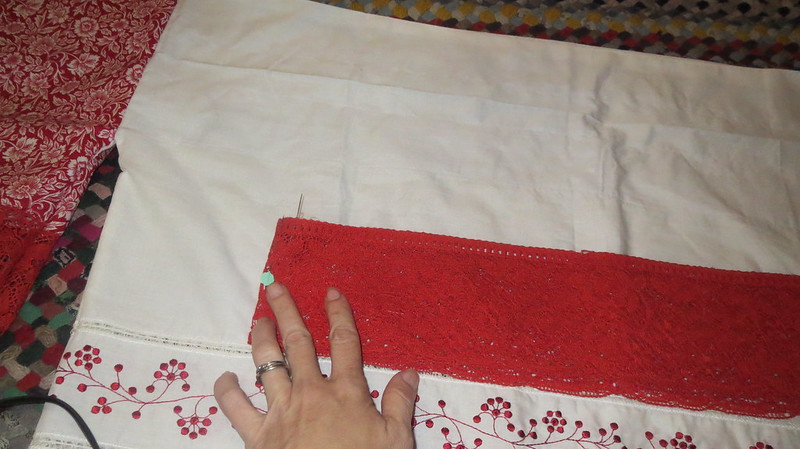
fold lace in fourth and use pins to mark
lace ready to attach
 neck lace attached
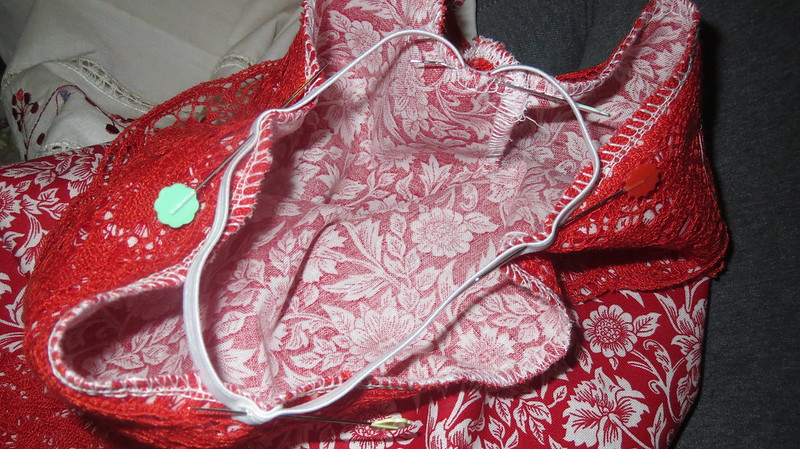
Next I cut two pieces of elastic 11 inches long the diameter of my bicep did the same to the sleeve as I did the lace.  Divided both sleeves and elastic into four equal parts and pined in place.  Then when sewing used feed dogs to pull in and stretched the elastic to make it all fit and gather nicely.
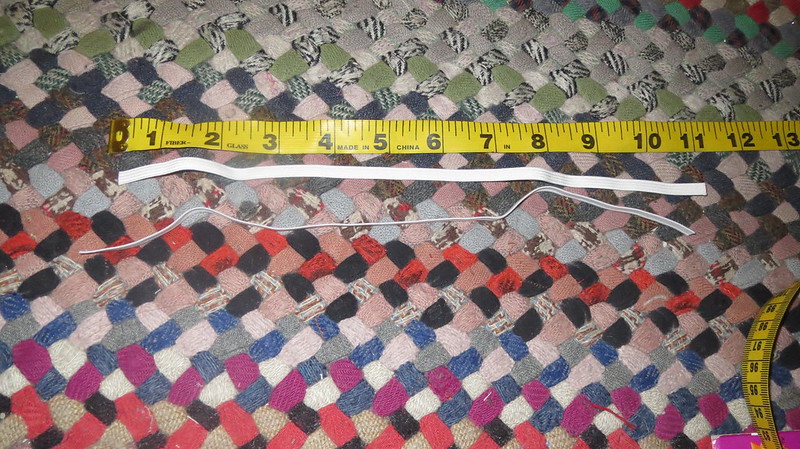
elastic for sleevespinne doin place
I went back to the neck area  folded over 3/4 of an inch of fabric an made a casing sewed it and laced in 24 inches of small elastic sewed ends together and shut opening.
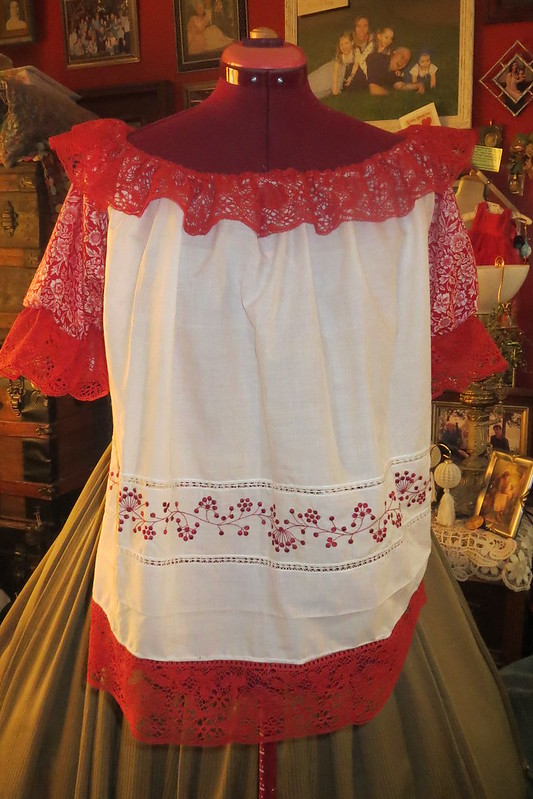
 front before i added elastic to sheer it
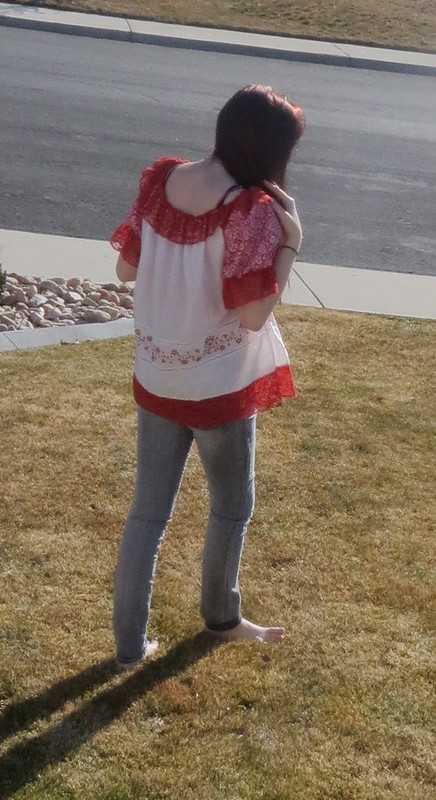
backbackI put it on my dress form and decided  I wanted am empire waist so I sewed twill tape under the bust to make a casing and added elastic.   I like it much better that way.  Still not fond of the back yet but I am all finished or so I thought.
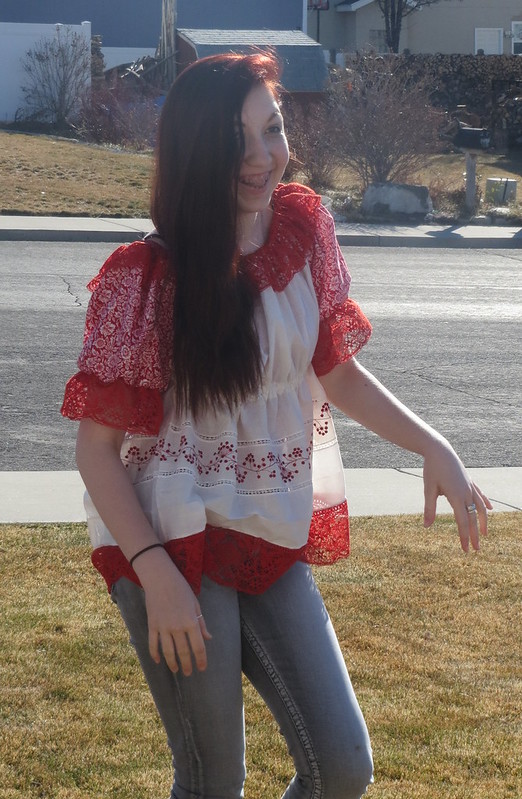
being sillyAfter my daughter tried it on she decided she wanted the back pleated I said I was done with it and she would have to do that her self.  So she placed it on the dress form and went to work changing the back to something she liked more.

Overall she likes the hang of the purple one more but the details on the red and white one the best.  I have not taken a photo of the new back pleats she added.  When she is done ironing it I will post that too as an

update to this post.
Here are the other photos of what my daughter did to the back of the blouse.  My littlest daughter wanted this shirt too.  Since my middle daughter already had the purple one after she added her mods to it she gave it to her younger sister such nice kids to share.


Saturday, February 14, 2015

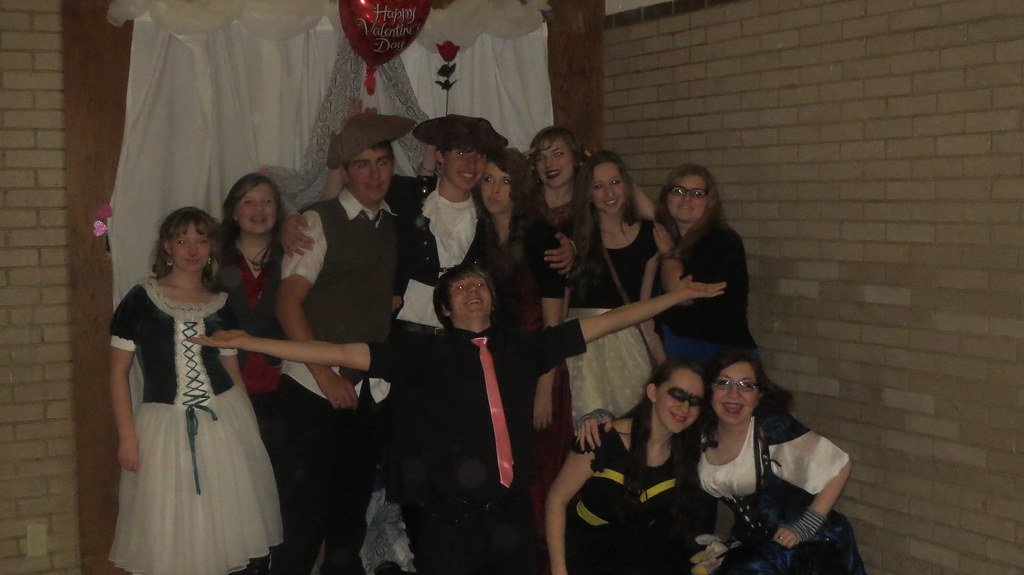
Valentine's Dance costumes

IMG_3108
IMG_3105So for those of you that come to my blog and like to see costumes here are the costumes we wore to the Valentine's Dance.

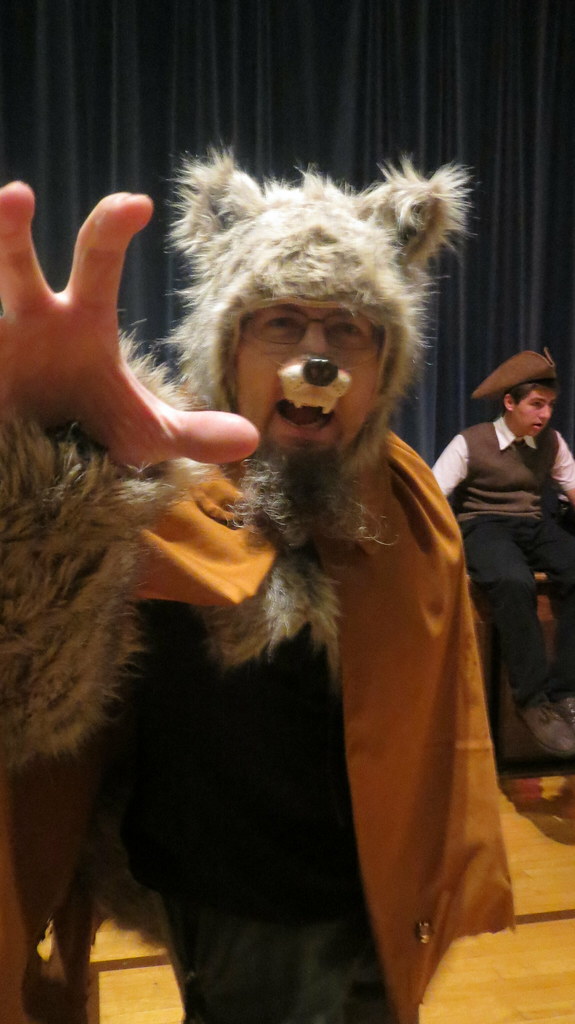
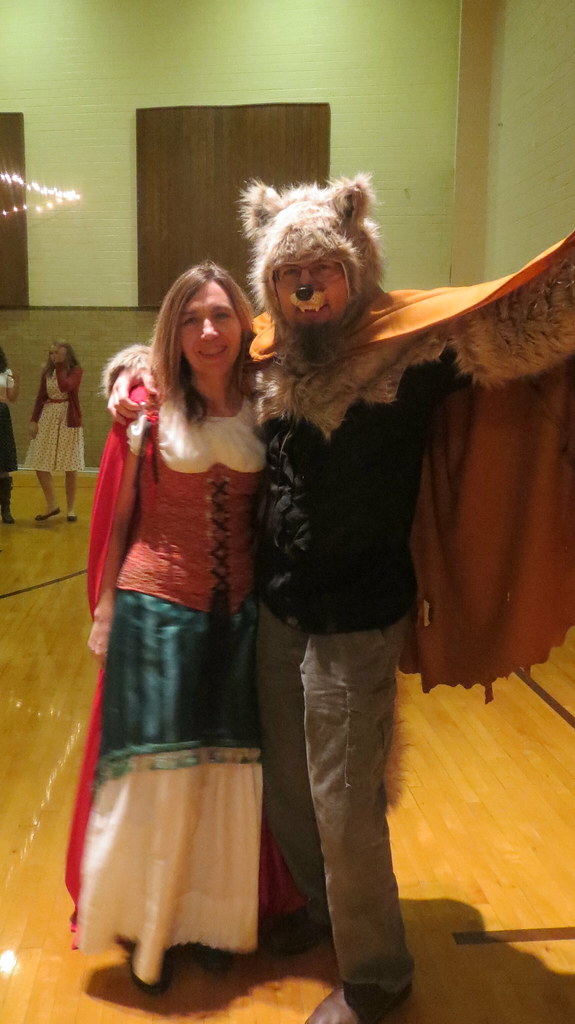
So here is me and my husband as little Red riding hood  and the Big Bad wolf (corset and green skirt and blouse made by damsel in this dress).  The white skirt is a petticoat I made for Little Woman and the red hooded cape is one I found at Zurkers.
IMG_3112
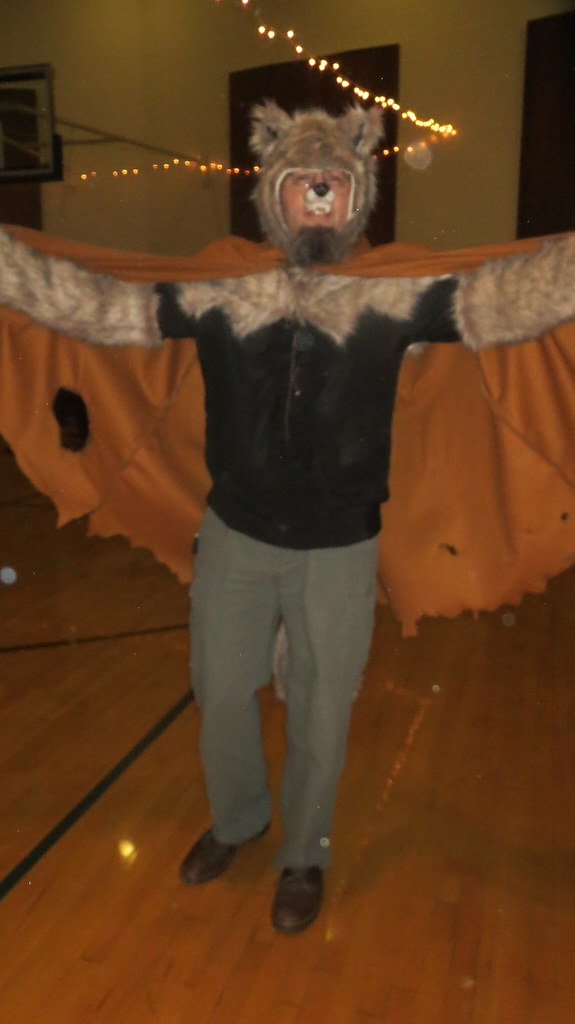
I also made my a cape today that I did not post about but you can see it here.  100% wool that I scorched to make look old and damaged so currently it smells a  little ( a lot) of burn wool.  So does my front porch.  The cape has since been washed smells better and is now felted and looks old just what I wanted for the dance but did not have time to do ready for the next go round.  

The nose I did not make it was also from a store called Party Works. He is wearing a pirate shirt too so when he would get to hot in the costume he could still look like he was in a costume sort ta.

You can see the other costumes in the read more section of this post.
IMG_3109
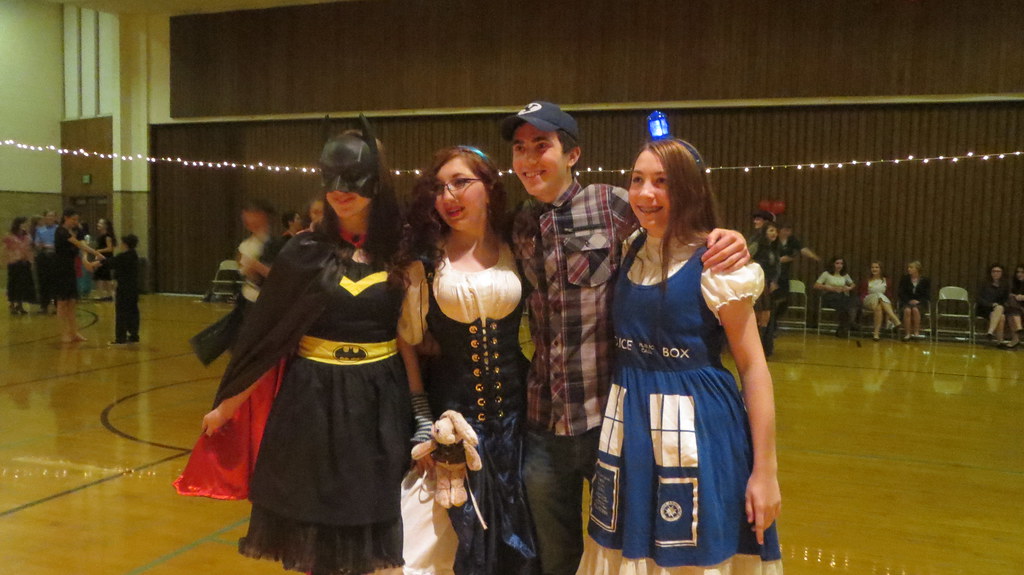
This is my children with a long time friend of the family.
 IMG_3124
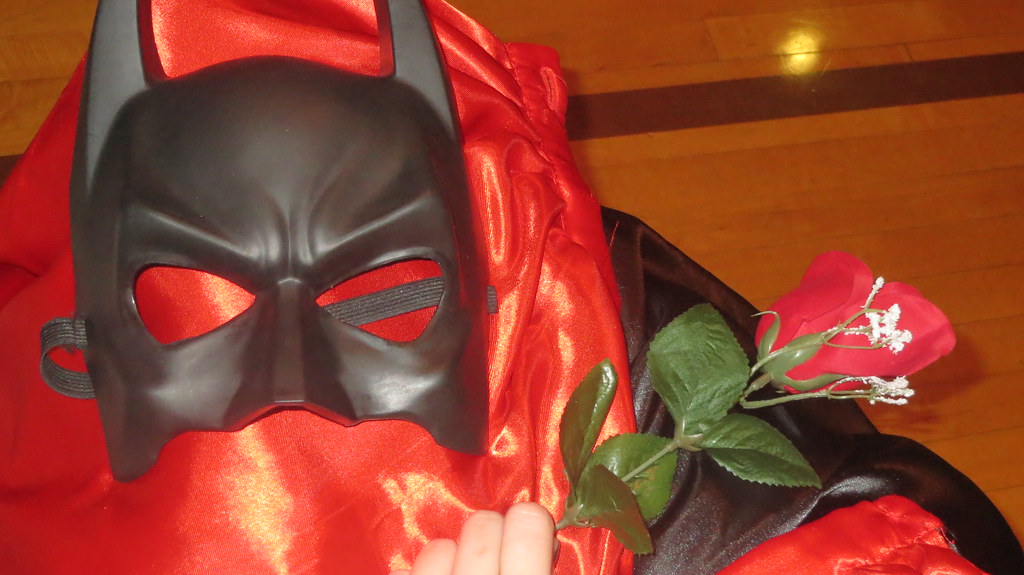
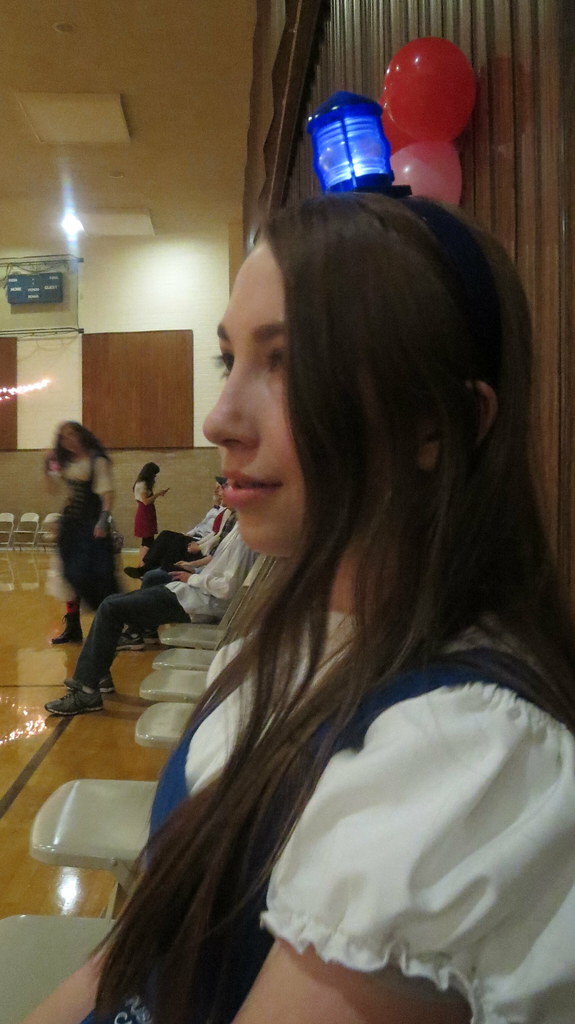
My oldest went as batgirl her dress was from hot topic, black shirt damsel in this dress, and cape I made for Little Women, vintage 1950's petticoat found thrift shopping by a friend of ours who knew we would love it.  The above photo I took for my daughter she wanted an image that would remind her of Phantom of the opera batman/batgirl style she wants to draw it.  Somehow my oldest daughter kept coming out blurry in photos so I truly only got the one good one of her above with her sisters.  Same happen with the youngest but I got one of her sitting with her tardis headband on.

IMG_3123
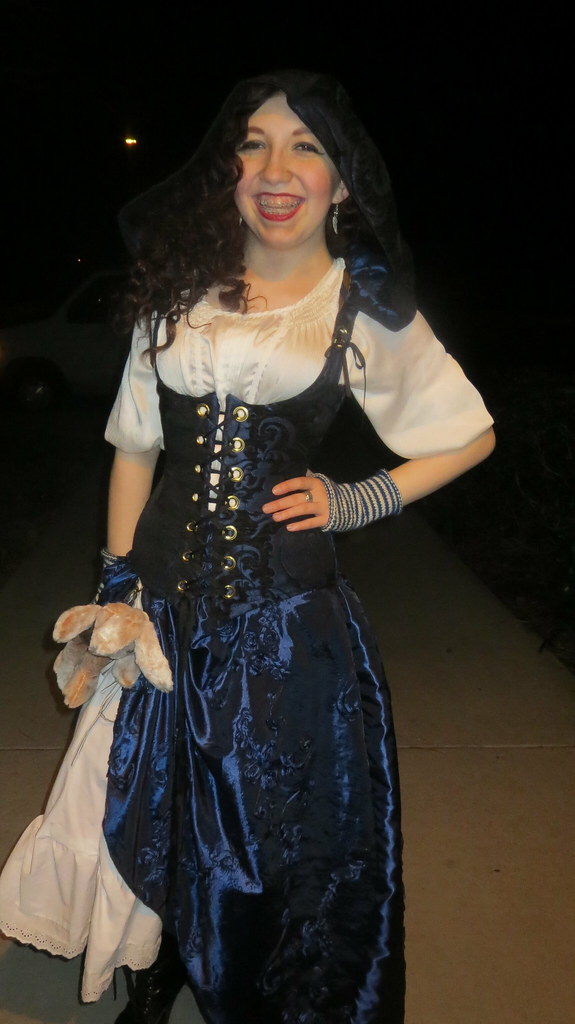
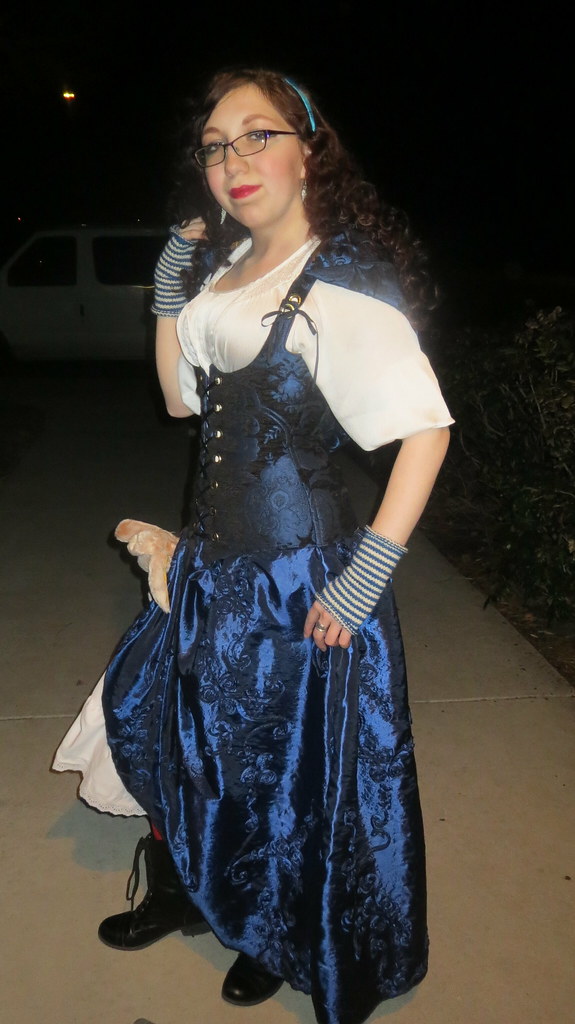
IMG_3119My middle daughter went as a steam-punk Alice in Wonderland Most of her costume came from Damsel in this dress, she worked the bunny to make him steam-punk with a gear eye and things of that sort.  Blouse and white petticoat thrift shop finds.  She has red stockings on that have card symbols on them to represent the Queen of Hearts and so on.  I Hand knit the gloves she is wearing.  This daughter loves Alice in Wonderland if you remember last year she was The Queen of Hearts for Halloween and the Mad Hatter's daughter for a school costume dance.

IMG_3114My youngest went as a Tardis lots of Whovian's in this house.  The dress and headband that really lights  came from hot topic for the last Halloween second time she has used this costume, blouse from Damsel in this Dress, !950's Petticoat thrift shop find from a friend.

So for those who come here to look at costumes and send me emails as to wear they come from there you go.  Happy hunting and costuming  half the fun of costuming is the finding the and hunting for what you want.

IMG_3125

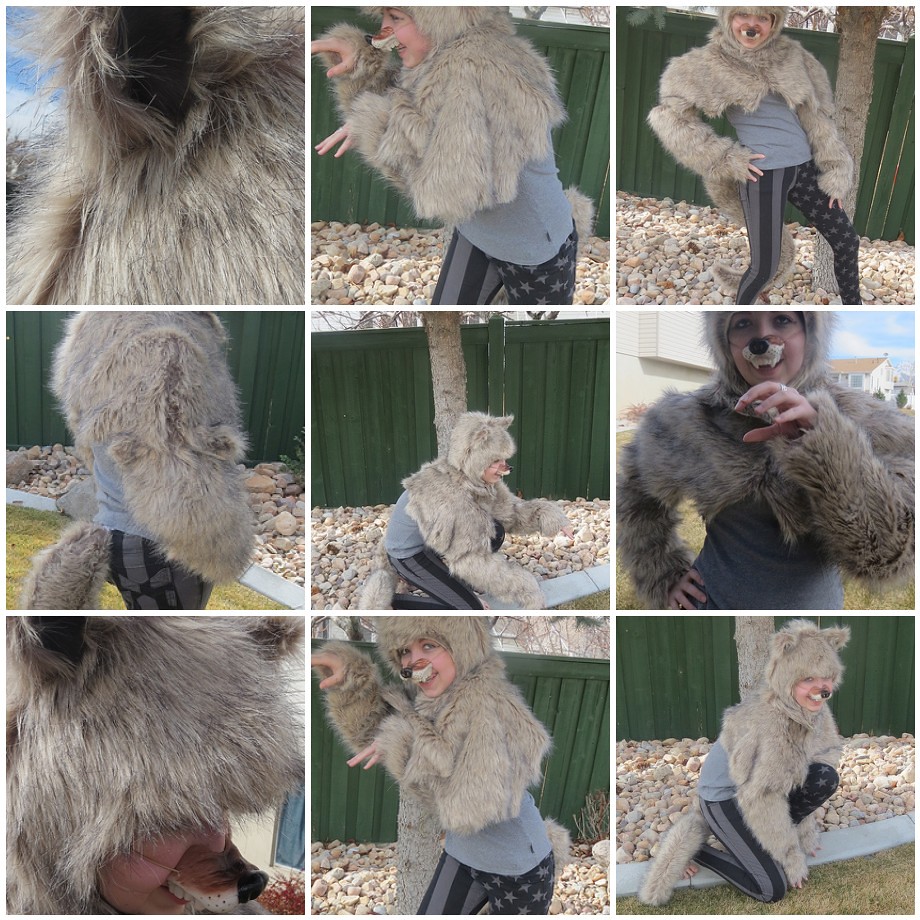
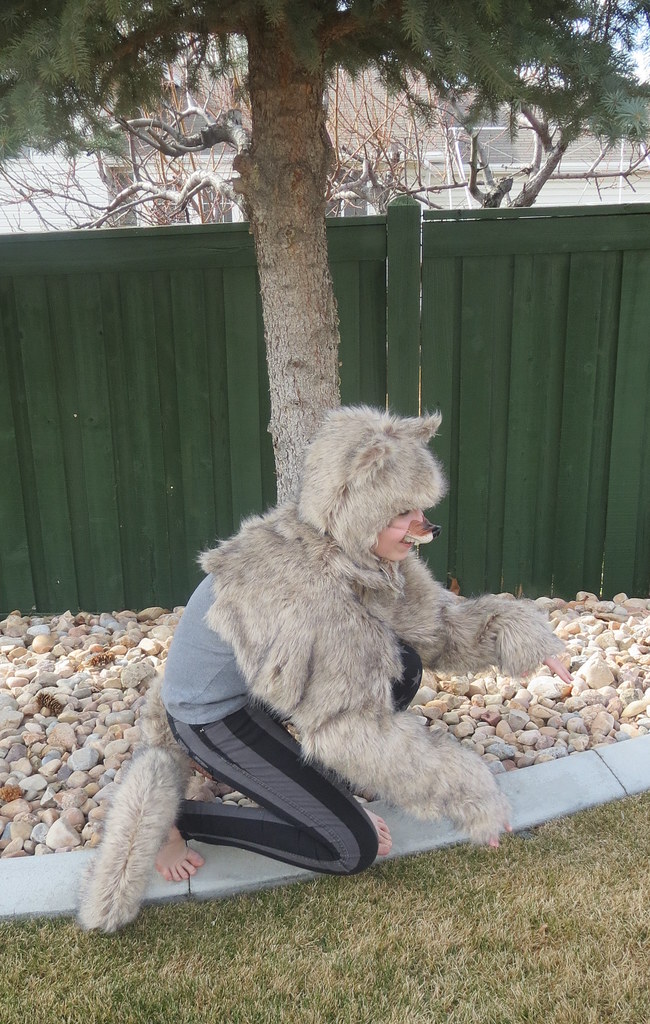
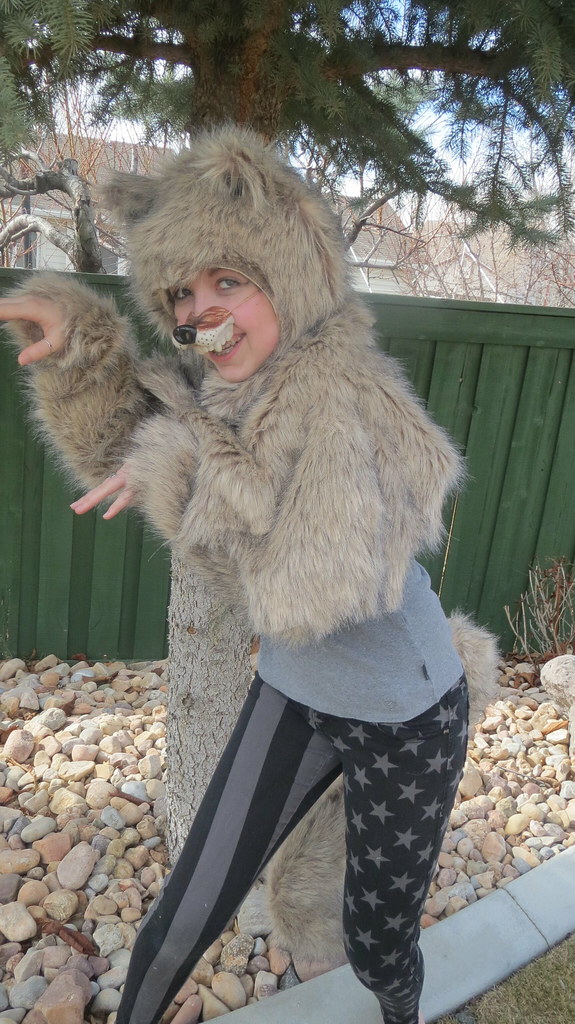
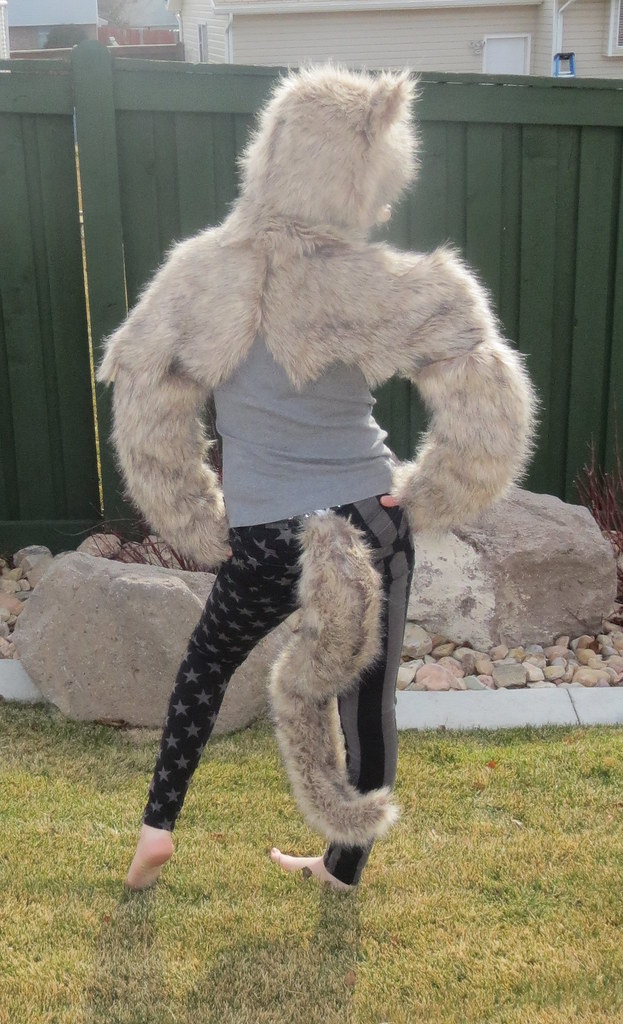
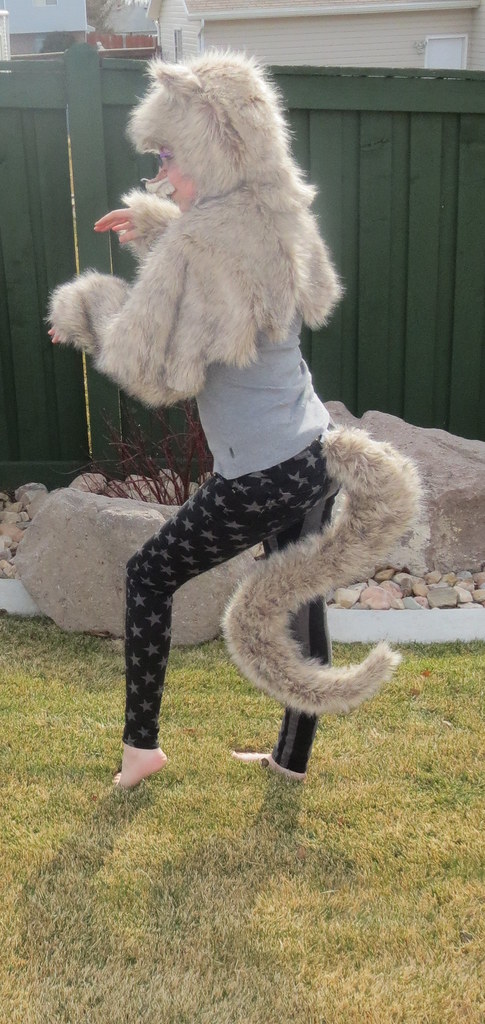
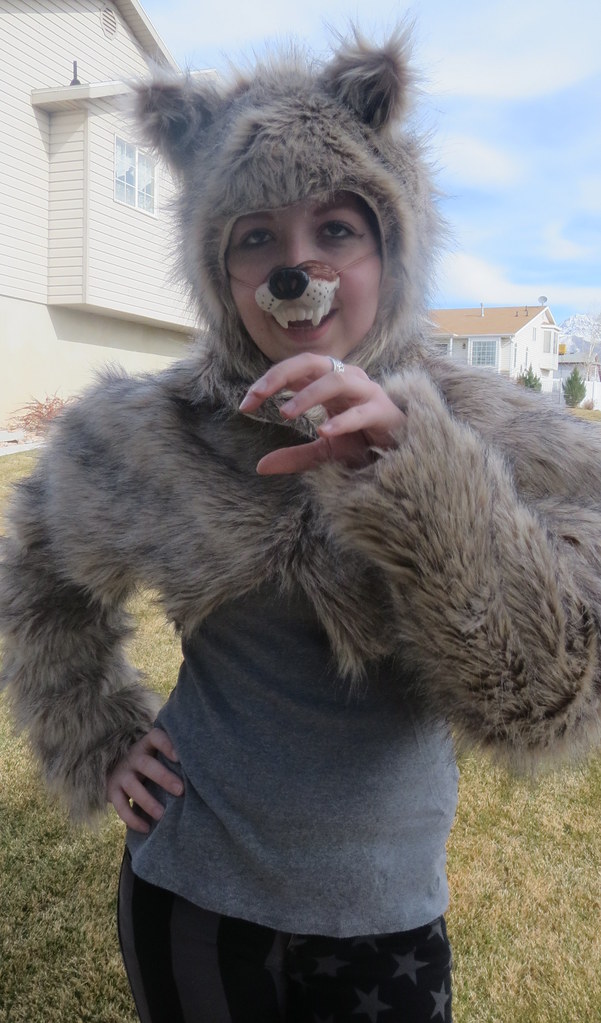
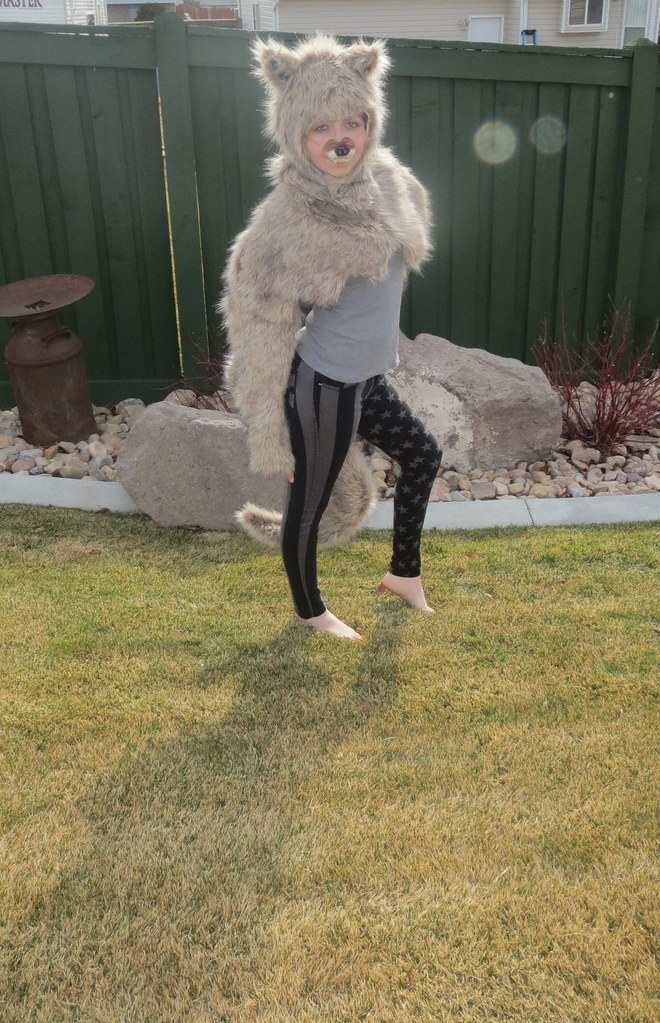
The big Bad Wolf

the big bad wolf
So my family is going to a costume dance for Valentines.  My husband decided he and I are a matched set as the Big Bad wolf and me as Little Red riding hood.
 IMG_3088
The girls are going as a Tardis, Batgirl, and a Steam Punk version of Alice in Wonderland.  I will post photos later if I remember to take them.  But this is the progress on the one costume I had to make for my husband it is not quiet done but almost.  Good thing my kids are hams when it come to taking photos.  Do not know what I will do when I no longer have around to use as mannequins.
IMG_3094
This costume was similar in construction to "Bottom the Donkey" I did in "A Mid Summer Nights Dream".
IMG_3081
This is a costume that is a Frankenstein like pattern.  Meaning I took some of this pattern, some of that pattern, some I made up and this is what you get. A monster nope a costume that is what you want and not what the pattern company wants.
IMG_3080
This costume is meant to fit my husband thus it is too big on my middle daughter.  Yes I have silly children I think these photos prove that.
IMG_3102
For those who have never worked with faux fur best to draw pattern pieces on the back with permanent marker  and cut from the back with a razor blade.  You get a lot less fluff and stuff all over the house also cut outside. 
I cut over the cement porch since you only cut the back of the fabric the blade does not dull on the cement.  But it keeps you safer to cut towards the cement as opposed to over ones legs and accidentally cut oneself.


IMG_3083

Copyright/permissions info

I like to share on this space my ideas and projects.
Please don't take ideas or photo and claim them as your work.
I am always happy to have new links to me.  So if you like something just link back to me and give the source some credit thanks.
Any questions? just ask. I am happy to work with you if you need something
Creative Commons License This work is licensed under a Creative Commons Attribution-Noncommercial-No Derivative Works 3.0 Unported License. 2006-2019 Copyright Vintage Threads Inc. All content and images.

LinkWithin

Related Posts Plugin for WordPress, Blogger...