Where do you want to go
friends and followers
If you like my blog and the free patterns and tutorials and want to say thank you
I have a wish list on ravelry of patterns (click here)
I would like to make. Thank you in advance for being kind and saying thank you back.
Love Sunshine
I have a wish list on ravelry of patterns (click here)
I would like to make. Thank you in advance for being kind and saying thank you back.
Love Sunshine
Search This Blog
Showing posts with label quilts. Show all posts
Tuesday, March 20, 2012
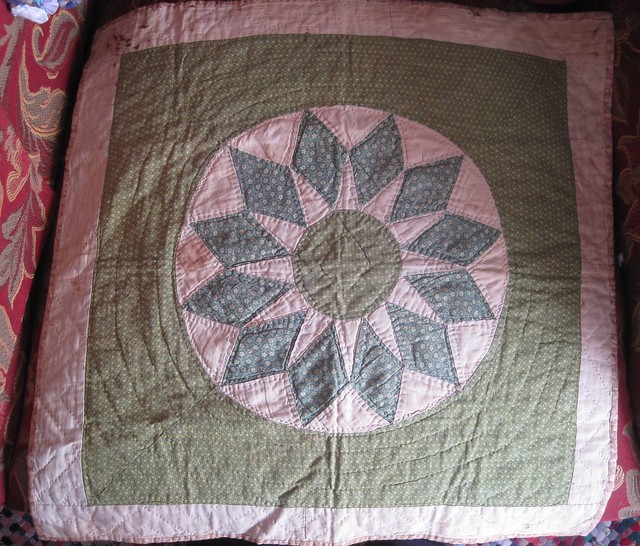
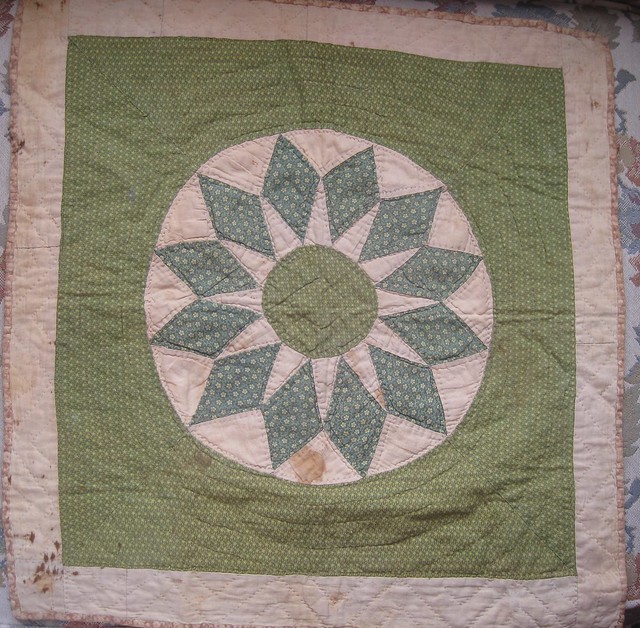
Help me date and name this quilt block
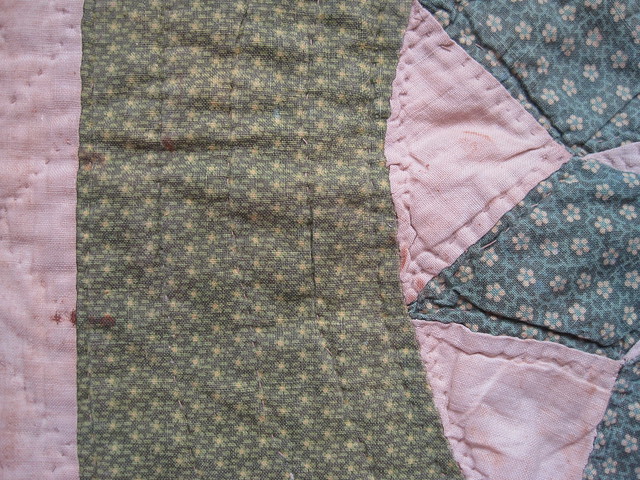
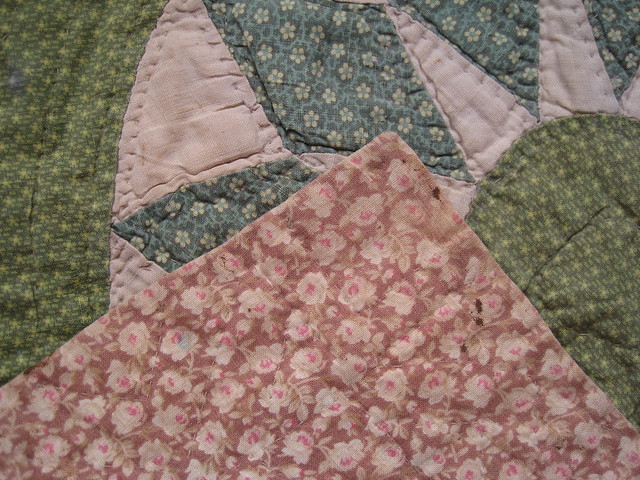
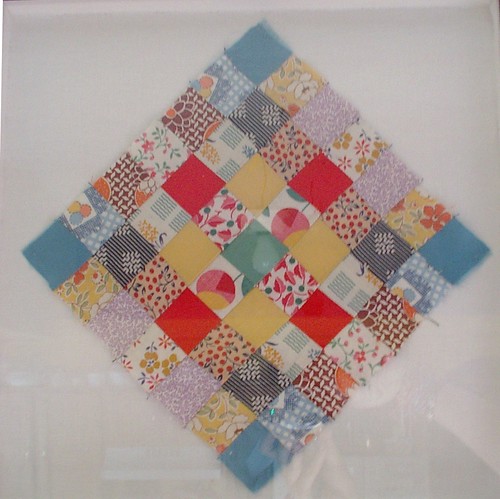
Please help me I am trying to date this quilt block. I inherited from my mother-in-law and she inherited it from her parents but I don't know where it came from before that. I am trying to figure out the age of it to help me with it. I am wanting to get it archival framed to help stop any more damage but I want to put a little plaque on it with the name of the block and ruffly it's age so my children in time won't have to guess like me all help is greatly desired and wanted in this quest. Thank you now for any help you can give me.
Update it looks to be a sort of mariners compass like this one. But would still like the fabric dated. I am thinking very early in the 1900 to about 1930 maybe as early as 1880's but I am not sure help is still greatly appreciated
Thursday, March 24, 2011
Update Japan quilts
Go to the link below to get all the news on how this went. When everything is done quilts and kits and binding I think the count was 78 quilts for Japan. Thanks ladies and a few gentlemen for helping.http://www.aprilrosenthal.com/2011/03/23/quilts-for-japan-the-recap/#comment-520
If you still want to help and didn't get a chance go here there is still time and you don't have to live near me to do it either.
http://www.quiltersnewsletter.com/blogs/insideqn/2011/03/18/call-for-quilts-for-japan/
These photos are from other bloggers that had been there that day. My photos did not come out well.
My little niece helping out with the white flower head band and April's Mom at the machine (April is the one that coordinated this event) and my middle daughter the orange blurr. Photos from the blog of Tea Rose Home not my photos.
I straightened the quilts up so we could all get a good photo for our blogs well mine didn't come out so these are from Gracious Rain's blog post. Not my photo but it is my work in folding and straightening and a few of those are the ones I tied on too.
Another photo from tea rose home with me and my family in them. That is me in the back in white with black gloves on for tieing for 8 hours. My sister law in the black leather jacket next to me and another niece in the hat front right with another sister on law next to her in the black sweater. I also have nephew the blue blurr next to the sister in law in the black sweater and my three daughter here at this time helping. My husband came at the end to haul stuff to April's vehicles. It was a family thing for us.
Me and my husband and 3 daughters
3 sister in laws and 2 nieces and 2 nephews
12 Harbaughs that is one great family I have I love them so much
another blogger there diary of a quilter
Tuesday, November 30, 2010
Part 2: Cathedral Windows Quilt Tutorial

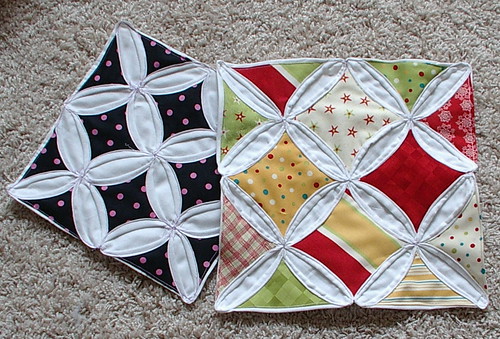
There are two traditional places to add color to the traditional cathedral windows quilts. The first is shown above which is traditional. The second spot places colored fabric in the long white oval openings as seen in the photo above. But there is actually a third spot to add color which is the background that can be more than one color adding more variety to the blocks.
Quick Traditional method: Easiest
- cut 2 1/2 inch squares two for every piece of white fabric you have cut.
- place on space where two squares come together pin in place
- fold over edges pin in place
- sew with sewing machine
- repeat till done
----------------------------------------------------------------------------------------------
---------------------------------------------------
Tutorial parts
Part 1 cathedral windows ( background)
Optional Steps
I will start with the optional steps method then move on to traditional version 1 and version 2 and version 3.
This will place color inside the spaces that are white in the photo above. This of course is twice as much work if you do it the first way listed below. The second way is faster but not as thick or as warm of a quilt depends on your final goal. These steps that are optional and are added to the traditional method not instead of it.
Optional steps if you want more color you can skip this step as I did in the above photo which will make your quilt go tons faster.
Traditional version 1 : Hardest to make
most work but a much warmer quilt (tons more work than traditional)
repeat steps 1-6 (from how to construct block)but in color and with a 6 1/2 inch square you will end up with a square that will fit under your flaps of your fabric ruffly 4 1/2 inch square. Stitch corners together by hand and stitch 1 or 2 stitches through the color fabric piece to tack it in place for now.
Traditional version 2: Medium
a little more work than traditional and a little warmer
cut 5 inch color squares of fabric also cut a 4 1/2 inch card stock template. Lay cardstock template over each color square and fold over the 1/4 inch seam allowance on all sides and press in place pull out cardstock and repeat for every 5 inch color square
Traditional version 3: Easy
a tiny bit more work than the traditional and a little warmer
Just cut 4 1/2 inch squares the same number you cut of white squares and place below flaps. Stitch corners together by hand and stitch 1 or 2 stitches through the color fabric piece to tack it in place for now.
---------------------------------------------------
Part 2 Cathedral windows ( color filler squares) this post
Thursday, August 12, 2010
49 patch block of GGH
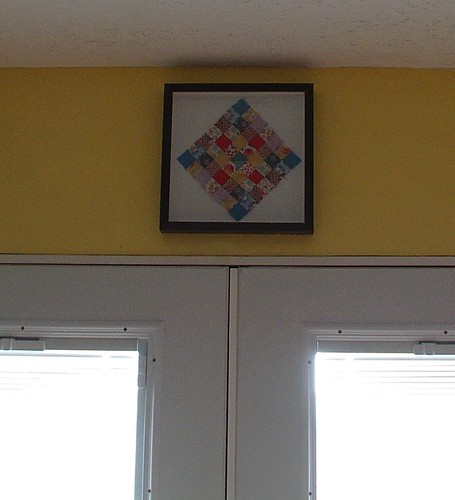
Here is another block from Great Grandma Harbaugh. I have a fan somewhere from her too that I will get around to framing still have not found it from the move a year ago but things are still in storage so that doesn't bother me yet. Except that I still have things in storage that bothers me a lot. I love this block such vibrant colors. It hangs above a set of French doors in my dinning area now for all to see when they walk into that room. These squares are 1 by 1 inch.
Wednesday, July 28, 2010
Grandma Harbaugh's yo-yos
When my husbands grandmother died she had some sewing supplies. They have since been divided among my sister-laws who sew and myself. In the the items I chose was a small bunch of yo-yos that had been made but not sewn to anything. So I sewed them together and framed them today I just love them so sweet and it is nice to have something from grandma, especially yo-yos.She had a few more (3 and 1) in two different sizes which I will frame some time in the future. Those are kind of fun as the paper template is still with one cut out from a newspaper with the date and all.
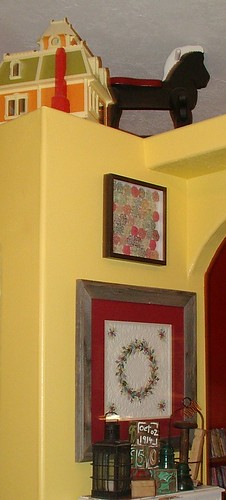
This is the entry way from my front room into my kitchen I think it goes well with the embroidery that I got from my old neighbor.
On the top shelf is the rocking horse my children used when they where just tikes but they have since out grown it so now it is a decoration. The doll house is "The Littles" from when I was a kid. It is a pretty cool little doll house has cast metal furniture that functions meaning drop leaf tables actually work. This is sort of where childhood gets remembered on that shelf. I have a few more things to put up there but I have to find them first in storage still working on that.
Wednesday, July 21, 2010
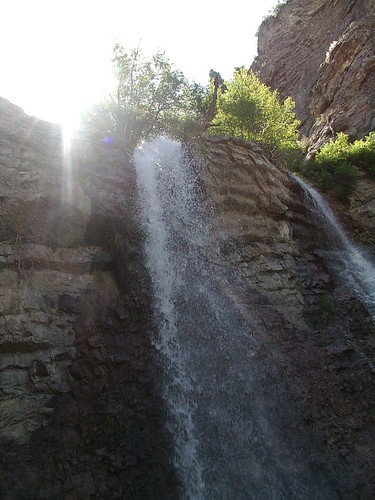
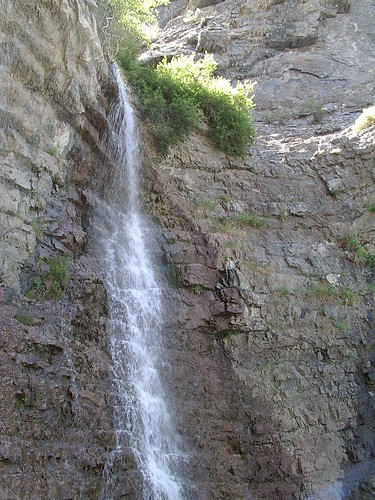
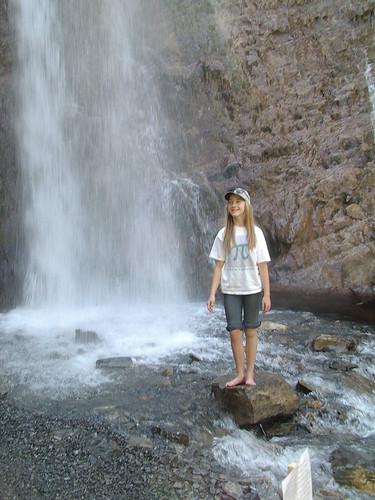
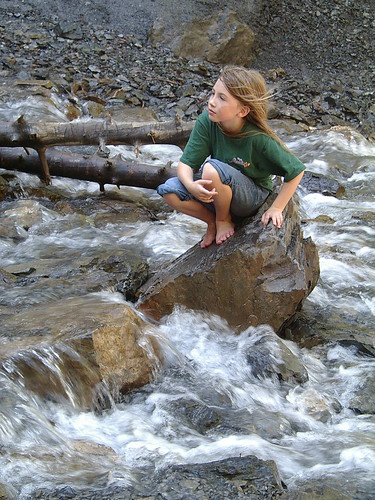
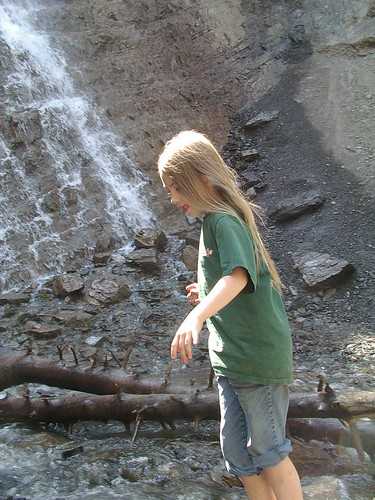
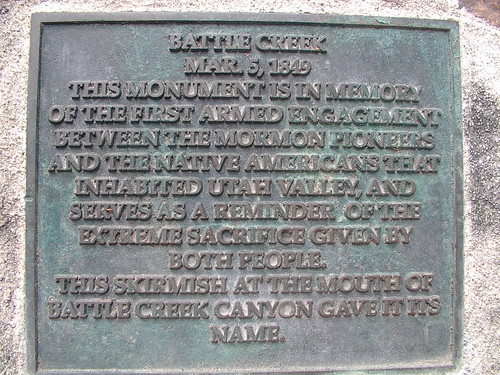
Battle Creek Falls
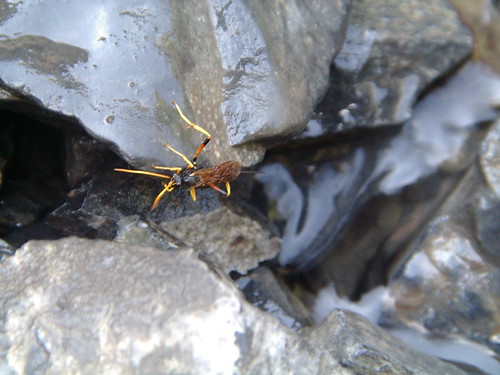
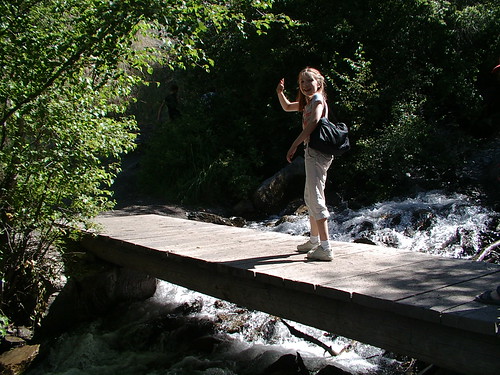
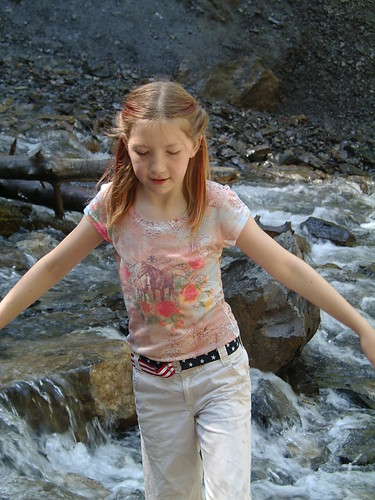
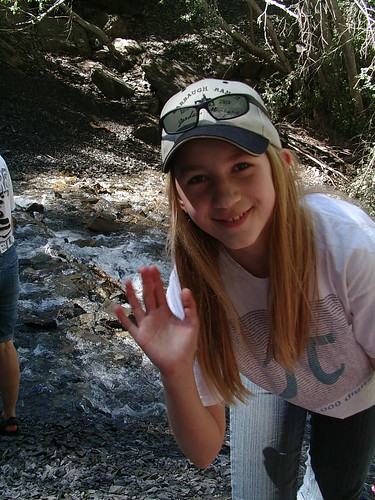
I am a leader in my church for the 8 year old girls. We had a field trip today. Two adults 5 eight year olds and 5 teenagers/pre-teens. I think fun was had by all here are a few photos of the day.
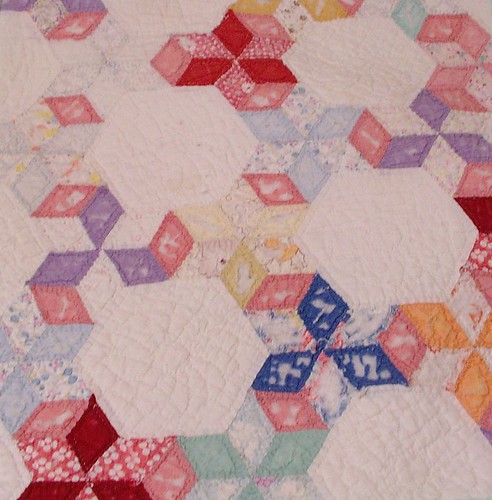
Afterward we (me and my kids) went to quilt fair but sadly no quilt show this year so I didn't take many pictures in fact only one of a piece of a very old quilt but I liked the pattern a lot and want to make it someday.
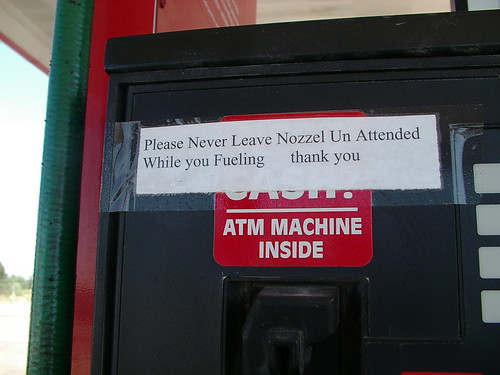
Also this was the sign on the gas pump on my way up the canyon to the waterfall. I know I have a lot of typing errors and grammar issues on my blog and as such this just made me laugh and I had to get a snap shot of it. As my family says if mom can find the mistake in the spelling and grammar it must be bad.
My day in a nut shell.
Afterward we (me and my kids) went to quilt fair but sadly no quilt show this year so I didn't take many pictures in fact only one of a piece of a very old quilt but I liked the pattern a lot and want to make it someday.
Also this was the sign on the gas pump on my way up the canyon to the waterfall. I know I have a lot of typing errors and grammar issues on my blog and as such this just made me laugh and I had to get a snap shot of it. As my family says if mom can find the mistake in the spelling and grammar it must be bad.
My day in a nut shell.
Tuesday, July 06, 2010
help needed to identify a quilt pattern
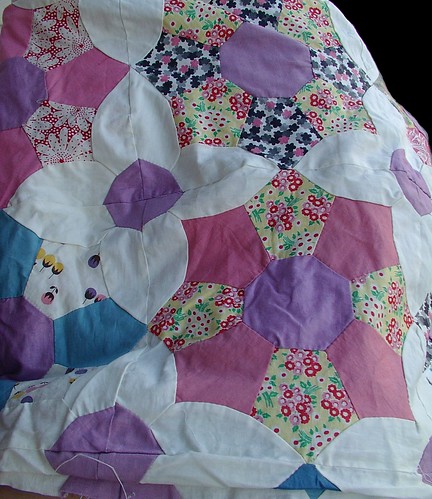
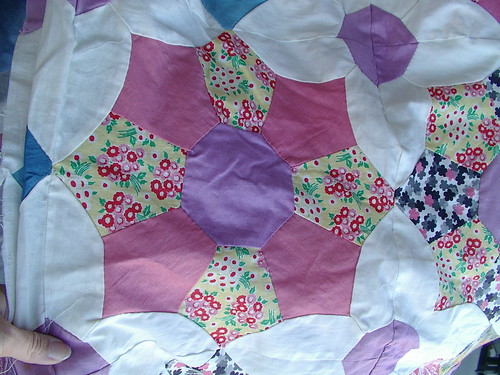
This is 1930s-1940s Made from feed sack material. I am trying to help a neighbor who wants to know more about this quilt. It is a family heirloom and all she knows is that it was hand pieced ( the blocks) then the blocks where sewn together with a machine. Any help would be appreciated. If you know of a link with info on this block please post it or if you think you know the name of it.
Thankssunshine
Thanks
update:
thank you for the quick response sure enough the first person to answer found it. date of pattern is January 12, 1940 the quilt would be newer than that of course.
here is a link on the internet
http://fiberfantasies.wordpress.com/laura-wheelers-friendship-garden/
Saturday, April 10, 2010
Remember that yoyo quilt
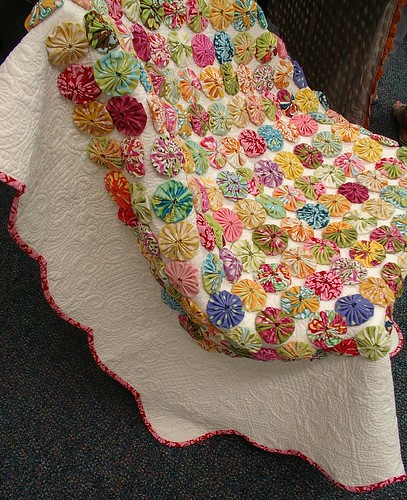
I while back I posted about a quilt a lady showed when teaching a class at the local quilt guild fair, her daughters quilt is shown above. I wasn't very excited about the class but the work shown was lovely as you can see from the quilt shown above.
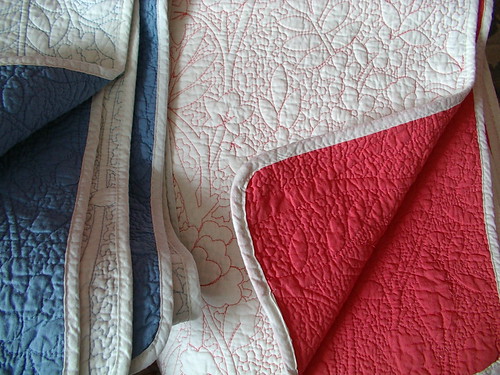
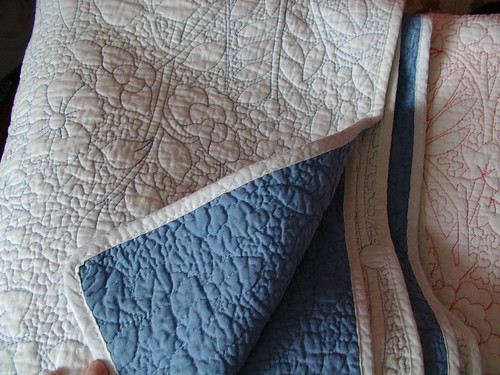
Well the other day I found two of those store bought quilts (on clearance) sort of like the one pictured above that the teacher's daughter did, but a tad bit different. Mine don't have a scalloped edge and are not white on white. Mine are white on one side and colored on the other and the quilting is colored. One is bright orange and one is medium blue. As for the colored seam binging well that is something the teacher's daughter added.
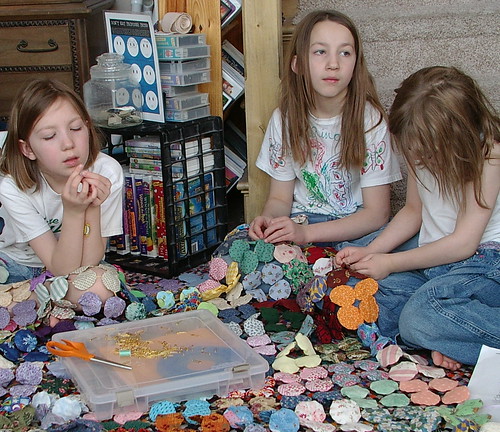
So I am thinking I will make two of these one brightly colored and one more subdued. I think the white yoyos the girls have been making with the big blue yoyo tool might be just the ticket for the subdued one, using the blue quilt. I will probably make a little tutorial to go with this so other people can do it too. The bright one I may add a quilt too it that I was making a while back that I want a little stronger and a little bigger. the nice thing about doing this type of thing is it makes the yoyo quilt stronger and it also makes it a warm quilt not just a summer coverlet on a guest bed.
Well the other day I found two of those store bought quilts (on clearance) sort of like the one pictured above that the teacher's daughter did, but a tad bit different. Mine don't have a scalloped edge and are not white on white. Mine are white on one side and colored on the other and the quilting is colored. One is bright orange and one is medium blue. As for the colored seam binging well that is something the teacher's daughter added.
So I am thinking I will make two of these one brightly colored and one more subdued. I think the white yoyos the girls have been making with the big blue yoyo tool might be just the ticket for the subdued one, using the blue quilt. I will probably make a little tutorial to go with this so other people can do it too. The bright one I may add a quilt too it that I was making a while back that I want a little stronger and a little bigger. the nice thing about doing this type of thing is it makes the yoyo quilt stronger and it also makes it a warm quilt not just a summer coverlet on a guest bed.
Monday, July 27, 2009
An interesting turn on English Paper Piecing
Have you seen this tutorial. I think it is such a nice new concept on EPP. Sort of like a yoyo quilt or Cathedral windows in that as you add the pieces to the quilt you are done with that piece don't have to go back, and you quilt as you go so thatis already done too. Wish I had thought of it but it does open up ideas for me. I will have to try this in the future. Here is a goggle translation into english. This tutorial was found through a link I saw on this blog.
Wednesday, March 04, 2009
found a new blog
Well, it is new to me anyway. In case you want to find this new-to-me blog, it has a lot of tutorials on things I like, and she has a neat spin on things. Check her out and tell me what you think.
Saturday, January 31, 2009
Saturday yoyos and Betty Boop
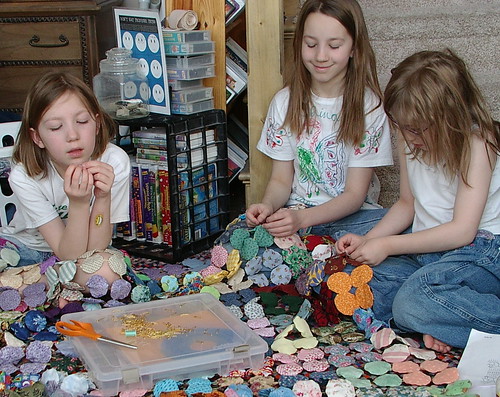
My kids are watching a marathon of Betty Boop CD videos today and working on our yoyo quilt. I think more watching is happening than sewing. Not all of them sew equally well, but for this type of quilt the 7-year-old's stitches will work just fine. The oldest is smirking because she was supposed to be sewing more than watching TV and knows she just got caught in the last photo.
Monday, January 19, 2009
Black Red White...Apple core...life
So I haven't posted much lately because my back has been out and I haven't been doing many, if any, projects because it hurt to sit. All I have been doing is using a heat pad and working, which keeps re-throwing my back out. It will be OK; this happens often and I am used to it, but it sure is annoying. Today I left work early because it was slow and a non-floral holiday so there was no reason for three of us to be there. On the way home I got a call from my older sister telling me my stepfather had a stroke and a brain aneurysm on Sunday and that they might have to operate. If they can't fix it, then he will more than likely die in less than three months. If that happens, my children will very much miss their Grandpa Smith. I have to say my back is nothing compared to that bit of news. So, if you have a small prayer you can spare, say one for my step- dad. I am here trying to clear my thoughts, and so I started on this, something I've wanted to do for at least 20 years, a black, red and white apple core quilt (my three favorite colors).
Sunday, December 21, 2008
Handquilted quilt all done
This is not a normal post because I usually don't post on Sunday. So this is not normal, but it is such a special item to me and my daughter that I just had to share on the day it was completed (plus I will post later, too, the next day in the 12 days; might as well make a day of it).

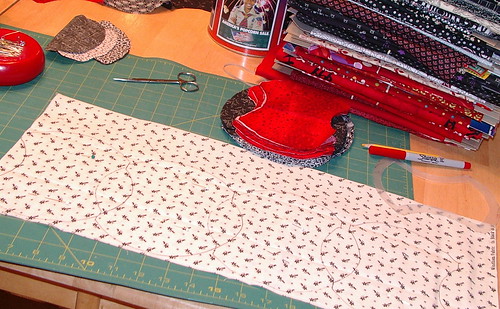
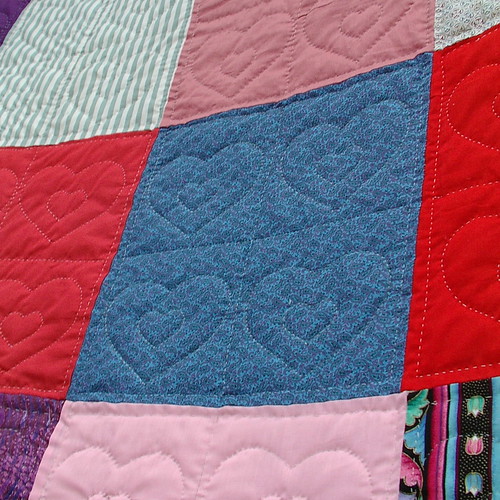
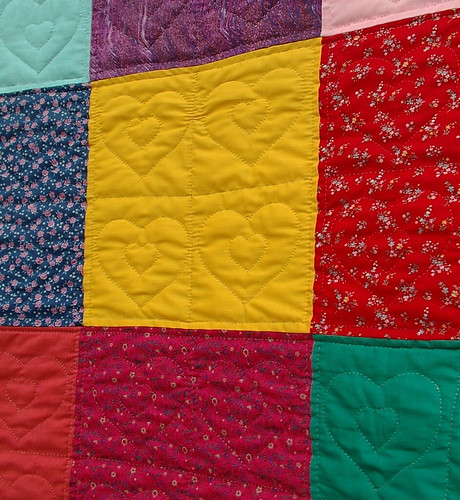
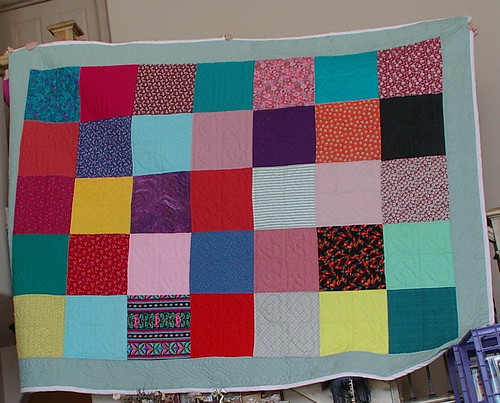
My oldest daughter made a quilt top when she was in first grade, 6 years old. Then placed it on my best quilt frame and every now and again she worked on quilting it. I worked on it some to encourage her to quilt it (so she could have her quilt and I could have my frame). This quilt was even on the frame a year and a half ago when we moved, so we had to be careful not to hurt it in the move. Her quilt was the first quilt placed on the frame, so I have never been able to use it for my own quilts. Sunday morning at 1:37 am she finished it! I got up at 4:30 am and bound it. By the time she woke up at 6:30 am, she realized she was sleeping under her finished quilt. Can I just say we are both excited to have it done. It was a major first quilt; I tried to get her to do a doll or baby quilt, but she wanted one she could sleep under, and now she can. All the colors got picked when she was 6, so I hope she still likes her color combinations. If not, oh well, that is how it is. For a first project, I think she did a great job. Now, at 11, she has her own quilt to sleep under. The top and backing are all cotton; the batting is wool. I figured it was better to start her with good material because quilting through polyester is a pain and very discouraging and wool is so easy she would like it more and it is a warmer quilt. This will fit her twin bed.
Wednesday, November 26, 2008
Cathedral Windows progress on color
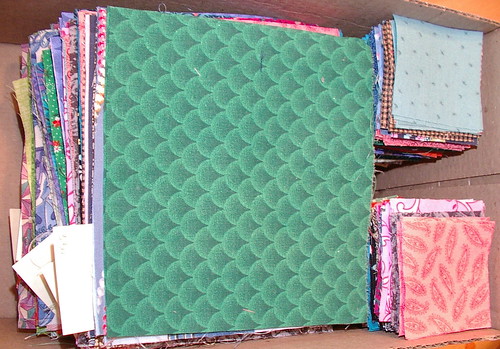
I have been cutting color squares for my cathedral windows quilt; they are sizes 6 1/2 inches square (can also be cut 4 1/2 inches square if you are accurate (if not, somewhere between 4 1/4 and 4 1/2) depending how you sew it together) and 2 1/2 inches square. There are actually two places on the block you can add color. I want to add it to both spots. Once I have everything cut, I will make the second half of the tutorial. I have about 1/2 cut now and hope to have it all cut by Thanksgiving. This has become quite the stash-scrap buster which I am glad of because I have tons of scraps in tons of boxes. This project has emptied a 16-gallon tote of colored scraps; that is so cool to me. That isn't even counting all the white fabric used which was yards and yards and yards of fabric. I may use the scraps from this quilt to make a strip quilt as well, because I now have lots of pieces of fabric that are long and skinny, less than 2 1/2 inches wide (just not in the way that is shown in the link. I don't want to sew through paper because that wrecks needles). So, I may just get two quilts out of this.
Thursday, November 20, 2008
Part 1:tutorial Cathedral Windows background
After trying about five different ways to assemble this block I think I found the one that works best for my style and personality by using aspects of all the different ways I have tried. So I will do a little tutorial here in case someone else likes this style, then they can use it too. You can use this technique with either machine or hand piecing techniques, or you can do a combination of both.
Supplies:

DO NOT USE THIS PATTERN TO MAKE THINGS TO SELL FOR PERSONAL USE ONLY!!!!
Part 2 I have posted the words just not the images since I can not access the quilt at the moment
Supplies:
- Fabric for back ground and for color swatches
- Scissors and/or rotary cutter and mat ( I like olfa mats and cutters, but use what you like)
- Square ruler (9 1/2 inch square and a 2 1/2 inch square) and long ruler if using rotary system ( I like omnigrid for these items, but use what you like)
- Sewing machine and supplies for it and/or needle and thread
- Iron and ironing board
- Glass head pins (so you don't melt the heads when ironing)
How To:
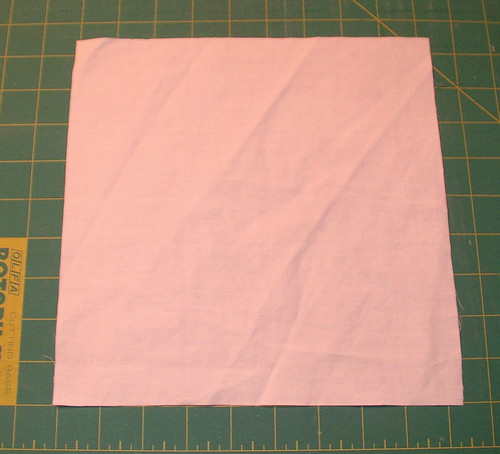
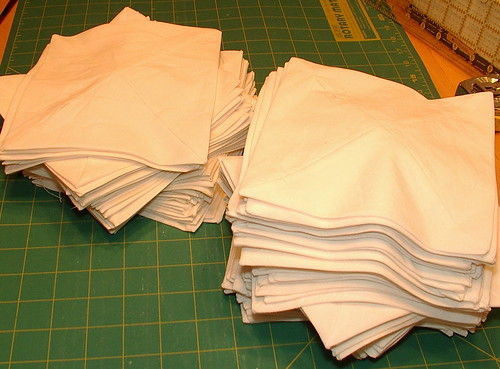
- Cut starting background block; mine are 9 1/2 inches square. I have an 9 1/2 by 9 1/2 omni grid ruler that is those exact measurements, so it's easy to cut a 9 1/2 inch wide strip out of yardage then use my square to cut the blocks. I cut them four thicknesses at one time. Cut all you need for the quilt so you if this takes you years to complete you do not run out of the same dye lot of fabric. If you keep all your seams accurate, your finished block is 4 1/2 inches and four together are 9 inches square. I am telling you this to help you figure out how many blocks you need to cut. For square layout, divide finished size of quilt by 4 1/2; for on-point layout, divide finished measurements by 6 for how many blocks you will need.

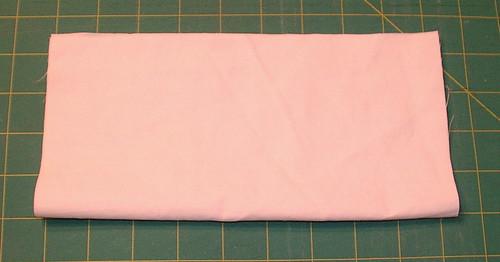
- Fold in half
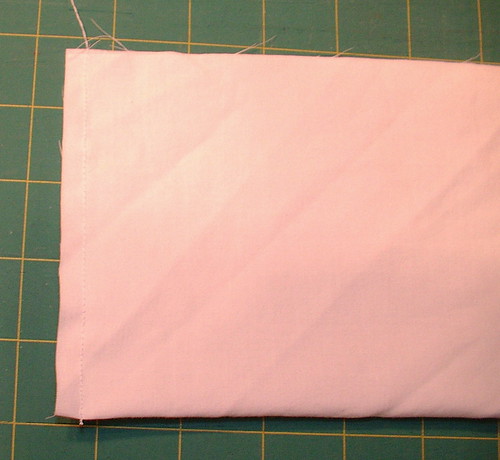
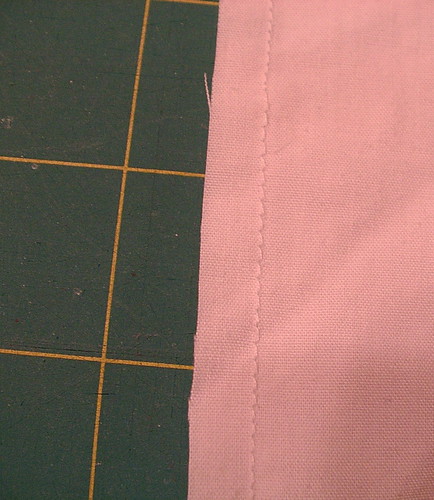
and sew both ends with a 1/4 inch seam allowance; this can be done on machine or by hand.
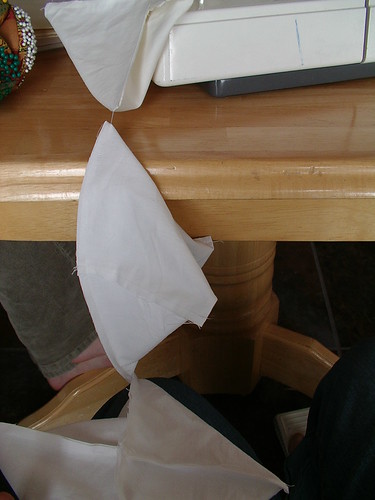
I do this in assembly-line style; that way I do all of one side then all of the other. 
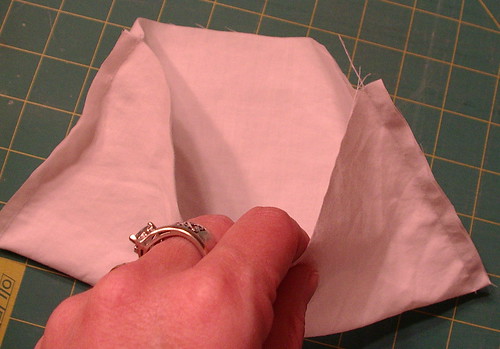
- Open,
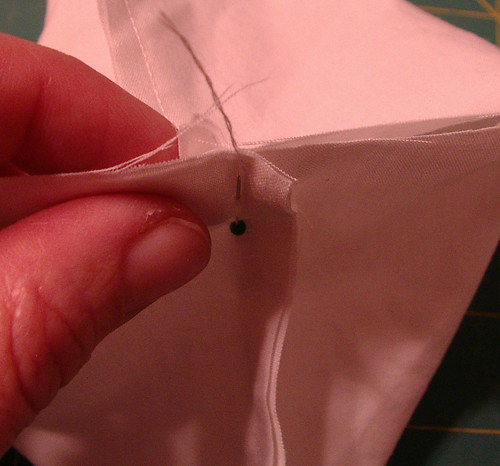
match center seams, and pin .
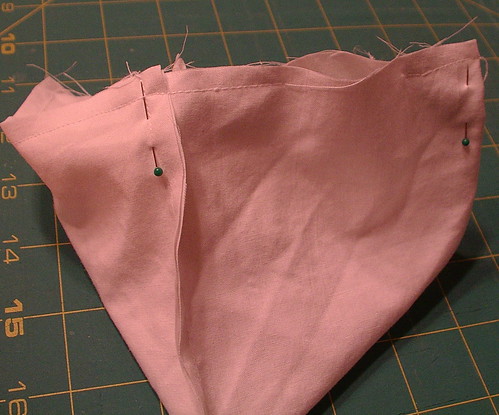
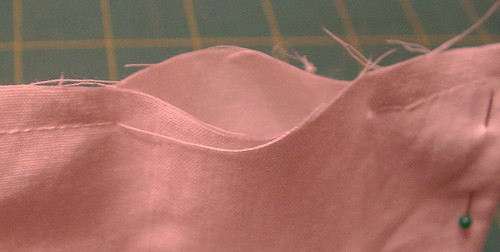
Sew this seam leaving about 1 to 1 1/2 inch opening for turning; this will not need to be sewn closed in the future because it will be hidden under another fold of fabric. 
I do this is assembly line fashion, also.
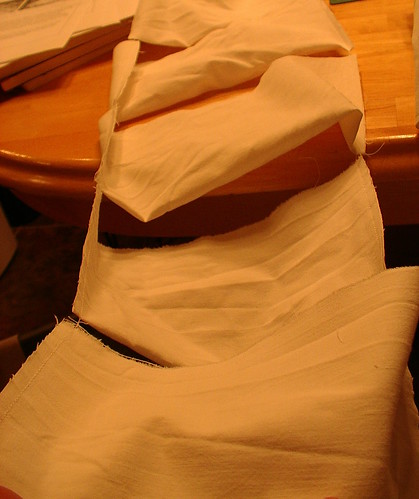
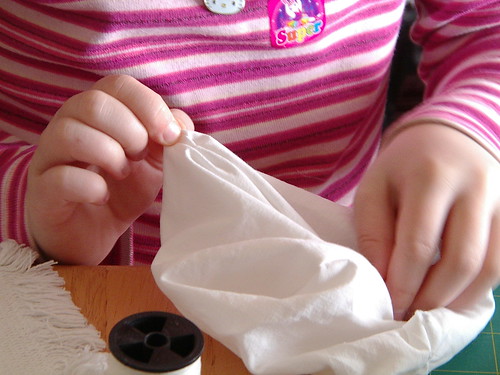
Just pick up the needle and slide it over the spot to be left open, then go on with a long chain of blocks. This step can be done by hand, too; just place a knot at the start and stop of the stitching, two per block. No long chain system in hand piecing. - Turn right side out by pulling entire block through the opening left; as you can tell, I have my children helping with this part (a 7- and 9-year-old turned most of my blocks. I did a few as well as my 11-year-old; it is a family thing here).
Nnow all seams are inside the block; it is fine to leave the opening open.
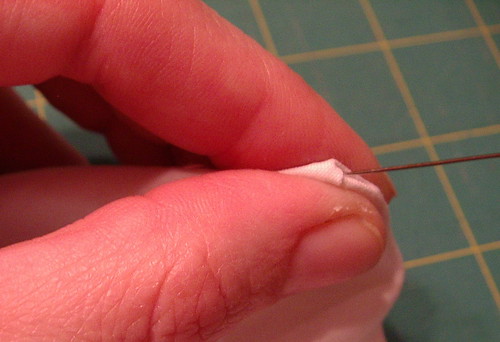
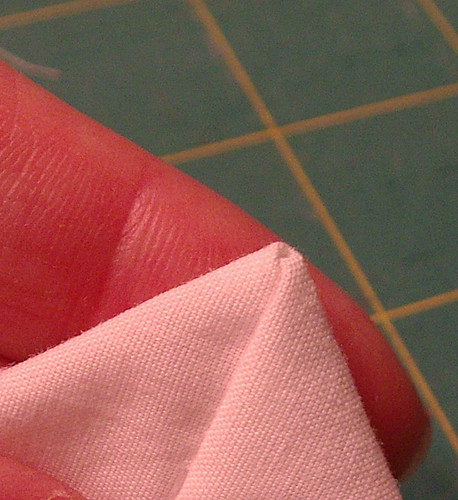
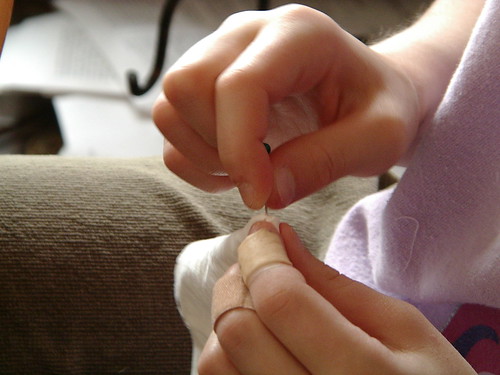
Pull out corners to a nice point. 

This is where having children is good; pass this part on to them to do this step. My 11-year-old and I did this part with the needle. I thought it might hurt the 7-year-old.
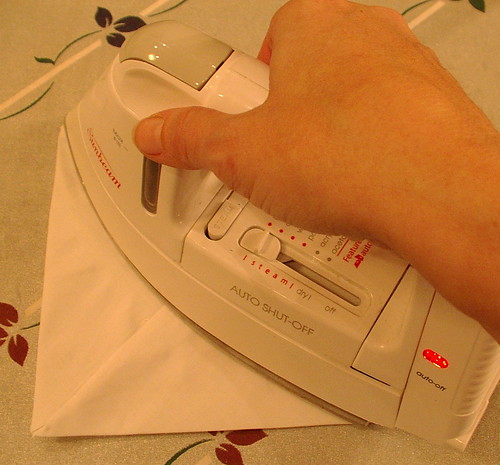
- Press blocks flat. You may not be able to tell in the photo, but I am using steam setting on my iron to do this faster.

As you notice, I said press (not iron) because pressing is an up-and-down motion and fabric doesn't move; ironing is a side-to-side motion that moves the fabric and can make your blocks crooked. Do all blocks in assembly line; it is faster.
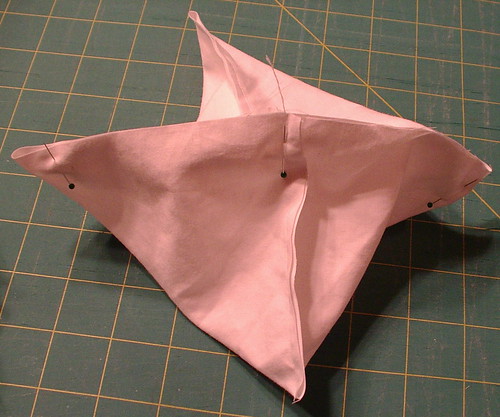
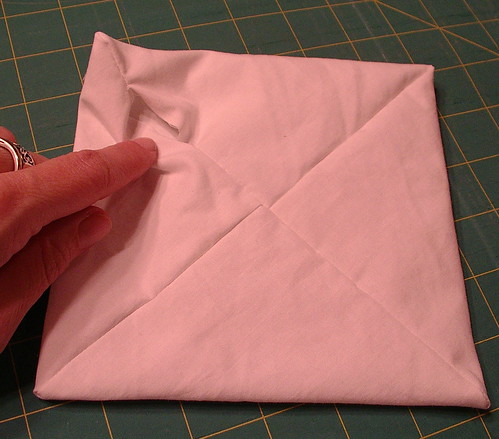
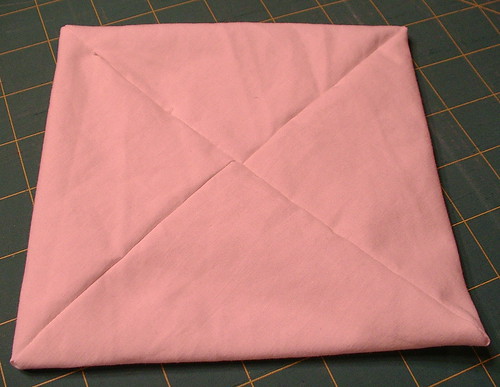
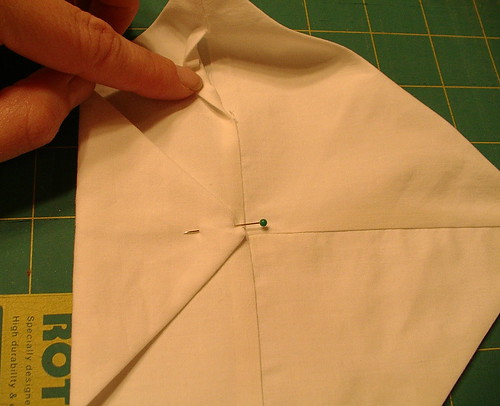
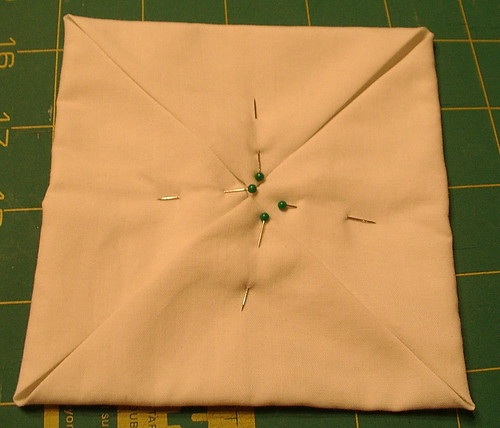
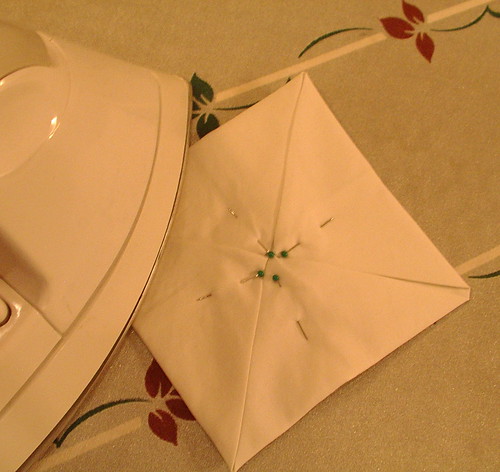
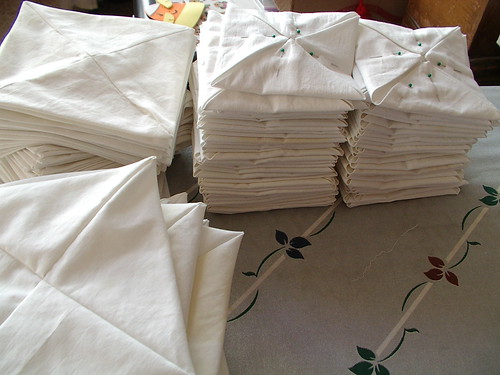
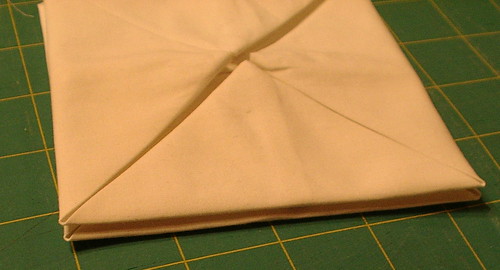
- Fold points to middle and pin. Notice my opening is still there and will be concealed as soon as I fold that flap down.

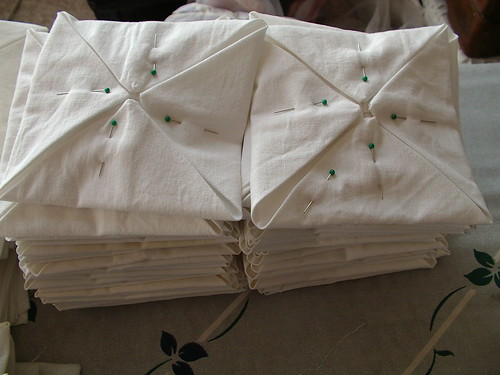
and press blocks flat. Once again I am using a steam setting. You can skip this step of pinning if you want to stand at the iron and fold the corners down and iron instantly. This will save the time of pinning, but you have to be extra careful not to burn your fingers, especially if you are using steam. Either way works, just a personal preference thing.
Do blocks in assembly line; it is faster. 
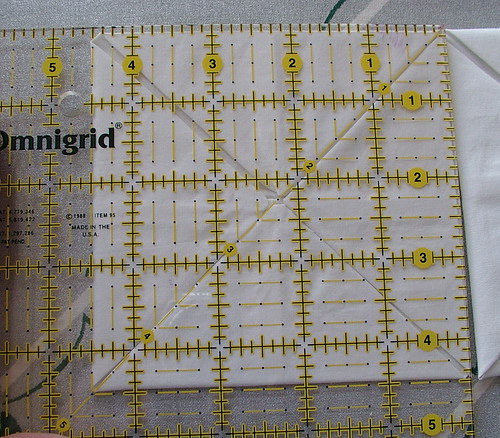
Check your blocks after pressing; they should measure 4 1/2 inches square if you have done everything correctly to this point.
If you make sure you have all of these done before assembling, assembly goes faster. - Now that you have everything nice and pressed,
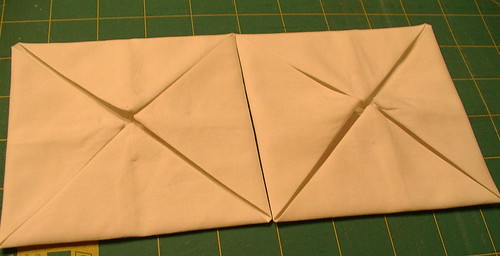
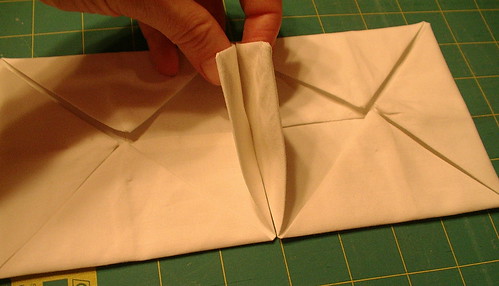
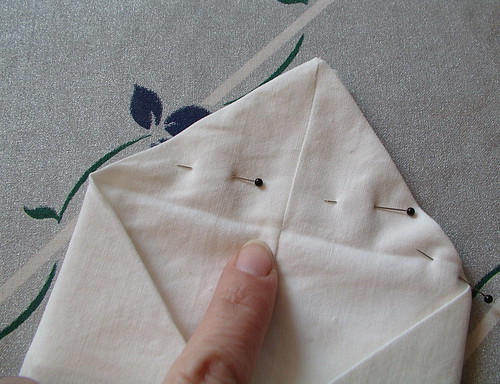
match up two blocks
and match points.
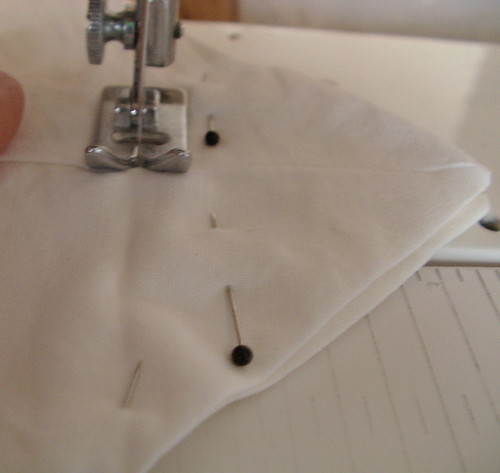
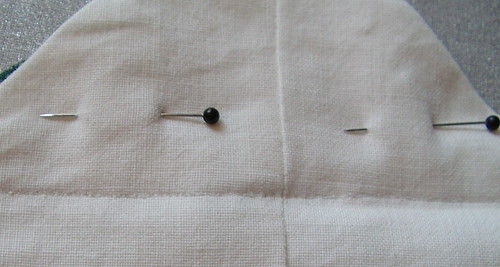
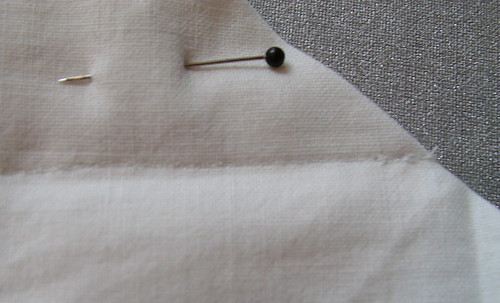
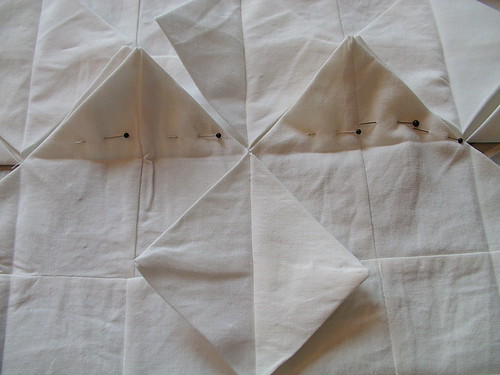
Pin these two points together (pointing at fold which is also the sewing line).
Sew in pairs; I use a tiny stitch and I back stitch at the beginning and end of a row
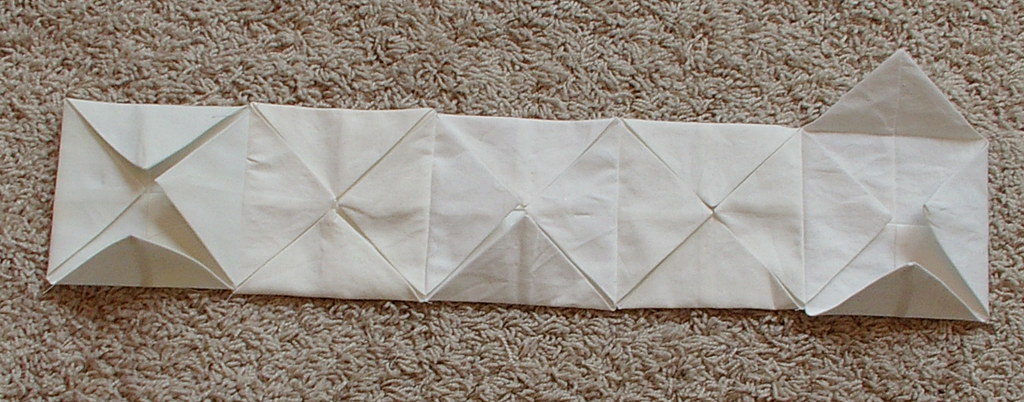
then sew in strips.
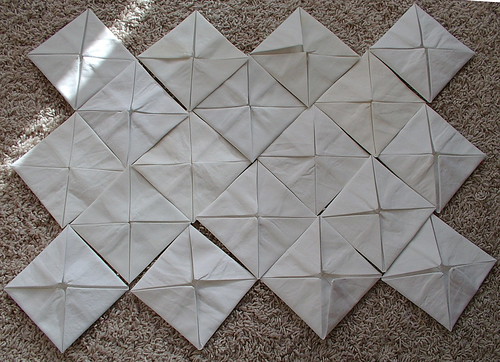
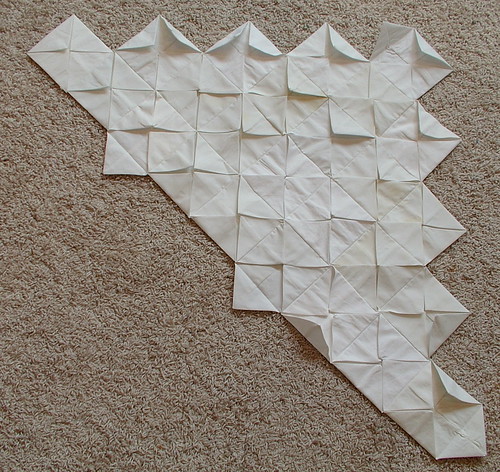
For on-point (this picture shows six strips all laid out):
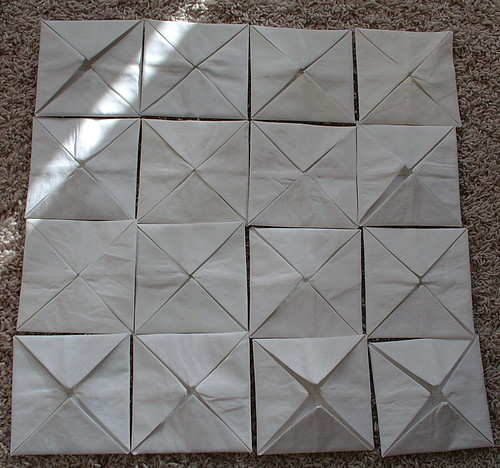
If doing block/square layout, sew in sets of four to form squares:
(This picture shows four sets of four.)

DO NOT USE THIS PATTERN TO MAKE THINGS TO SELL FOR PERSONAL USE ONLY!!!!
Part 2 I have posted the words just not the images since I can not access the quilt at the moment
Subscribe to:
Posts (Atom)
Copyright/permissions info
I like to share on this space my ideas and projects.
Please don't take ideas or photo and claim them as your work.
I am always happy to have new links to me. So if you like something just link back to me and give the source some credit thanks.
Any questions? just ask. I am happy to work with you if you need something
This work is licensed under a Creative Commons Attribution-Noncommercial-No Derivative Works 3.0 Unported License.
2006-2019
Copyright Vintage Threads Inc.
All content and images.