For all those doing the January RPLA I let you have the first week of the month to recover from holidays and to get your pattern transferred to the fabric, cord made and basted and all the joinings of the cord done this includes the joining on the side of cords too. Hint: the other two patterns tutorials will follow in short order so you better have them ready as they will be up soon. Soon being in the next 2 weeks. As it does take a little while to do the filling stitches and I want to complete each one before I go to the next. In that way you can see what the finished item looks like. Well at least see what it looks like in the colors that I have chosen. Please feel free to add your finished piece to the
ravelry group or the
group on flickr I so hope to see many wonderful works from all of you.
On to the tutorials
Sorry I did not have my husbands camera when I was doing this and my camera was being a little weird on focusing so here we go. I plan on going back today and doing a video hopefully that will be clearer but ti is a gray day so I may have to wait a day or two. That will be in a separate post
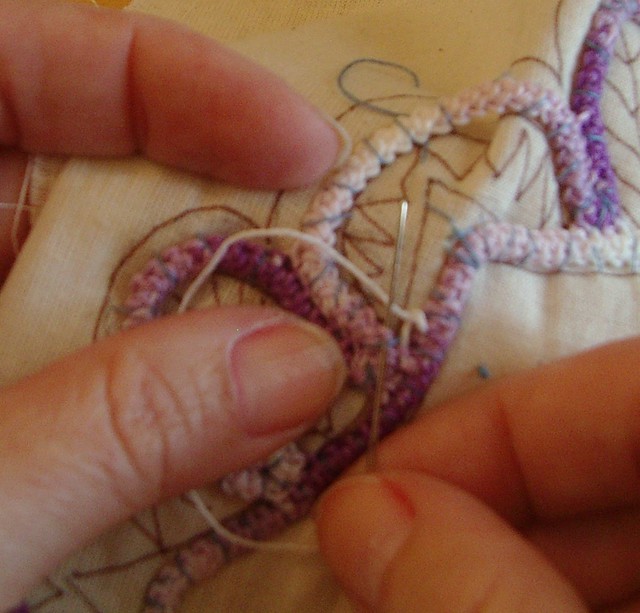
Faggoting
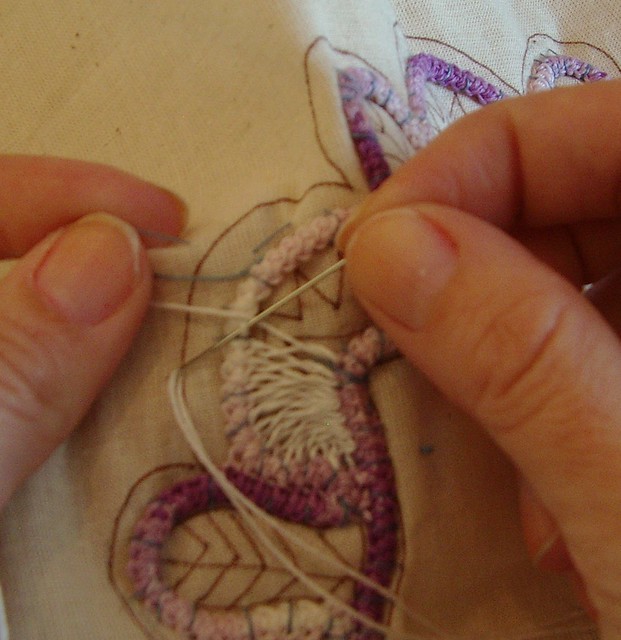
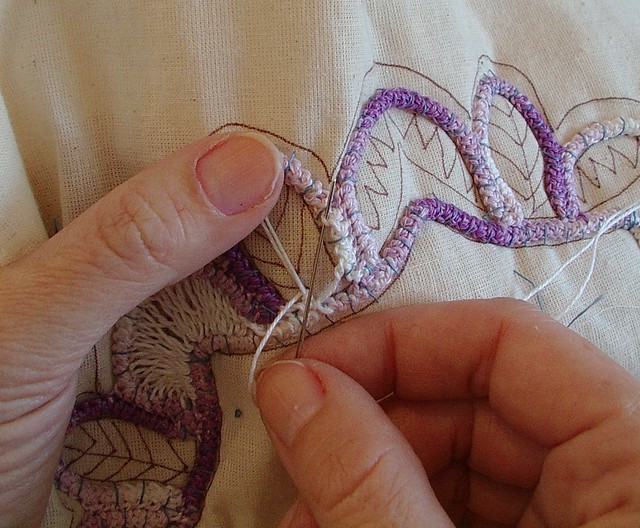
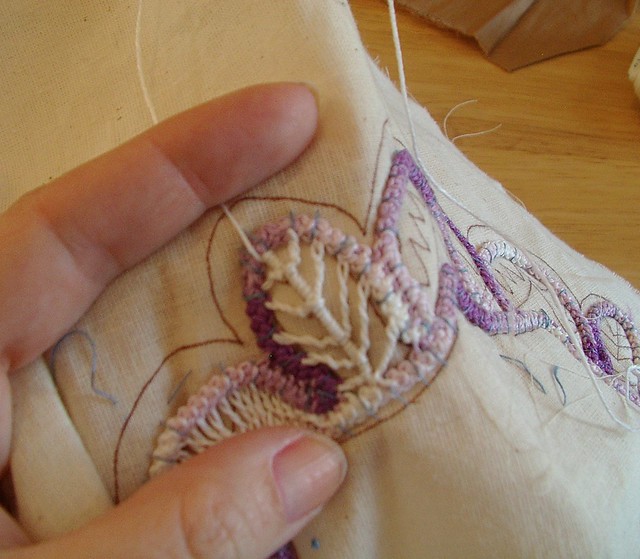
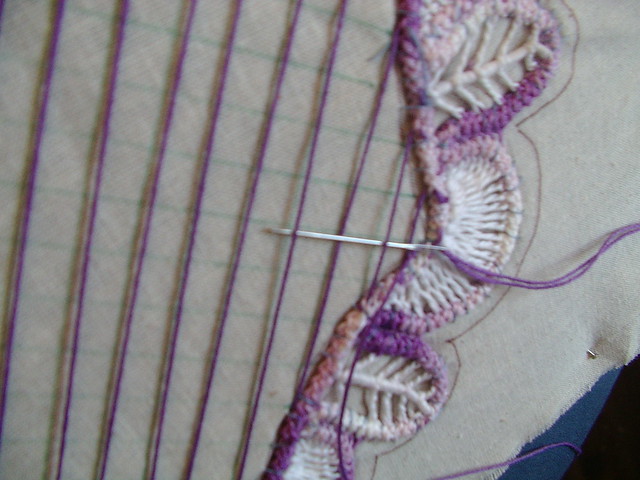
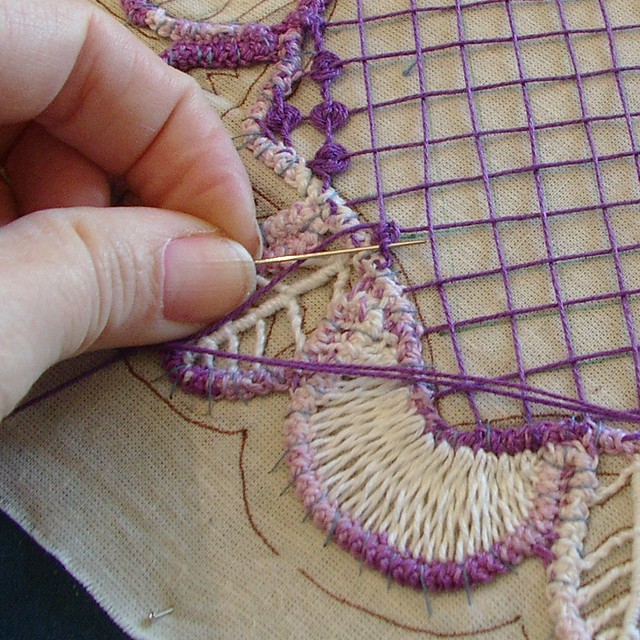
Starting in the corner of the section to be filled work back and forth from side to side making sure that the thread is above the needle in your working direction so that a loop is formed each time a stitch is made.
here it is hard to see but I am going back into the same loop on the inside cord as the previous time you will have to do this several times. It is only done on the short side of the cord the arch is much longer and you need to cover more space on that side. This is an increase.
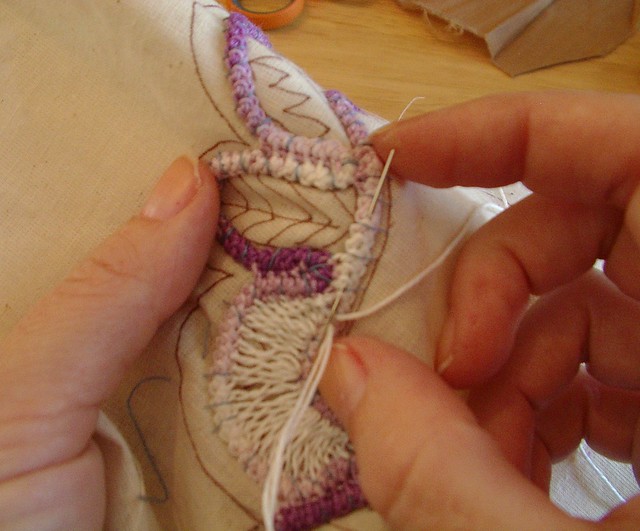
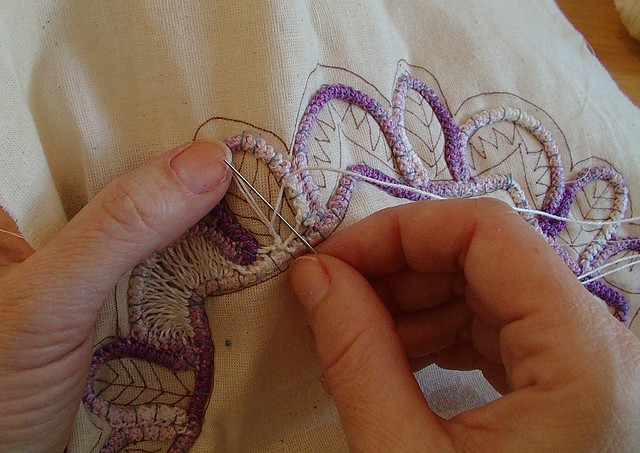
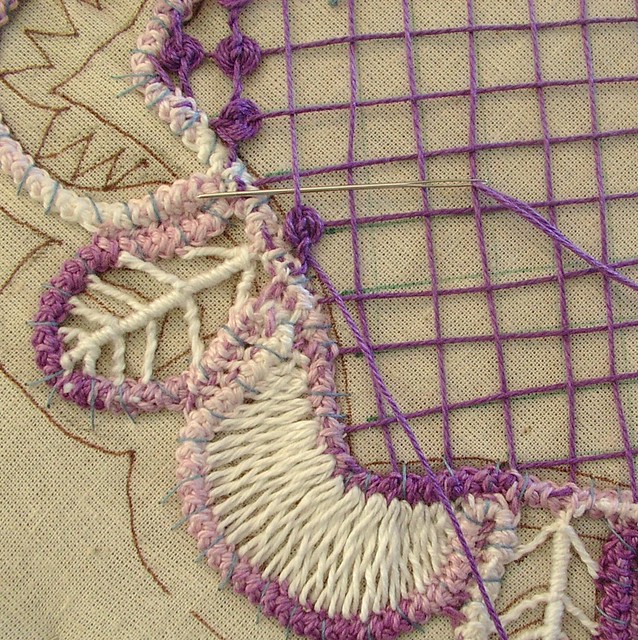
Continue working back and forth an increasing as needed I would expect you to have several loops with 3 increase quite often in the same loop on the inside cord.
When you get to the center on the outside cord you should also be to the center on the inside cord so when you start nearing it plan ahead to make this work out correctly bu increasing as needed (more or less).
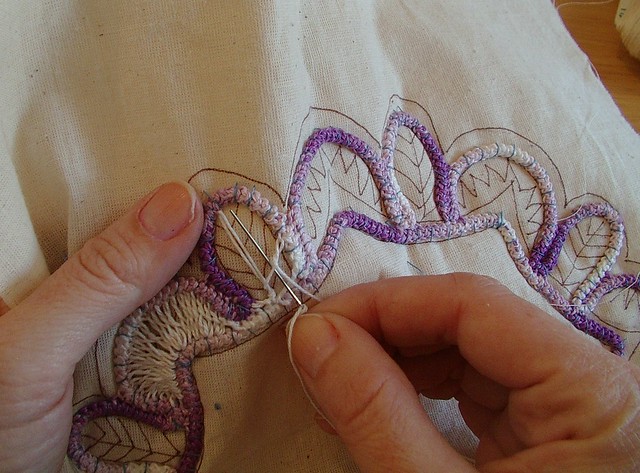
When finished make sure you end in the corner.
Pass needle inside the cord to set up for the next set of stitches then line up with center of pattern so you are ready to start those stitches.
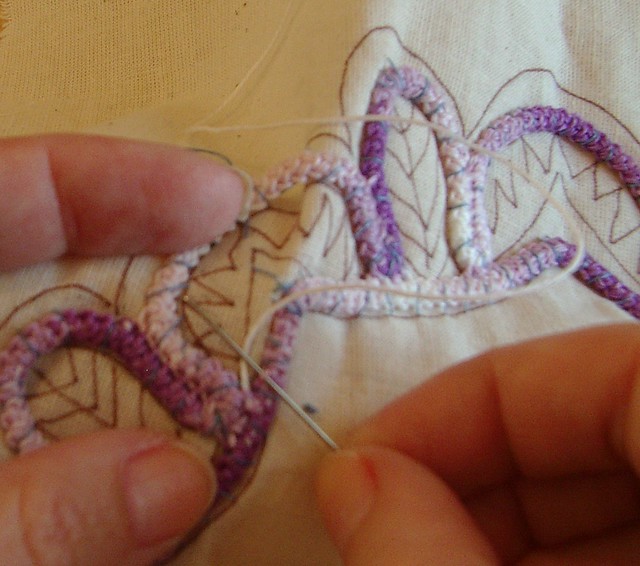
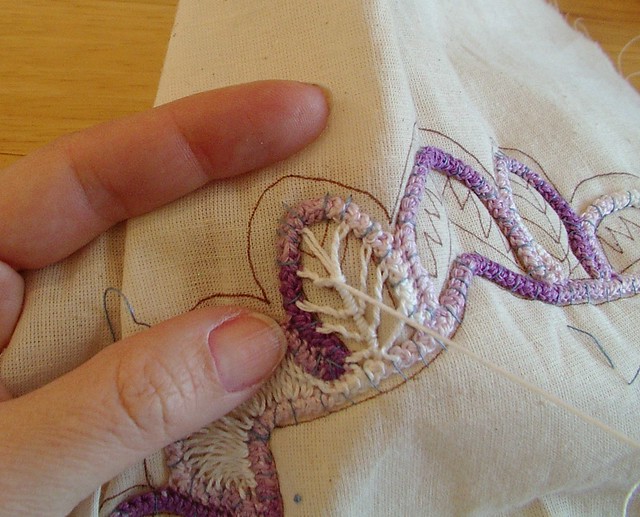
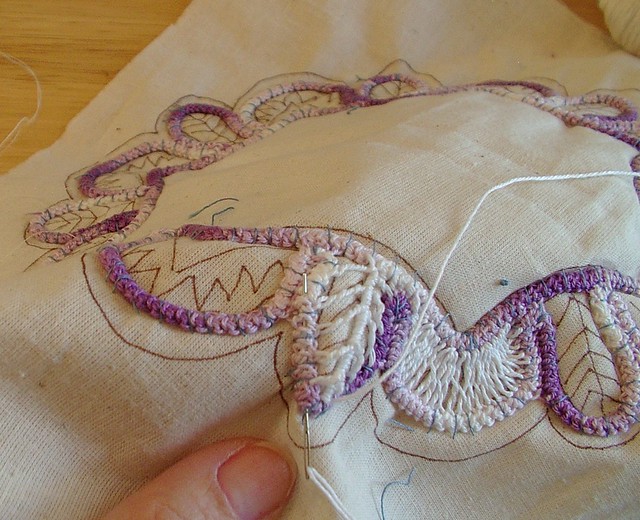
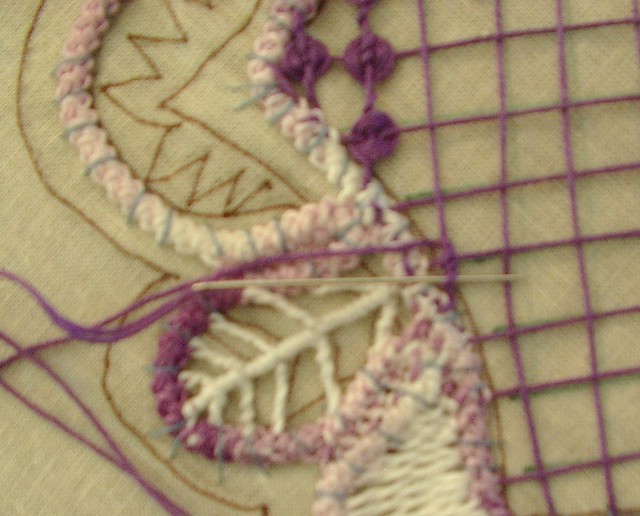
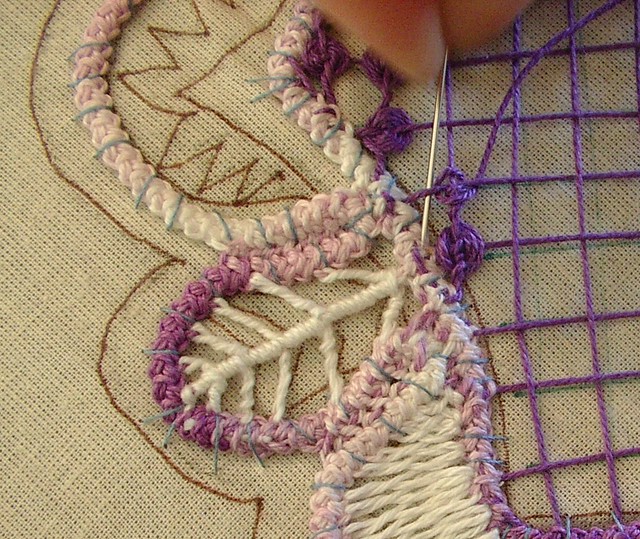
Working the leaf
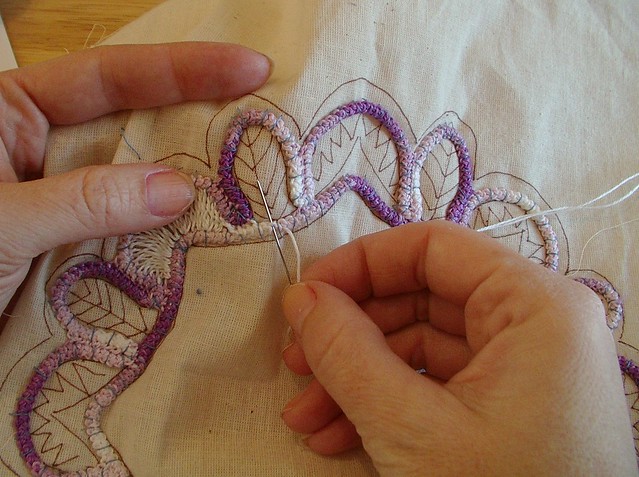
Run a thread up the center and back down to the starting point
Now work the side branches by taking thread to the spot drawn on the pattern and back down to your starting point but make sure to wind the thread 2 or 3 times around before going back to the starting point.
Do the same to the other side
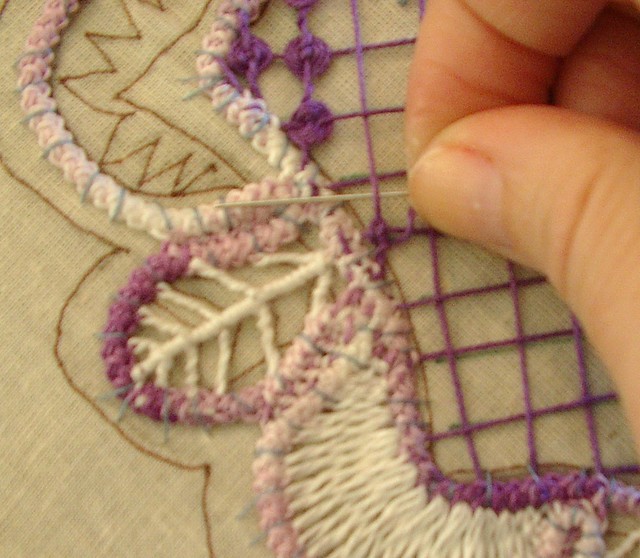
In between the sets that go from side to side wrap the center trunk tight so that the wraps are right next to each other not like not like the side branches. continue in this pattern of trunk then branches till the end
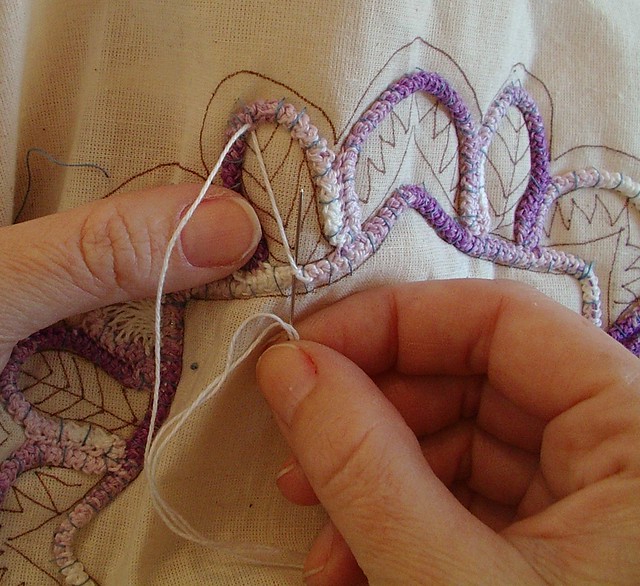
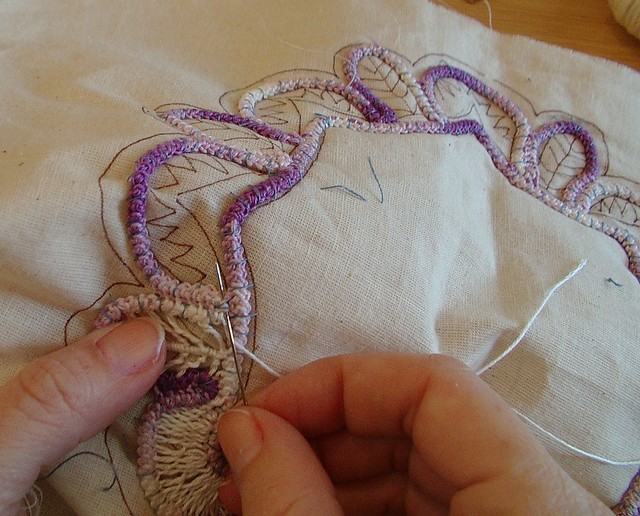
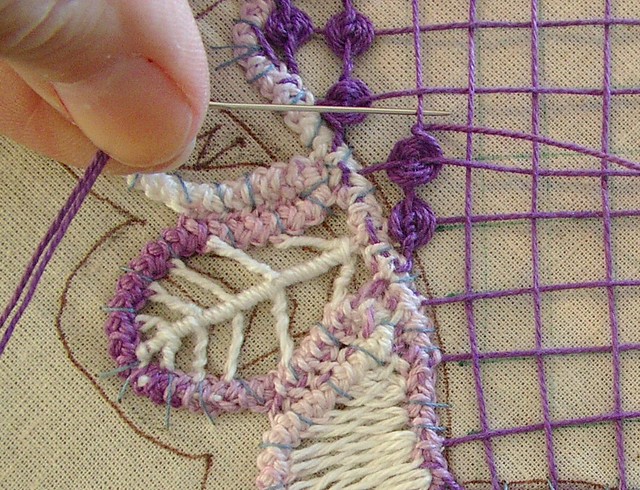
Pass needle inside cord to next working place
Set up for next set as of stitches do the fagoting stitches again and repeat between the fagoting an d the leaf stitches all the way around the doily off course you will have to add thread if you do please do it before the fagoting as that takes a lot of thread. You can add in the middle of the fagoting but it is sometimes hard for people to get the look the same.
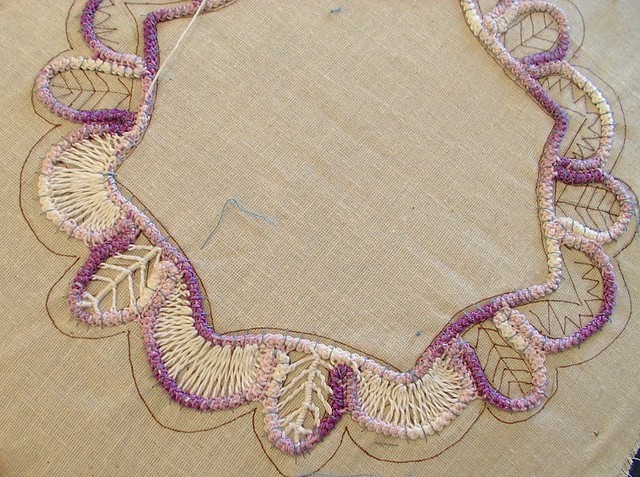
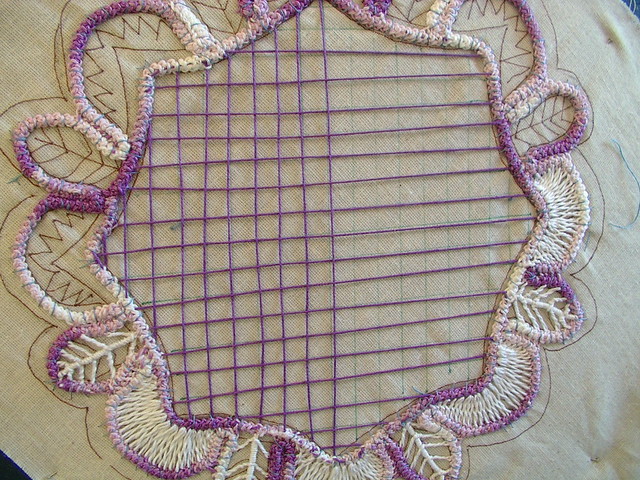
Here you see that I have pinned my pattern to a bobbin lace pillow to see how that would work actually it worked out well may do that more in the future.

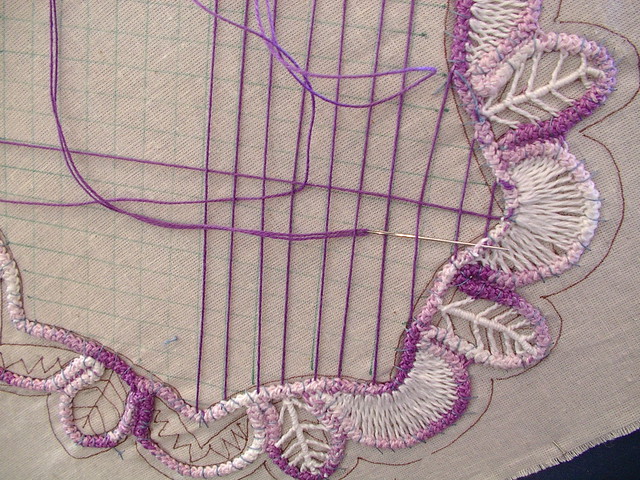
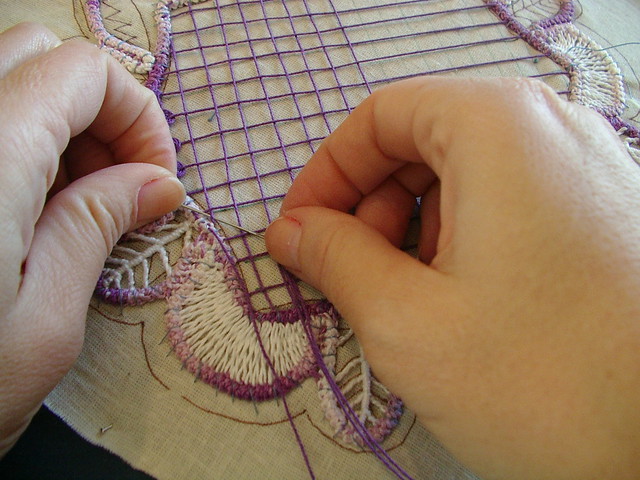
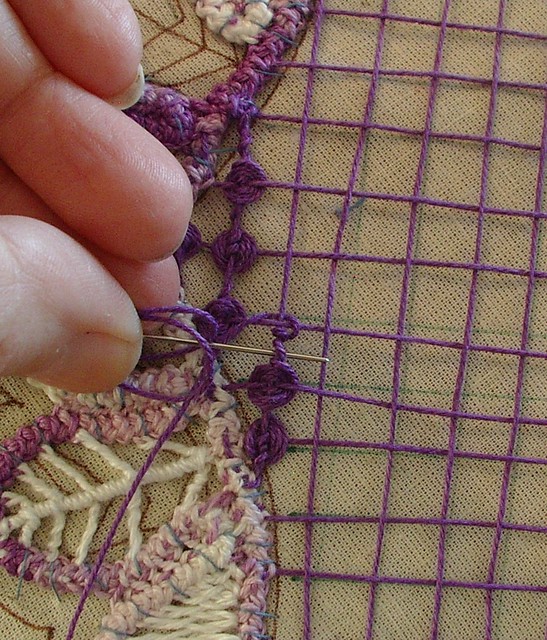
I decided I didn't want to have fabric in the middle of mine so that I could show more stitches to my readers but you may do it either way. If you decide you want a needle filled middle section then draw using a ruler draw 2 perpendicular lines through the middle of the doily intersecting two sets of points on the sides. Then space the rest of the lines 1/4 inch apart from each other I used a quilters ruler to do this so I could see where the previous lines were. Now going back and forth following the lines lay your thread. When you get to the other side pass needle and thread inside cord to next spot that a center cross hair touches and then travel back to the other side do this for the entire width of the piece (I did not do that as I will be doing a video and will sho some in that video). This was your warp just an FYI doesn't really matter.
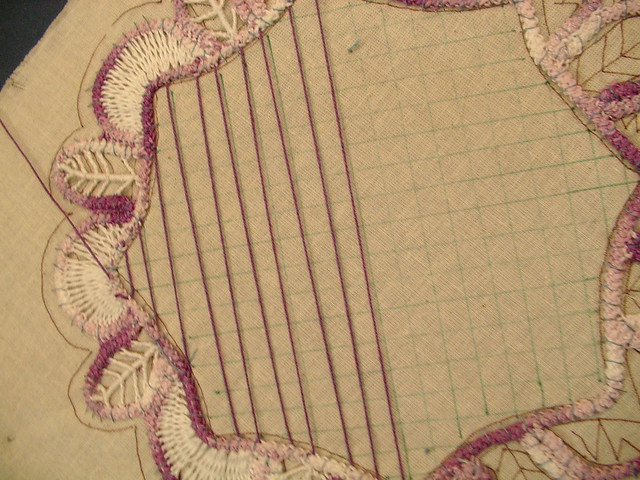
Now going the other direction 90 degrees off weave over and under the previous thread laid and lay the new thread this is your weft not that it matters much in this but just and FYI.
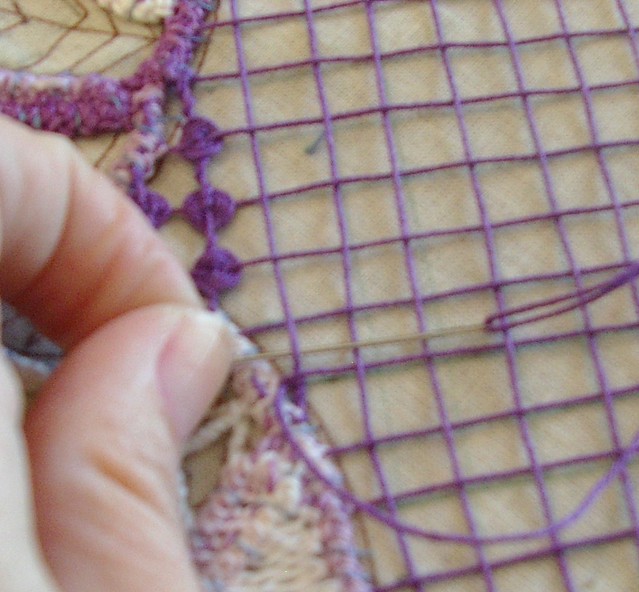
doing as you did before go back and forth the entire width of the piece making sure to go over and under also making sure that your overs and unders are opposite to the ones laying next to them. In the photo below you can see where the needle is under the thread just above it it is hard to tell but the needle went over the thread on the first pass.
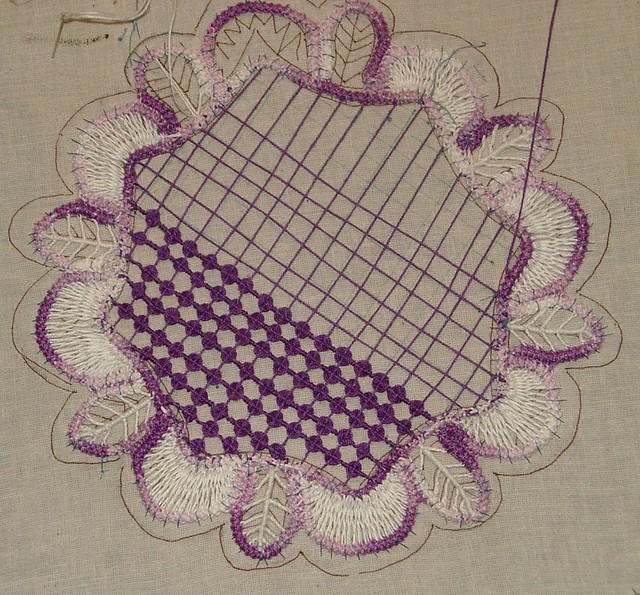
We will now be embroidering around the threads we just laid
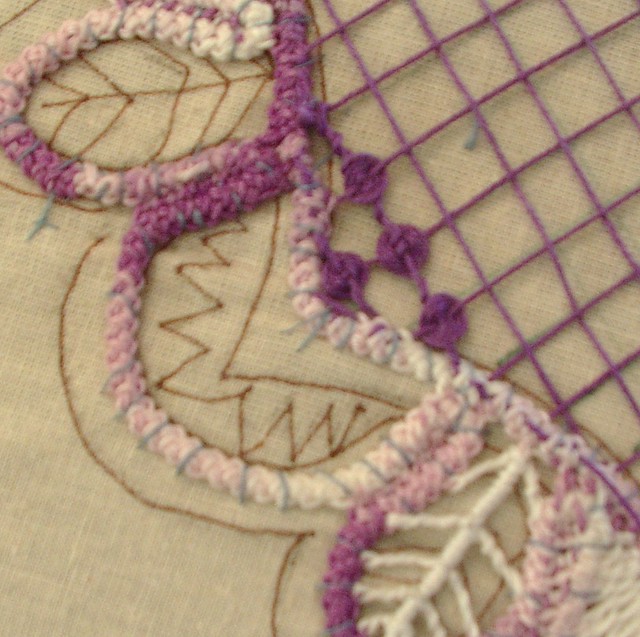
pass need around one of the thread 3 times
when you get to where two threads cross you will have to determine which thread is on the bottom. Pass the needle under that thread
then pass it under the same thread again but going in the opposite direction below the intersection of threads go around for a total of 3 1/2 times
then you will wrap the vertical thread three times and go to the next intersection
And do the same thing again but this time you will notice the thread on the bottom is the opposite thread as last time just make sure to go under the bottom thread and over the upper thread do the wraps so that you end on the vertical bar and continue up the line. When you get to the other side pass needle in cord to the next vertical line and turn your entire work and work back to the other side of the piece continue in this manor till the entire middle is filled in. This will take some time and you will of course have to add thread several times if you feel you do not have enough thread to complete one pass of an entire vertical thread weave in thread cut tails and start a new thread as it is difficult to join thread in the middle of open lace area.


OOoo,super,felicitari
ReplyDeleteThis is really interesting. I don't know if Icould do it though.
ReplyDeletethat means a lot to me coming from a person that is writing in Romanian thank you very much.
ReplyDeleteTo Judith
ReplyDeleteI bet you could it it time consuming but it isn't hard
Gracias por el tutorial me encanta y aunque no entiendo el rumano entre el traductor y las fotos se seca perfectamente. Chao gracias.
ReplyDeleteI don't understand Romanian either. I had to learn by pictures to figure all this out. Isn't it nice these days there are translators on the internet to make is so people of all different languages can talk to each other. You are welcome and I hope you are able to make some if you do I would love to see it.
ReplyDeleteJ'adore la broderie Roumaine et merci pour tous ces détails....
ReplyDeleteThank you so much!
ReplyDeleteThank you so much!
ReplyDelete