[google6a7b7d93c7100df5.html] Sunshine's Creations.Vintage Threads Inc.com

friends and followers

If you like my blog and the free patterns and tutorials and want to say thank you
I have a wish list on ravelry of patterns (click here)
I would like to make.
Thank you in advance for being kind and saying thank you back.

Love Sunshine

Search This Blog

Wednesday, December 05, 2007

Ornamnet Crazy

Advent Calander
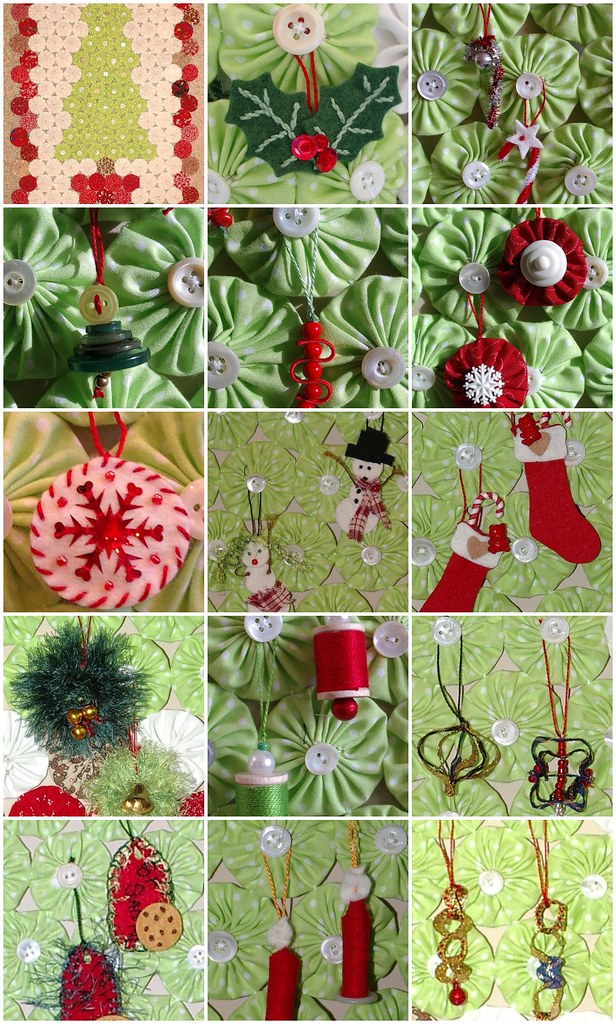
1. advent calender with buttons, 2. holly berry ornament / win one of each ornament find out how on my blog, 3. on advent tree, 4. button tree on tree, 5. hung, 6. hung on tree, 7. cover image, 8. on tree, 9. done on tree, 10. wreaths on tree, 11. on tree, 12. on tree, 13. on tree, 14. hanging on tree, 15. chains on tree

This is the first part of the calendar; ten more ornaments to go (#1 isn't pictured).

I just wanted everyone to know that I am making these ornaments every day right before I post them. I should have started a few weeks sooner so I could be ahead of the game and have all the tutorial post ready to go and just publish them. It has sort of become a joke at this house, "What will mom spend all day thinking of for tomorrow's ornament idea?" I have never done something like this where there is a tutorial a day. This is a fun and challenging experience to come up with ideas each day that are different, and to still function and get things done, plus make and publish the ornament tutorial. After today's ornament, there are ten more to go, so we are 3/5ths of the way through this. I hope you are having fun, even if you are never going to make any of these. It is fun for me to challenge myself each day at 5:30 in the morning or at 11:00 at night. If you have made any, I would love to see them; you are welcome to add them to the group on flicker.
YoYo Advent Calendar. Get yours at bighugelabs.com/flickr
This is also a post you can enter for the drawing.
DO NOT USE ANY OF THESE PATTERNS TO MAKE THINGS TO SELL FOR PERSONAL USE ONLY!!!!

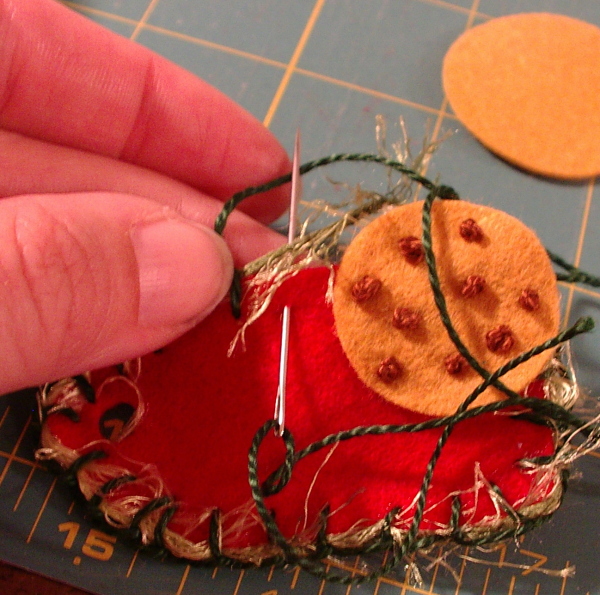
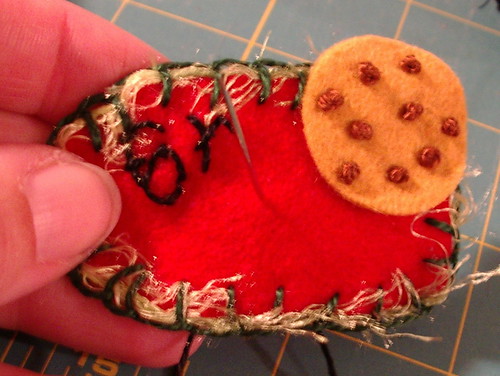
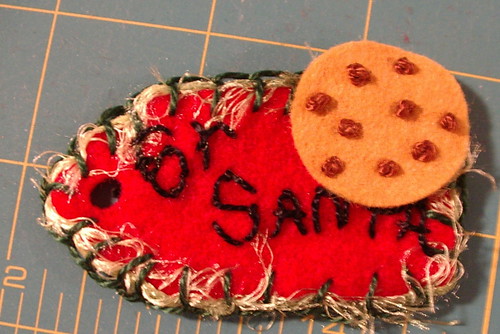
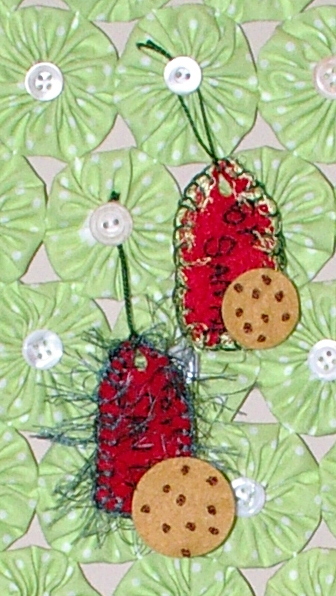
Part 17: Cookie for Santa Ornamnet

on tree
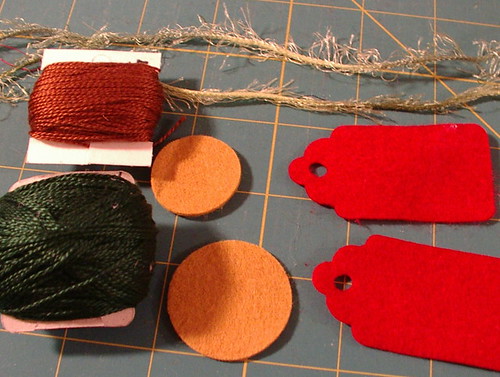
Supplies:
  • size 5 pearl cotton embroidery thread
  • needle/ scissors
  • felt color for cookie and tag
  • optional beads or sequins for chips on cookie
  • fuzzy yarn
Order of events:
  1. Cut circles for cookies and cut tag shapes.
  2. Add cookie to corner of tag; use French or colonial knots to attach to tag (optional here; you could use seed beads or sequins instead).
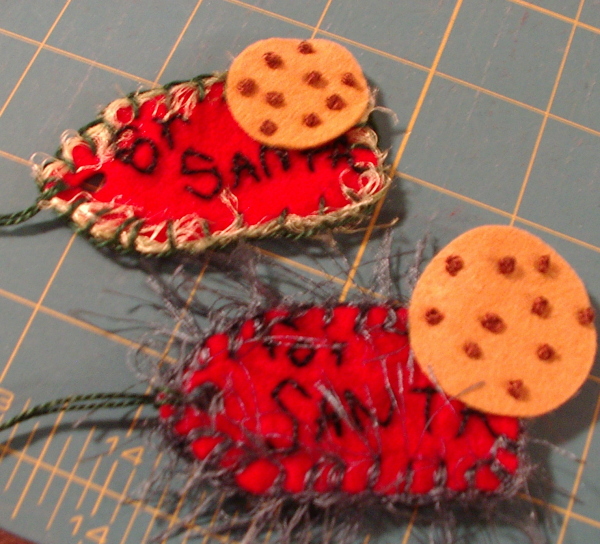
  3. Stitch around edge of tag with blanket stitch. One I couched the fuzzy yarn; on the other I used it to do the blanket stitch. Either way, rough up yarn with finger nail after stitching to make it fuzzy and not matted down.
  4. Embroider desired words. I didn't draw letters ahead of time because I wanted it to be more free-form, like a little child wrote it. I also did not do this before the cookies and edging because I wanted to see how much space I had to work, with but you can do those three steps in any order you wish to make it easy for you.
  5. Add hanger; done.
side by side
DO NOT USE THIS PATTERN TO MAKE THINGS TO SELL FOR PERSONAL USE ONLY!!!!
Tuesday, December 04, 2007

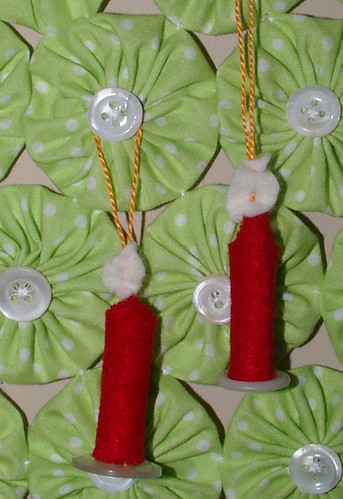
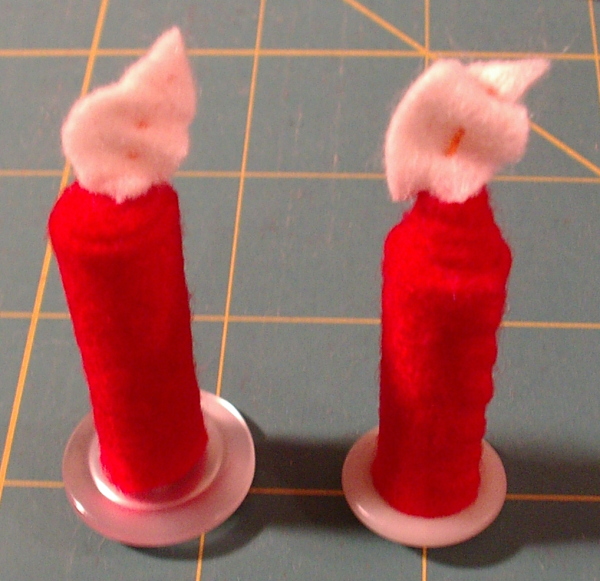
Part 16: Candle Ornament

hanging on treeSupplies:
  • real long needle
  • sewing needle / thread / scissors
  • yellow embroidery thread
  • felt
  • button
Order of events:
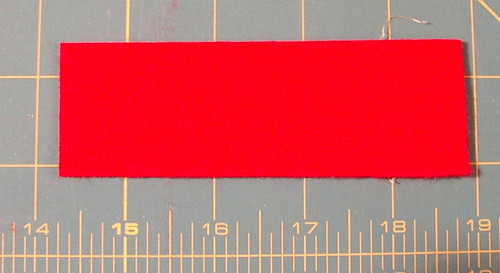
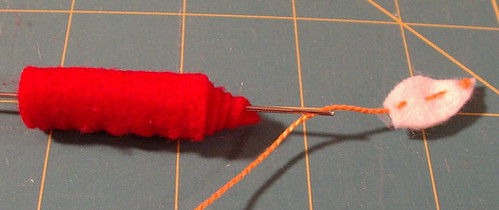
  1. Cut felt (the color you want to use for the candle) 1 1/2 inches by 4 1/2 inches rectangle. If you want a tapered candle, cut a slight angle so when rolled it forms a taper.
  2. Cut felt for flame.
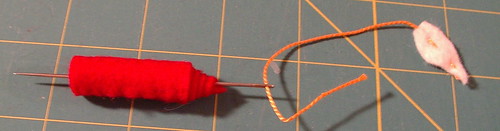
  3. Tie knot on yellow embroidery thread; weave through flame; leave a long tail.
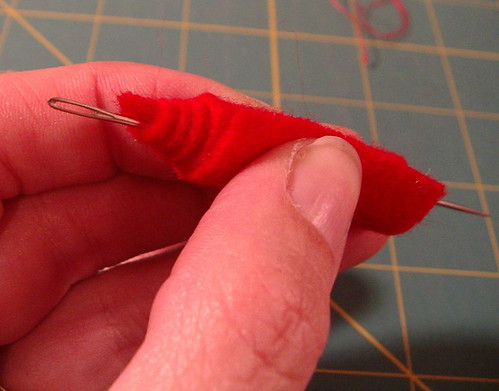
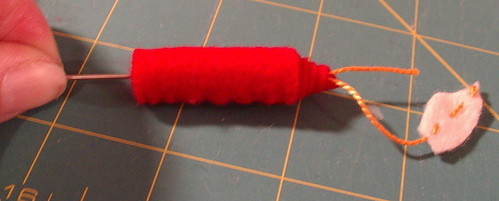
  4. Roll candle felt around long needle; stitch closed.
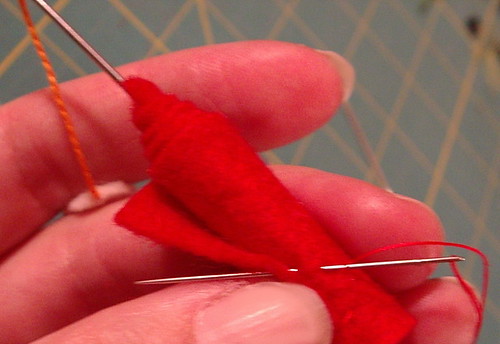
  5. Thread long needle with embroidery thread; pull through candle.
  6. Stitch on button base.
  7. Make loop out of another piece of embroidery thread. Thread needle and weave through flame; done.
DO NOT USE ANY OF THESE PATTERNS TO MAKE THINGS TO SELL FOR PERSONAL USE ONLY!!!!
Monday, December 03, 2007

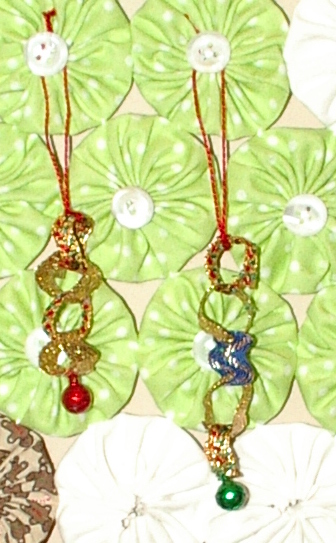
Part 15: Advent Chain

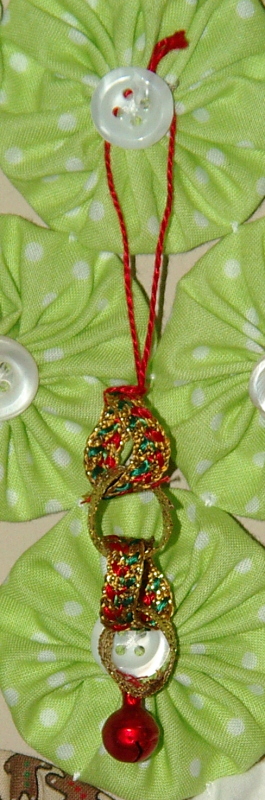
chains on tree
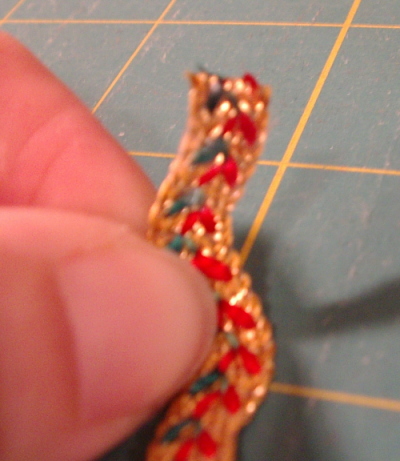
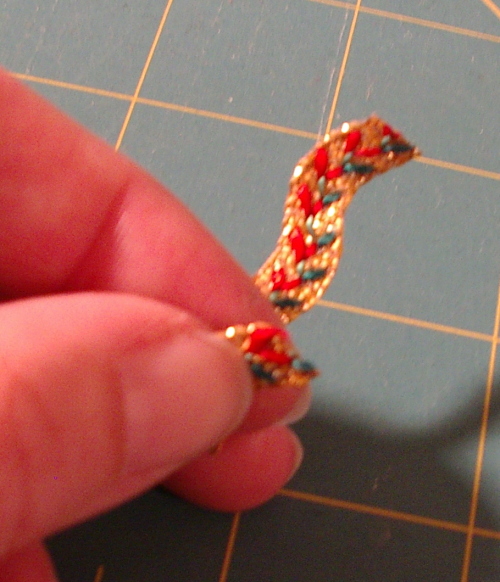
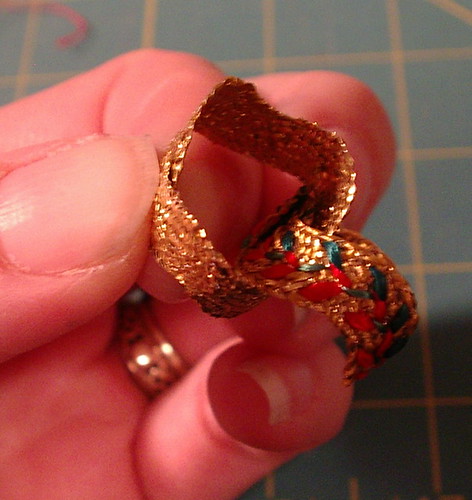
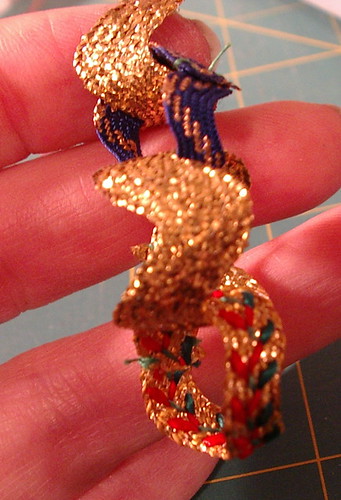
I am sure most people in the USA have made a paper advent chain in elementary school. Well, here is one made from ribbon or rick rack ,whichever you choose.

Supplies:
  • rick rack or ribbon
  • needle / thread / scissors
  • fray check
  • bell, if desired
Order of events:
  1. Cut rick rack into two-inch lengths.
  2. Fray check ends of rick rack, and let dry.
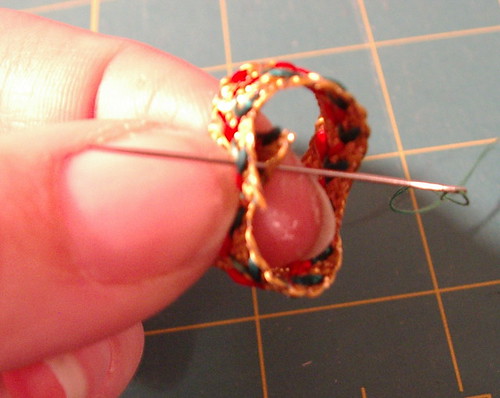
  3. Curl around finger and stitch.
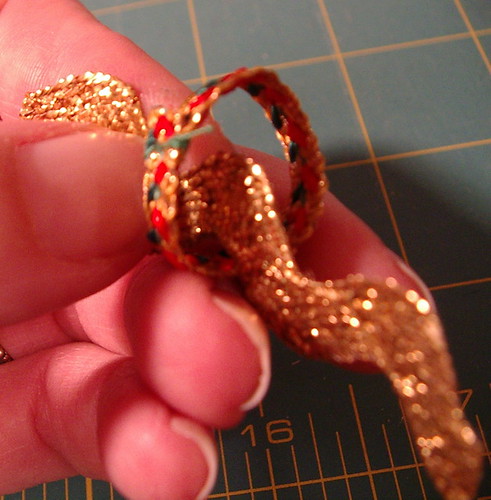
  4. Weave next rick rack inside of first; repeat 3 and 4 to desired length.
  5. Add bell at bottom; this helps it to hang a little straighter.
  6. Add hanger; done.
on tree

Copyright/permissions info

I like to share on this space my ideas and projects.
Please don't take ideas or photo and claim them as your work.
I am always happy to have new links to me.  So if you like something just link back to me and give the source some credit thanks.
Any questions? just ask. I am happy to work with you if you need something
Creative Commons License This work is licensed under a Creative Commons Attribution-Noncommercial-No Derivative Works 3.0 Unported License. 2006-2019 Copyright Vintage Threads Inc. All content and images.

LinkWithin

Related Posts Plugin for WordPress, Blogger...