
Thursday, August 14, 2008
Just Eye Candy


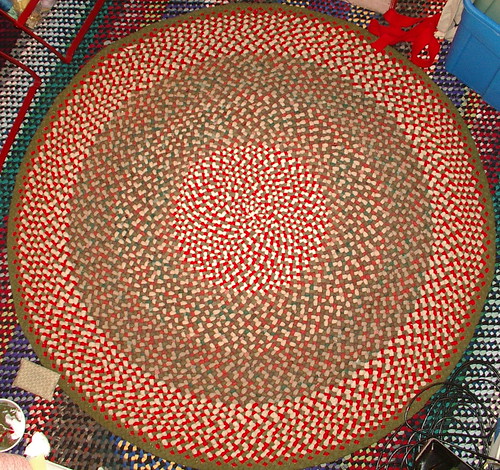
Part 8:Braided rug butted ends, the end
Sorry so long in posting this.
Part 2: Sewing the strips together & forming reels
Part 3: Starting a t-started rug
Part 4: How to start a round rug, apple peel style
Part 5: Sewing and increases / tools
Part 6: How to change colors
Part 7: Ending in a taper/hemostat tool
Part 8: Butting last rows for a smooth finish
DO NOT USE THIS PATTERN TO MAKE THINGS TO SELL FOR PERSONAL USE ONLY!!!!
- The last round is braided while not attached to the rug. Safety pin three strands of material together -- see picture below.
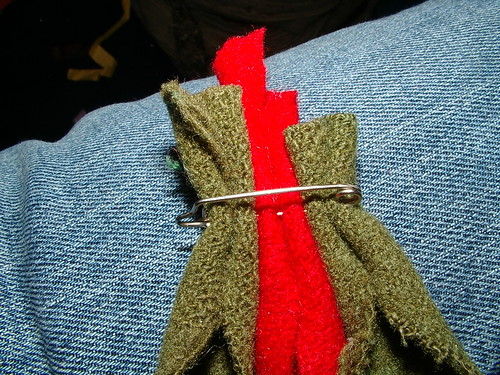
- Just start doing a normal braid.
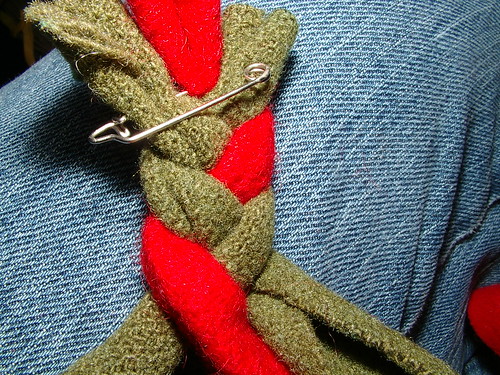
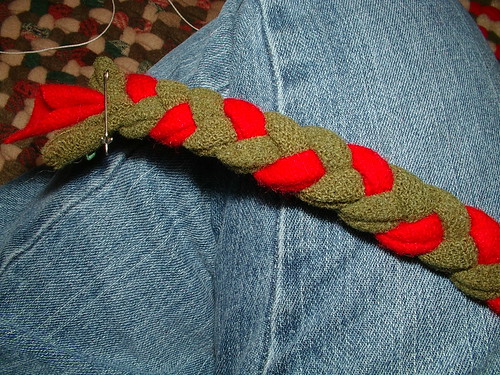
- When you have enough braid then some to go all the way around the rug, place a safety pin near the edge of the rug. This is to wind your lacing cord around (see photo) that will be used to tie a knot when you stitch all the way around.
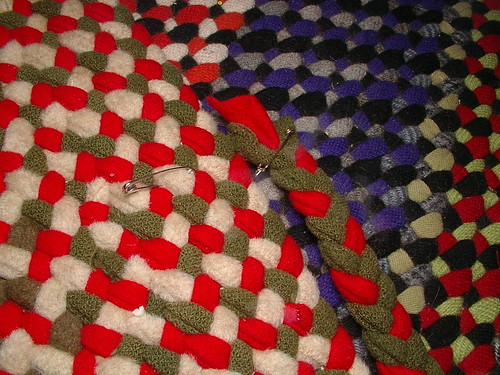
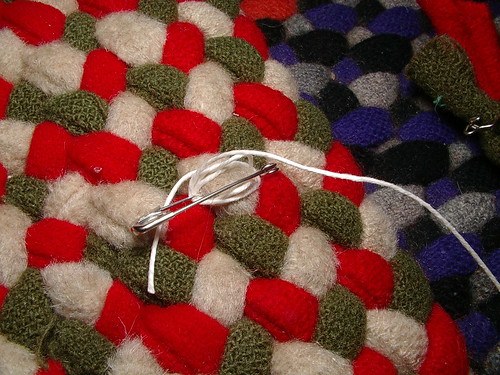
- Attach lacing cord to needle.
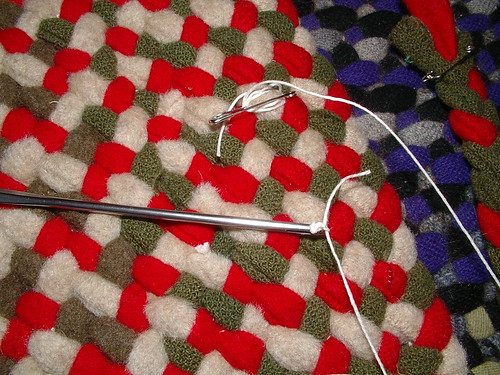
- Start stitching braid to main body of the rug. Leave about 2 to 3 inches of the beginning of the braid not stitched down. Also do not start where you taped the last row.
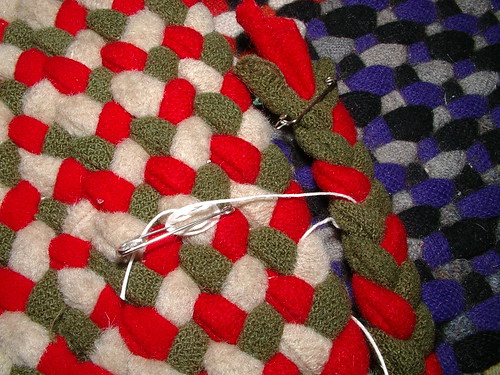
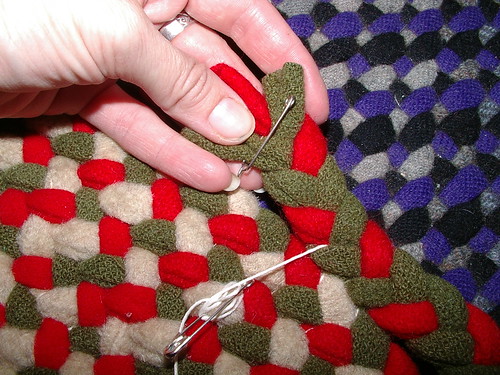
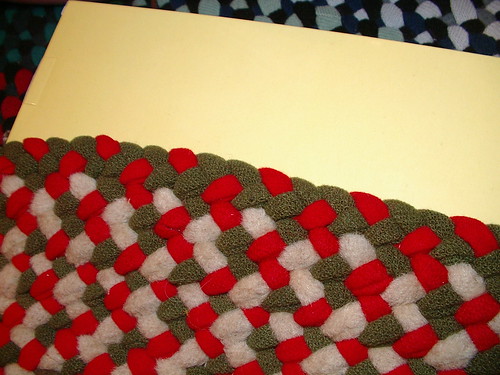
- When you get to the taper, see photo for to how to handle the small parts of the braid; they mainly get skipped.
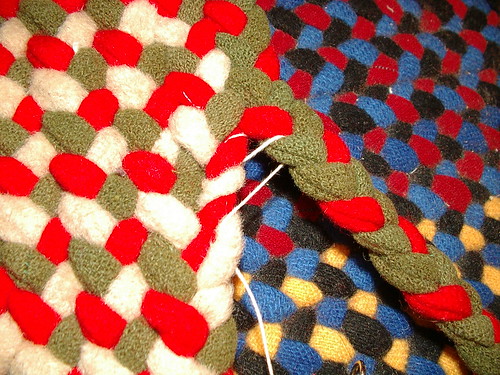
- Then continue stitching it down 'till you get within about 5 inches of your starting point.
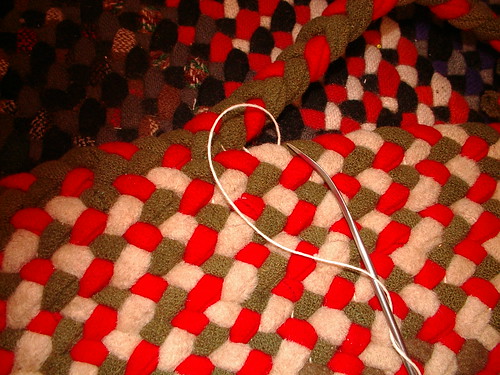
- Overlap ends of the braid, line up colors and place safety pins where they match up in color and in number of loops left on inside of rug. Needle is pointing to where my first twist is of the first braid; the next braid needs to match and end here, too.
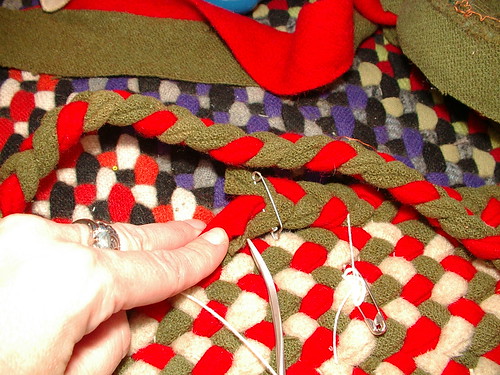
- You may need to have one or two more twists on the braid being attached to get the patterns to line up. Just your basic increase when stitching. The left side of this braid will be stitched down. Then sewn to the starting point of this braid. The right side of the braid (the side on the right of the safety pins) will be cut off.
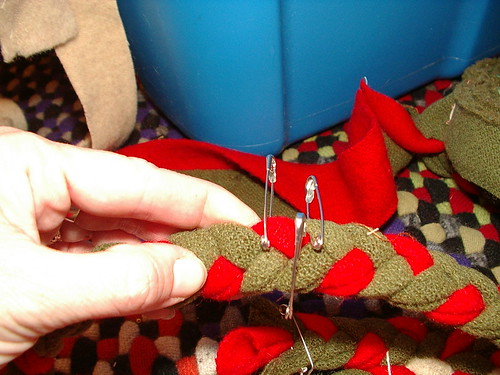
- Leave one strand long to use to weave at the end
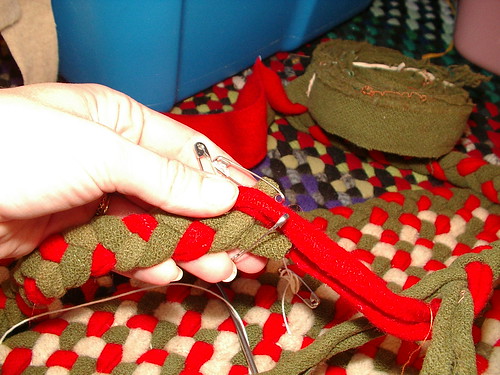
- Unbraid a little and match up the colors to their counter parts with the beginning and end of the rug, and safety pin two sets of strands together. Then stitch those two as well; I do this by hand, but you may use a machine if you want to.
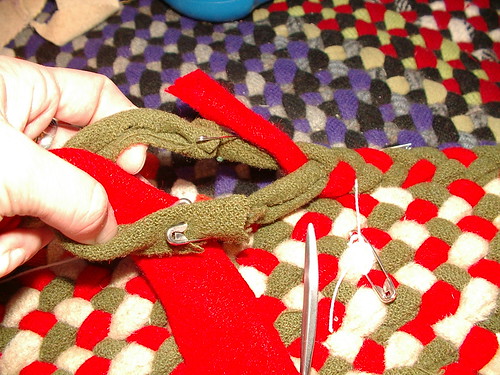
- This part is kind of hard to explain -- you weave the two that are stitched back and forth while weaving the third loose strand into it to reform the braid.
- Match the last loose strand, pull it tight and stitch the two together by hand.
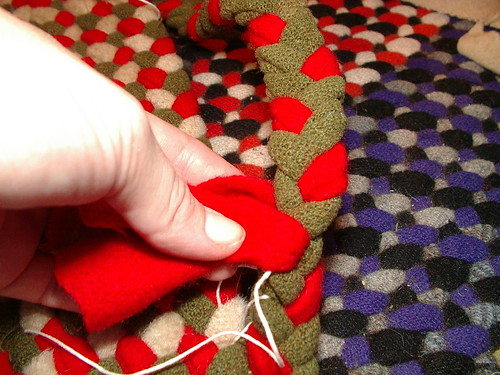
- Then go back to lacing the rug together all the way to the end. That is 'till the two ends of the lacing cord meet at the beginning of your work. Tie knot. Sorry bad photo.
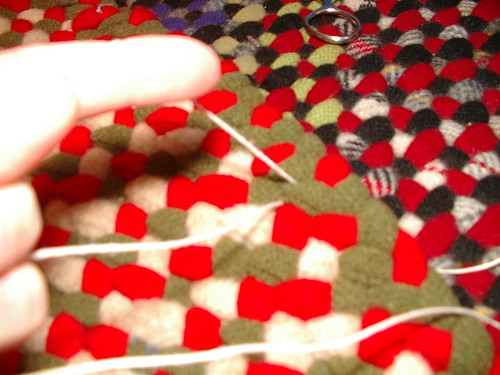
- weave in ends for about an inch or two away from knot
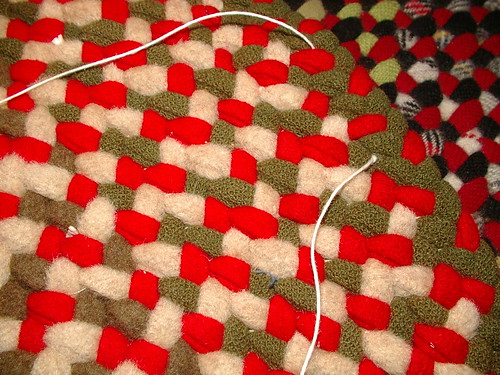
- Repeat last row 1 or 2 more times so you have two or three butted rows.

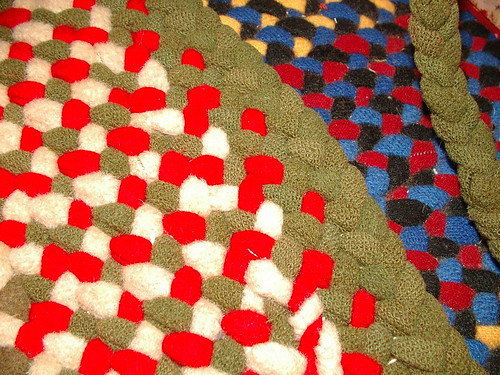
- All done with the rug, now find a home for it
Part 2: Sewing the strips together & forming reels
Part 3: Starting a t-started rug
Part 4: How to start a round rug, apple peel style
Part 5: Sewing and increases / tools
Part 6: How to change colors
Part 7: Ending in a taper/hemostat tool
Part 8: Butting last rows for a smooth finish
DO NOT USE THIS PATTERN TO MAKE THINGS TO SELL FOR PERSONAL USE ONLY!!!!
just one

I have been ill since Friday, so even though I made lots of floral arrangements in that time till now, I only took a picture of one. So here is the one; it is about 2 1/2 feet tall.
Monday, August 11, 2008
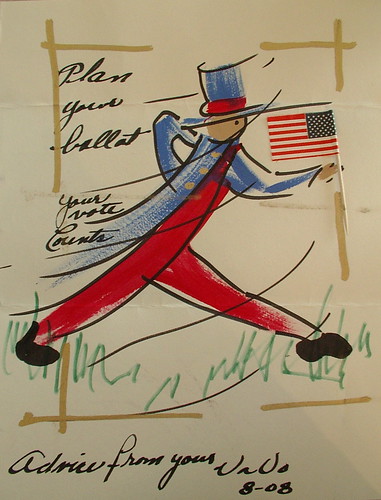
letter art from Vavo = vote
Subscribe to:
Posts (Atom)
Copyright/permissions info
I like to share on this space my ideas and projects.
Please don't take ideas or photo and claim them as your work.
I am always happy to have new links to me. So if you like something just link back to me and give the source some credit thanks.
Any questions? just ask. I am happy to work with you if you need something
 This work is licensed under a Creative Commons Attribution-Noncommercial-No Derivative Works 3.0 Unported License.
2006-2019
Copyright Vintage Threads Inc.
All content and images.
This work is licensed under a Creative Commons Attribution-Noncommercial-No Derivative Works 3.0 Unported License.
2006-2019
Copyright Vintage Threads Inc.
All content and images.
LinkWithin
