Tear out time
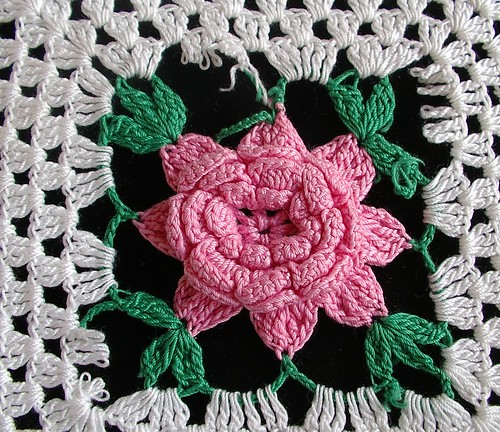
A damaged block
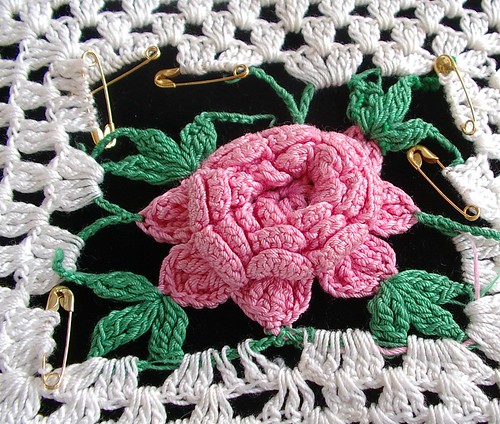
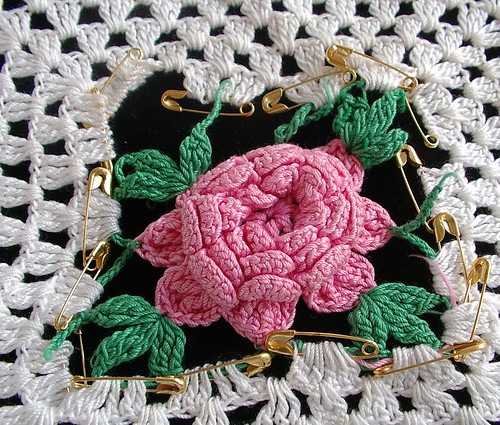
Not the same damaged block as above but that doesn't matter for this tutorial. Pins in place where thread was already missing.
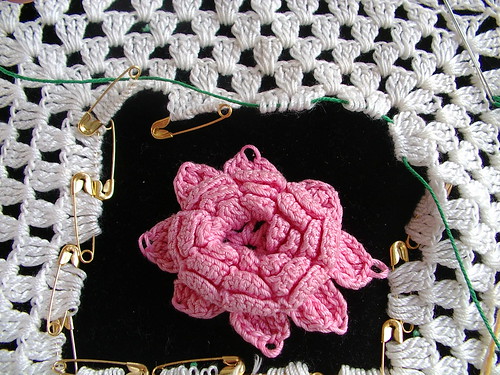
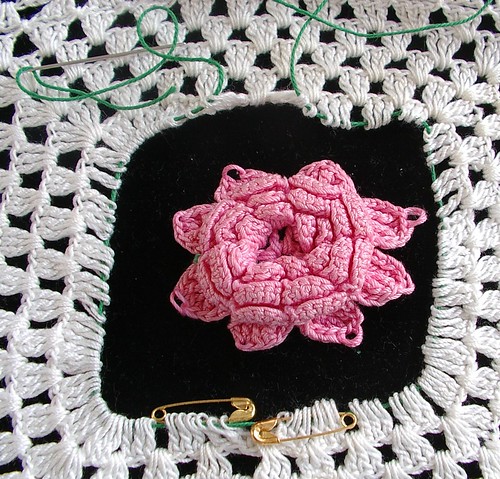
All pins in place stitches secured.
This always looks worse than it it. You have to take out the damaged stitches and have the pins in place to hold the good stitches. This is the part customers never like to see. The reason for this is the holes actually get bigger for a little bit.
While you are removing the damaged stitches be careful not to break more stitches . Be careful to keep the stitches twists on them and facing the correct direction. Have the pins hold multiple stitches at once this ensures the stitches are not untwisting.
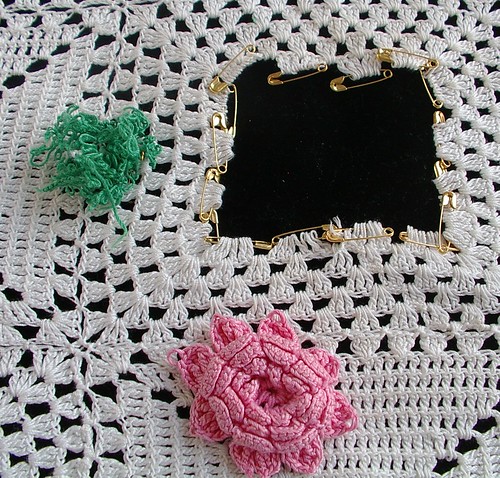
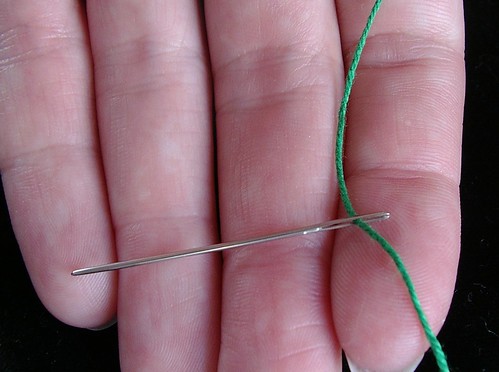
Weave in
Now it is time to weave in the replacement thread. This is accomplished with a crewel needle, you want a blunt tip and a wide eye big enough to hold your thread easily.
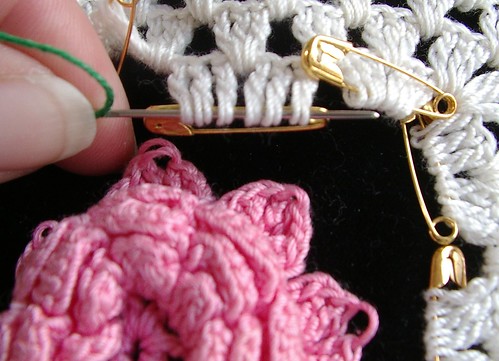
Start with what will be the last stitch you crochet and go from the last to the first. Sorry that doesn't seem more clear every thing is being done in reverse order here. I am right handed so I go around the rose counter clock wise and weave in clockwise. For lefties do the opposite.
Go through every stitch. Making sure not to untwist the threads. This is important or the stitches will look wrong or drop out after the repair. When you get to the first pull the thread all the way through you have to be careful because you can break the previous rounds threads.
Pull out safety pins if you notice in the photos I have left a few safety pins in that is where threads of the next round are already broken and have to be fixed too. Which means I need to take out part of the next row and pin the row above that.
Tutorials on this repair
IntroPart 1Part 2 this post
Part 3
Part 4


No comments:
Post a Comment