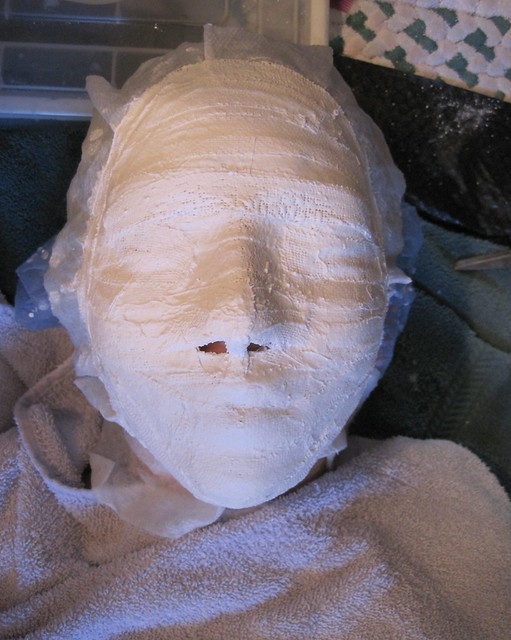
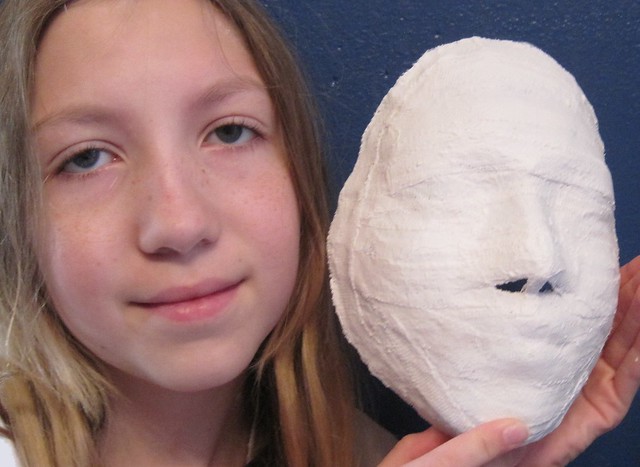
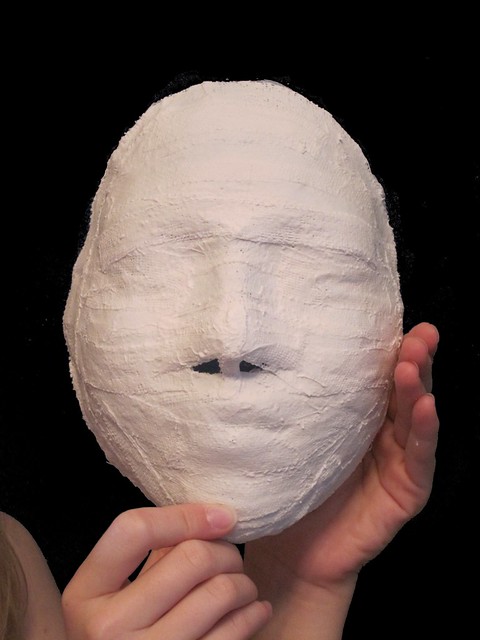
My middle daughter has been studying Egypt in school and they are supposed to make a death mask. Well that was supposed to happen this morning but with a fever 101+ yeah umm she didn't go to school. So I went to school for about an hour so I could see how it was done and came home and did this with her.
This is how I was taught to do this...
 | |||
| My sick daughter being a good sport |
- We laid a black garbage bag on the floor, with a towel on it, put a shower cap over her hair and put a towel over her chest to keep the plaster off of her. (at school the students laid on tables that had a plastic table cloth over the table to protect it)
- We had already cut 16: 3 inch x 1 inch and 16: 6 inch x 1inch pieces of plaster (like what you use for broken bone casts you get it at a medical supply store) we started out with a 36inch x 4 inch strip of plaster linen.
- We placed a warm wet paper towel over her face. So that you don't end up pulling out the eyebrows and other hairs on the face also to make it easy to remove.
- Outlined the face with the long strips of plaster that had been quickly dunked in water and laid an outside frame work on the face then filled in with the small pieces. Rub the pieces well to make as smooth as possible. Go to hair lines and under chin. Let dry for 10 minutes on face. Pull off and set aside to dry completely trim edges where the paper towel sticks out to clean up.


When I helped Sterling's class do this a couple years ago, we slathered the kids' faces with petrolem jelly to keep the plaster from sticking. A wet paper towel sounds easier to clean up afterwards.
ReplyDeleteI have seen it done that way and yes it is tons messier to clean up also it makes the children feel like they are suffocating, the other thing it does is that the eyelashes and eyebrows still get pulled out that way the paper towel way doesn't have a lot of clean up and no pain either.
ReplyDelete