This was just a cool technique for making a button band so I am posting here more for me than my readers as I want to try it in the future. Thought other people might like to see and use it as well. So please try it and let me know what you think as you may get to it before me.

Monday, May 31, 2010
Saturday, May 29, 2010
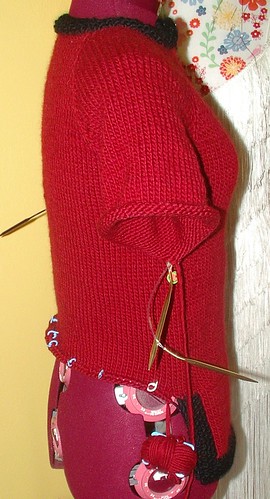
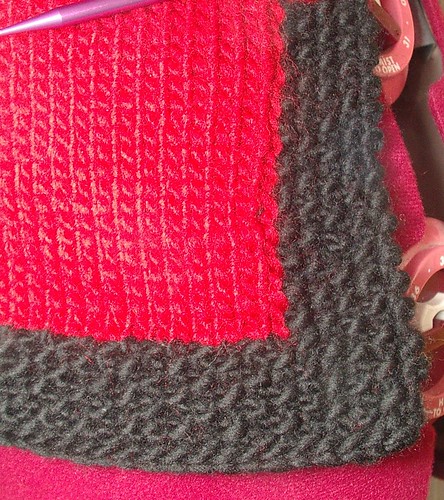
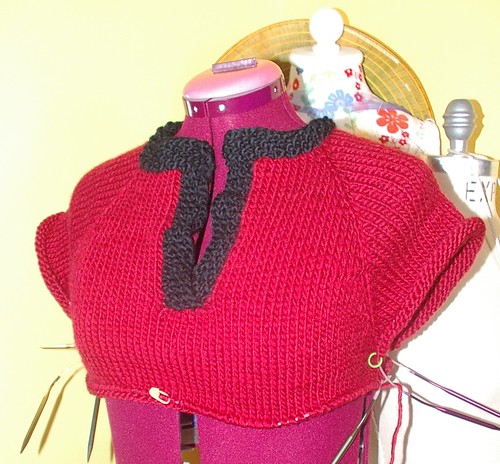
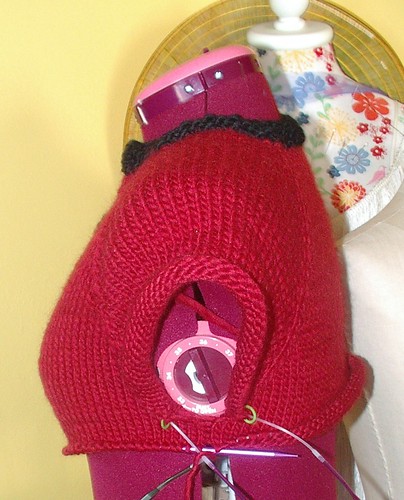
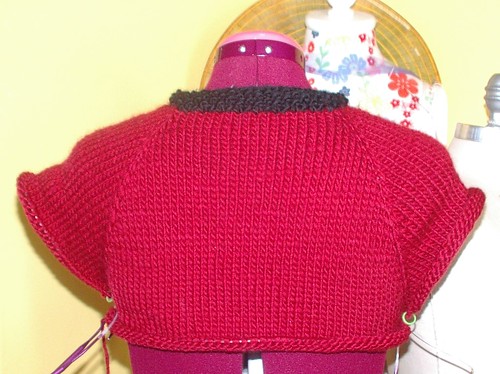
Update on Red and Black sweater
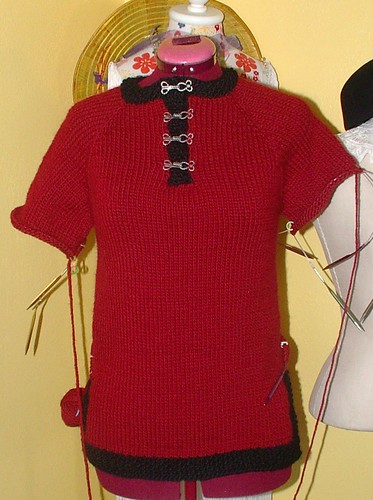
I have figured out a few things on this sweater as I have gone along. I learned that when doing a button band it is all important to cast on about 25% less than the number of rows already there.
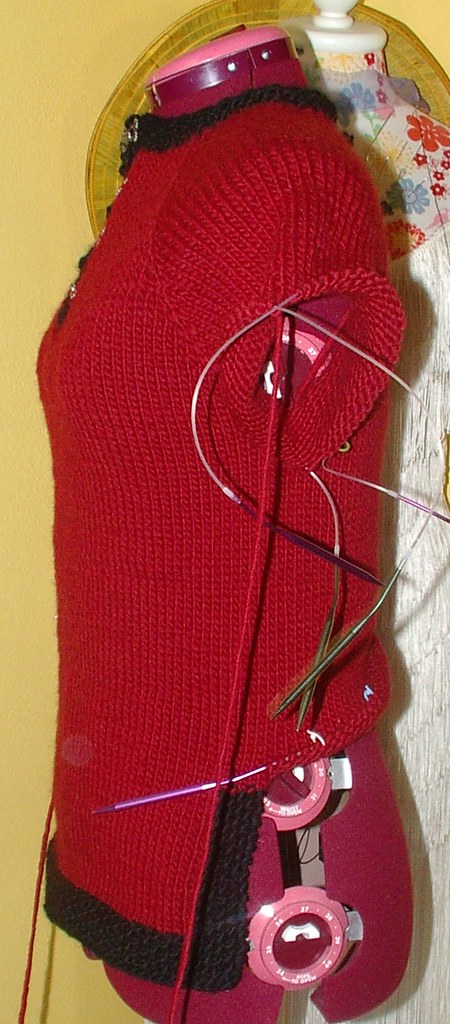
I also learned how to make a yarn go back and for the in the middle of the row by locking the threads around each other when swapping colors ( color change). OK these things seam self explanatory but if you have never drafted your own pattern like this well not so much so it was a learning experience I am still working on it.
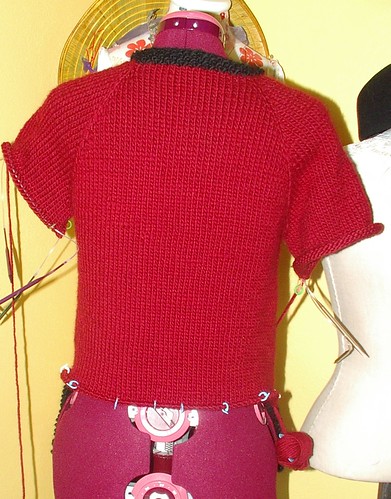
I realized I have a skein that is a different dye lot in number hoping it won't be a big deal. I am waiting to use it last and I am going to try and use it for the flap on the back if I don't have to see it it won't both me so much and I am definitely not looking at my back side all the time so that would be the best spot for me I would see my sleeves so that won't work for me there plus I think it will be less noticeable to other people as well on my back side. We will see if it is too much I may do some redrafting of the back side like make it all black seed stitch for the flap. The reds do look real close in skein form so I am hoping that it won't show either way.
CSN Giveaway (2 winners will be awarded)
A few weeks ago I talked about another giveaway that was going to happen with CSNstore.com . Well the test piece arrived and I have tested it.

There will be two giveaways on this one.
My children will draw the winners on June 2nd.
1. CSN will mail one out to the first winner in winners choice of color. Black or natural pear wood. This will be the first name drawn out!
 2. One from me same item but only in black (the one I tested)and it will also have with it a book "Japanese Kimekomi". Since you did not have the chance to pick your color. This will be the second name drawn out!


Just so you know I have not been paid to do this I was asked to do a giveaway. I was offered to be able to keep one but I am giving it away as prize number two as I want to be honest with the test.
Review notes:
Item description
Pros
Cons
Wendy and good luck
update this was originally had a post date of May 22 I brought it up to May 29th so it could still be visible on the first page of my blog Please feel free to enter this giveaway
There will be two giveaways on this one.
My children will draw the winners on June 2nd.
1. CSN will mail one out to the first winner in winners choice of color. Black or natural pear wood. This will be the first name drawn out!


RULES
You need to leave a comment in this post and you have to leave a way for me to get a hold of you. This is so I can get the information I need for you to be able to get the item. If you follow this in bloglines or on Facebook or some other place you do need to leave the comment on the original post in my blog not those other places to be eligible to win.Just so you know I have not been paid to do this I was asked to do a giveaway. I was offered to be able to keep one but I am giving it away as prize number two as I want to be honest with the test.
Review notes:
Item description
- Photo Holder by Bortolani Becchelli
- cost 23.00 not counting shipping
- Pear wood
- size 6 cm - 3 cm - 5 cm
- base containing rare earth magnet
- steel ball bearing
- made in Italia(Italy)
Pros
- Small fits in the palm of your hand (nice travel size)
- Strong magnet (rare earth) can hold several papers at once. I recommend folding the papers in half so they stand up straight. I folded 7 pages (8 1/2 x 11) in half and it held it well (that 14 pieces of paper it was holding most patterns are not that long so it worked great for this purpose) It could hold more but that was good enough for me.
- If traveling you can just copy the pages you want so you don't loose your pattern book and drop them and this in you bag. When you get to the hotel or where ever, it sets up easy on a table or night stand so you have both hands free to work and can glance at the pattern easily.
- can hold leaflet books without folding them in half because of the rigidity of their covers
- If you loose the bearing it is easy to replace at any hardware store
- perfect for original purpose as a photo holder
Cons
- It is a 2 piece item one the base and two the metal ball (can easily loose one part making it not work, the bearing)
- Chocking hazard for small children
- not able to use in car as the surfaces would not be flat and two bouncy
- Because of it has a small size you do have to fold over loose leaf pages to hold them up right. Making you only be able to read a part of the page. Not to big of a deal as you only look at one section at a time any way.
- The price doesn't seem to fit the item seems to high even for an import with pear wood.
Wendy and good luck
update this was originally had a post date of May 22 I brought it up to May 29th so it could still be visible on the first page of my blog Please feel free to enter this giveaway
Friday, May 28, 2010
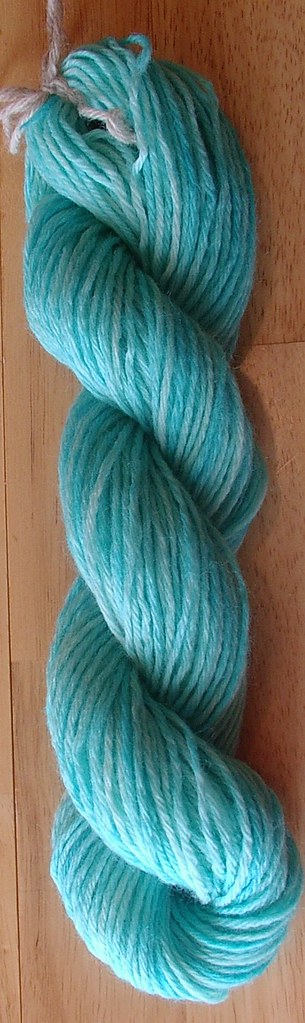
More kool aid dyeing
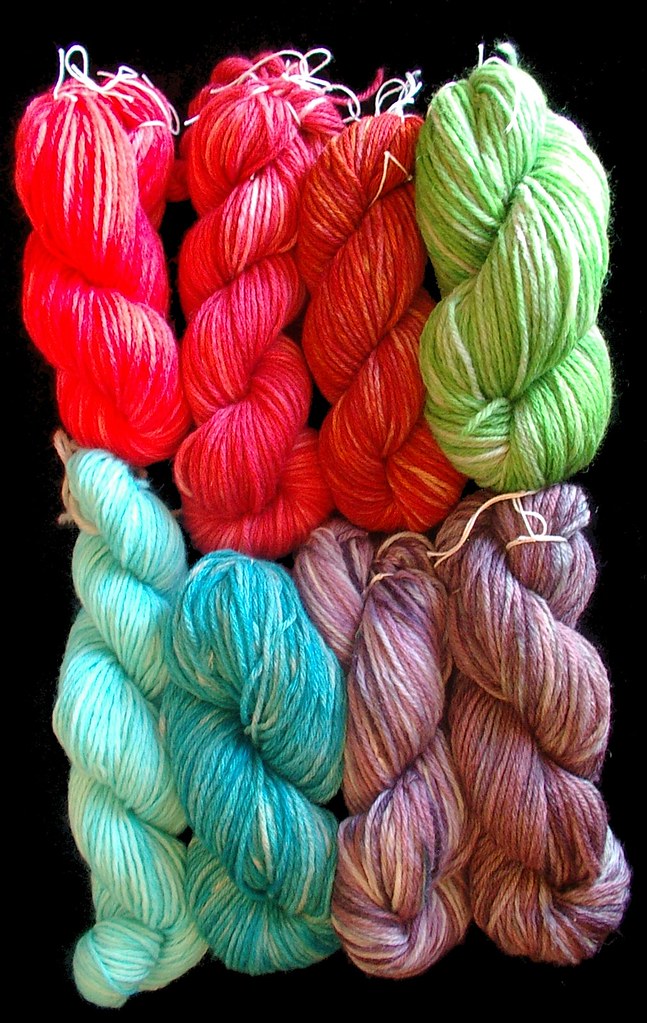
top ro
a strawberry on cream wool
b cherry on cream wool
c orange, lemon aid, and dk cherry on oatmeal wool
d lemon lime on oatmeal wool
bottom row
a ice blue raspberry lemon aid on cream wool
b berry blue on oatmeal wool
c grape on cream wool
d grape on oatmeal wool
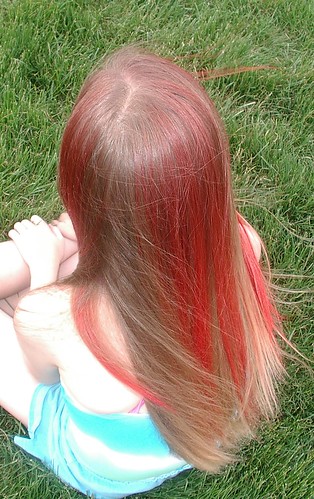
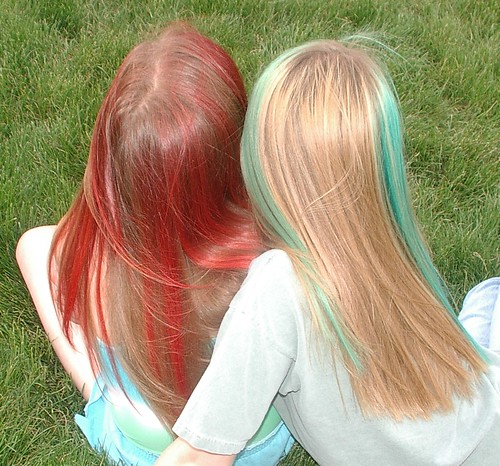
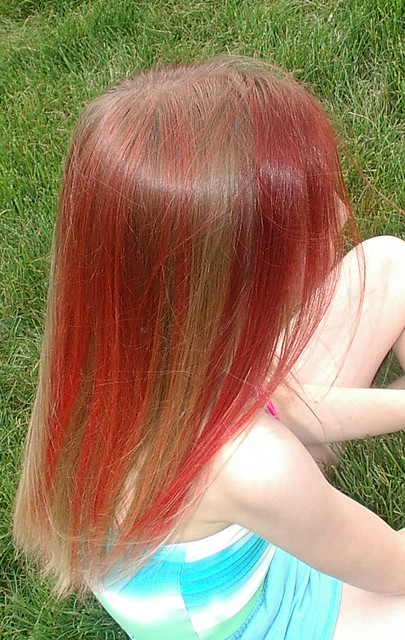
This is my middle daughters strawberry kool aid hair for summer.

Thursday, May 27, 2010
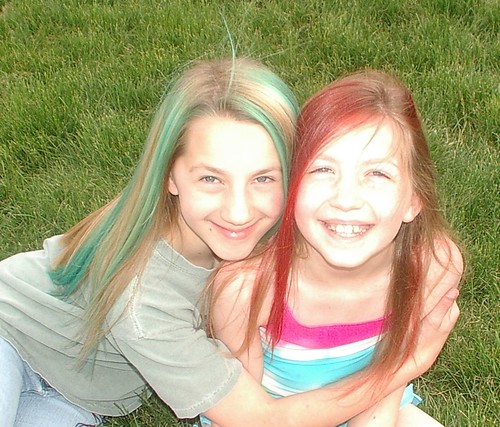
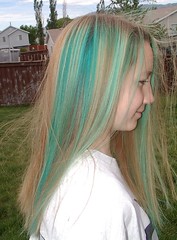
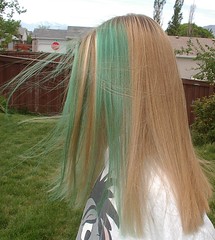
Kool aid dyeing wool and hair
wear gloves and protect area and wear clothes you do not care about as this will dye what it touches.
update june 2012

We like dk cherry (above 2012) and strawberry (below 2010) in the kids hair
directions how to do this below for wool and hair
update june 2012
We like dk cherry (above 2012) and strawberry (below 2010) in the kids hair
directions how to do this below for wool and hair
Wednesday, May 26, 2010
The winner is....
The winner of the my friendship bracelet maker is comment 11as picked by my Middle daughter.

"mym ; on Ravelry said...
brilliant ! thanks for showing me that .
marie in florida"
thank you for letting me know you are on Ravelry took me a second to find you but I did. I have sent you an email through Ravelry saying what I needed from you such as
so the company can send you the item and contact you if they need more info
thanks wendy
congratulations

"mym ; on Ravelry said...
brilliant ! thanks for showing me that .
marie in florida"
thank you for letting me know you are on Ravelry took me a second to find you but I did. I have sent you an email through Ravelry saying what I needed from you such as
- our name
- address
so the company can send you the item and contact you if they need more info
thanks wendy
congratulations
Tuesday, May 25, 2010
Red and Black Sweater & snow!

Update:
To answer a statement in comments yes I said snow! Here is yesterdays pictures of it in our yard. It was very heavy wet snow. Broke many trees. The first one is during the storm taken from my kitchen widow the second is after the storm you can see the hole in the tree where it broke you can also compare the two pictures and see how much the tree bent from the heavy very wet snow. the first photo was taken around 9 am the second on the same day around 3 pm. Utah has very strange weather patterns anything can happen during the day weather wise.


Wednesday, May 19, 2010
Give away: "My Friendship Bracelet Maker"


Just so you know the company is giving one of these away to one lucky reader of this blog. Just leave your comment at the end of this post. Leave me a way to get a hold of you so I can contact you at the end of the give away. If I can't get a hold of the winner the prize will be given to another person in the list of comments.
You will not win the one we tested the girls get to keep that one. You will get a new one sent straight from the manufacture to you.
For those who read this in other feeds such as facebook and bloglines and such you have to leave the comment on my blog for it to be eligible to win. My oldest daughter will draw the name at the end of this so I will have no say in who the winner is. The winner will be drawn on Wednesday of next week May 26, 2010.
Here are some basic statistics on this item
cost : $19.99
size :14 x 8 x 3
sliding drawer to store threads, instructions
comes with: instructions
comes with: 56 threads that are 60 inches long
My 8 year old
who made her first bracelet on this
Pro's
- You don't have to hold all the strings in your hands.
- You don't have to pin it to your clothes and make holes in your clothes.
- It helps to keep things straight.
- Did not like that it (the thread) could pop out of the butterfly clip (10 times).
My 10 year old
who has made a few bracelets before
Pro's
- Kept all the threads nice and neat on top.
- I also liked that you could pull on it as hard as you wanted and the threads would not pop out of the butterfly clip.
- These are the fastest bracelets I have ever made because I didn't have to stop and untangle.
- I also like how it stores the threads nice and neat and the finished bracelet too inside in the drawer.
She said there was nothing she didn't like about it.
My 12 year old daughter
who has made tons of bracelets before
Pro's- It kept everything nice and neat.
- I could tell which thread I had to pick up next with out having to try and find it.
- The backs of my bracelets are now much neater.
- It kept everything nice and flat and it didn't curl up on it self.
Con's
- It could use rubber pads on the bottom so it doesn't slid around as easy


Me
I have made bracelets or about 25 years
in lots of different stylesPro's.
- It makes a nice travel item for in the car as the supplies are all ready to go
- Comes with 56 already cut threads so depending on how many threads you use from 2 to 6 you can make from a minimum 10 to a maximum of 28 bracelets with out having to cut new thread.
- It can do up to 1-6 strands folded over so 2-12 threads in the bracelet area that is a nice range to work from( there is a mistake in the instructions that leads you to believe that it can only do up to 10 threads because there are 10 slots but once you get past the first row of knots you can have a thread hang off of each side and not get tangles because all the rest are kept secure.
- It has an adjustment to move the butterfly away from you as the bracelet gets longer (which is nice as I use to pin theses to jeans and wear holes in my jeans or safety pin them to an ankle friendship bracelet which meant sitting funny to get it farther away from me)
- Can store unfinished bracelet inside in the compartments
- Has nice clear instruction on how to form the number 4 knot (forward knot as it is known to most people that make bracelets) that even little children can understand
- Explains how to make your first bracelet (great beginner instructions)
- Nice to be able to sit at a table instead of on the floor which is what you sort of have to do if it is tied to your ankle bracelet
- Fits easily in a backpack to do during recess at school
- Cutter than using a clip board I have seen some people use especially for little girls
- Don't have to carry scissors when you first get it as the threads are all ready cut. But you will have to cut the thread when done. So there is a compartment in the box big enough for a small pair of scissors.
- You can go to their website for more patterns by joining their email list
- Explains one other type of knot on their website
- Only explains a "(number 4 knot) forward knot" and doesn't call it a forward knot there are also "backwards knot"s and "forward backwards knot" and a"backwards forward knot" which are needed for advanced bracelets
- Only explains how to do one type of bracelet with the inclosed instructions
- It could use some rubber pads on the bottom so it doesn't slide so easy on a table they are easy to find and buy and fix that any hardware store
- Should come in a boy version as I have seen boys make these too. Very girlie. ( I have been told it will come in a boy version in the future so this con will go away soon)
Don't forget to leave a comment , and a way for me to get back with you if you are the winner, for a chance to win one.
Saturday, May 15, 2010
Update: Near completion / Sweater
I worked on this a better part of the day while at two soccer games and while I was teaching my mother-in-law some techniques in crochet. When she figured out the techniques or was doing the round or frogging I would work on this. It was nice I usually have to work on projects alone. It was special to me to be able to sit and visit with her.
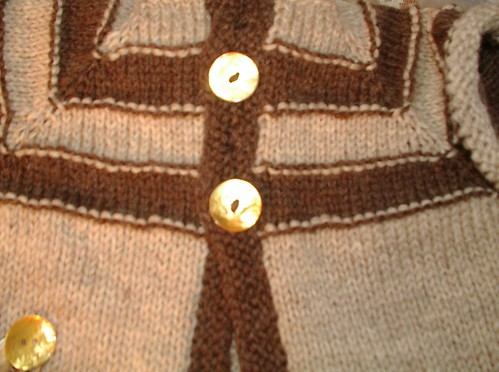
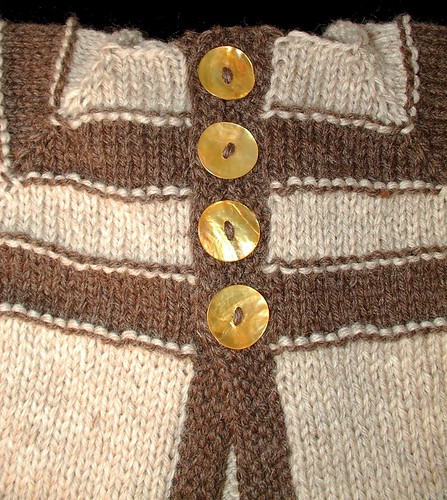
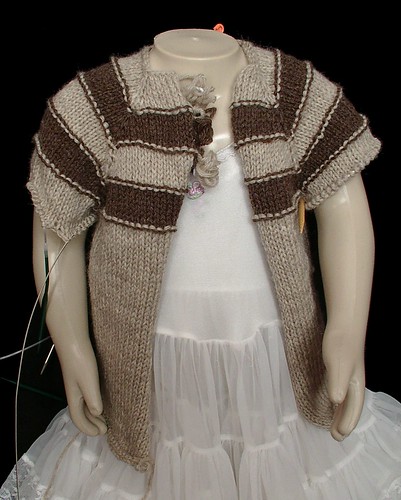
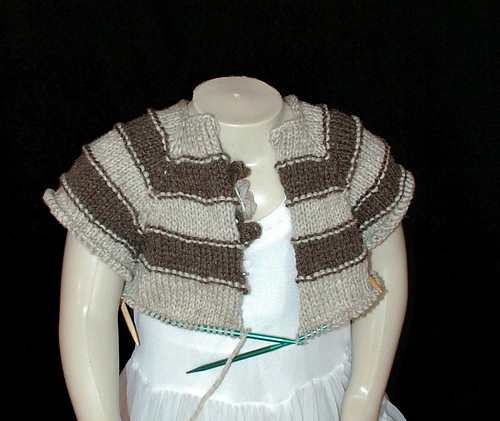
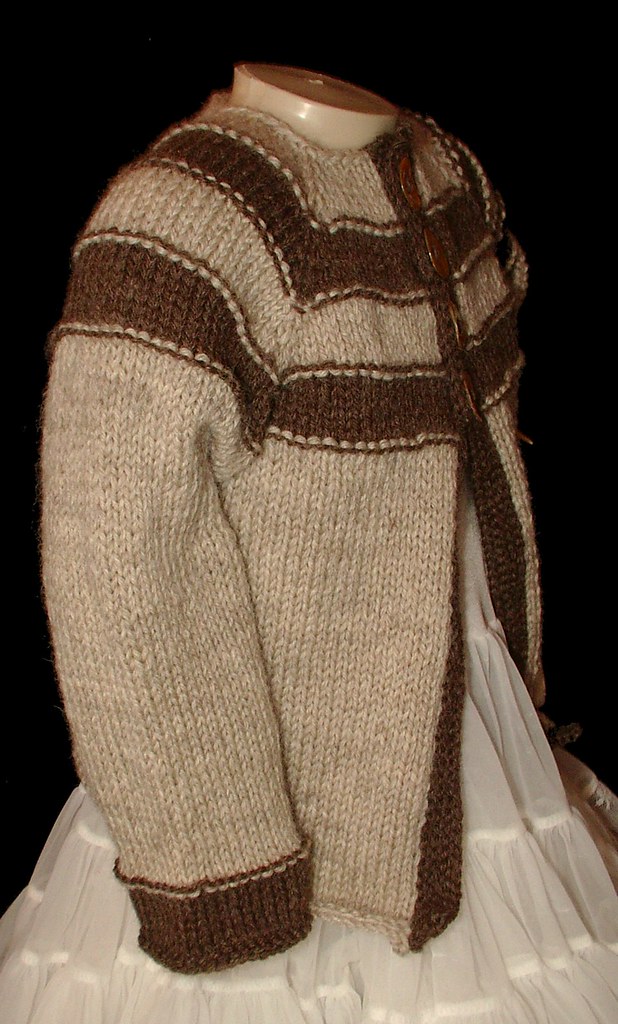 The sweater is very well written and is the correct measurements everywhere. It is supposed to have two button hole but I liked four better. So I made it with two to test the pattern then frogged one button band and redid it with four buttons. I did not have the forethought to take a picture of it with the two button holes. So when I was sewing in the buttons I took a photo of it with just the two so people could see what it should look like.
I also have completed one sleeve which means I have tested all the parts of the sweater and it is an easy knit and works up fast with cute results. It is supposed to be a boys sweater but I only have girls so my mannequin is dressed in girls clothes. Also this is a size 3T pattern and my mannequin is a 2t that is why it looks a little big on it.

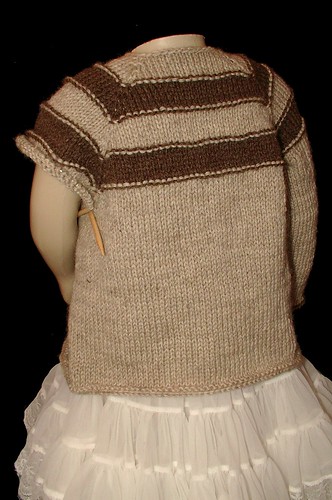
I also have completed one sleeve which means I have tested all the parts of the sweater and it is an easy knit and works up fast with cute results. It is supposed to be a boys sweater but I only have girls so my mannequin is dressed in girls clothes. Also this is a size 3T pattern and my mannequin is a 2t that is why it looks a little big on it.
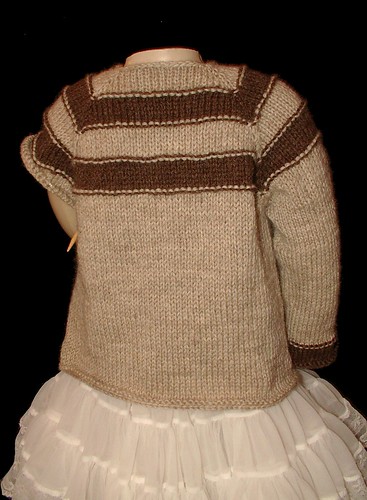
Cozy's sweater Progress
I now have the body done on this sweater and have progressed to working on one of the sleeves. This doesn't have a button band yet and it has not been blocked yet so the curling at the hem and front should go away when both of those things happen. Once again the mannequin is a size 2T and this is a size 3T so it looks a little big on the display which is good because that means it is working up correctly.
Friday, May 14, 2010
Test knitting for Cozy
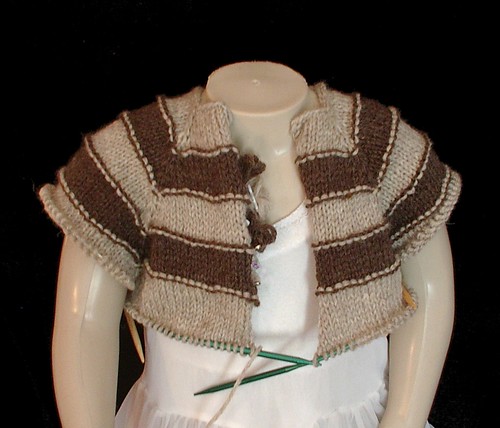
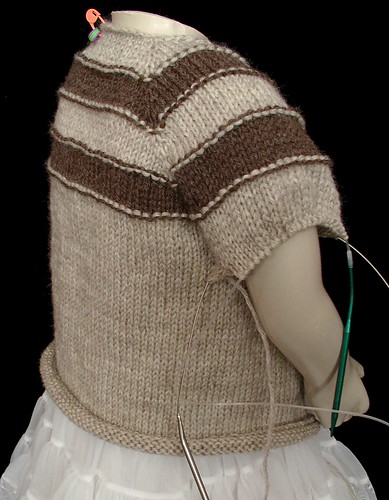
I am testing a pattern for Cozy. I received the pattern last night in my e-mail to test. It is a pretty straight forward pattern thus far, meaning the bodice and body (haven't started the sleeves or button band yet). Works up pretty fast. Also the mannequin is a size 2T so if it looks a little big on it it is because I am testing size 3T. It is coming out exactly as it should. So far I would recommend this pattern to people who need a quick baby gift as it wouldn't take long at all. Second photo is more true to color. Sort of a gray day today so it is hard to photograph.
Tuesday, May 11, 2010
Now avaialble Yo-yo crochet book
Learn to do yoyo crochet in book form is out and shipping

Learn to do Yo-yo crochet is also available on Amazon.

Learn to do Yo-yo crochet is also available on Amazon.
Monday, May 10, 2010
Skirt Progress

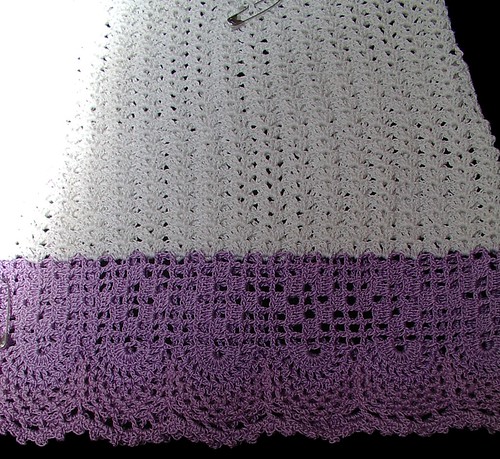
I worked on this a little over the weekend at soccer games and things of that sort. It is growing pretty good. I added a little more to the hem area the purple. The thread I added is a little more raspberry than the original purple I used but that is hard to tell in these photos. It is just below the scallop in the edging all the chain work. This is going to be a knee length skirt if I put this against my body and rest the hem at my knees to is at my hip bones at the moment. I am not sure the cream color will make it to my waist if I run out I have an idea for stripes going vertical at the waist with the raspberry purple color and a white. The safety pins in the photo are where I have done decreases to make the hem width change to match hip width and there will be more to get to waist width. Haven't decided on closures yet but leaning towards pearl snaps or a zipper back. This will be a lined skirt when done.
I may make this into a top if I don't have enough still thinking it over.
Wednesday, May 05, 2010
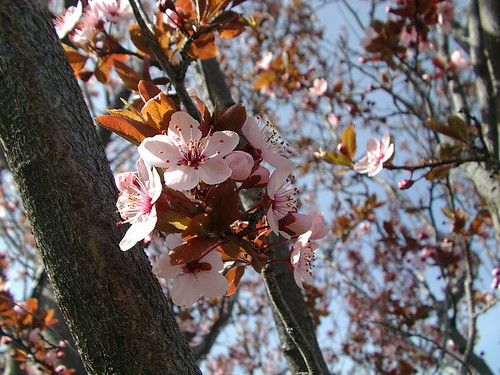
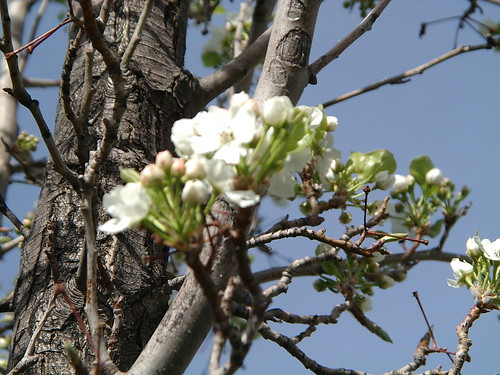
Spring flowers
Just some pretty flowers from my yard that I thought I would share.
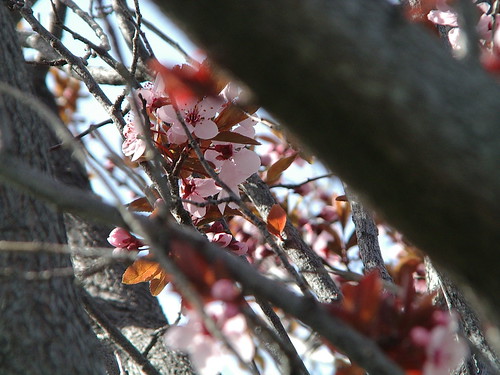
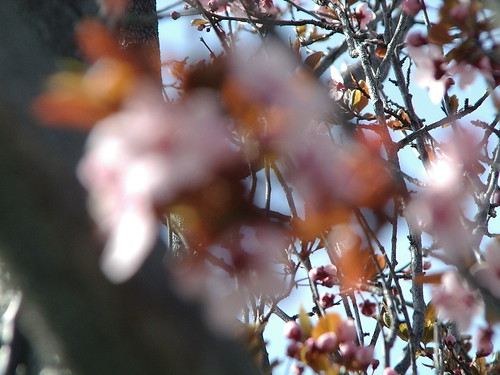
I actually like this one that looks out of focus in the foreground. I like how clear the back ground is a different depth of field.
Subscribe to:
Posts (Atom)
Copyright/permissions info
I like to share on this space my ideas and projects.
Please don't take ideas or photo and claim them as your work.
I am always happy to have new links to me. So if you like something just link back to me and give the source some credit thanks.
Any questions? just ask. I am happy to work with you if you need something
 This work is licensed under a Creative Commons Attribution-Noncommercial-No Derivative Works 3.0 Unported License.
2006-2019
Copyright Vintage Threads Inc.
All content and images.
This work is licensed under a Creative Commons Attribution-Noncommercial-No Derivative Works 3.0 Unported License.
2006-2019
Copyright Vintage Threads Inc.
All content and images.