
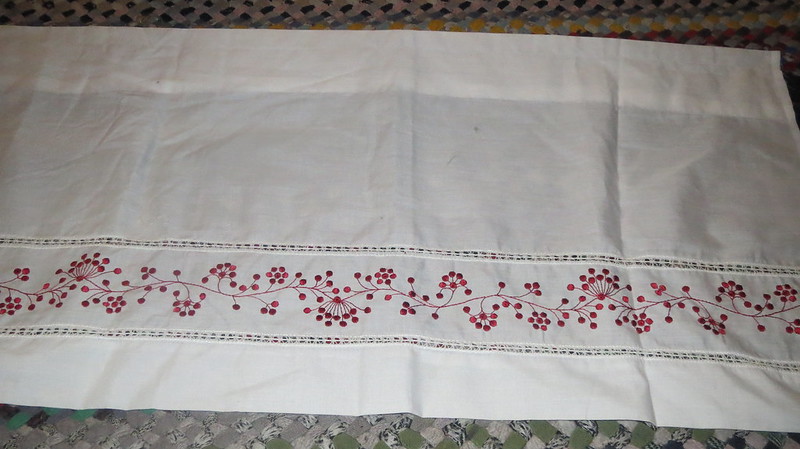
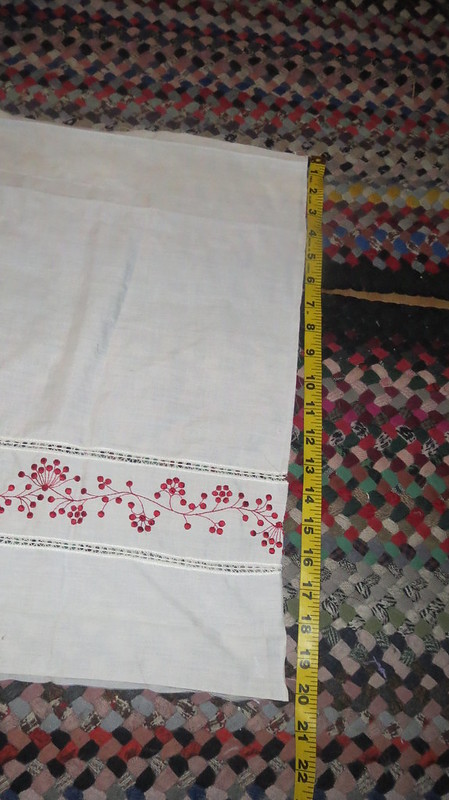
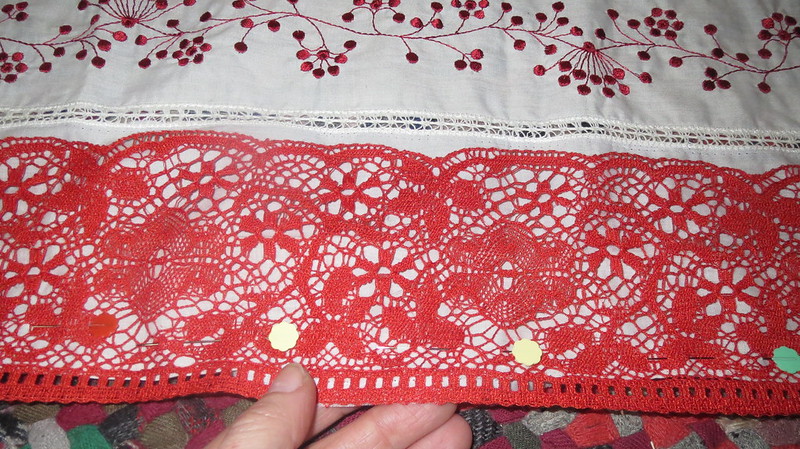
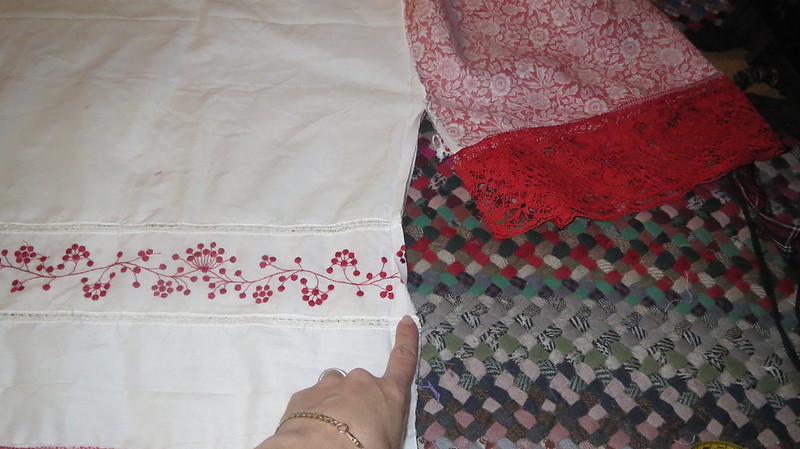
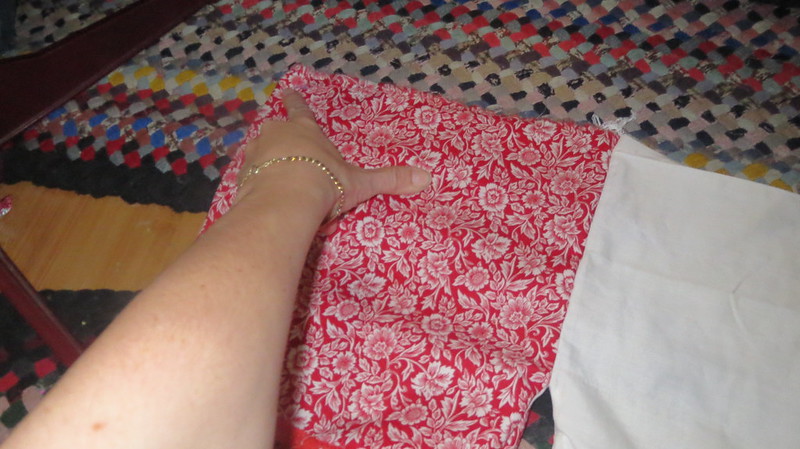
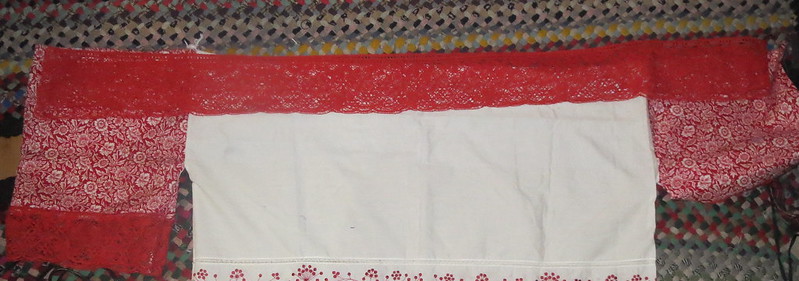
 So as I said yesterday in the update my middle daughter got excited to go through my thrift shop stash of fabric. I like to buy curtains and such that have pretty details to use as accents on costumes. She found this single valance that was 14 inches by 56 inches. Since there is a dance tonight with a red white and pink theme Valentine's I would guess yep you can guess it she wanted it made. I told her she wanted a shirt she had to help dismantle in this case we are dismantling more than we did for the other one as it is going to need the seem allowances in the valance for the length and width of the shirt.
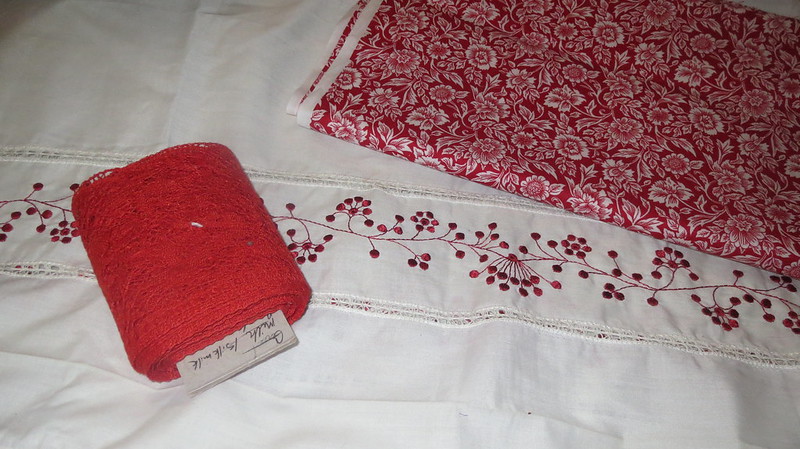
Warning this post is photo heavy
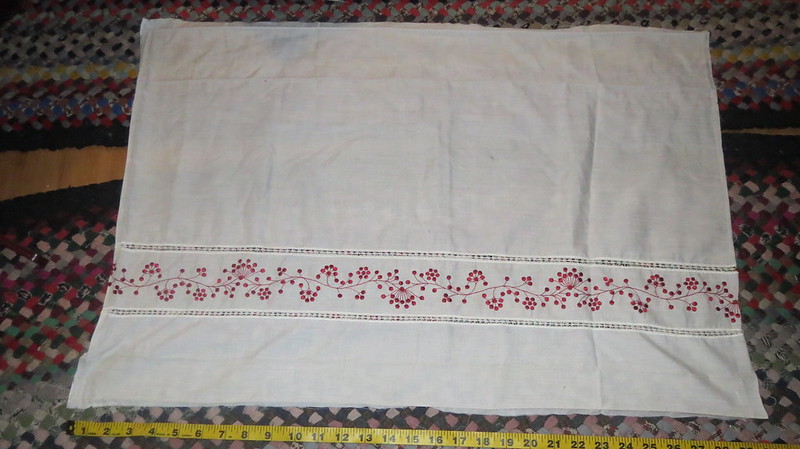
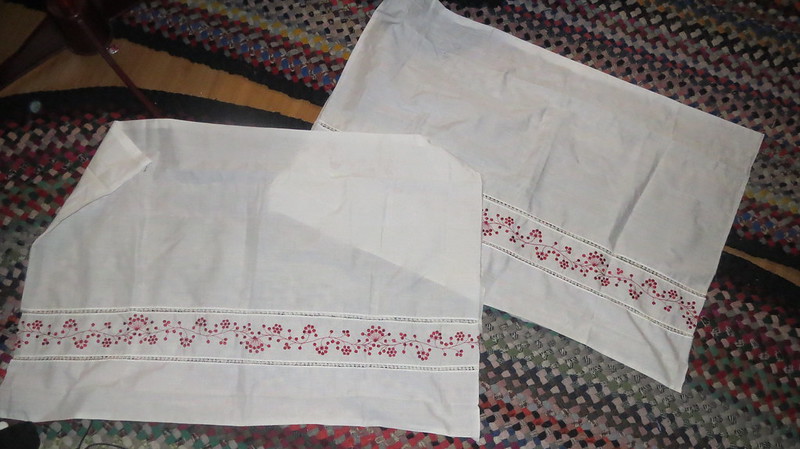
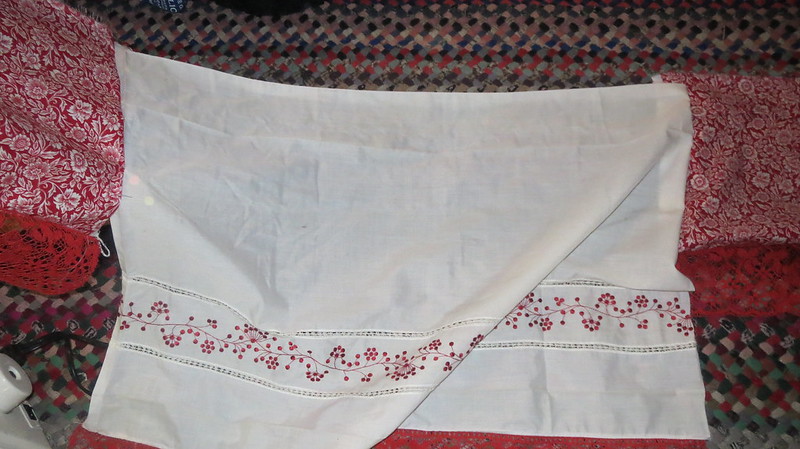
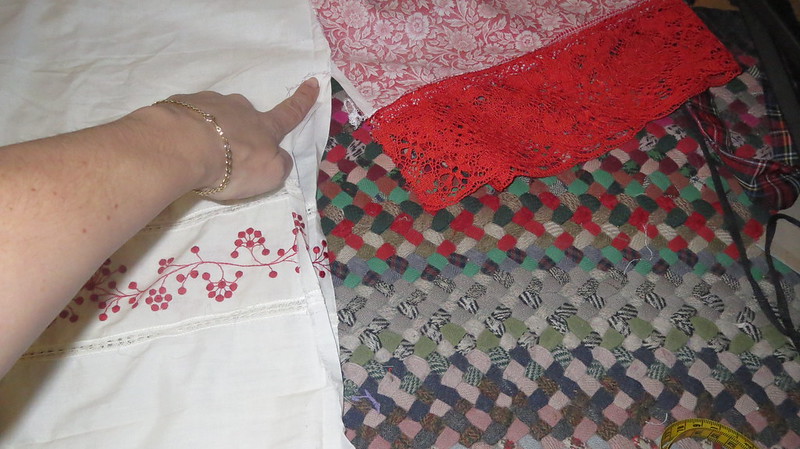
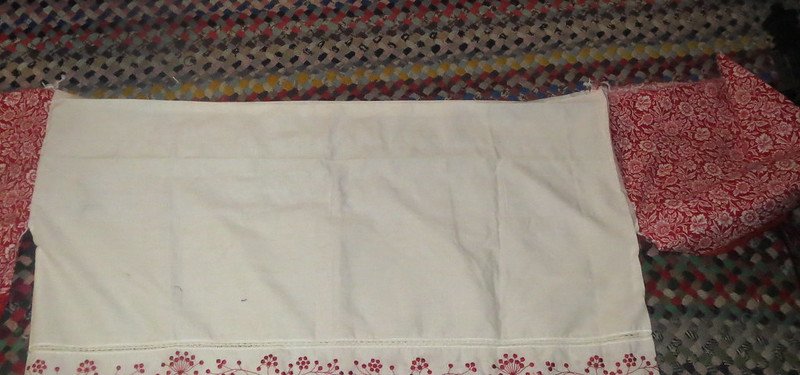
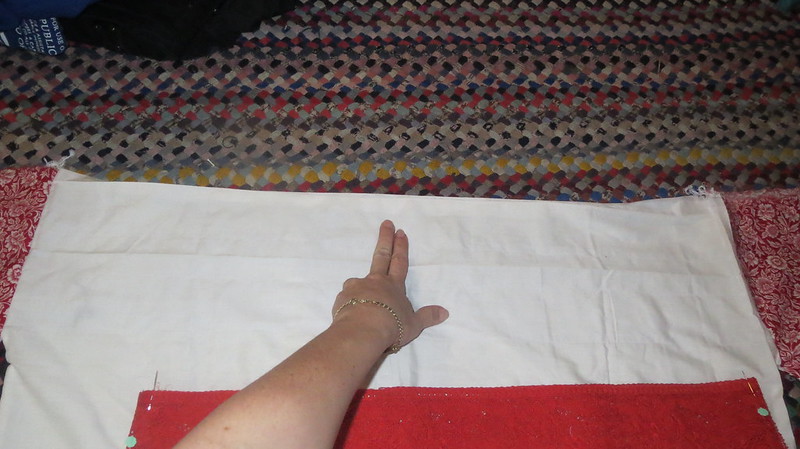
This is where we have to change a lot from the other item as this is only truly enough fabric the front and back of the blouse (for teen/adult size for a baby/toddler I would have cut differently and would have had enough to make a summer dress. The joys of children growing up the things you learn you can use at one point and not another.
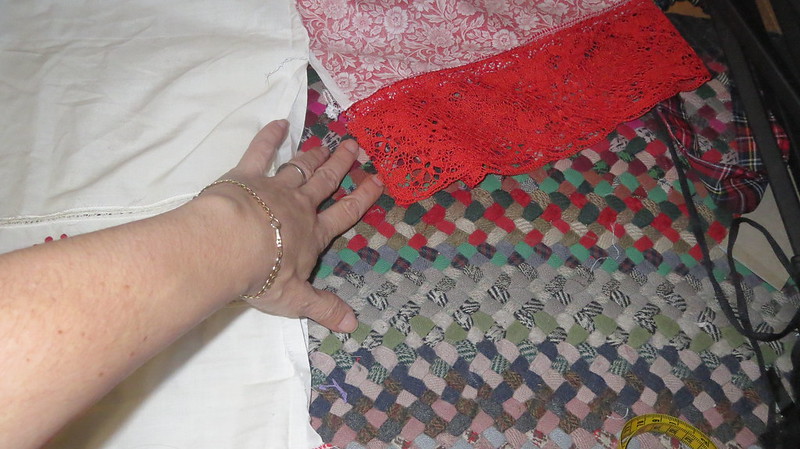
Wish we had found two valances but we didn't. So we had to find something else for the sleeves
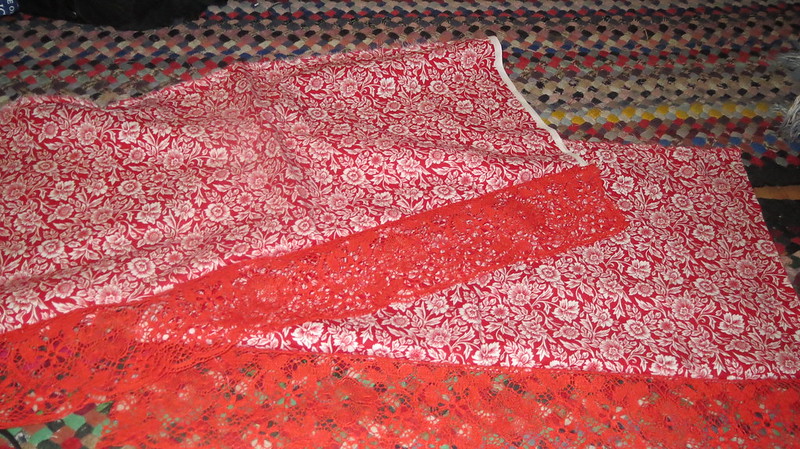
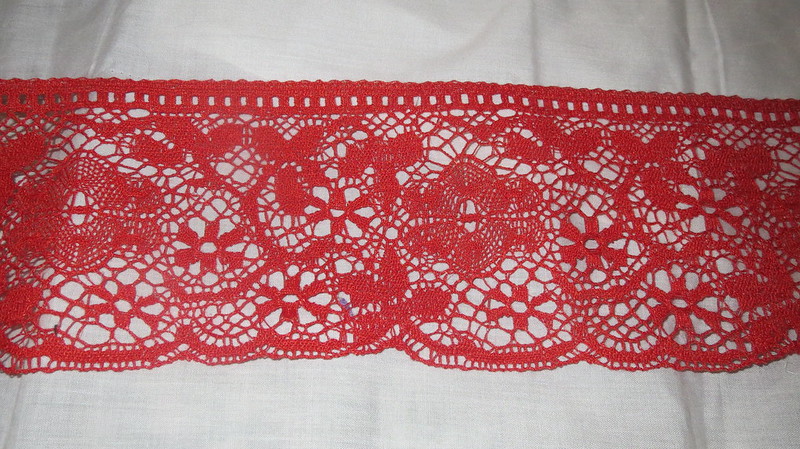
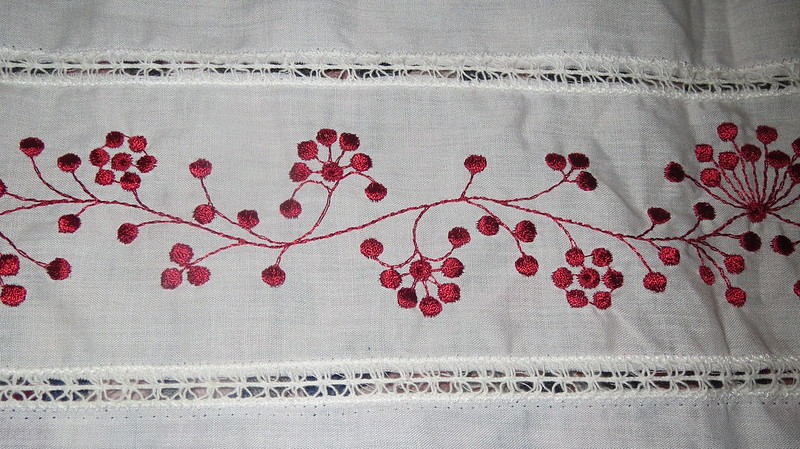
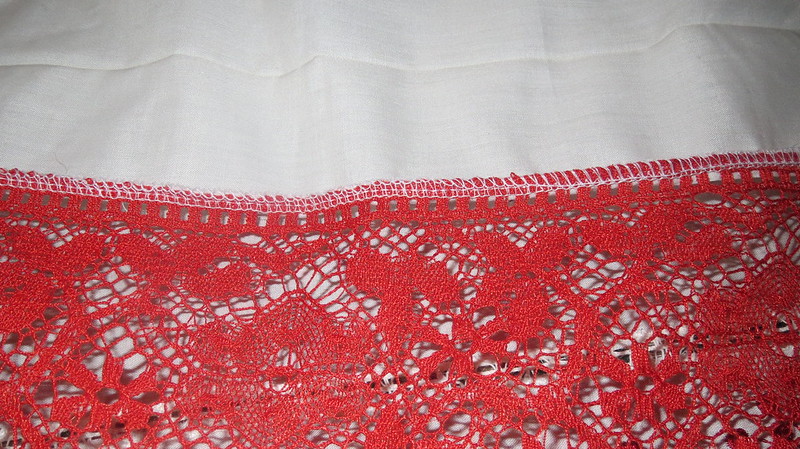
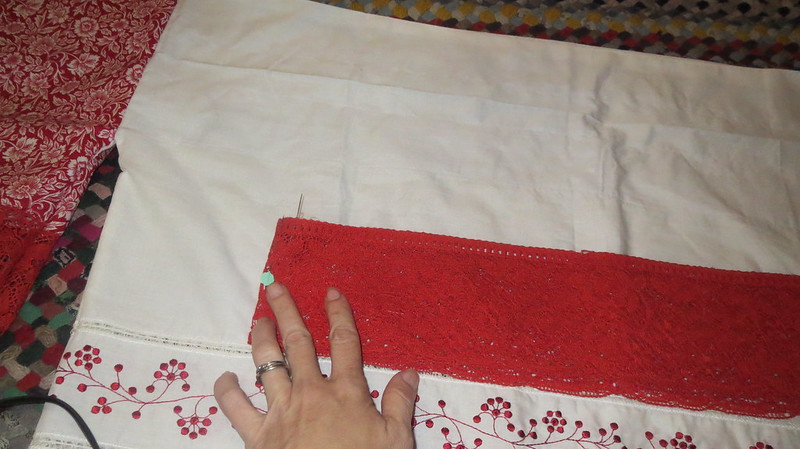
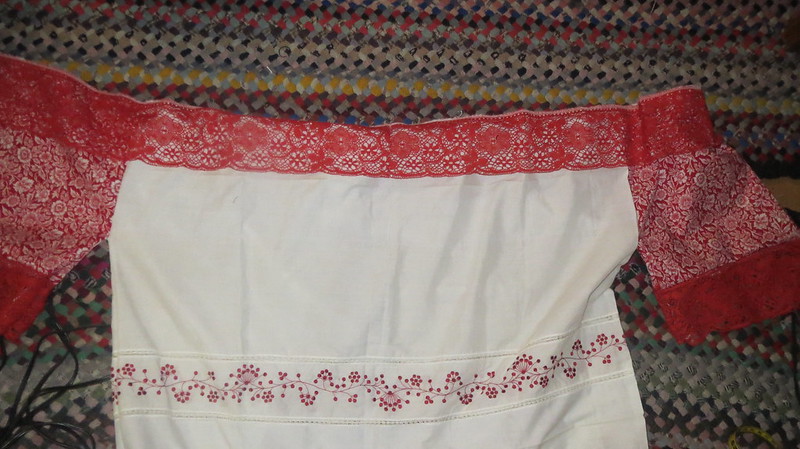
I was trying to keep the flower look of the valance embroidery when I picked the lace with flower details same is true for the fabric for the sleeves. I picked red and white fabric with flower details.
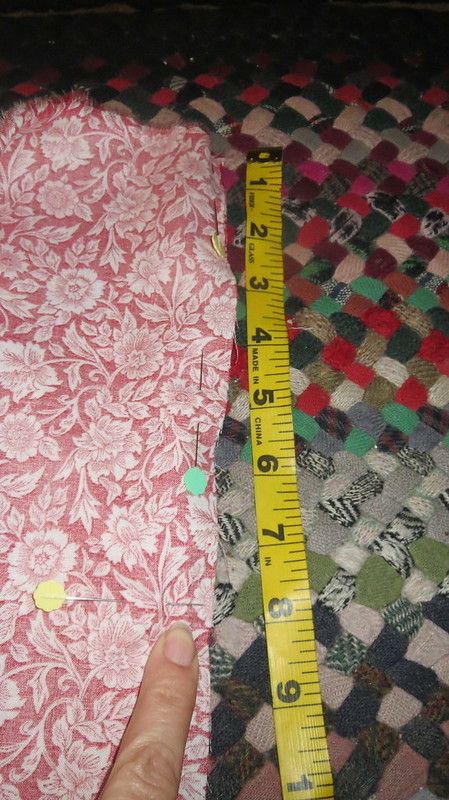
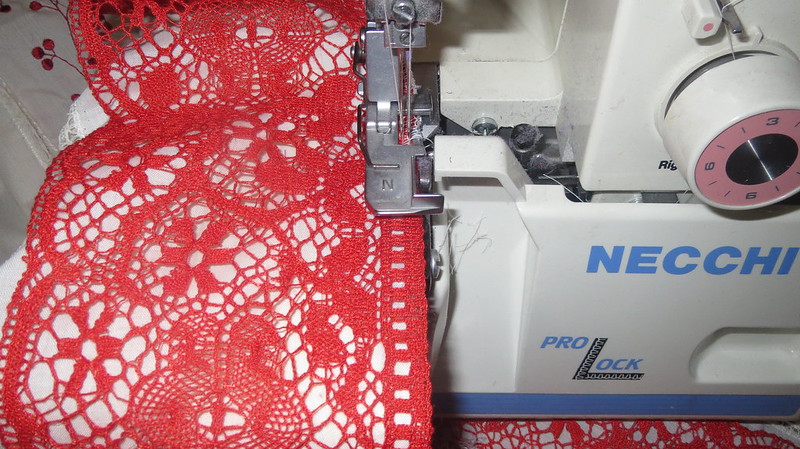
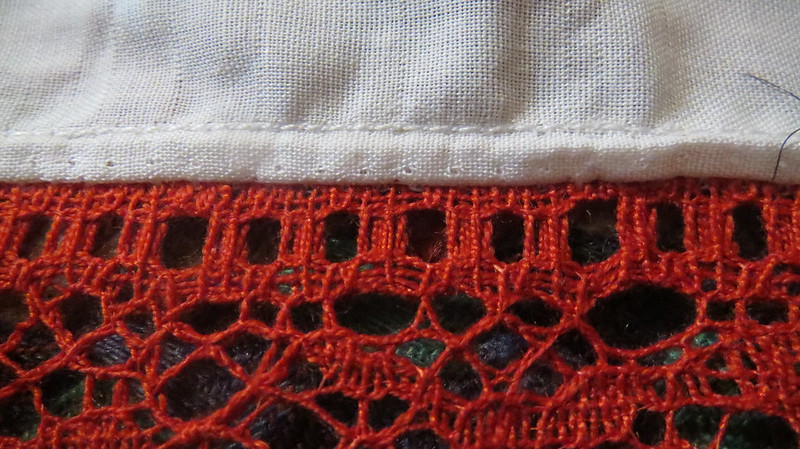
Pin in place on the front and back of the blouse sew 8 inches down leaving the ends open see photos. Then sew up side seams making sure to match up lace edges under arm point and lace edges again.
Then when sewing held the lace firm so that the feed dogs could pull in the excess fabric and make them fit together.
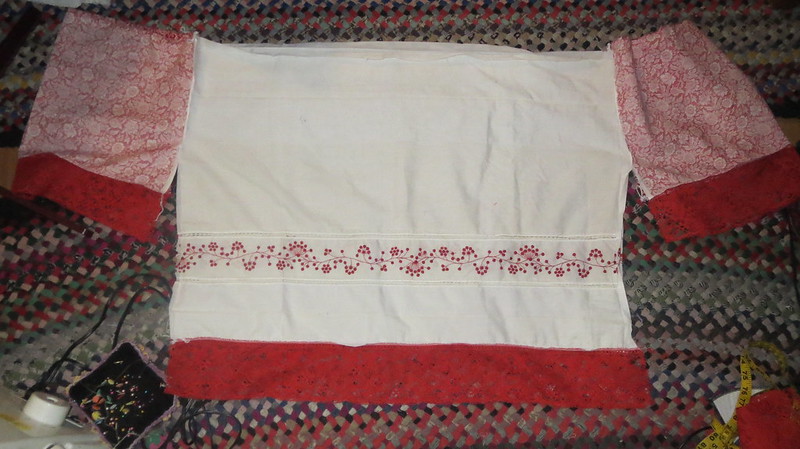
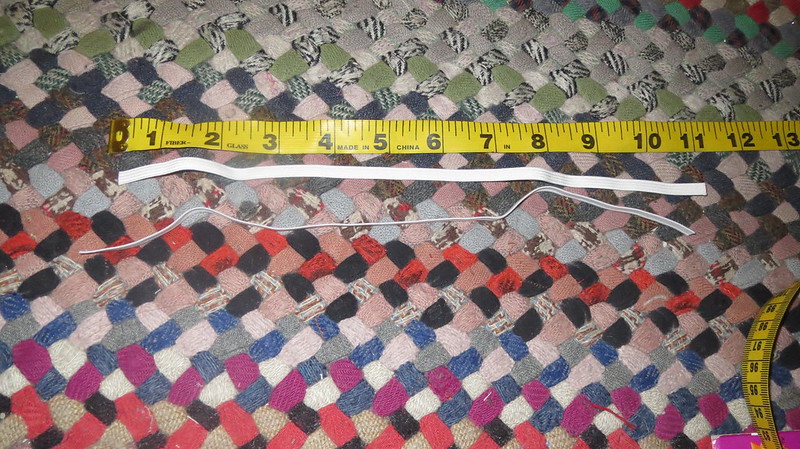
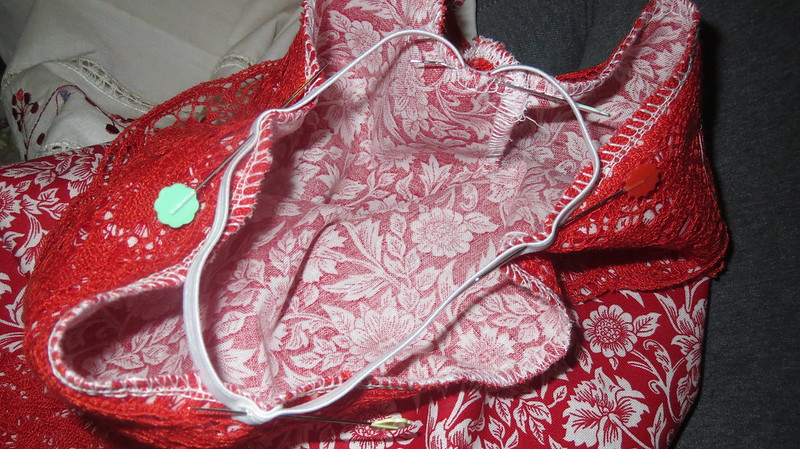
Next I cut two pieces of elastic 11 inches long the diameter of my bicep did the same to the sleeve as I did the lace. Divided both sleeves and elastic into four equal parts and pined in place. Then when sewing used feed dogs to pull in and stretched the elastic to make it all fit and gather nicely.
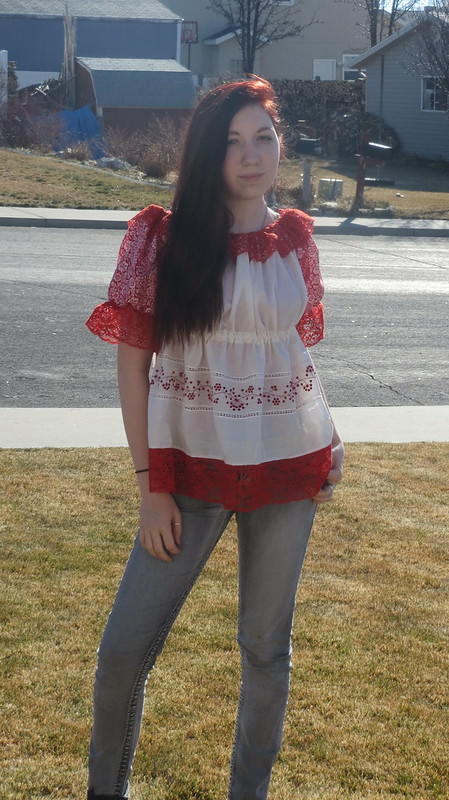
I went back to the neck area folded over 3/4 of an inch of fabric an made a casing sewed it and laced in 24 inches of small elastic sewed ends together and shut opening.
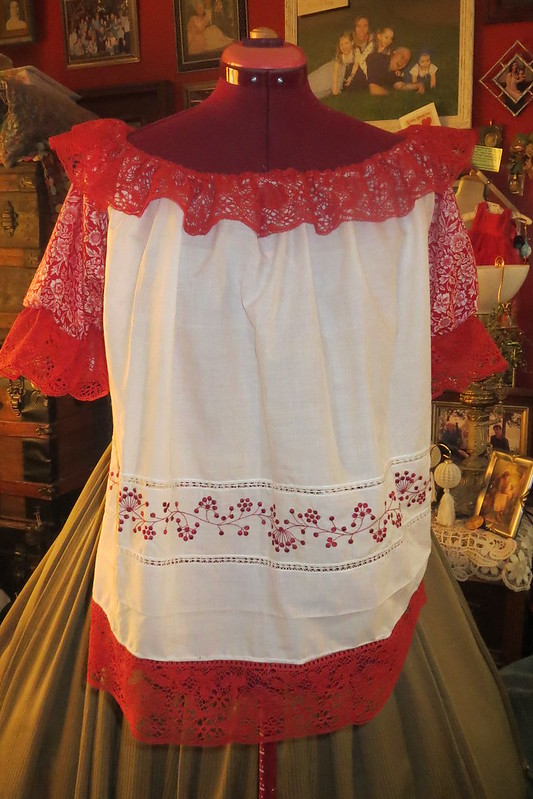
 I put it on my dress form and decided I wanted am empire waist so I sewed twill tape under the bust to make a casing and added elastic. I like it much better that way. Still not fond of the back yet but I am all finished or so I thought.
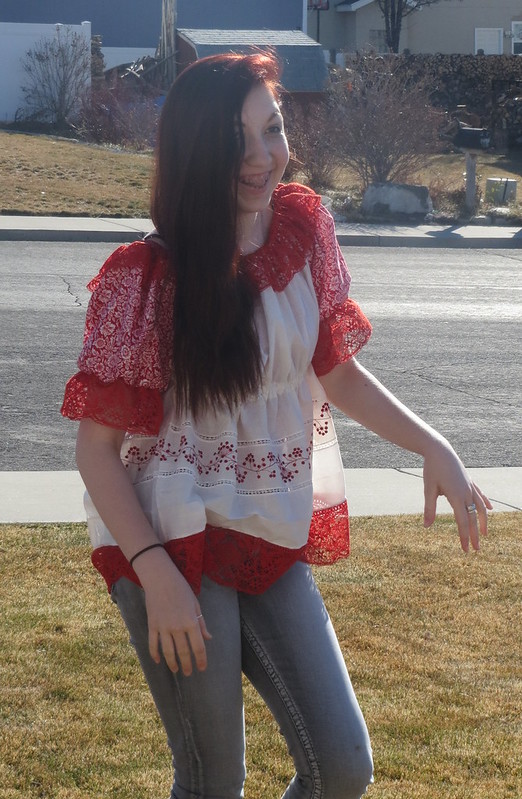 After my daughter tried it on she decided she wanted the back pleated I said I was done with it and she would have to do that her self. So she placed it on the dress form and went to work changing the back to something she liked more.
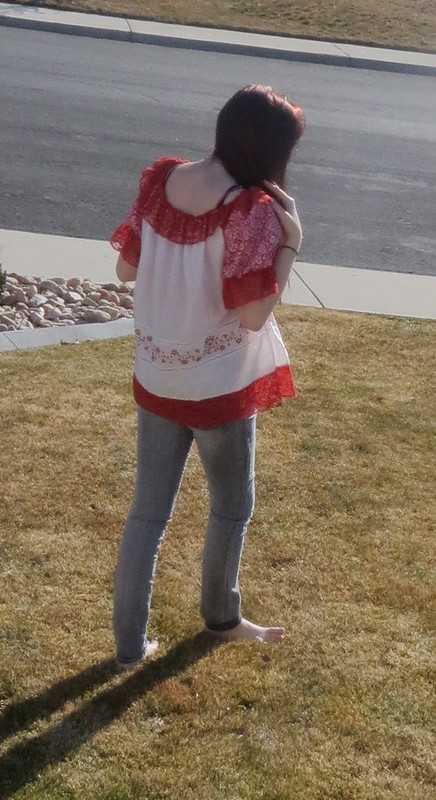
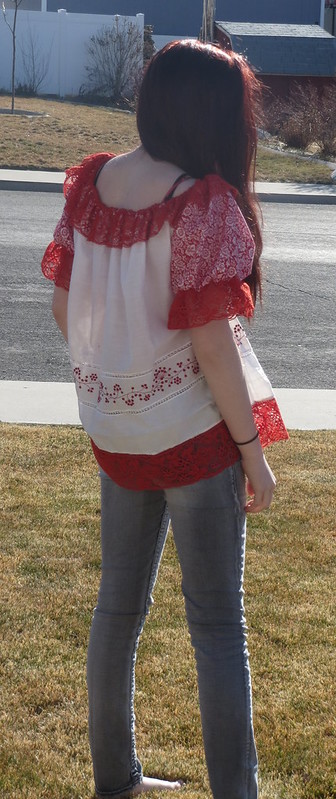
Overall she likes the hang of the purple one more but the details on the red and white one the best. I have not taken a photo of the new back pleats she added. When she is done ironing it I will post that too as an

 update to this post.
Here are the other photos of what my daughter did to the back of the blouse. My littlest daughter wanted this shirt too. Since my middle daughter already had the purple one after she added her mods to it she gave it to her younger sister such nice kids to share.


I found you an Flickr, when I saw this lovely shirt. I really like it a lot!! I am a big fan of folk kind of dresses and top, and red and white are such a lovely color combo. Thank you for sharing how you made this treasure. I will be happy to help with your wish list, when I have some money. This is a tough month for me, getting my daughter ready for school. It costs so much just to get them registered and get her a yearbook.
ReplyDelete