

This is a kissing ball; you are supposed to hang mistletoe from it .
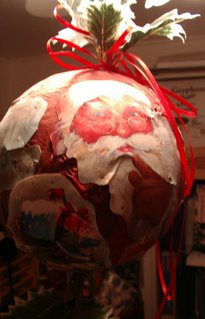


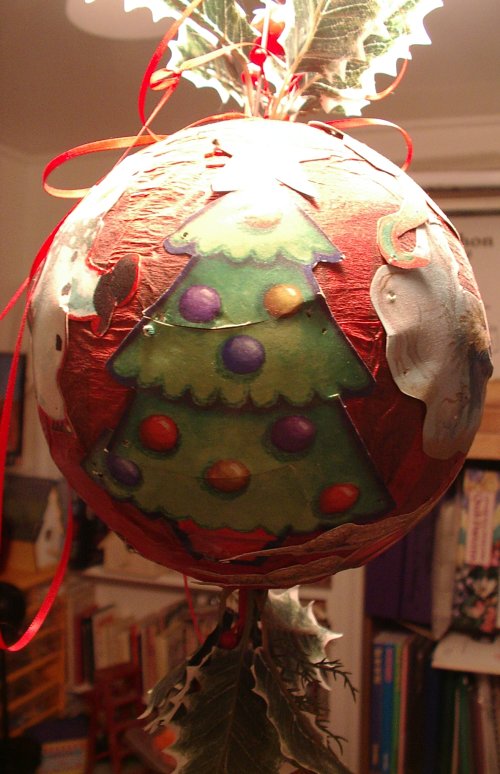 My Vavo made these two. We have a lot of them that she has made over the years; they are simple to make. Her way of making them has simplified over the years to what is in these pictures. However, the instructions I am going to post are for the way she made them when I was little, with a paraffin wax coating on them.
Supplies:
- 1 Styrofoam ball in desired size
- Crepe paper or Tissue paper for desired back group color (crepe paper works best as it forms more than it tears)
- scissors (to cut tissue and Christmas cards)
- Old Christmas card lots (cut out the images and words you want to use ) my Vavo calls this making paper dolls
- white glue
- Non-rusting straight pins (nickel plated; you can use steel ones but they tend to put rust marks on your piece)
- 2 paint brushes (ones that you don't care about; one will be used to paint on glue, the other for the paraffin wax)
- 2 hangers (a piece of metal with a looped end and a pointed end; most craft or hardware stores will have this item)
- ribbon
- mistletoe (real or silk; silk lasts longer)
- Old pot to melt wax or a old double boiler that you don't care about. Vova used a washed out tin can in a water bath. Fill the tin with paraffin wax and melt; if you do this, have pliers to use as a handle for the tin can. Very hot! Be careful; do not spill this on you.
- Collect cards and cut them out saving any part of the images or words you want to use on the kissing balls.
- Next, use straight pins to lay tissue all around ball and glue in place with paint brush. The pins are only there to hold it in place while gluing. Let dry over night. When the glue is all dry remove the pins. This step can also be done using wall paper paste and wall paper the ball -- sort of decoupage.
- Soak pieces of cards in glue to soften and make pliable. Lay images and words on ball; pin in place 'till dry. Let dry over night. Remove pins.
 Melt paraffin wax. Paint over entire ball. If you do this over wax paper you will have easy clean up. Form some way of letting this hang to dry. There will be drips in the wax; that is part of the charm. You can also add glitter to the wax while it is hot and paint that on. It adds a little shine to the finished ball. Let ball cool.
- After ball is completely cooled and hard, dip hangers in glue insert one at North pole and one at south pole. Let dry over night.
- Tie ribbons in North pole and south pole with lots of loops through eye of hanger.
- Poke through layer and insert mistletoe or holly at top of ball at north pole and do the same to the south pole.

Just an FYI the balls pictured were made by my Vavo and are past Christmas gifts to me and my family.
Here is a photo full of kissing balls that my grandmother made for 2008 christmas ( I added this photo in January 2009


I used to make those wax balls. I gave them all away. I would use something called "Decal It" on the Christmas cards to make the pictures more pliable to put on the globes.
ReplyDeleteBarbara