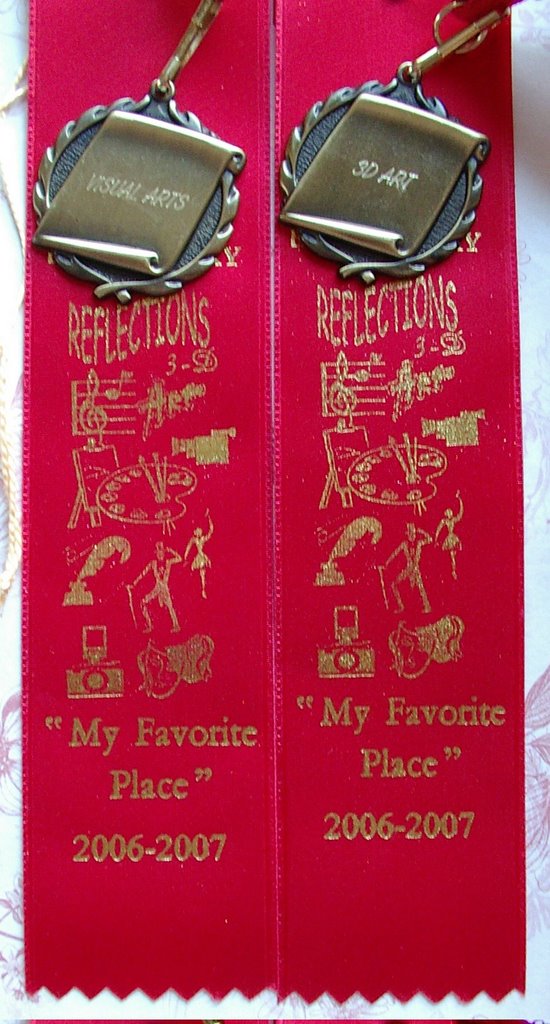
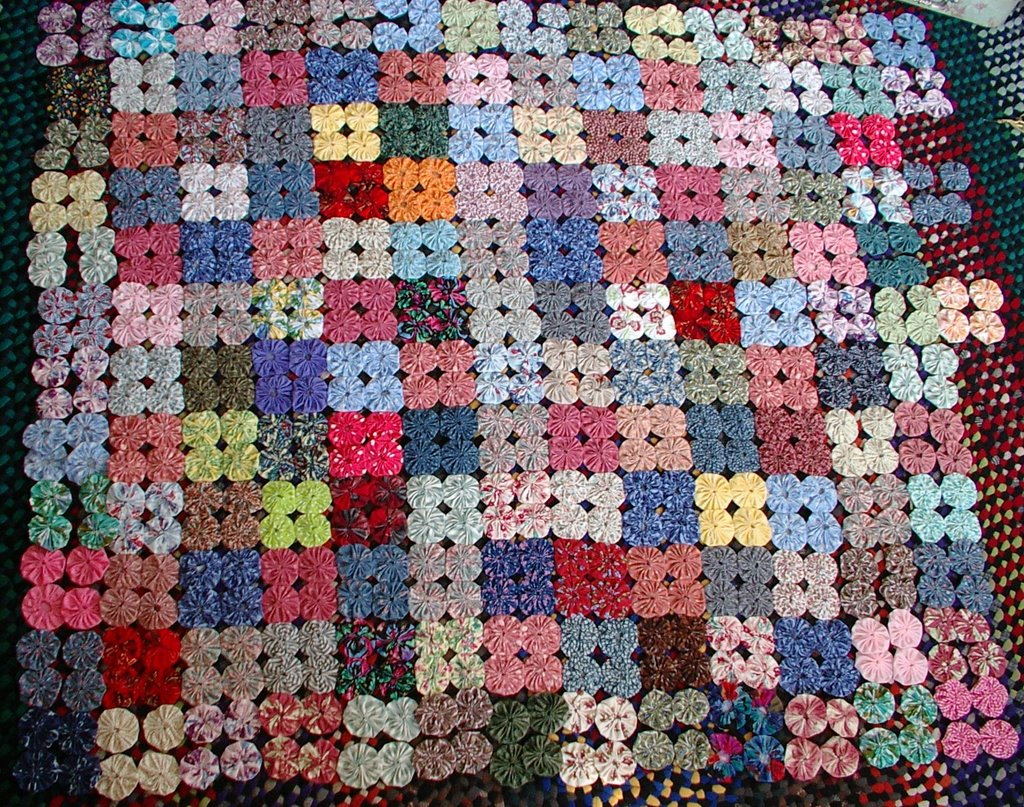
This, as you can see, is a partially-done quilt.

This is also not the final lay out for one -- that yellow leaf at the bottom is facing the wrong way. A few more blocks need to be made as well. The muslin squares are 9 1/2 by 9 1/2 inches and make a finished 9 x 9 inch square. Please use a 1/4 inch seam allowance now and through out. You can actually use any leaf that is native to your area for this or use random leaves to give lots of variety to this quilt.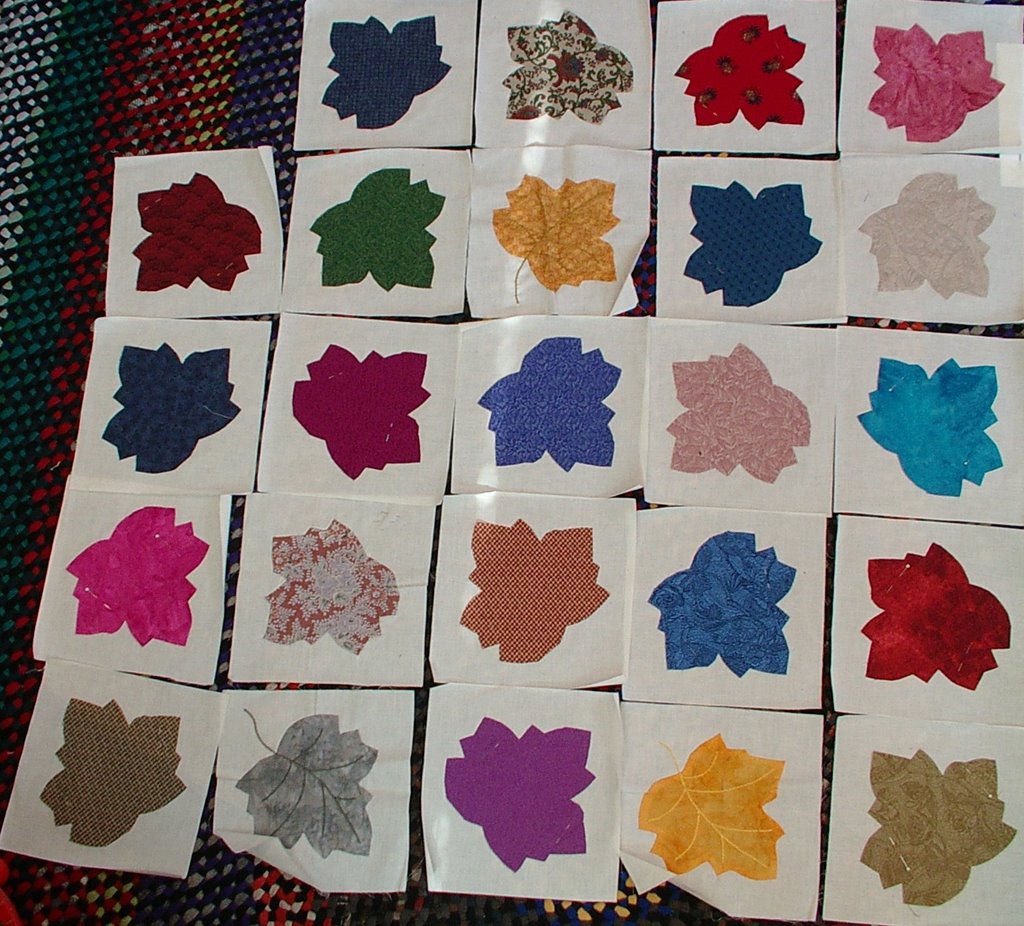
 The three smaller leaves are for a vine boarder that will go around the entire quilt on a 7 1/2 inch wide, unfinished size, muslin boarder. But once again you can use any leaves you want, holly leaves would be good for a Christmas theme and maybe a few pine cones in the boarders.
This is my WIP for today. You can always make it yours, too; it's not a hard pattern. Pin pattern on pieces of fabric you wish to cut, yes you can cut more than one at once they won't be exactly the same and that is better -- more like real leaves.
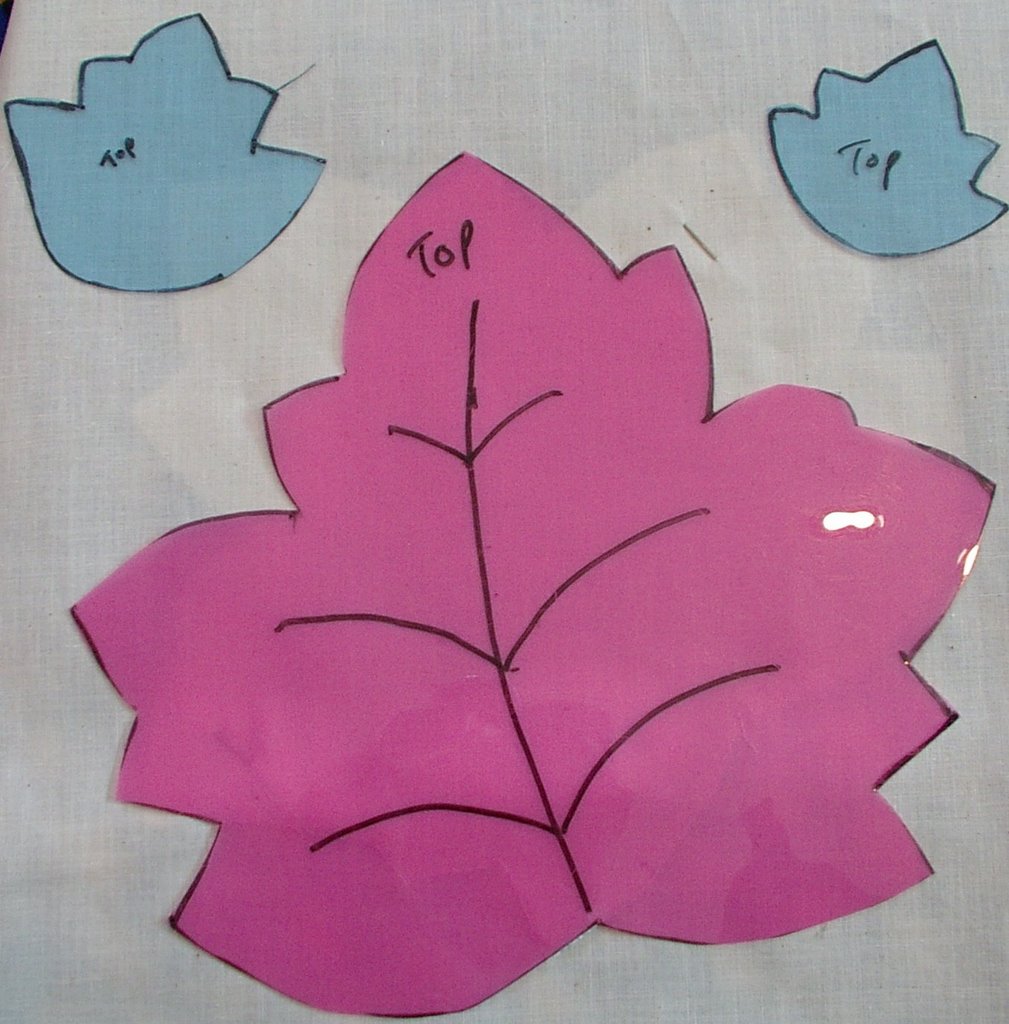 I recommend using scissors to cut, not a rotary cutter, but either would work. Then pin to muslin squares and use a needle to turn applique to attach them. It's a little random that way and each has its own personality, too.
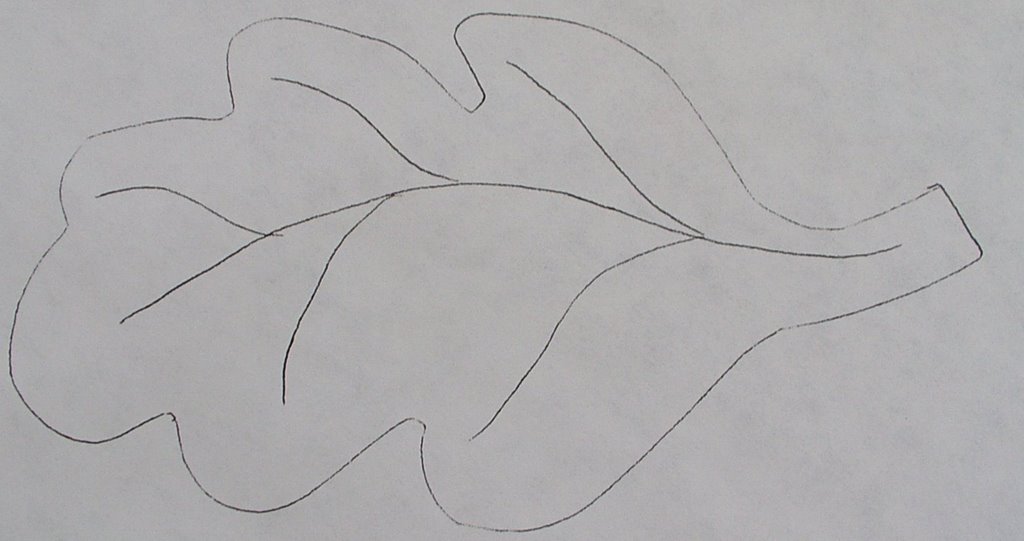 Next, use a chain stitch to make the stem and veins. You can either make the embroidery blend or have a real high contrast. Sew blocks together, add a boarder, add a vine using handmade bias tape, pin small leaves in place. Finish them the same as big leaves. Then set up on quilt frame; quilt with echo quilting and bind. This makes a very lovely fall project. Blow up pictures to your desired size and make templates. Have fun.