Sewing Strips Together
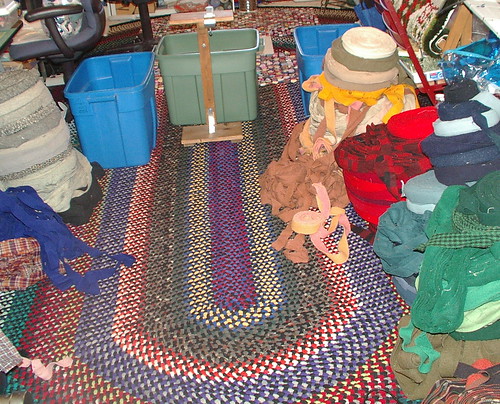
So, I cleaned the sewing room so I could instantly make a mess with this project. Above photo: stacks of wool for making the rug.
The strips are sewn together at a 45-degree angle. This is used to change colors and to add more of the same color to the current strip being used. This is also used in the beginning when you have three colors starting at the same time.
When braiding, you need one of your strands to be short; there are a few ways of doing this.
You can do any of the above that works best for you. Two are pretty much self explanatory, the last I will explain a little better.
So, I cleaned the sewing room so I could instantly make a mess with this project. Above photo: stacks of wool for making the rug.
The strips are sewn together at a 45-degree angle. This is used to change colors and to add more of the same color to the current strip being used. This is also used in the beginning when you have three colors starting at the same time.
- Lay ends of wool strips that you have cut at right angles to each other.

- Sew from corner to corner, a 45 degree-angle, right sides together.

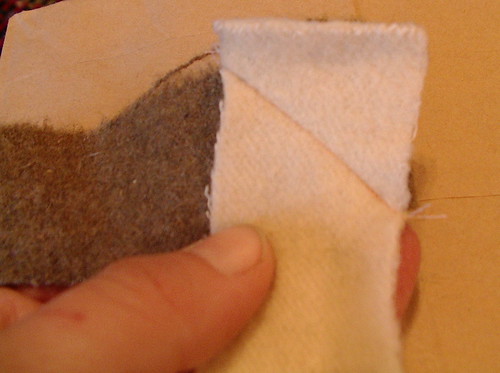
- Trim off excess wool; leave 1/4 to 1/2 inch-wide seam allowance.


When braiding, you need one of your strands to be short; there are a few ways of doing this.
- One is to leave two long strands and constantly add to the third strand.
- Another is leave all three strands short and add to all three as needed.
- I don't like to do either of these methods because it breaks the rhythm of braiding. So, I leave two strands real long and the third strand is left sort of long, but in the form of a reel, which makes its over-all braiding length short.
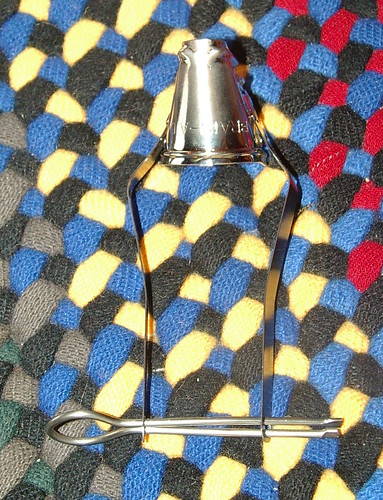
I like using a braid aid reel; the only thing was, it didn't hold enough in my opinion - only 5 yards. 
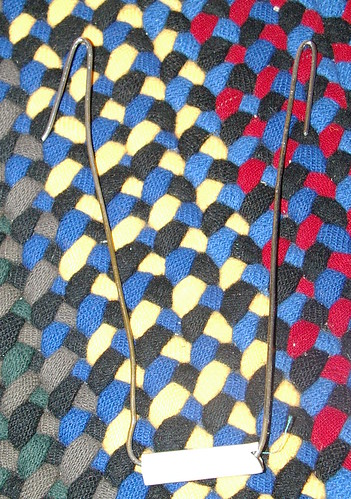
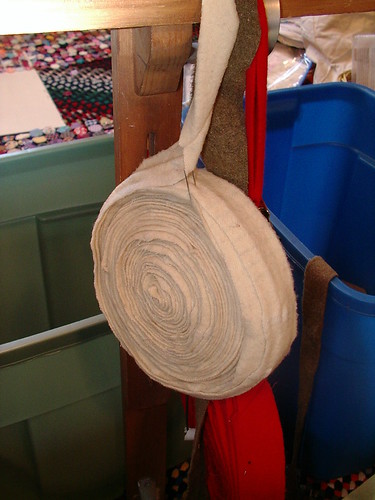
So, I bent an old wire clothes hanger and attached it to the bottom of the reel tool to make it longer and hold more. At the bottom of the bends I placed a piece of PVC pipe to help the wool roll around the wire better for ease in braiding.
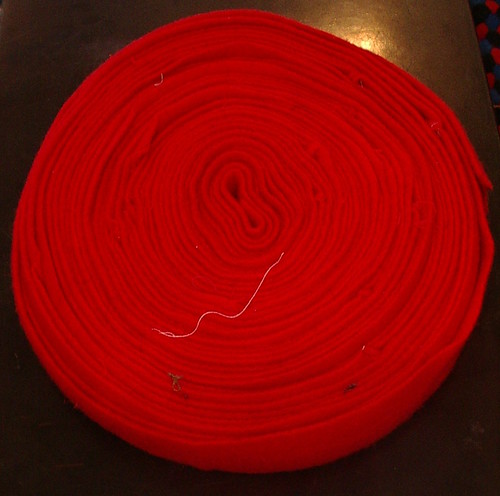
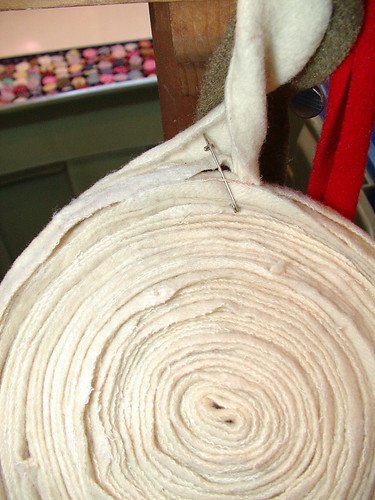
Wool wound in a circle/reel with a hole big enough in the center to accommodate the pvc pipe.
Extension inside wool.
Remove pin from Reel aid and attach to extension.
Wool strips feed through the tool.
I don't use the reel to fold the fabric; I just use it to hold more fabric. You can use braid aids on all your strips to help you fold, especially if you have arthritis or something of that sort. Personally, it is easier to braid without the gizmos and creates less fiber dust, too. That is why I now prefer to use just the one, the reel, to speed up the braid time by not having to stop so much to sew more strips on. But I leave the other strips without the tool because it is faster for me.
If you don't have, or don't want to buy, a reel-aid tool, you can do the same thing with a safety pin and just undo a loop every time you need more of the strip to braid. I do this, too. I am trying to give you as many options as possible on how to do this so it is the cheapest for you in the long run in case you do not want to invest in a lot of tools.
Part 1: Prep work and cutting fabric
Part 2: Will be about sewing the strips together and forming reels
Part 3: About starting a t-started rug
Part 4: How to start a round rug, apple peel style
Part 5: Sewing and increases / tools
Part 6: How to change colors
Part 7: Ending in a taper
Part 8: Butting last one or two rows of the rug for a smooth finish
DO NOT USE THIS PATTERN TO MAKE THINGS TO SELL FOR PERSONAL USE ONLY!!!!



I'm following these....I hope someday to make a rug like the one in your sewing room for our bedroom. So pretty and colorful!
ReplyDeleteI have a lot of wool strips all ready to braid, I can no longer do it my self. If your interested please contact me. It will be very cheep.
DeleteDeborah do you still have wool strips to sell? I am very interested
DeleteI love that you are doing a tutorial on this. I got a pile of rug making supplies form my grandmother when she passed away, but I wasn't sure how to use them.
ReplyDeleteI missed the part where you explained what type of wool to use. Do you buy regular yardage and felt it in the wash? Do you get it in already cut strips? (That seems to be what my grandma had.) Is it that expensive hand dyed stuff from those booths at quilt shows?
Your etsy shop looks great too! Good luck over there!
I use coat weight wool. I have mill ends and clothes that have been torn down ( that are about 100 years old that are the remains of my great aunts stash from when she made rugs over 50 years ago before I was ever even thought of. I have never purchased pre cut strips I have always done that part my self. I do wash all my wool in hot water to shrink it as much as possible and this tightens the weave and makes the rug stronger. I have hand dyed wool any one can do that just use normal wool and dye it at home. No biggy you don't have to apy someone to do that for you.
ReplyDeleteAll of your work are gorgeous,thanks for sharing all of them!
ReplyDeletenice blog
kiss
corteygrif
I am confused about how to add braids or do you sew all the strips together before starting the rug. Then braid all of the reels. Is this hard to handle? I want to make a denim rug. Would like to braid 5 feet at a time, but how do I add them to the rug?
ReplyDeleteyou can braid 5 feet and leave the ends hanging then lace up to about 2 feet from the endand start braiding again... or you can lace with in 6 inches of the end if you are out of fabric and tuck those ends under the rug till you get more to braid you can all so but each row of the braid which takes longer but each row is a complete thin then and can bee added to as needed and is finished each time as well
DeleteIf all of the strips are on reels, how do they not get all tangled while you braid? I guess you have to keep the ends loose for the strips you are braiding with? Is that right??
ReplyDelete