
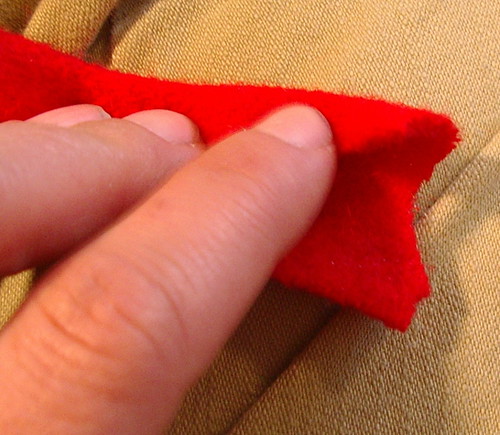
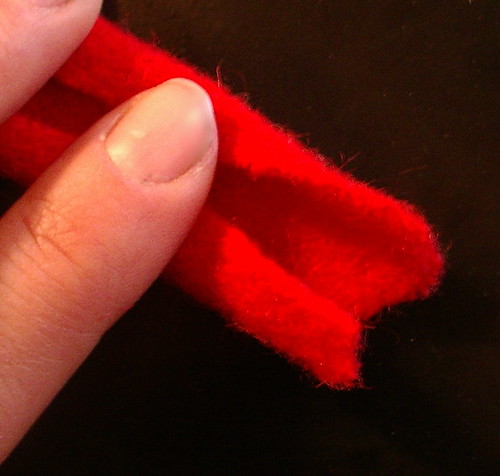
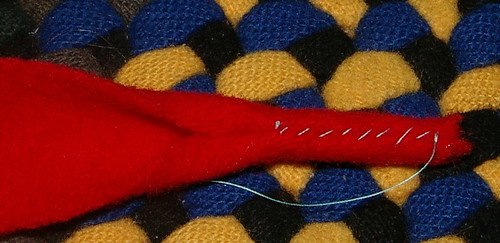
- Fold inside strip for the starting of the braid over on itself to hide all raw ends. Fold down top, fold up the bottom, then fold all to center; should look like a heart shape from the end.
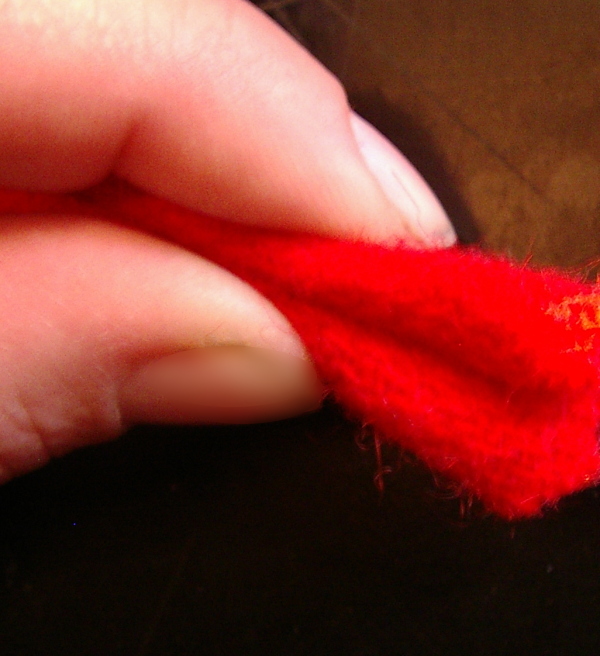
- Stitch this tube closed for about 2 inches. I am using bright colored thread so you can see it; usually you should try to make it match your wool color.
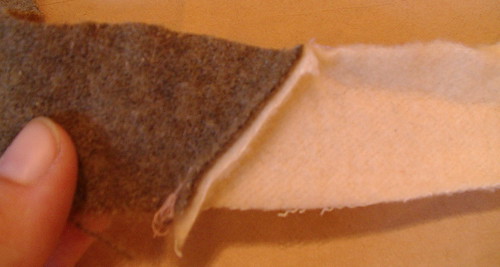
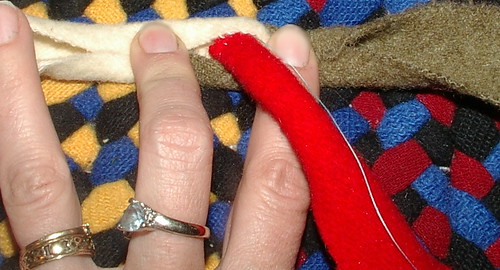
- Using the previous seam from last post in tutorial that I showed with the 45-degree angle, we will start our T-started rug. This is the first strip; it is two colors
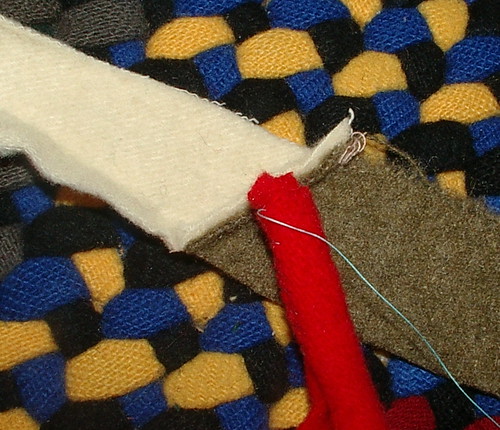
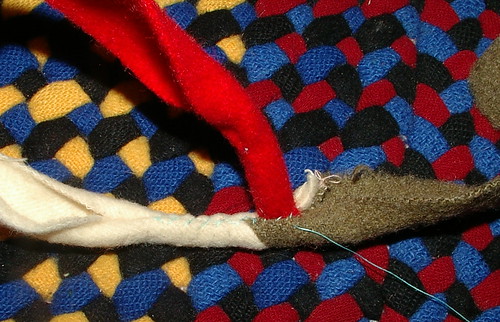
- Attach second strip to inside seam of first. I do this by hand; I guess you could do it by machine, but it would be very awkward.
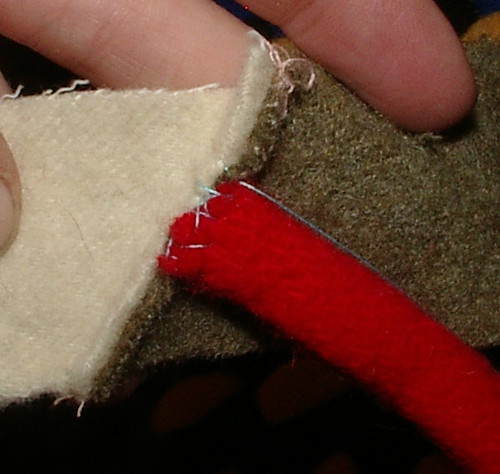
- Fold over first the strip (cream and green) and stitch closed for about 2 inches on both sides of second strip (red). When stitching this closed, make sure to stitch both sides back and forth for a strong connection to the steam coming out of the top of the T; also stitch to the red, too, so all is closed up. With this technique, your starts will be very smooth and it will be hard to see where the two top fabrics (khaki green and cream, in this case) are joined together.
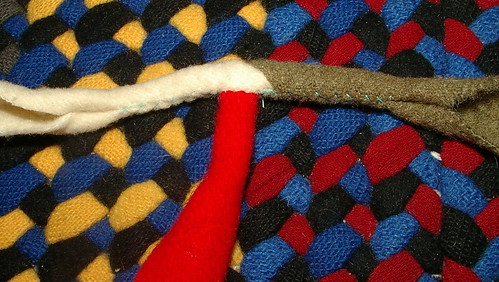
It is good to start with a light, medium, and dark color; if you start with too many darks, it sort of looks like a bulls eye in the middle of your work. Now, if you want that look, go for it; not every one does.
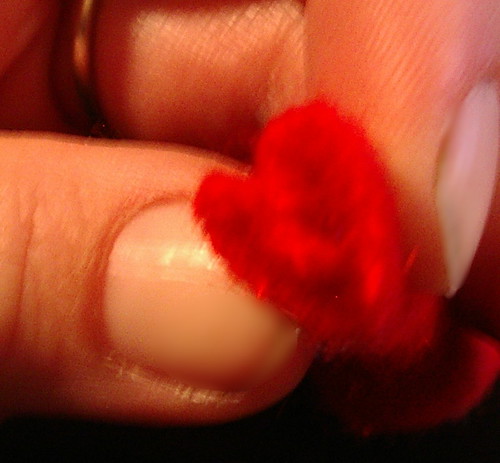
On a side note:
Sorry for the messy nails; stripping wool gets lots of wool-fiber dust under your nails, not a neat job. Expect to get a little fiber dust under your nails and all over your house.
Part 1: Prep work and cutting fabric
Part 2: Will be about sewing the strips together and forming reels
Part 3: About starting a t-started rug
Part 4: How to start a round rug, apple peel style
Part 5: Sewing and increases / tools
Part 6: How to change colors
Part 7: Ending in a taper
Part 8: Butting last one or two rows of the rug for a smooth finish
DO NOT USE THIS PATTERN TO MAKE THINGS TO SELL FOR PERSONAL USE ONLY!!!!
Thank you for the tutorial, I was thinking of doing a braided rug myself! I tried something more simple, but I love yours!
ReplyDelete