
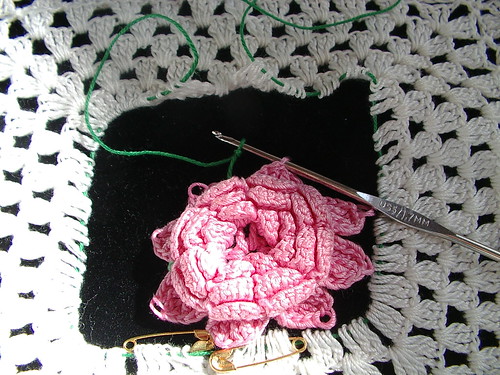
Now that the threads has been woven in we have our foundation threads all in place all that is left to do is crochet the missing leaves in this case.
- Join thread as normal
- and do all the stitches that have to go through the next round ( the white round in this case)
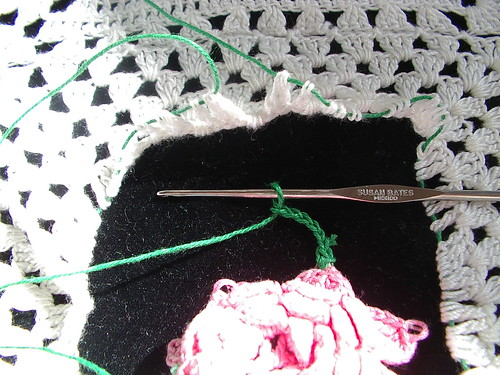
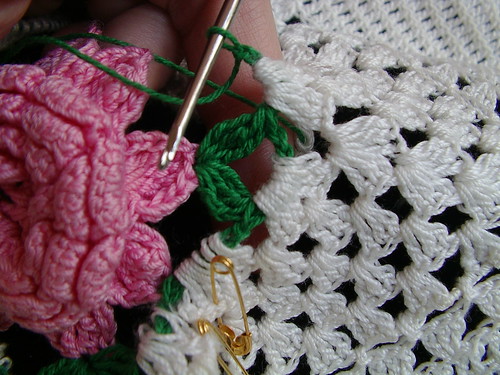
- switch to a smaller hook and pass it through the next set of stitches see photo.

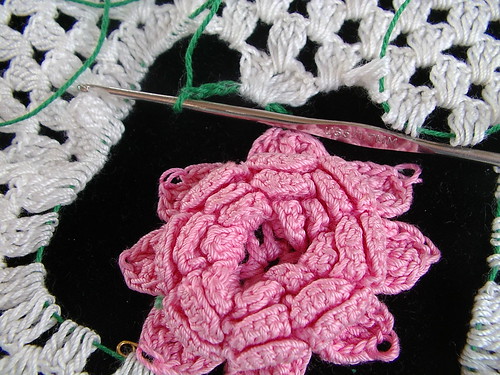
- Grab the loop with the hook and cinch it tight and pull the slack out of the loop and then pull the hook through all the next set of stitches.

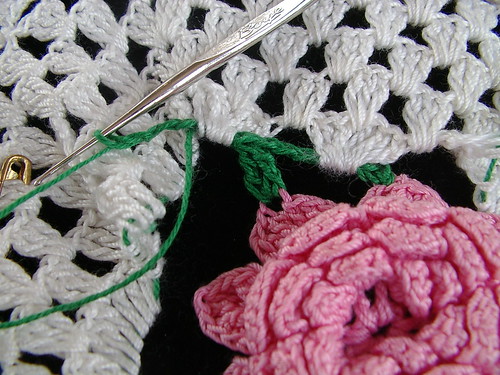
- Switch back to the hook for working the stitches. Once again crochet all stitches that go into the foundation (the pink in this case) and all of those that have to go through the next set of stitches above ( the white area)keep repeating steps 3 through 5 till this row of the hole is gone. The removal and weaving in of threads will have to be done for every round that is damaged this is a very time consuming process but much better than other techniques I have seen. This is not a technique I have seen any where else. I made this up over 13 years ago when I was asked to repair my first project for someone else. I haven't changed it since. I hope it is helpful to those who want to attempt repairing their own crochet heirlooms.


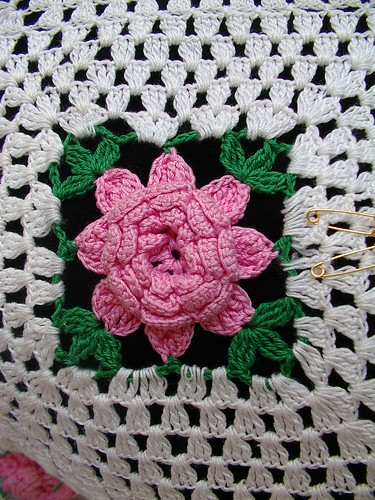 This block is now done on to the next with the same techniques.
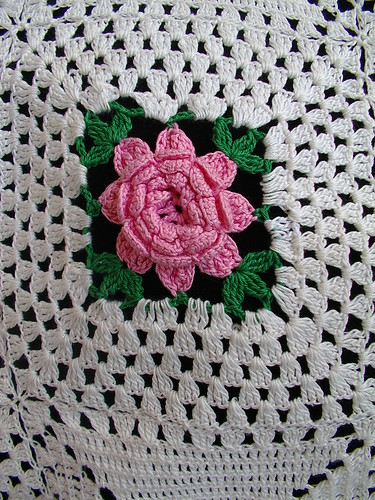
Tutorials on this repair
IntroPart 1
Part 2
Part 3 this post
Part 4