Where do you want to go

Wednesday, May 28, 2008

Update on braided rug

update on braided rug tutorial
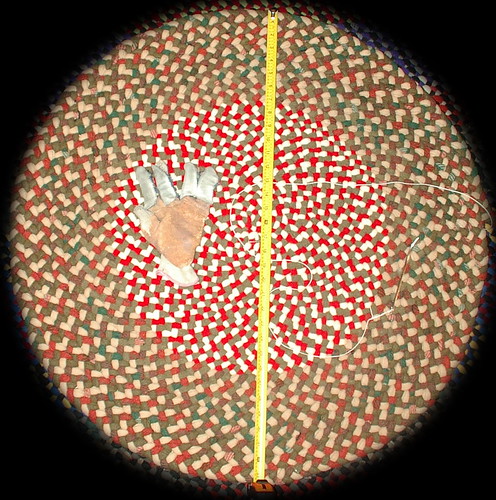
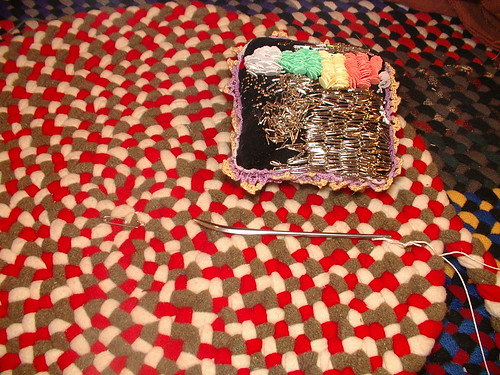
The rug is about 4 rows from the next step in the tutorial. It is hard to tell in the photo, but it is almost five feet across now. The length of measuring tape that is extended beyond both sides of the rug shows five feet, my goal. So, I will be posting the last two tutorials in the round rug series very soon. This would have been done sooner, but as you noticed I had an absence with working, and commuting 20 hours a week and two holidays with crazy hours, 70-hour work weeks, a death in the family, and being sick on top of it all. It was all I could do to get up in the mornings lately. I think I am back on top of things. This should be done in the next 10 to 12 days.

Monday, May 26, 2008

Memorial Day

Back from our family picnic. Wow, a lot of people sure looked at that cobbler recipe; over 1100 thus far. My husband's family liked it, too, because it is all gone! Hope you had a lovely day with friends and family.

Easy Cobbler Recipe

finished cobbler

This is a super easy recipe to make; all you need is three ingredients, and a pan and an oven.
Supplies:
ingredients
  • 2 cans of pie filling
  • 1 box vanilla cake mix
  • 1 cube butter (not the whole box)

First, heat up oven to 350 degrees Fahrenheit.

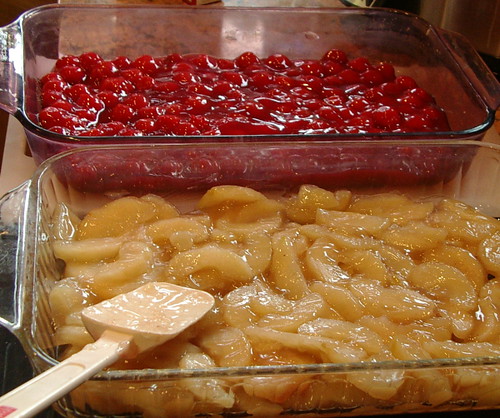
Place two cans of filling in the bottom of a 9 x 11 baking pan. I am making two batches for our family picnic today, so I used four cans -- two per pan. One is cherry and one is apple; any fruit filling will work.
layer 1

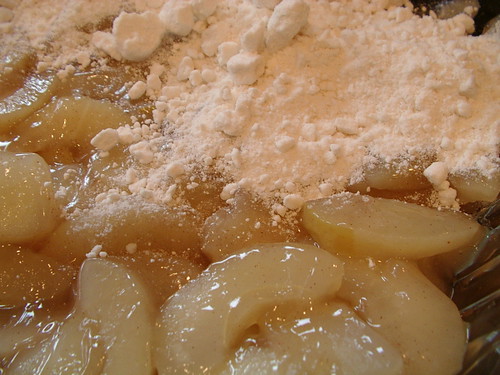
Next, lay an entire box of vanilla cake mix on top of fruit layer.
start of layer twosecond layer on
Next, slice the cube of butter super thin and spread it out evenly over the cake-mix layer.
third layer
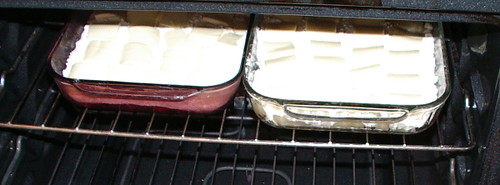
Place in oven and let bake for 30 minutes.
in oven

Pull out to cool.
set out to cool
Can be severed as is or with whip cream, ice-cream or whatever you want.

finished cobbler
If you want a smaller batch, use a pie pan, 1 can of filling, 1/2 box cake mix, and 1/2 cube of butter. The rest of the instructions are the same, including cooking time.

Saturday, May 17, 2008

Are you a member of SABLE

"SABLE - Stash Accumulation Beyond Life Expectancy"

I have heard about this on several blogs, and I always get a good laugh at it. I think I must be a member because my stash never seems to get smaller, only larger. I think I fit this group as a fabric member, embroidery floss member, buttons, notions, yarn, crochet thread, book, and sewing thread plus way too many more to mention in one list. What items make you a member of this group?
st. patrick's day

Friday, May 16, 2008

This is Great Grandma H.

This photo was taken for her eighth-grade graduation. Her mother made the dress. Out of all the pictures I have seen of her, I think this is my favorite one. My husband and I received this as a gift at the memorial service. I am grateful to have it.

I really do not know much about her because she was a very quiet woman. What I do know amazes me. She raised two sons after her husband died, in an era when it wasn't normal to be a single mom. She did lots of handwork and traveled a lot before getting married in her 30's, also not normal for the time.
memories of great grandma H
She will be greatly missed. The other Grandma H (GH or MIL) in the family, my MIL, has given us a few of the items we have given great-grandma (GGH) over the years. I am now wearing a ring that I gave to GGH. I am wearing it next to the ring my husband gave me for our tenth anniversary.
My MIL has also given us a free-form temari ball I made for GGH and the wood stand with metal hook my husband made to hold the temari ball.
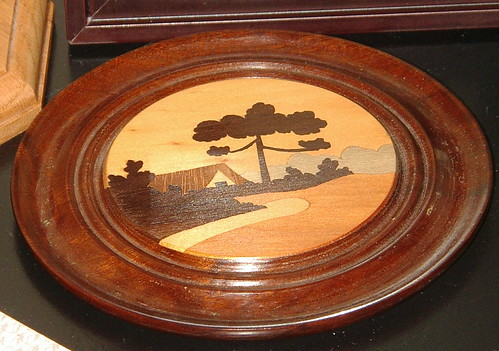
wood inlay for great grandma h

We also received back a wood plaque that my husband purchased for GGH when he lived in Brazil for a few years. I have never kept one of my own Temari balls, so this has extra meaning in that not only is it one I gave to GGH, it is also one of my favorite free-form ones. When my husband lived in Brazil he only purchased gifts for his family; I didn't know him then, so we didn't have any of the wood plaques from Brazil. Now not only does this symbolizes his grandmother, but his two years of missionary work in Brazil.

Thursday, May 15, 2008

Flowers


funeral for a man, originally uploaded by sunshine's creations.

This is a funeral arrangement I made today for a man. I had lots of fun making it, too. It is always fun when the person purchasing flowers has an imagination and lets you do some things that are non-traditional. The customer picked out a similar design from one of our books at the store, TELEFLORA, but wanted different colors and flowers; just wanted a similar look to the piece.

Thursday, May 08, 2008

AWOL

So, if you are wondering about the sort of lack of posts lately, we have had proms the last few weeks at work; it is Mother's Day week; and we have had a death in the family, Great Grandma H . My life is in a sort of holding pattern 'till all this passes. Take care and please send well wishing thoughts and prayers to my in-laws

Monday, May 05, 2008

Progress on rug

33 inches across now
So far, the rug is about 32 inches across; when done, it should be about 60 inches. This rug, when completed, is a gift for my children's piano teacher. It is hard to explain how nice of a person she is. Not only is she their teacher, she is my friend and a great lady. This is a thank you for everything she has done for my family over the years. Mrs. Bear-Hunter is a great lady, to say the least (that isn't her real name, it's just what my kids call her).

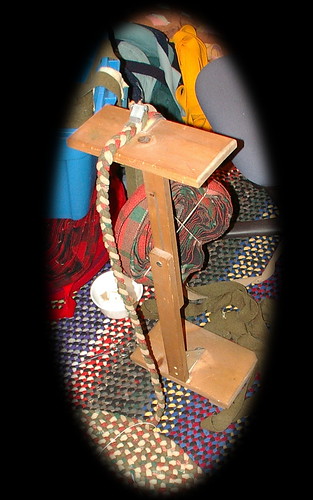
The item to the right is my braiding stand. It has gotten kind of wobbly from all the use I have given it. Any craft table will work to attach your braid clamp to. In time, I hope to make a better one. Sort of an over-grown crate with room to put my feet inside of it to balance it as I braid and with shelves to put my supplies on. The shelves would be inside the box right above my knees; this would be much better than what I have. I just thought you all might want to see this anyway because it is a tool I use religiously when braiding. Also notice you can use rubber bands instead of reel aids or safety pins; anything goes.

If you noticed in the photos, I have done a color change, actually three of them, white to cream, red to plaid red and medium khaki to a little darker khaki. It is hard to see where I changed the colors. If you do it the way I explained, it will be hard for others to see it, too. In the photo below, the color change is happening just above the needle and another to the left and up a little. If you want to find it, click on photo for a blow up. This is the back of the rug; they are harder to find on the front. But I stitch from the back when lacing, so I never see the front of the rug 'till I am all done and flip it over. The rug is reversible; I just like one side more than the other.
32 inches across
The colors are those in the piano teacher's house. She knows she is getting this gift, and I wanted it to work with in her home, so she picked the colors.

Saturday, May 03, 2008

Part 6: How to change colors

Once you have a length of braid laced together and want to change colors, look to the safety pin you placed in the beginning of your rug. Take a straight line from the end of it to the edge of the rug. In the photo I have laid my needle to show this imaginary line.

need to add new colors


In my case, at this point in the rug I wanted to change two strands because I like to let the fabric sometimes dictate when I change colors. In this case, two colors are not able to make another complete round. Place a T pin in the piece of the braid you want to cut; you can change 1, 2, or all 3 strands at the same time. I have also made rugs where I change all three colors every round. That is a lot of work, but the results are amazing.
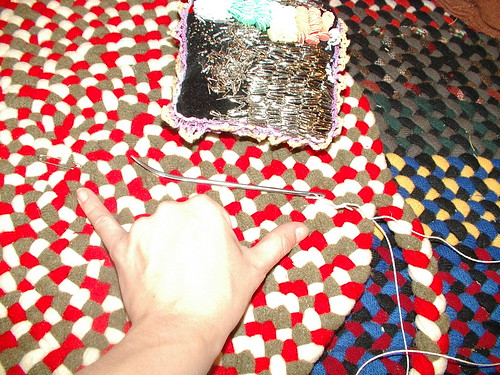
showing where to change colors

Place the T on the outside of the braid and place it close to the edge of the braid over lapping it. The pin placement is important, because when you cut this spot and sew, your seam should lay under the strand next to it ,and the join cannot be seen from either side of the rug. The colors change where you cannot see them.

markings for cutting
close up of markings for cutting

Now, cut your fabric to the right of the pins.

cutting strands

Unbraid and unlace a few inches back at this point to make it easier to add on your new fabric. I am changing white for tan and red for a brick red plaid.
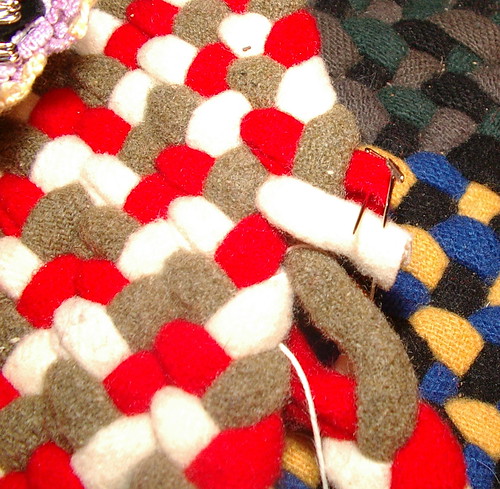
cut strands
un braided and un laced

The way you add fabric is the same way you started the rug, with the 45-degree angle to stitch two pieces together. I stitch this by hand when adding a new color; when just joining the same color, I do that by machine. The reason for the different ways is that when I am just adding the same color, I can do that at any time and have a long enough length to take to the machine. When changing colors, I am about 5 inches from where the rug is braided and laced together, making it hard to manipulate at the machine. I have done it both ways. If I have my machine sitting on the floor, then it is sometimes easier to do this step on a machine. When making a jean rug, if you plan to change color every round it is a good suggestion to set your machine on the floor next to where you want to change colors, because stitching through jean is hard on the hands; wool is easy. I did mine scrappy on the jean, so it didn't matter.
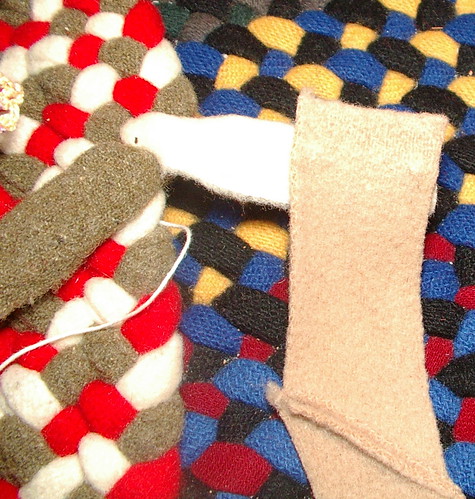
adding new color  how to lay new color on
hand stitched forward and back again

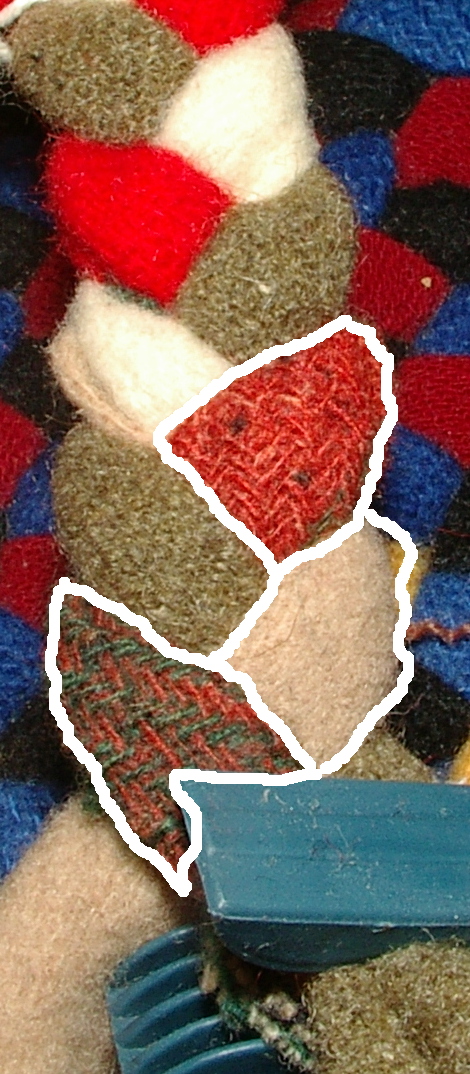
In these two photos I have traced (not well mind you) the two new pieces of fabric that have been changed changed. This is so you can see; because of where we cut it, the old colors disappear at an angle into the center, making them blend better when laced together making the color change harder to see in the rug.
showing new colors
close up showing new colors

On a side note, another tool I use is a clothes pin. When I want to set my work down and not have the braid undo itself, I just place a clothes pin over the ends. This saves redoing a few braids each time you stop.

Part 1: Prep work and cutting fabric
Part 2: Will be about sewing the strips together and forming reels
Part 3: About starting a t-started rug
Part 4: How to start a round rug, apple peel style
Part 5: Sewing and increases / tools
Part 6: How to change colors
Part 7: Ending in a taper
Part 8: Butting last one or two rows of the rug for a smooth finish
DO NOT USE THIS PATTERN TO MAKE THINGS TO SELL FOR PERSONAL USE ONLY!!!!