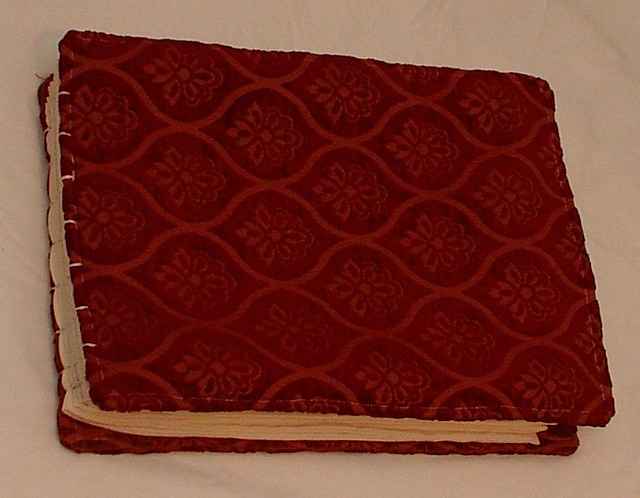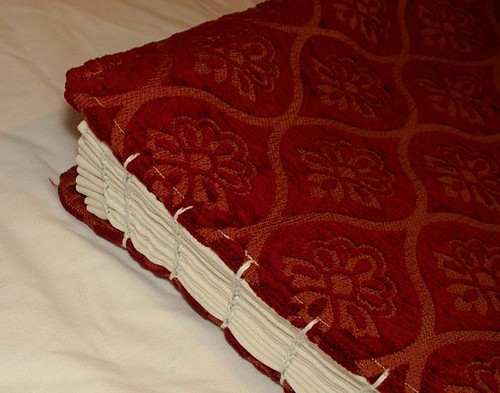
A very long time ago i showed a sampler book I made I made this tutorial and put it in draft form and forgot it was here. Looked at all the drafts I had for my blog that I did long ago and realized this one was complete and never poster for the last 5 years. Not sure how that happened but enjoy this new but old post.
Bookbinding
Supplies for link stitch book (aka coptic book)
- Finished covers:
- wood :plained, sanded smooth, with holes drilled in them
- davey board :covered in decorative paper
- fabric : sewn
- signatures :Pressed and punched pages (pages in a group are known as signatures)
- Curved or straight needle
- Bone folder or iron (if it is paper, use a bone folder; if it is fabric, you can use either a bone folder or iron)
- Scissors
- thread for sewing ( has to be strong can be waxed)
- Teasing needle (or awl)
 Picture 1
- Shows how the first signature is sewn to the cover.
- To tighten stitches use your needle to pull at the stitches.
- Always make sure you have enough thread to sew on covers.
- Never add thread when sewing on the covers, only add on the inside of a signature.
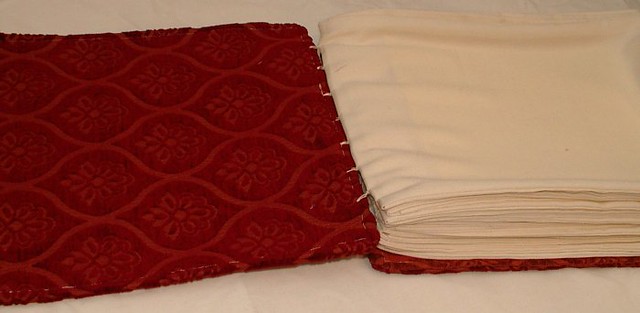
 Picture 2
- If you have been careful not to get your threads twisted, your book should look similar to picture 2.
- If you have been sewing right to left, instead of left to right, all of the instructions are mirror-opposite.
 Picture 3
- Hold the loop from the kettle stitch hole to keep it from pulling through, and pull on the first stitch (out of the fabric hole) to snug up the slack inside of the signature.
- See picture 3
 Picture 4
- Then pull on the left side of the loop stitch so that the first stitch pulls up snug.
- See picture 4

 Picture 5 A and 5 B
- Pull the loop stitch snug by pulling the second stitch up out of the cover hole as in picture 5A or 5B
 Picture 6
- Pull the rest of the stitches snug in the same manner.
- The loop from the kettle stitch should still be there.
 Picture 7
- When the first gather and the cover have been sewn together, it should look like picture 7.
 Picture 8
- Check between the cover and the first gather .
- The thread should look like picture 8 and the outside should look like picture 7 with the first stitch and the second stitch lying next to each other.
- If the stitches are twisted over each other, you should undue them and re-sew.
 Picture 9
- Press the thread into the fabric with the board folder after you sew on each signature.
- The link stitch is used to sew the signatures together.
- The basic pattern is shown in picture 9.
- The links are sewn in the opposite direction of the sewing direction
- Picture 10 shows how to sew the second signature onto the first one.
- The link stitches go between the fist signature and the cover.
- The thread comes out the kettle stitch hole of the second gather and sews through the loop in the kettle stitch hole in the first signature.
- The tail end of the thread can then be pulled snug, to pull the loop snug, as shown at the left of picture 10.
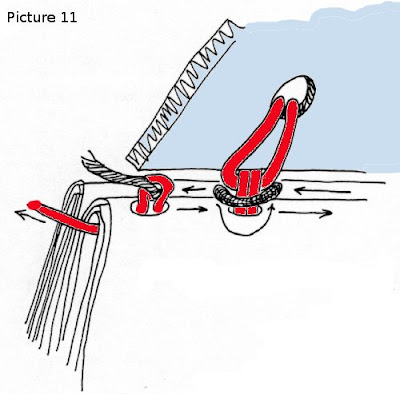
- Check again between the cover and the first signature.
- The link stitch should be only around the bottom of the first and second stitch as shown in picture 11.
- It should not be sewn through the loop stitch, or any of the threads.
- When sewing onto cover, it is a good idea to part-way open the cover as you sew the links onto it to avoid sewing through any previous cover attachment stitches.
- There are fewer problems sewing the rest of the link stitches.
- Sew on the third signature as shown in picture 12.
- The link stitches are sewn only around the previous gather.
 Picture 13A
- In picture 13 A it shows the kettle stitch, sewn from either end of the book.
- After the third signature, a kettle stitch is sewn, and after every signature for the rest of the book.
- To sew the kettle stitch, pull the thread toward the cover center (A on figure 13 A)
 Picture 13B
- Point the needle between the two previous signatures for example, if you have just finished sewing on the third signature, your needle goes between the first signature and second signature (see right hand side of figure 13A) or, if you have gone on and finished the fourth signature, the needle goes between signature 2 and 3 as in picture 13 B.
- The needle always points into the book.
- The needle goes under the previous loop joining the previous signatures and over the thread that is pulled toward the base of the book.
- Pull your needle straight up.
- Do not go back under any thread.
- You should have a loop that is sewn through

Picture 14
 Picture 15
 Picture 16
- tie off and cut thread


No comments:
Post a Comment