
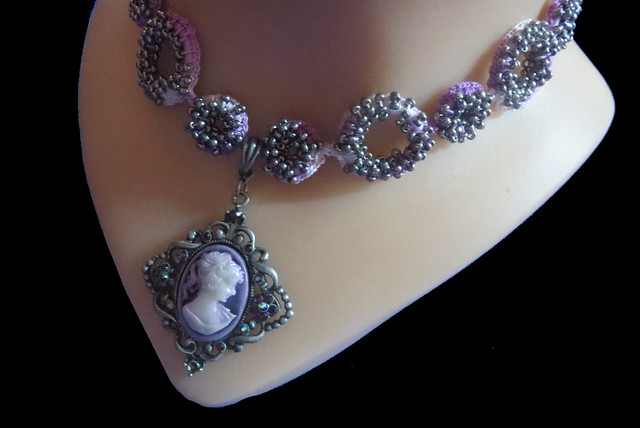
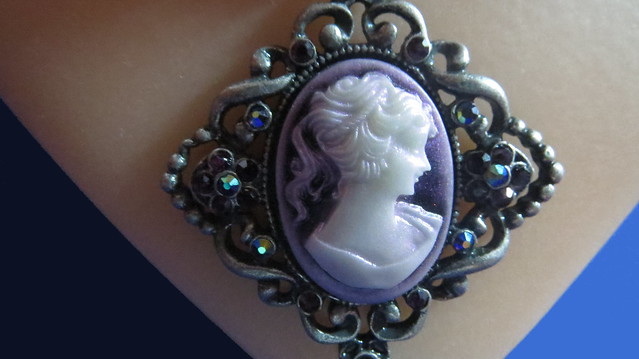
While at a craft store a few weeks ago I saw some modern cheep versions of the old hand-carved beauties. Figured I could make something simple I could wear and not be afraid to lose. So two purchase with purple accents and one black and white one. All3 less than 9 dollars total so no big loss if they fall from me. I gathered a few supplies yesterday and set to work making one of them wearable.
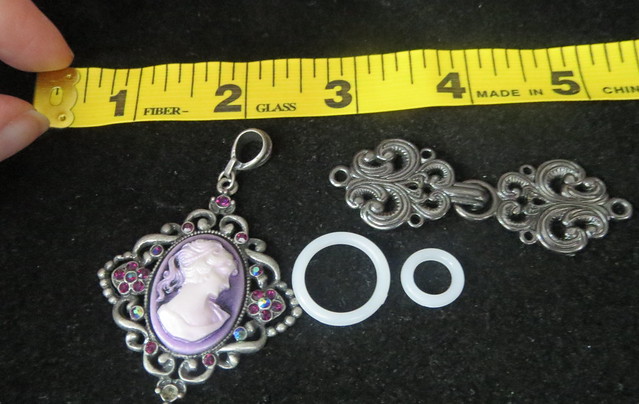
So I gathered the supplies I had around the house which are comprised of little bits of this and that.
- the cameo's
- decided to 1 of the antique silver looking ones with purple accents
- seed beads
- 1 jar of size 11 antique silver in color
- size 30 antique crochet thread
- variegated purple
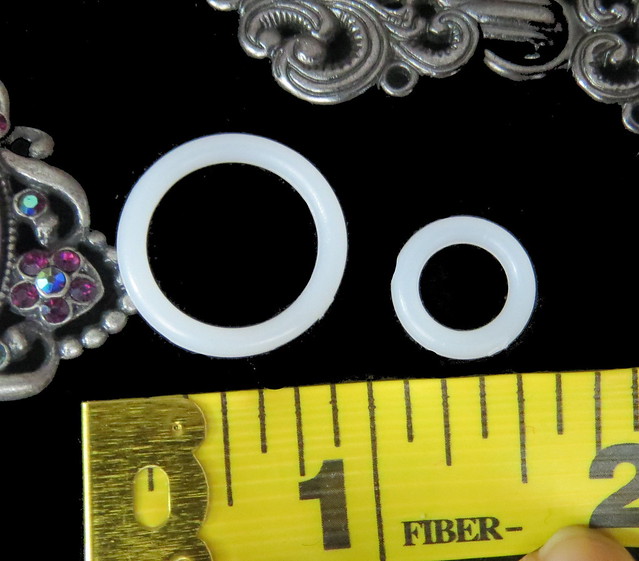
- cabone rings
- 1 closure
- a sweater clasp instead of a necklace closure as I thought it was pretty and would work
- crochet hook
- size 14 steel
- beading thread
- to transfer beads from needle to crochet thread
- beading needle
- to string beads onto 1 end of beading thread while other end is knotted to the crochet thread to transfer beads
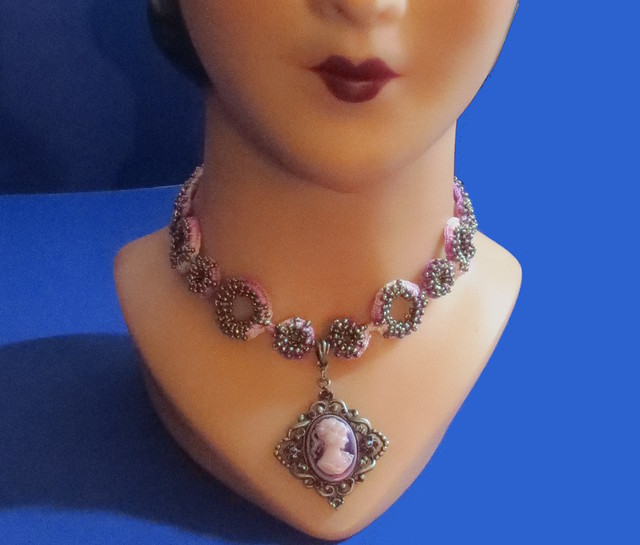
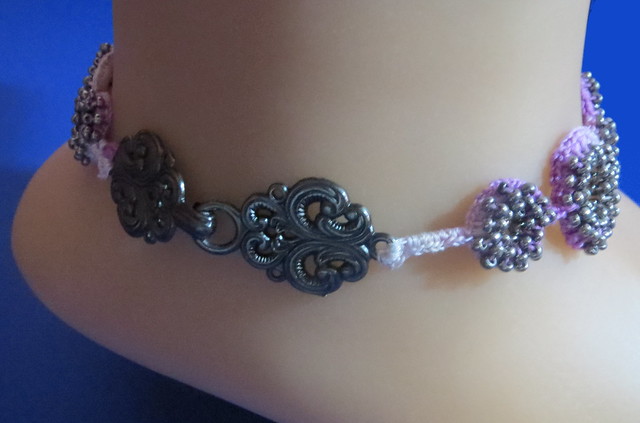
if you need a longer necklace add more cabone rings I wanted mine between 13 and 14 inches so that is what this is as written lay out and measure all parts so you will know ruffly what you need.
- lay out necklace 1 clasp at each end with cabone rings alternating little big with two little cabone rings in the center next to each other.
- make sure that cameo is facing right side before you start to work same direction as clasps
- attach crochet thread to hook and crochet 3 sc into one clasp end
- 2 sc into first small cabone ring ,* slide 3 beads and sc into ring again, 2 sc crochet no beads* repeat 6 times make sure to end with 2 sc
- 2 sc into first large cabone ring ,* slide 3 beads and sc into ring again, 2 sc crochet no beads* repeat 10 times make sure to end with 2 sc
- continue int his manner till you get to the two small rings front and center on the necklace do the first ring as step 4 chain 3
- slip cameo into place ( this part take some finagling on hook needle from thread and place on other side of cameo and pull thread loop through center of cameo continue steps 4 -5 ending with 4
- chain 5 if needed to get to a size to fit nice around neck and to make easier to attach to the clasp and weave in ends 3 sc into other clasp connection cut and finish thread.
- weave thread back through the center of the cameo starting from the side where you started the necklace and end where you just cut thread
- repeat step three attaching to the second clasp
- 6-8 sc over chain
- repeat steps 4 -7 ending with 3 sc into the center of the last clasp and working 4 sc over the chains under the cameo work 2 before cameo and 2 after cameo after you have pulled your thread through the loop of the cameo. Also place 2 sc over area between all rings.
was a pretty fast project to make the only slow part was stringing the beads. which can go faster if you have a bead spinner.
If I did this again I would string on 1512 and slide 7 beads each time instead of three so the beads don't shimmy so much in place.
also can be used as a bracelet with slight modification with smaller cameo and less cabone rings ( I would use a different clasp then a toggle would be best for a bracelet)
if you look at the clasp I used I could put a safely chain on this and so could you on bracelet or necklace by going through those extra rings on it that where originally meant to be used to sew it on to a sweater
**If you like my blog and the free patterns and tutorials and want to say thank you I have a wish list on ravelry of patterns I would like to make.
Thank you in advance for being kind and
saying thank you back.
Love Sunshine But please do not feel like you have to**



No comments:
Post a Comment