supplies
- pattern
- cord
- rings/ flowers/ leaves what ever is applicable for embellishments
- contrasting color thread (to cord and other element embellishments) for basting
- sharp needle to use with basting thread
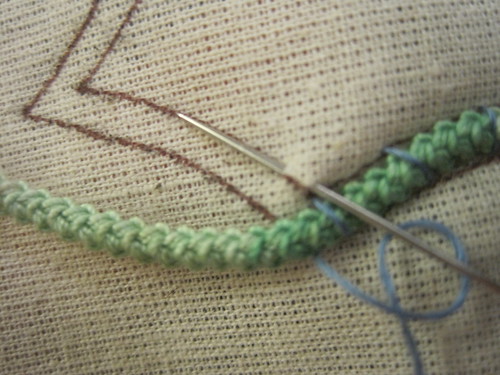
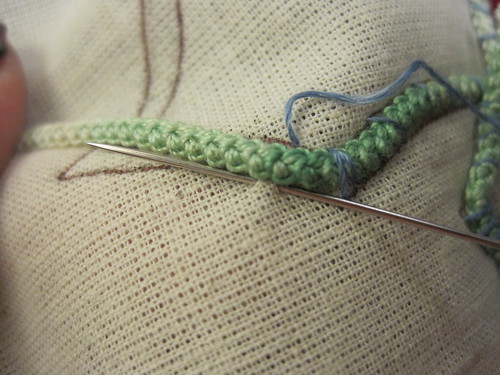
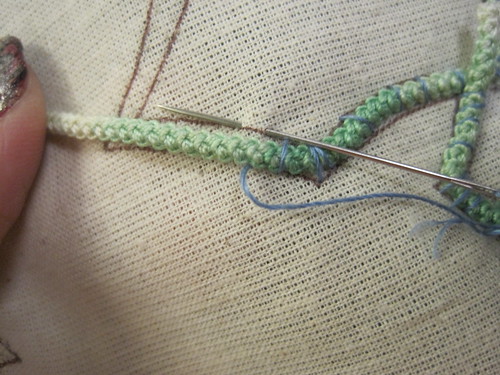
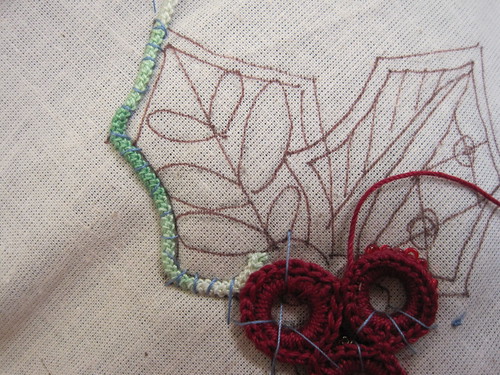
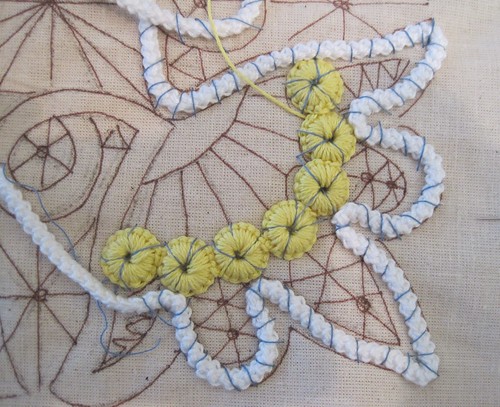
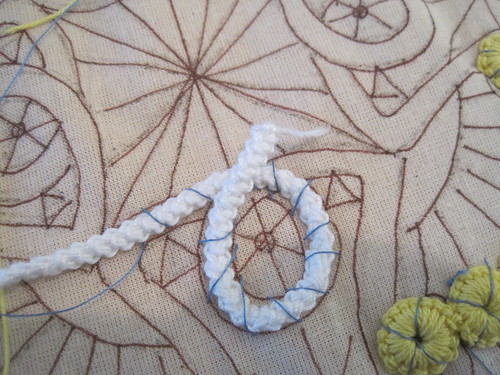
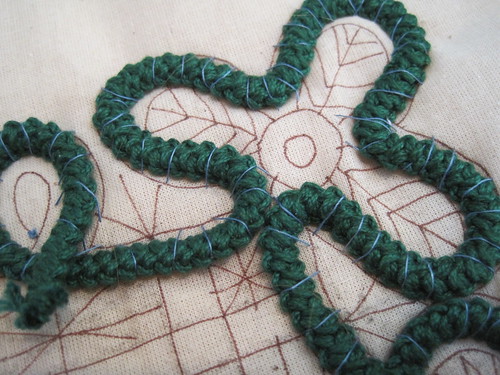
To baste (also known as couching) the cord down is pretty simple put the waste knot about 1/2 to 1 inch away from work and just start going over the thread back and forth from one side to the other.
Making sure to leave a tail of cord about 1/2 inch to 1/4 inch
Which will be unwound later and used to weave the cords together or to do filling stitches if you are using the same thread as you used for the cord as the filling stitches.
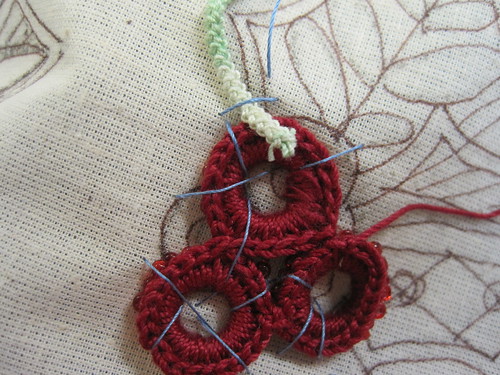
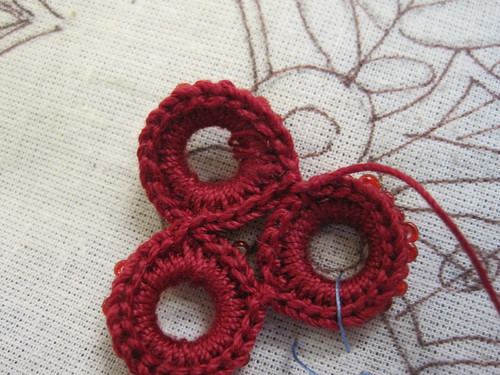
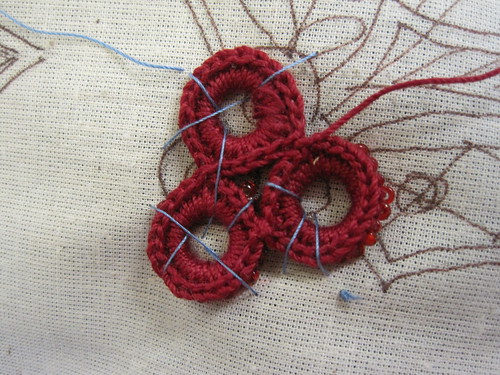
With rings: loop around the ring in several directions. As you can tell this doesn't have to be perfectly neat but it does need to secure the rings well.
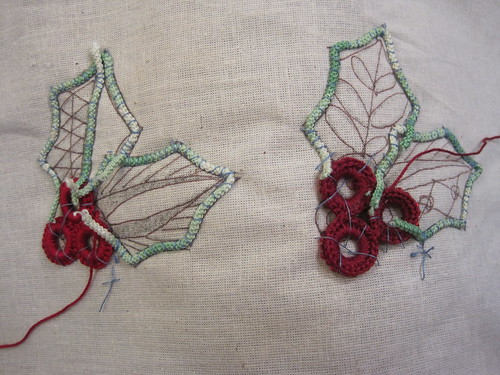
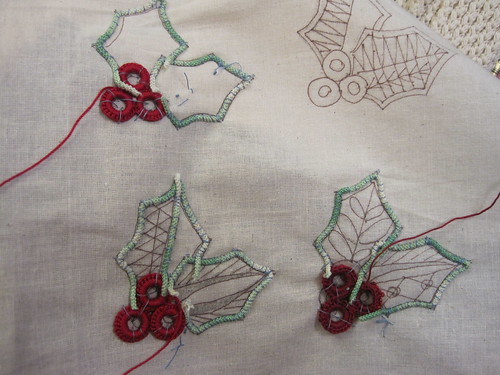
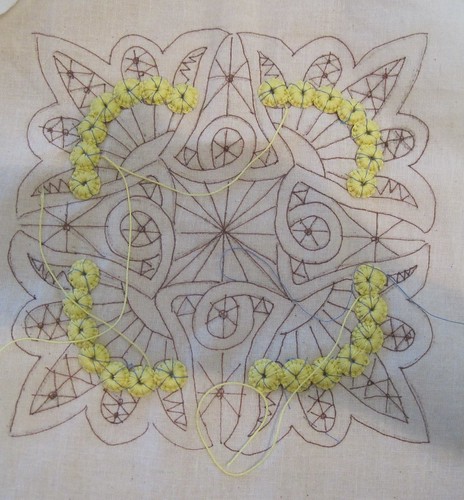
You can see I have most of the holly berries and holly leaves already for the 4 tutorials that will follow this week.
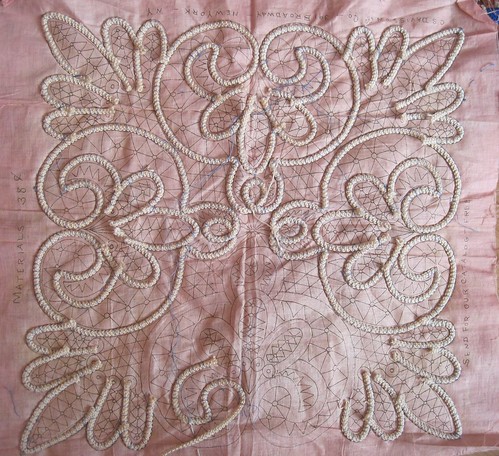
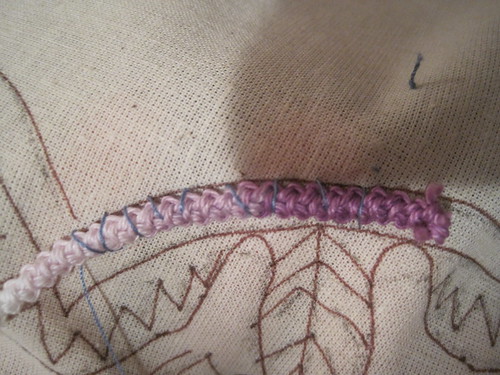
Here are some other examples of basted cords these are for the January RPLAL
Purple doily which I plan to put with my Valentine decorations.
Notice the cord folds back next to itself. It is important to baste those separately not as one because you will need to be able to see the cord loops when stitching with one thread holding both together you wouldn't be able to do that. Plus it would be too loose and shift.
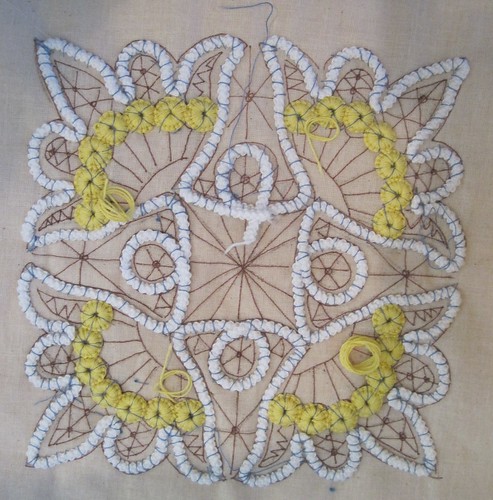
White and Yellow doily
I do like to baste the rings in place first because they don't always fit right so if they are a little big it is easy to cut the cord and just have it meet the ring or go around it. Where as if you do it the other way it is sometimes hard to fit the rings in.
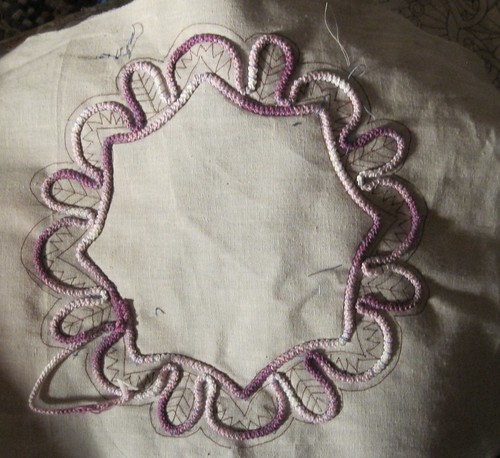
Also notable is that the cord loops over itself play close attention to the pattern to make sure that you always have the cord passing the correct direction to the pattern. Some patterns have a basket weave (which I will add to the purple one later) and some patterns have scrolls and it would look odd if you have them all going the same way then 1 different one (mistake).
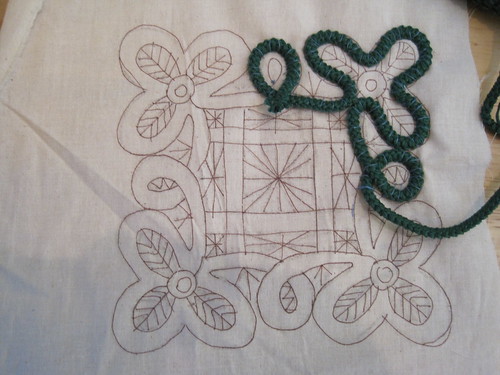
Dark Green
You will notice on this one I did not do the rings first that is because I have not decided what color I want the rings probably green. I am thinking I will add this one to my St. Patrick's day decorations. This one will have an over and under pattern in the middle once I have that basted I will upload new photos to this tutorial so you can see that.
When you get to the end of your thread don't worry about knotting the thread just weave it up and down a few times through the fabric not in the same place sort of a basting stitch so it is easy to pull out in the end.

Thank you so much for this wonderful and thorough insight and explanation!
ReplyDeleteDeeply appreciated!
I have never seen this type of work before. I think it is awesome!! You have truely encouraged me to try to do a diffrent craft. Thank you so much. Roz from LA
ReplyDelete