I am using big needle and bright thread to accommodate the tutorial in yours please use the threads from the supply list. Because using such big thread and needle on such fine fabric causes issues with the tension of my machine and maybe yours too.
How to judge amount of fabric 2 to 1 ( fabric to entredeux) is always a nice ratio I like to add 1/2 inch so I have a little on each end that is not gathered to go into the seams
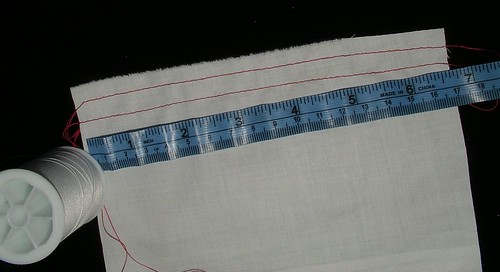
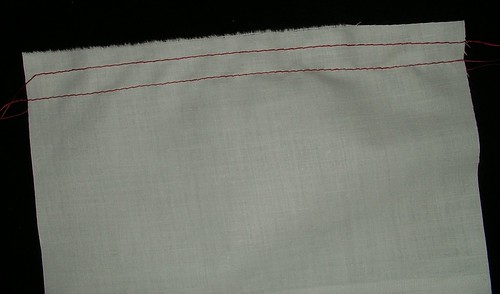
- Make 2 rows of basting(gathering stitches) Place them 1/8 and 3/8 inch from edge to gather.
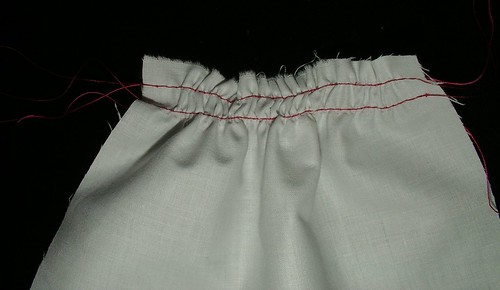
- Pull on one thread to gather being careful not to break the threads spread the gathers over thewhole length of the stitches
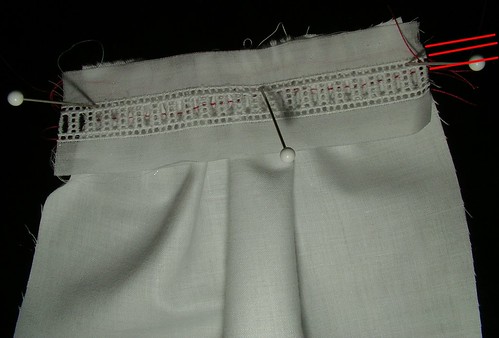
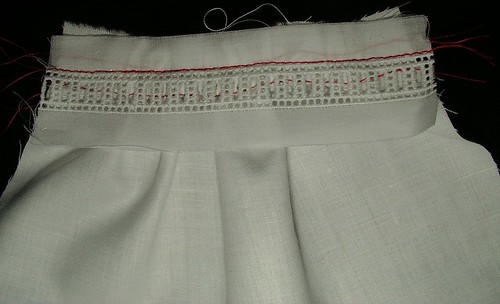
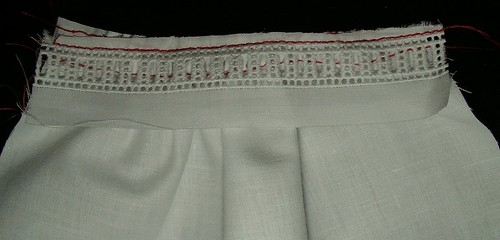
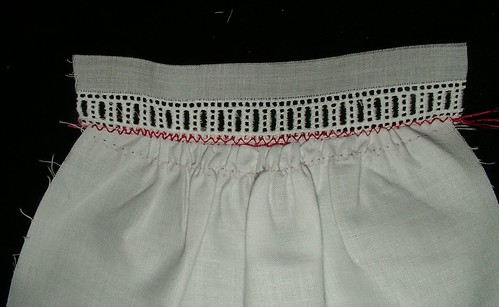
- to lay the entredeux such that the edge of the entredeux lies between the two gathering stitches. The red lines on the right in this photo are to show where the bottom gathering stitch is and wear the two new sets of straight stitches are to go.
- stitch in the ditch ( witch means right next to the entredeux stitches (see photo if confused) fabric should be right side up entredeux right side down (in other words right sides together) and entredeux on top
- L:2
- I made a mistake in mine I was supposed to do another row of stitching here 1/8 of an inch away from the one next to the entredeux I forgot to then I trimmed and realized it so with yours make sure there are two sets of lines of sewing
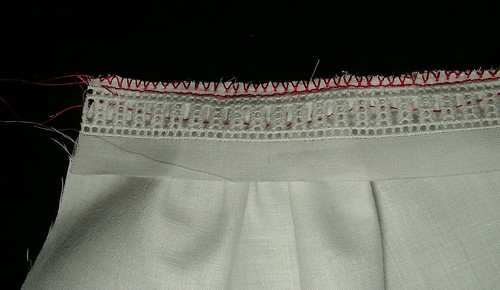
- trim next to last one
- Zig zag over the edge you just trimmed to hold it all together
- Press entredeux with the seam pressed towards the fabric
- turn to front of work
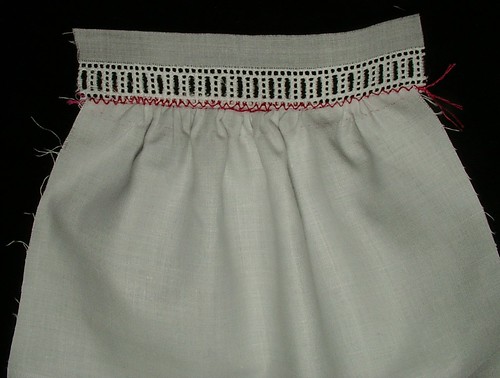
- and zig zag into the entredeux holes and over the seam to secure the seam on the back to stay behind the fabric This is supposed to be real tiny stitches they just look big in the tutorial for the example so you can see it
- W1.5 -2 use which ever you need to to get into the hole of the entredeux and bearly go into the fabric
- L 1
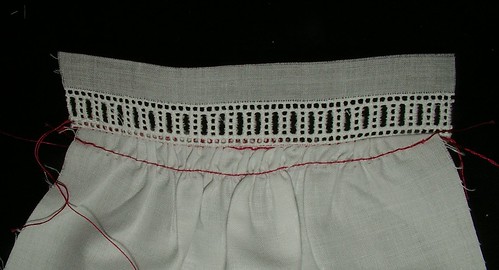
- Remove basting thread
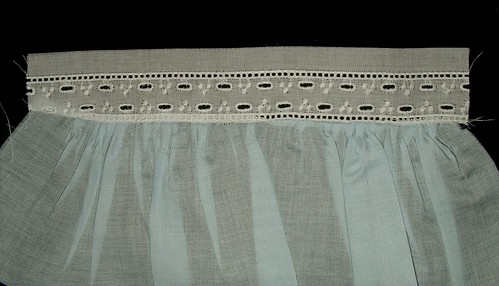
- Stream press the holes should disappear from the basting thread. Your thread should be the same color as your fabric. As you can tell mine left a residual it your threads match your fabric that will not be seen. As mine was such a screaming color it left damage. But even with that said they are almost impossible to see here too.
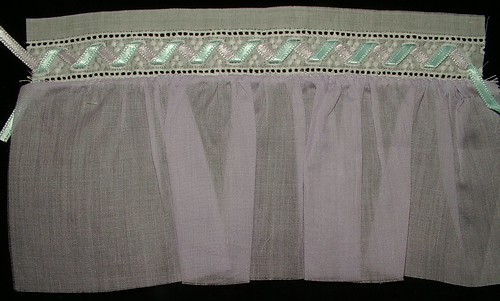
This entredeux lends itself to ribbon weaving as youcan see the holes in the first one in the second they are filled with two colored ribbons this is a way of adding more detail and color to your item with out having to add a real expensive embroidery brightly colored insertion or by doing embroidery. Use a big eyed crewl embroidery needle to do the weaving. Your work in the weaving should look neat on the front and back do not let the ribbon twist. This one was steamed and the basting thread marks are gone.


No comments:
Post a Comment