
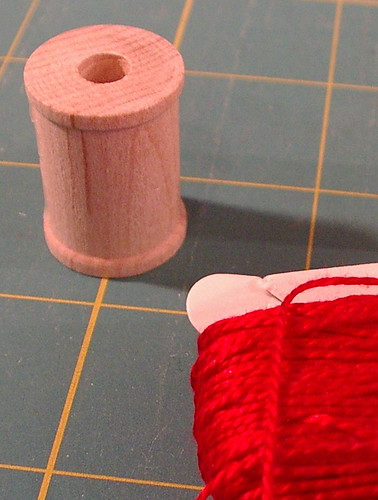
- craft wood spool or a real vintage one (if you don't mind adding glue to it; I just couldn't get myself to do that to my old ones)
- beads
- bells
- embroidery thread
- scissors
- needle
- glue dots
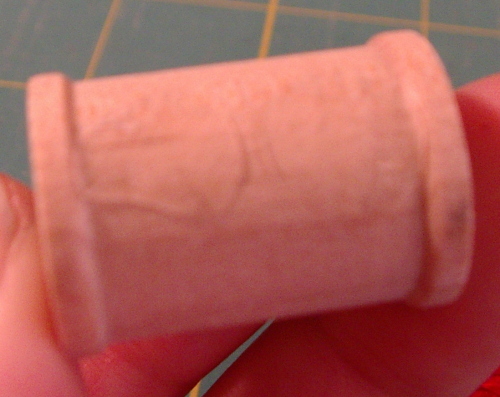
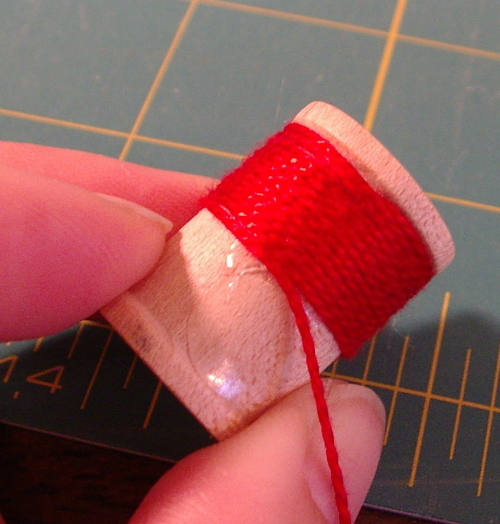
- Place glue dots on side of spool from top to bottom where thread would normally be wound (I used 3 dots; it'a hard to see in this photo, the next few are better to see the dots)
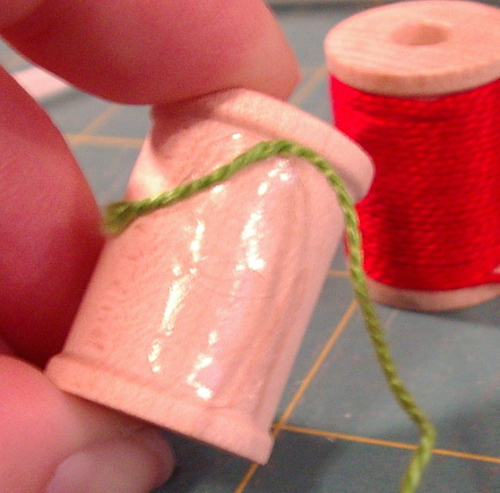
- Wrap thread around spool making sure to go over tail. Cut thread just past the last glue dot; press thread hard into glue dot to keep thread from coming undone.
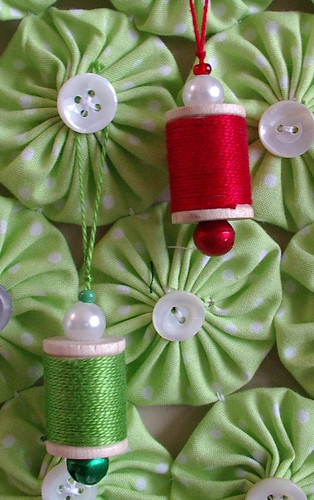
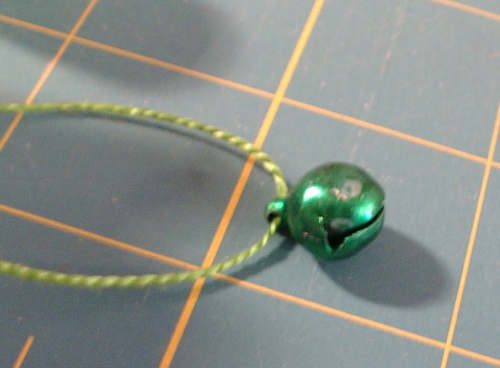
- String bell.
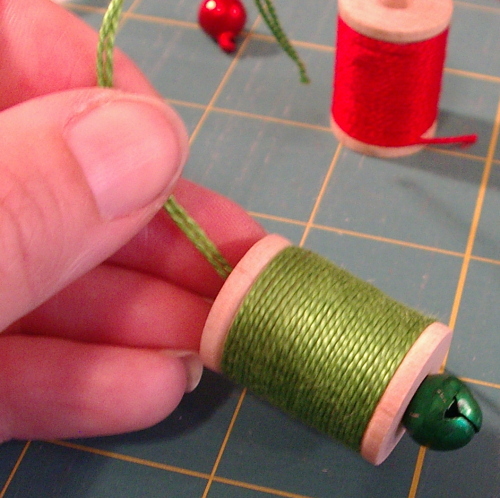
- String spool followed by beads. Tie knot to keep beads from moving. Tie another knot to form hanger; done. The red and green tails haven't been cut yet in these photos.
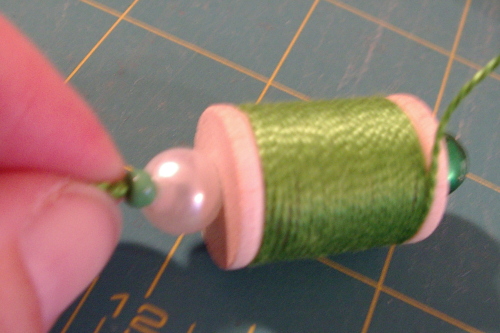
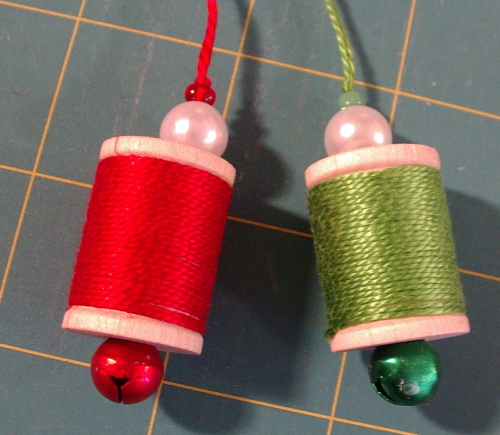
Tails are cut in this last photo.
DO NOT USE ANY OF THESE PATTERNS TO MAKE THINGS TO SELL FOR PERSONAL USE ONLY!!!!
You are making the cutest ornaments! I am so impressed by your creativity.
ReplyDeleteRebecca
I love the spool ornament--what a perfect thing for a crafty sewer to make and hang on the tree.
ReplyDeleteI love these spool ornaments! The bell and bead are the perfect finishing touch!
ReplyDeleteVery nice, you could make them so colorful, too. I think this would be something my daughter would love to help me with. Thanks again!
ReplyDeleteThis one's excellent!
ReplyDeleteThese are adorable!
ReplyDeletei also like this one to add to a gift for a sewer. How do you come up with all these ideas, wonderful
ReplyDeletedesperation is the key to tons of ideas
ReplyDeleteI have some tiny wooden spool ornaments. I bought a package at Hobby Lobby a few years back. I wrapped sewing thread around each one, then stacked them, glued them together, and voila... an ornament that shows everyone I like to sew! (As if anyone who was at our house couldn't figure that out already....)
ReplyDelete