
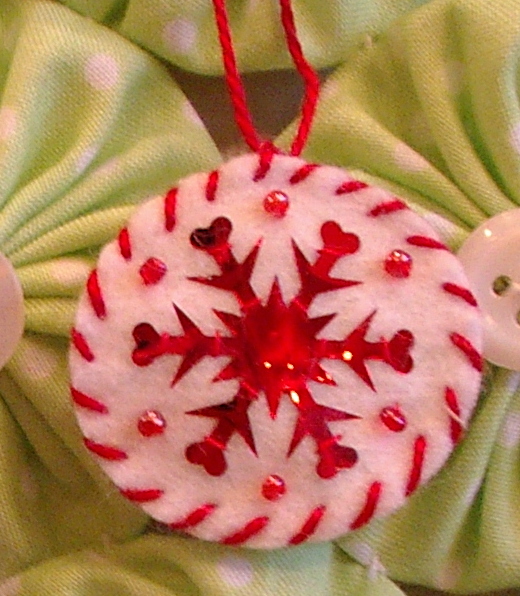
- felt
- sequins, any type
- big holiday glitter (I used snowflakes)
- beads or any other embellishment
- thread
- needle
- embroidery floss
- thimble, if you use one
- scissors
Order of events:
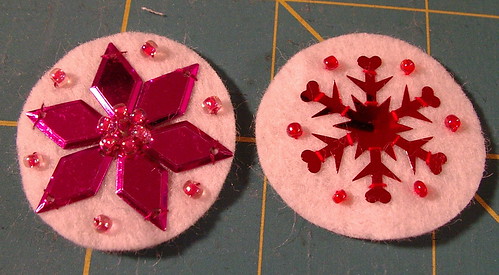
- Get sequins and felt, and figure out your layout
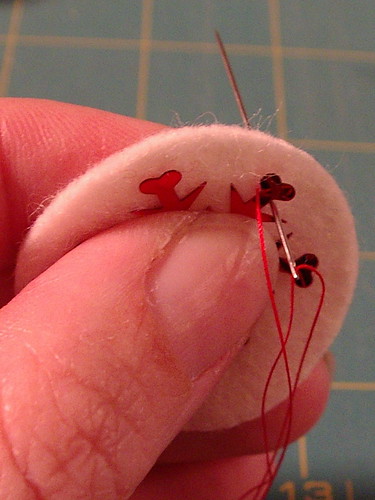
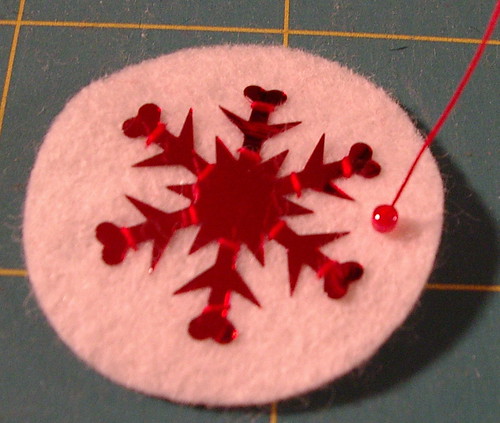
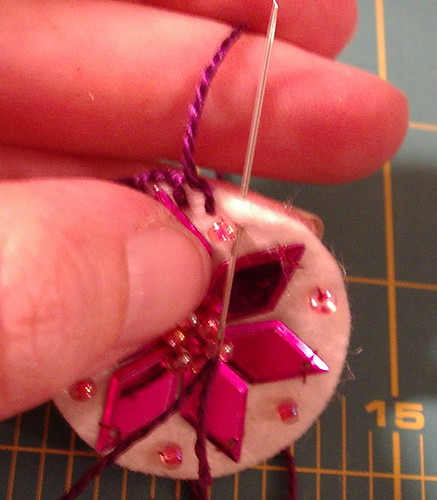
- Sew on sequins/glitter (with sequins, of course, go through the holes).
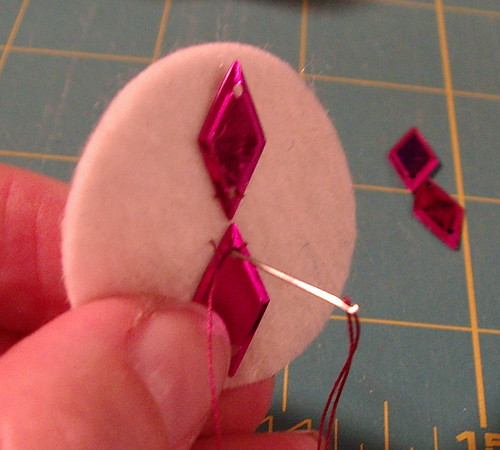 With glitter you are couching the piece of glitter down.
 Make sure to get a thread that is a close match to the color of your sequin/glitter.
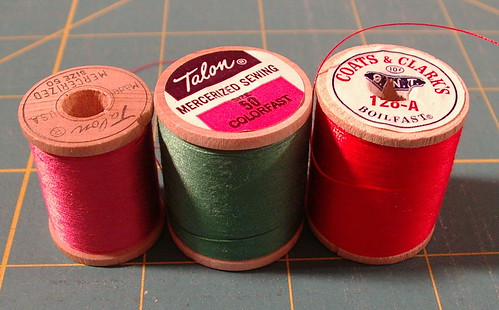

- Add other embellishments such as beads (you can do French knots instead of beads; I just like holiday ornaments with more, not less, so I used beads).

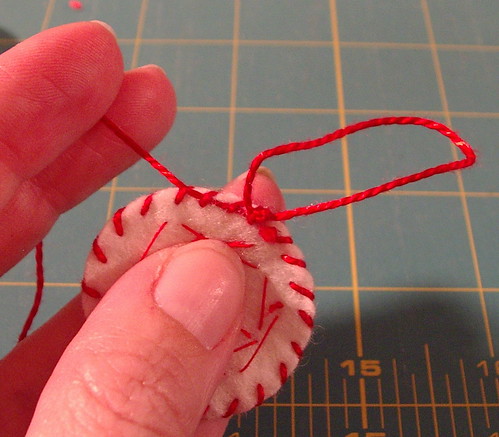
- Edging; I did blanket stitch for some,

 and just an angeled stitch (a real wide satin stitch, meaning lots of space between the stitches) for others.
 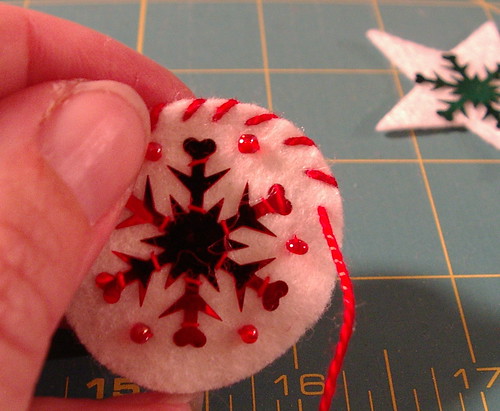 Side note: You can make two and stitch them at this point front to back if you have an advent tree that is free standing. This way, no one would see your stitches on the back. I didn't do this because mine face the quilt, all hanging, and the backs are not seen.
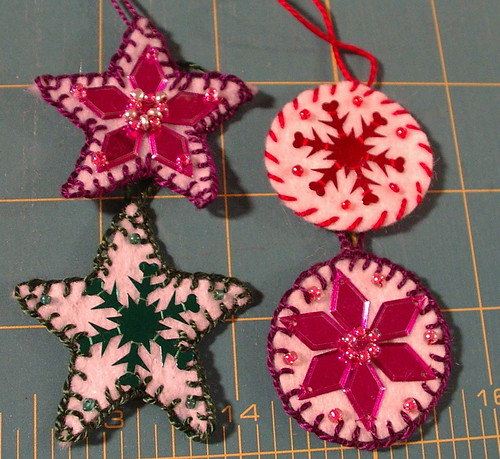
- Add hanger and you're done!
What cute ornament ideas and a great tutorial. I like how you've explained and illustrated it so it's all very clear. Thank you!
ReplyDeleteWow, you do such a good job with the sequins. I never thought about using ones without holes and just couching them... duh! Thanks!
ReplyDeleteDelightful! I'm eager to see what else you have in mind.
ReplyDelete(And eager to be PICKED!)
; )
Very pretty. Thanks for all the instructions.
ReplyDeletethese are so cute- I never thought about using shaped sequins for something like this!
ReplyDelete